Fine work
A couple of readers were kind enough to comment on yesterday’s piece about the Reader application put out by the New York Times and pointed me to two NYT photoblogs in the process.
One is Lens and the other is 1 in 8 million. Both are well worth a visit though the latter does take a while to load owing to the inclusion of sound and video. That said, the presentation of both is superb and the use of short introductory sound clips in the ‘1 in 8 million’ blog is inspired, doing just enough to pique your interest.
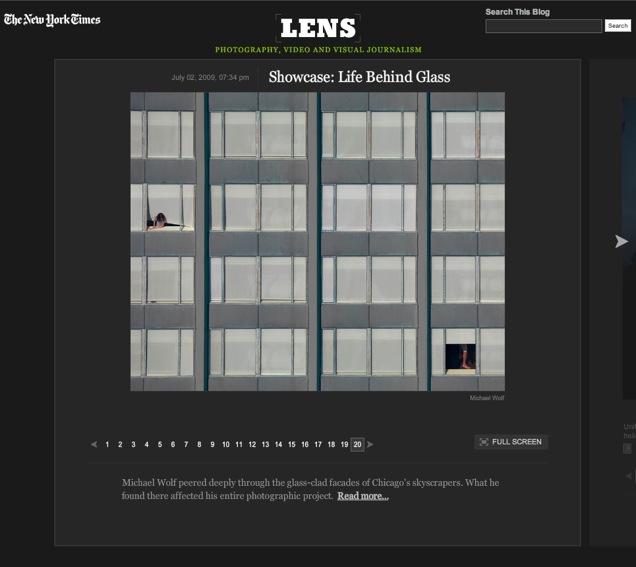
From the ‘Lens’ blog – Michael Wolf’s essay on glass

From the ‘1 in 8 million’ blog
For a truly splendid profile of an exceptional man, take a look at this piece on Harry Reininger by Sarah Kramer. It’s the scarcity of such people in New York that contributed to my departure from that modern Gomorrah in 1987.
Nice work, NYT!
By the way, it is incorrect to ascribe the demise of newsprint to financial engineering, as one commentator on yesterday’s column states. Rather, the causes are:
- A drop in literacy owing to falling educational standards
- Craig Newmark (Craigslist) who has singlehandedly destroyed classified advertising revenues for newspapers
- A disconnect between the views of newspaper journalists and their readers
- The trash that is modern television programming – truly the opium of the masses
- The self-destructive practice of making content available free online
Financial engineering does not account for the drop in circulation. I am no defender of Wall Street, but it is hardly to blame for the above.