The Sixties relived.
By way of introduction let me say that, as a boy of 15, I was already fascinated with the hobby of taking pictures. So when I saw Michelangelo Antonioni’s Blow-up in 1966 on its theatrical debut, it was a matter of moments to write to the star and ask for an interview. To my amazement, a neat, handwritten note came back from David Hemmings, the star of the movie, not two weeks later, granting me my wish.
Quite what an interview entailed I had no idea, but when I arrived at his mews home in Kensington, Hemmings greeted me with great warmth and, within moments of our handshake, proffered a nice tape recorder the better with which to take notes. Cleaning out a closet the other day I came across the tape, which I had all but forgotten about, and set to transcribing it for this journal.
Hemmings had just finished filming and was, in modern parlance, still ‘channeling’ the character of Thomas, the photographer-protagonist in the picture, so he insisted on conducting the interview in the character of the photographer he portrayed, and further requested that I address him as ‘Thomas’ rather than as ‘David’.
TP: Thomas, the movie opens with you looking a bit, shall I say, worn. What was all that about?
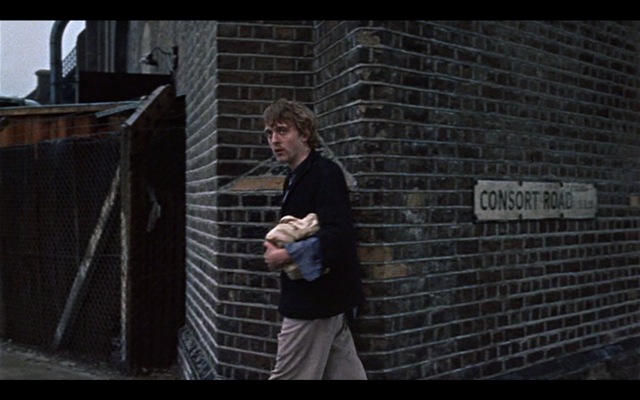
Looking a bit worn. Click the picture for the map.
DH: Yeah well, you know, Britain was going through one of its interminable labour disputes at the time so I was down the Consort Road in Southwark taking pictures for my new book on the working class. These laid off workers would be collecting their money at the dole office and I got into the whole thing. Thought it would be better to look like one of them. Not too hard given the night I had just had with those birds. Talk of insatiable!
TP: And the car?
DH: Well, no effing way I was going to drive the Rolls down Southwark way. They would have pinched my tires and mascot in seconds. Anyway, let me tell you, that car is a piece of crap. Constantly in the garage. New water pump, constant tuning and 10 miles to the gallon. I’m thinking of getting one of those Minis, actually.
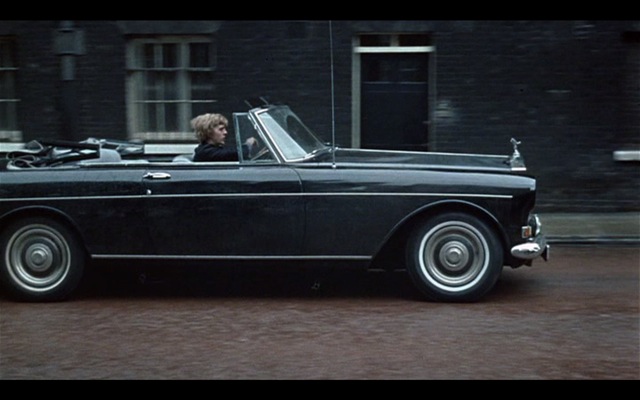
Piece of crap
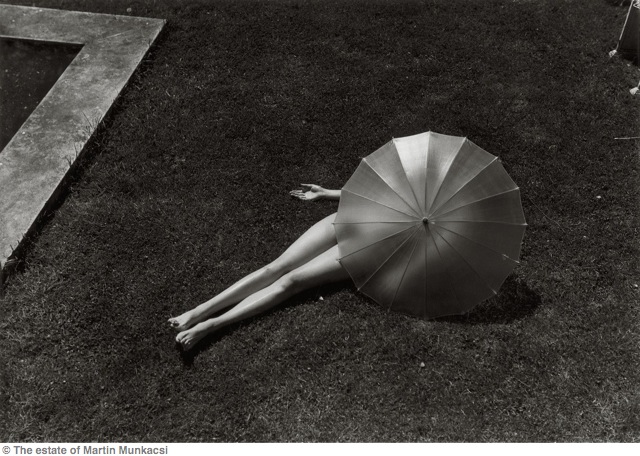
TP: Who’s your favorite model, Thomas?
DH: There are so many it’s hard to choose, but I would have to say it’s Veruschka. A real pro, always on time. She’s some sort of Russian countess or something. Great legs, too. God, this woman is fit.
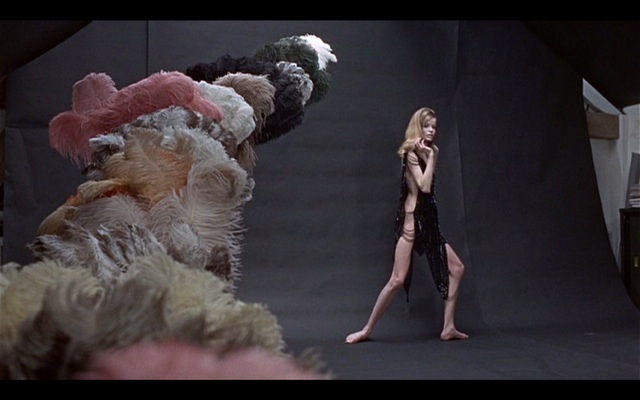
Some sort of Russian countess
TP: How did the picture in all the ads come about?
DH: Well, after that Veruschka session, I was pretty shagged out and in need of a drink, but she insisted on just one more roll of film. So I had David, my assistant, load up the Nikon and had at it. And it just happened, you know? That bum of an assistant took the snap of me making out with her.
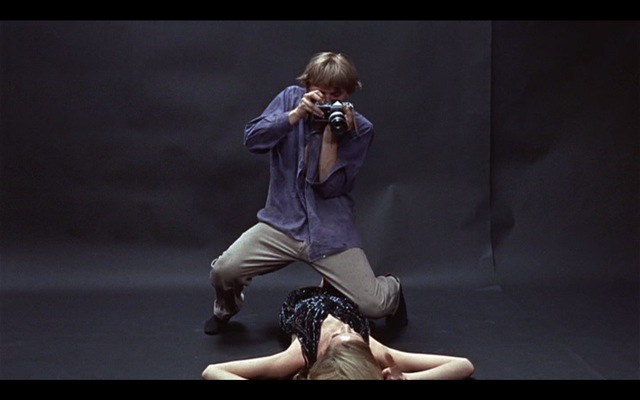
It just sort of happened
TP: So you favor the Nikon?
DH: Nah! Look, I’ll use whatever the latest publicity roll-out gives me. It’s all free, as long as I flash it about a bit, you know? Like they gave me this Hasselblad for studio work and it’s OK, I suppose. When it’s not in the shop with the Rolls, getting something fixed. Last week the magazine jammed, this week it’s the shutter. God, if only people knew how bad these things are.
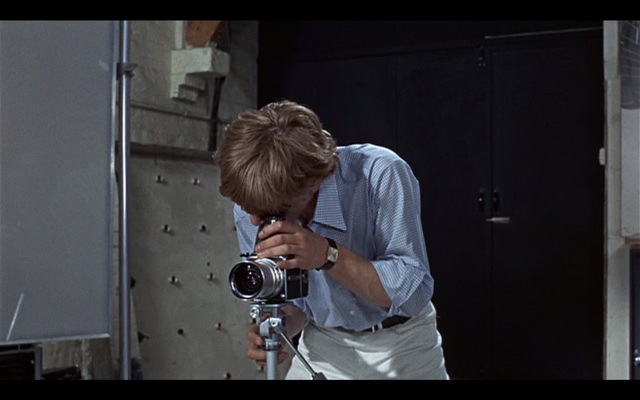
I’ll use whatever they give me
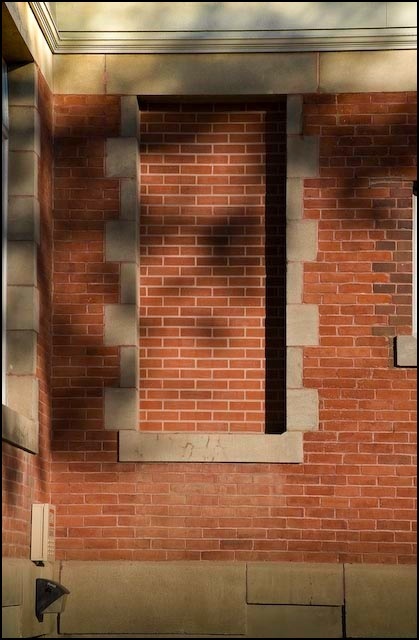
But I do like the Nikon, I must admit. I almost feel like I’m armed with it. I keep one in the glove compartment of the Rolls for street snaps. Like, the other day I was down at this antique place in Woolwich picking up a big wooden propeller for the studio (cost me eight quid, I can tell you) and wandered over to Maryon Park nearby. Grabbed the Nikon, of course. It was a windy day and I thought what with the trees and all, something good might come of it. That’s when that bloody Antonioni wasn’t using the crew to spray the grass green. Jesus! Italian wanker.
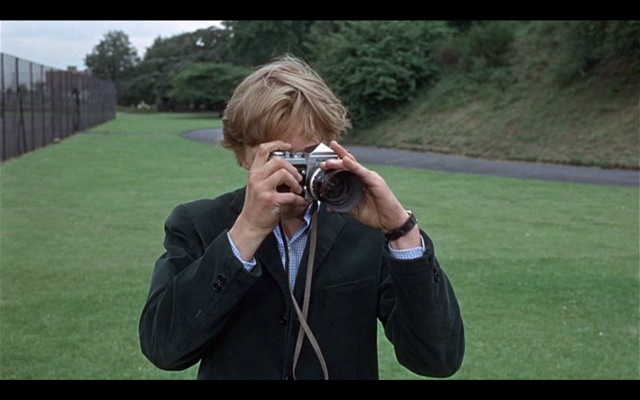
Grabbed the Nikon, of course. Click the picture for the map.
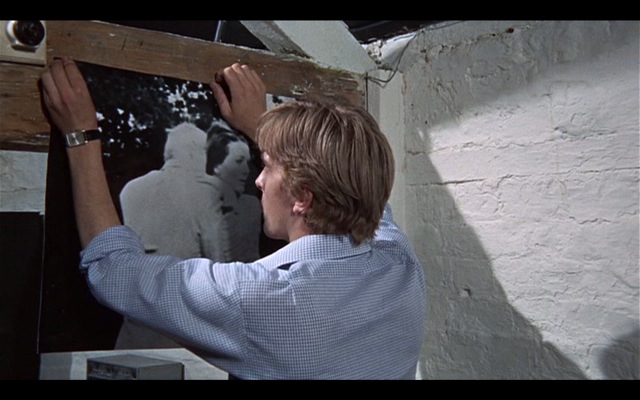
TP: So that’s when you latched on to the whole mystery thing? I mean, the body and all?
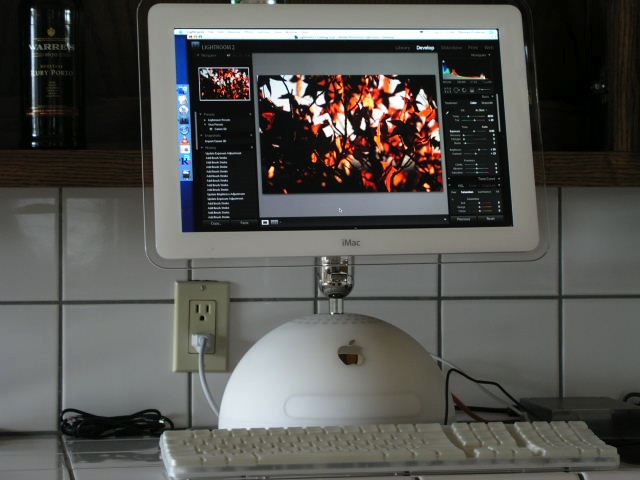
DH: Yeah. Let me tell you enlarging those snaps was sheer hell. Bloody Kodak and their TriX. When the (deleted) are they going to make this film with grain smaller than a piece of dead, cold porridge? Sure, I could use PanX or PlusX for less grain but then everything comes out kinda blurred, if you get my drift. And as for faster, have you ever used HPS? Basically every picture is the same – one big blob of grain.
Anyway, I had the 50mm on the Nikon that day and, boy, did I find myself wishing for something longer. I mean, I was miles from Vanessa when I snapped those images. Let me tell you, mate, one of these days Kodak will fix their film and you will get 36 wall sized enlargements from a roll one quarter the size and none of that poncing about with wet chemicals. Have you seen my carpets recently? Talk of hypo stains.
Poncing about
TP: So you found the body. Why no camera?
DH: Yeah, I found the geezer. Some sort of Italian judging by the suit. You know how these foreigners like to overdress. Hell, I could still make out his scent. Imagine, a man wearing scent. Christ! Let me ask you, have you ever touched a dead man?
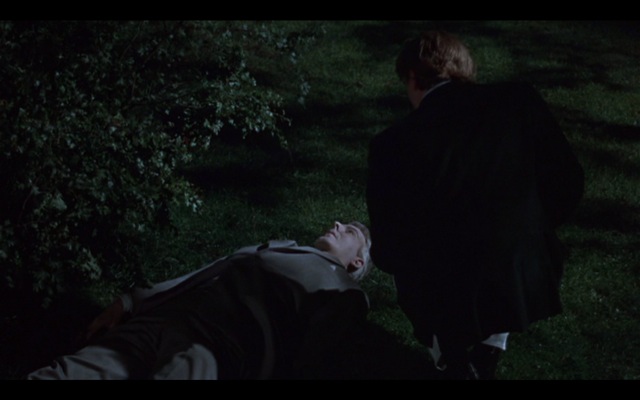
Have you ever touched a dead man?
TP: Well, my old man when he died a few years back.
DH: Pretty yucky, huh? Let me tell you, this guy was COLD! To answer your question I had no camera as there’s no way you can take pictures at night. We’re talking 400 ASA here, mate, not some 21st century technology. Nah, I reckoned I had to come back in the day to get a snap and, of course, by the time I did, the stiff was gone.
TP: So nothing ever happened? No one was caught?
DH: Yeah, that’s about it. Bloody cops, what do they know? My assistant – he’s an East End lad – says all the cops are in cahoots with the Krays. Still, the park is kinda neat and I went back the other day to take some more pictures. Not hoping for another body, or anything, just street snapping.
TP: My favorite thing.
DH: Well, what do I come across but these kids with white faces playing tennis in the park. No bloody racquet or balls, though. Kinda fun once I got into it. Even retrieved a ball for them.
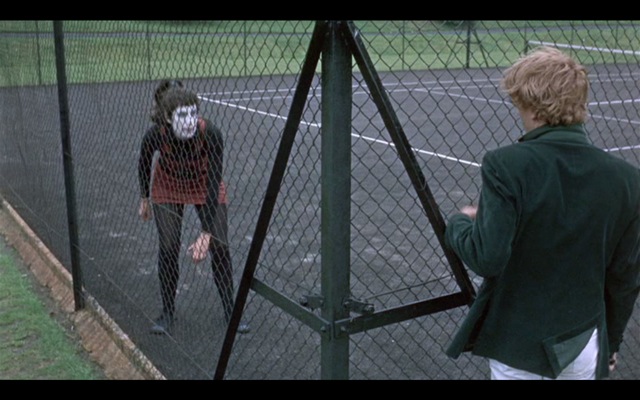
No racquets. No balls
Transcribed from the original tape of December 21, 1966.
At this point the tape ran out. Hemmings took it off the recorder and tossed it to me.
DH: Well, that’s it chum. Gotta run. By the way, once yer balls drop, come back and see me. I think that my assistant, that Bailey fellow, is pretty much on the way out. Keeps trying to rip my work off, know what I mean? And I’ll need someone to load my cameras.
* * * * *
Hemmings and Antonioni are gone, sadly, but their great film monument to the Sixties lives on.