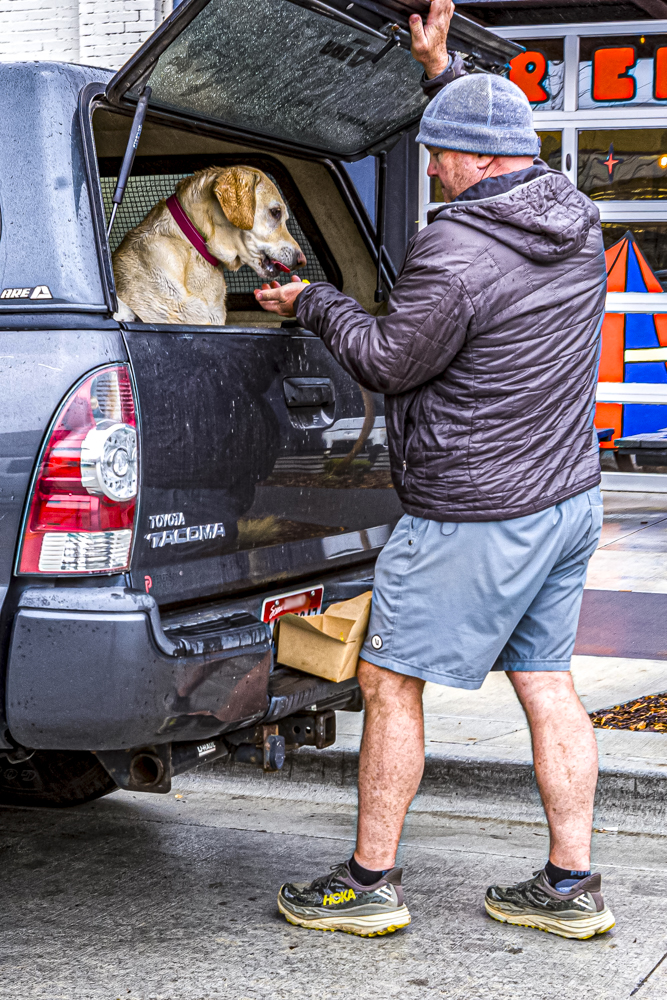
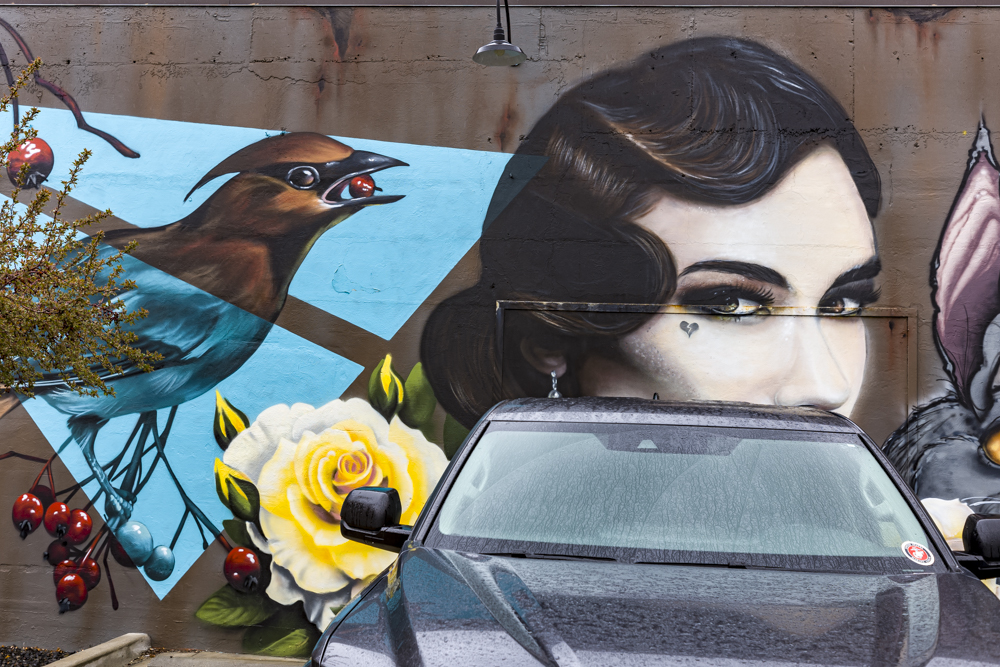
Downtown
Click the image for a larger version.
Leica M10, 75mm Ultron at f/1.9, SOOC.
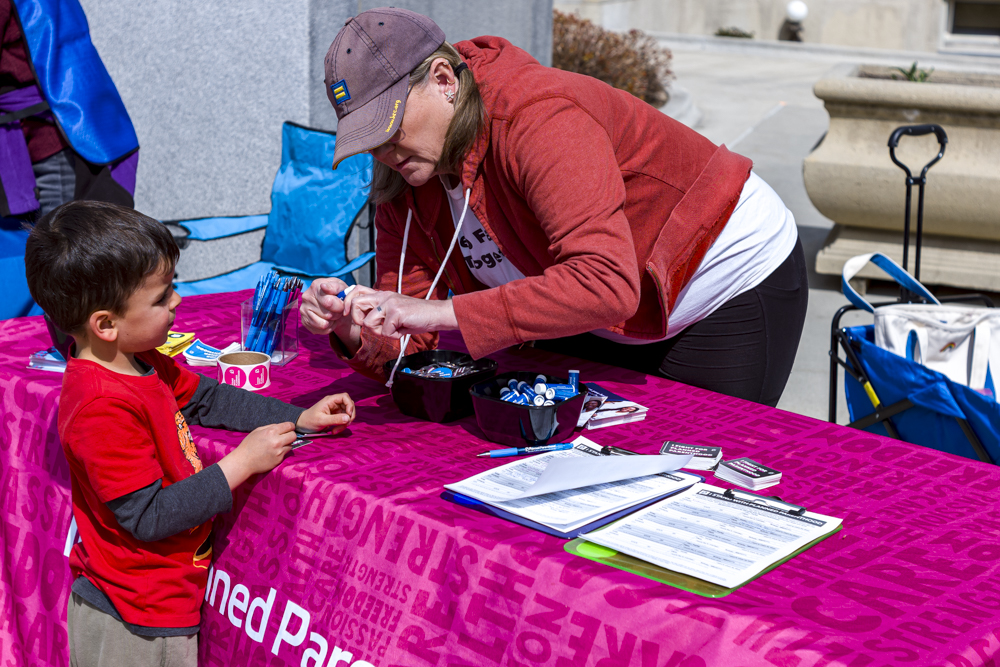
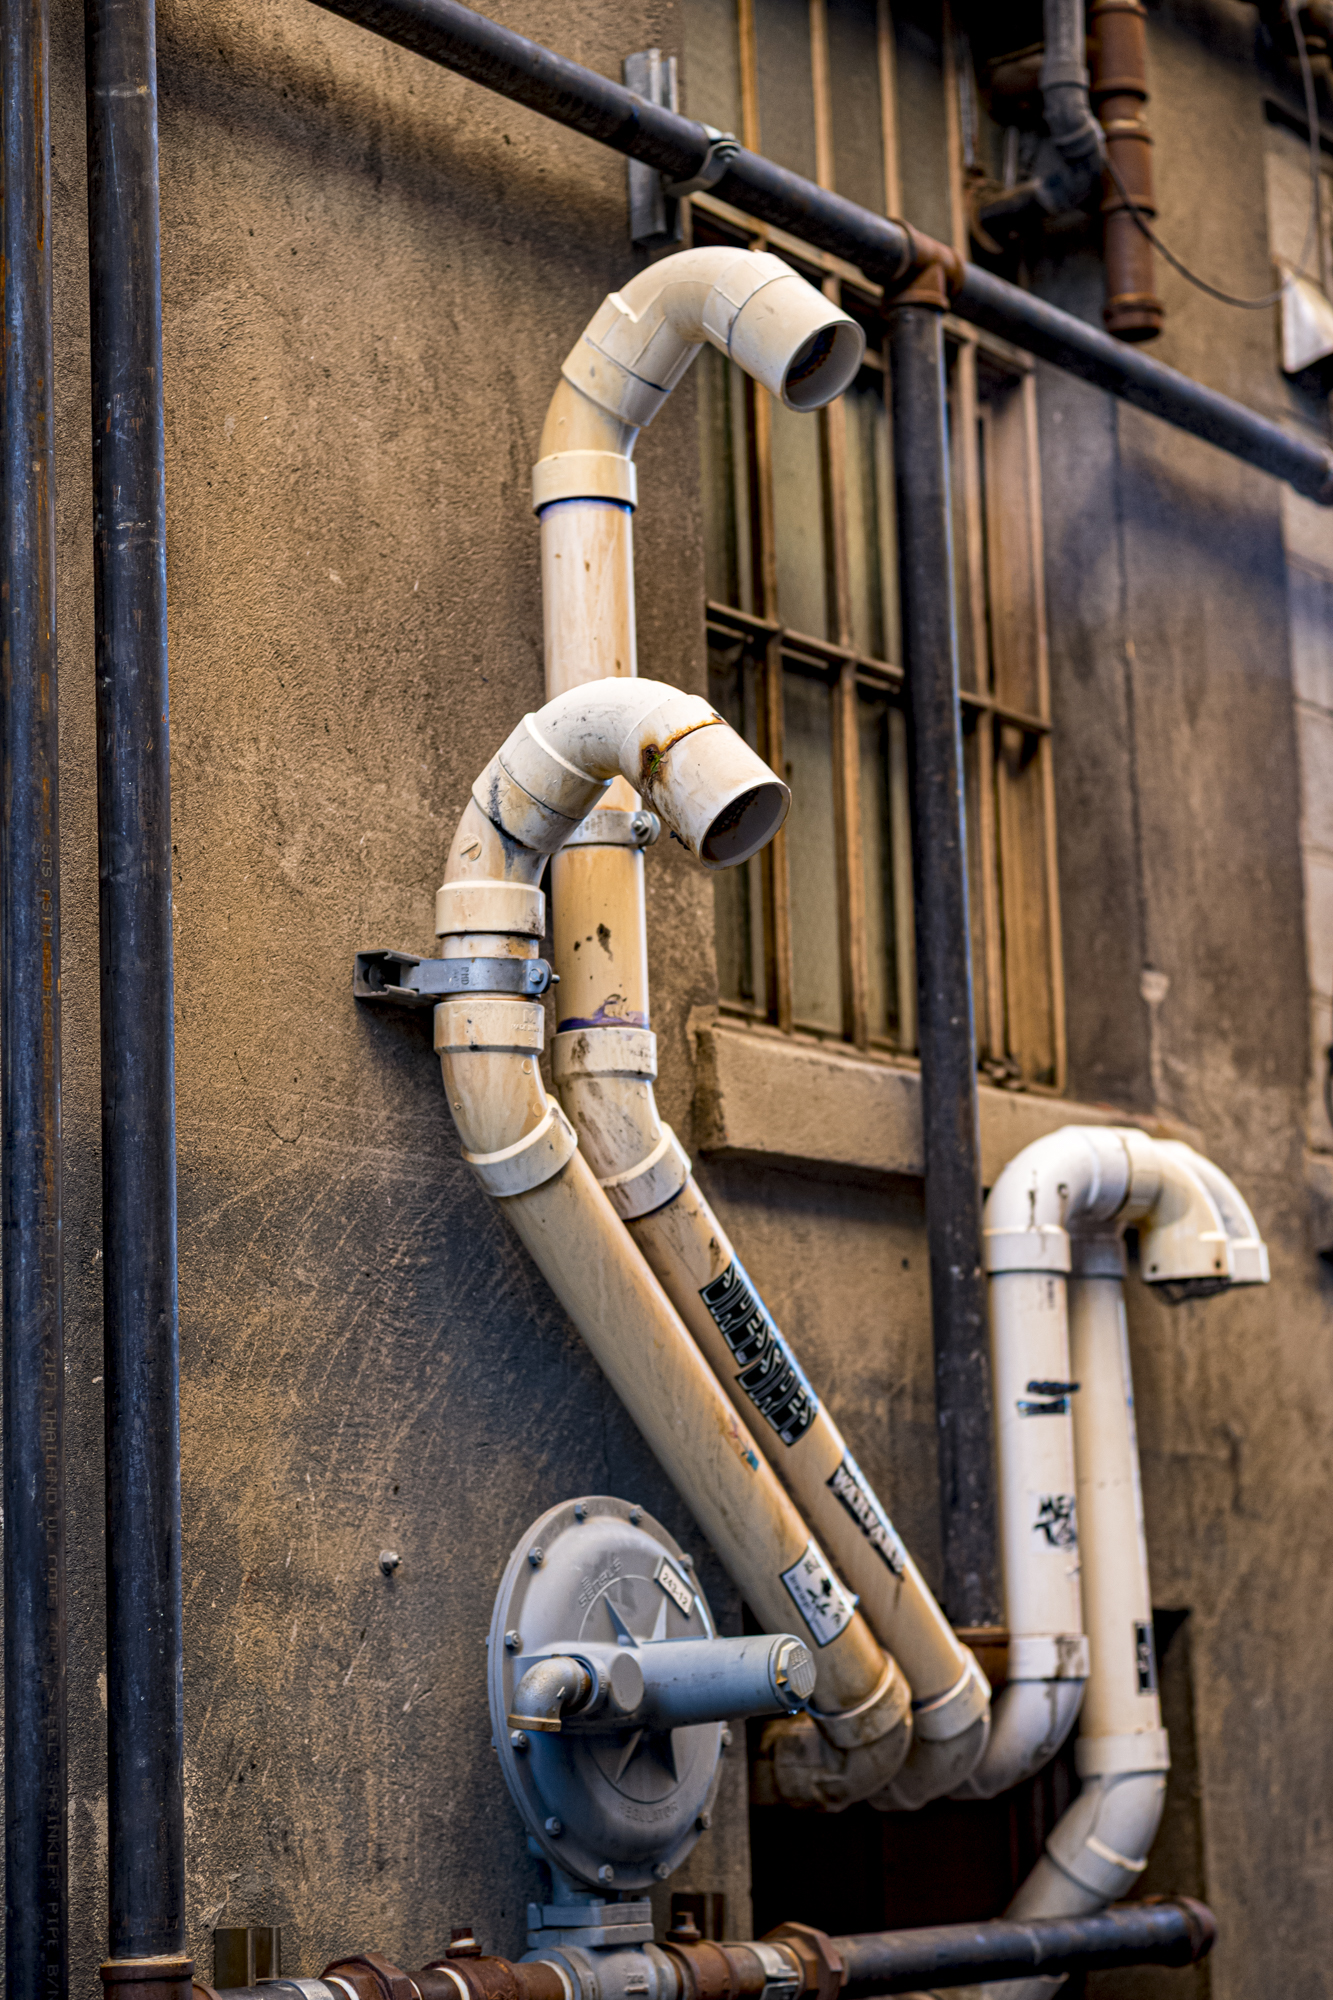
Downtown
Leica M10, 75mm Ultron at f/1.9, SOOC.
Inspired design.

Inspired, that is, by St. Paul’s in London, the US Capitol and St. Peter’s in Rome. As Steve Jobs once put it “Good artists borrow. Great artists steal.”
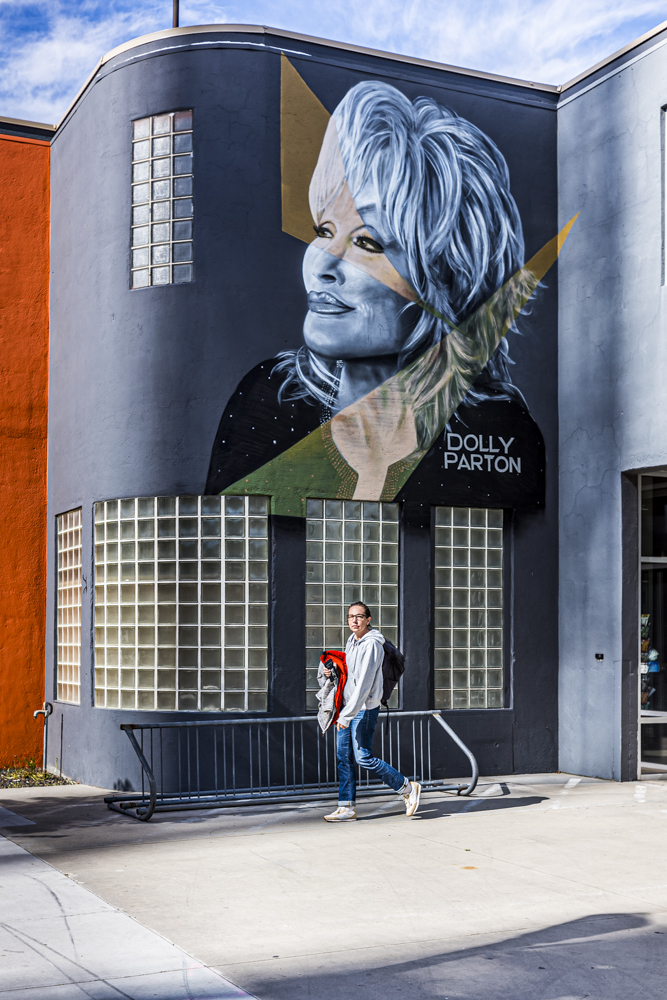
Leica M10, 75mm Ultron at f/2.8, SOOC.
In memory of a true original.
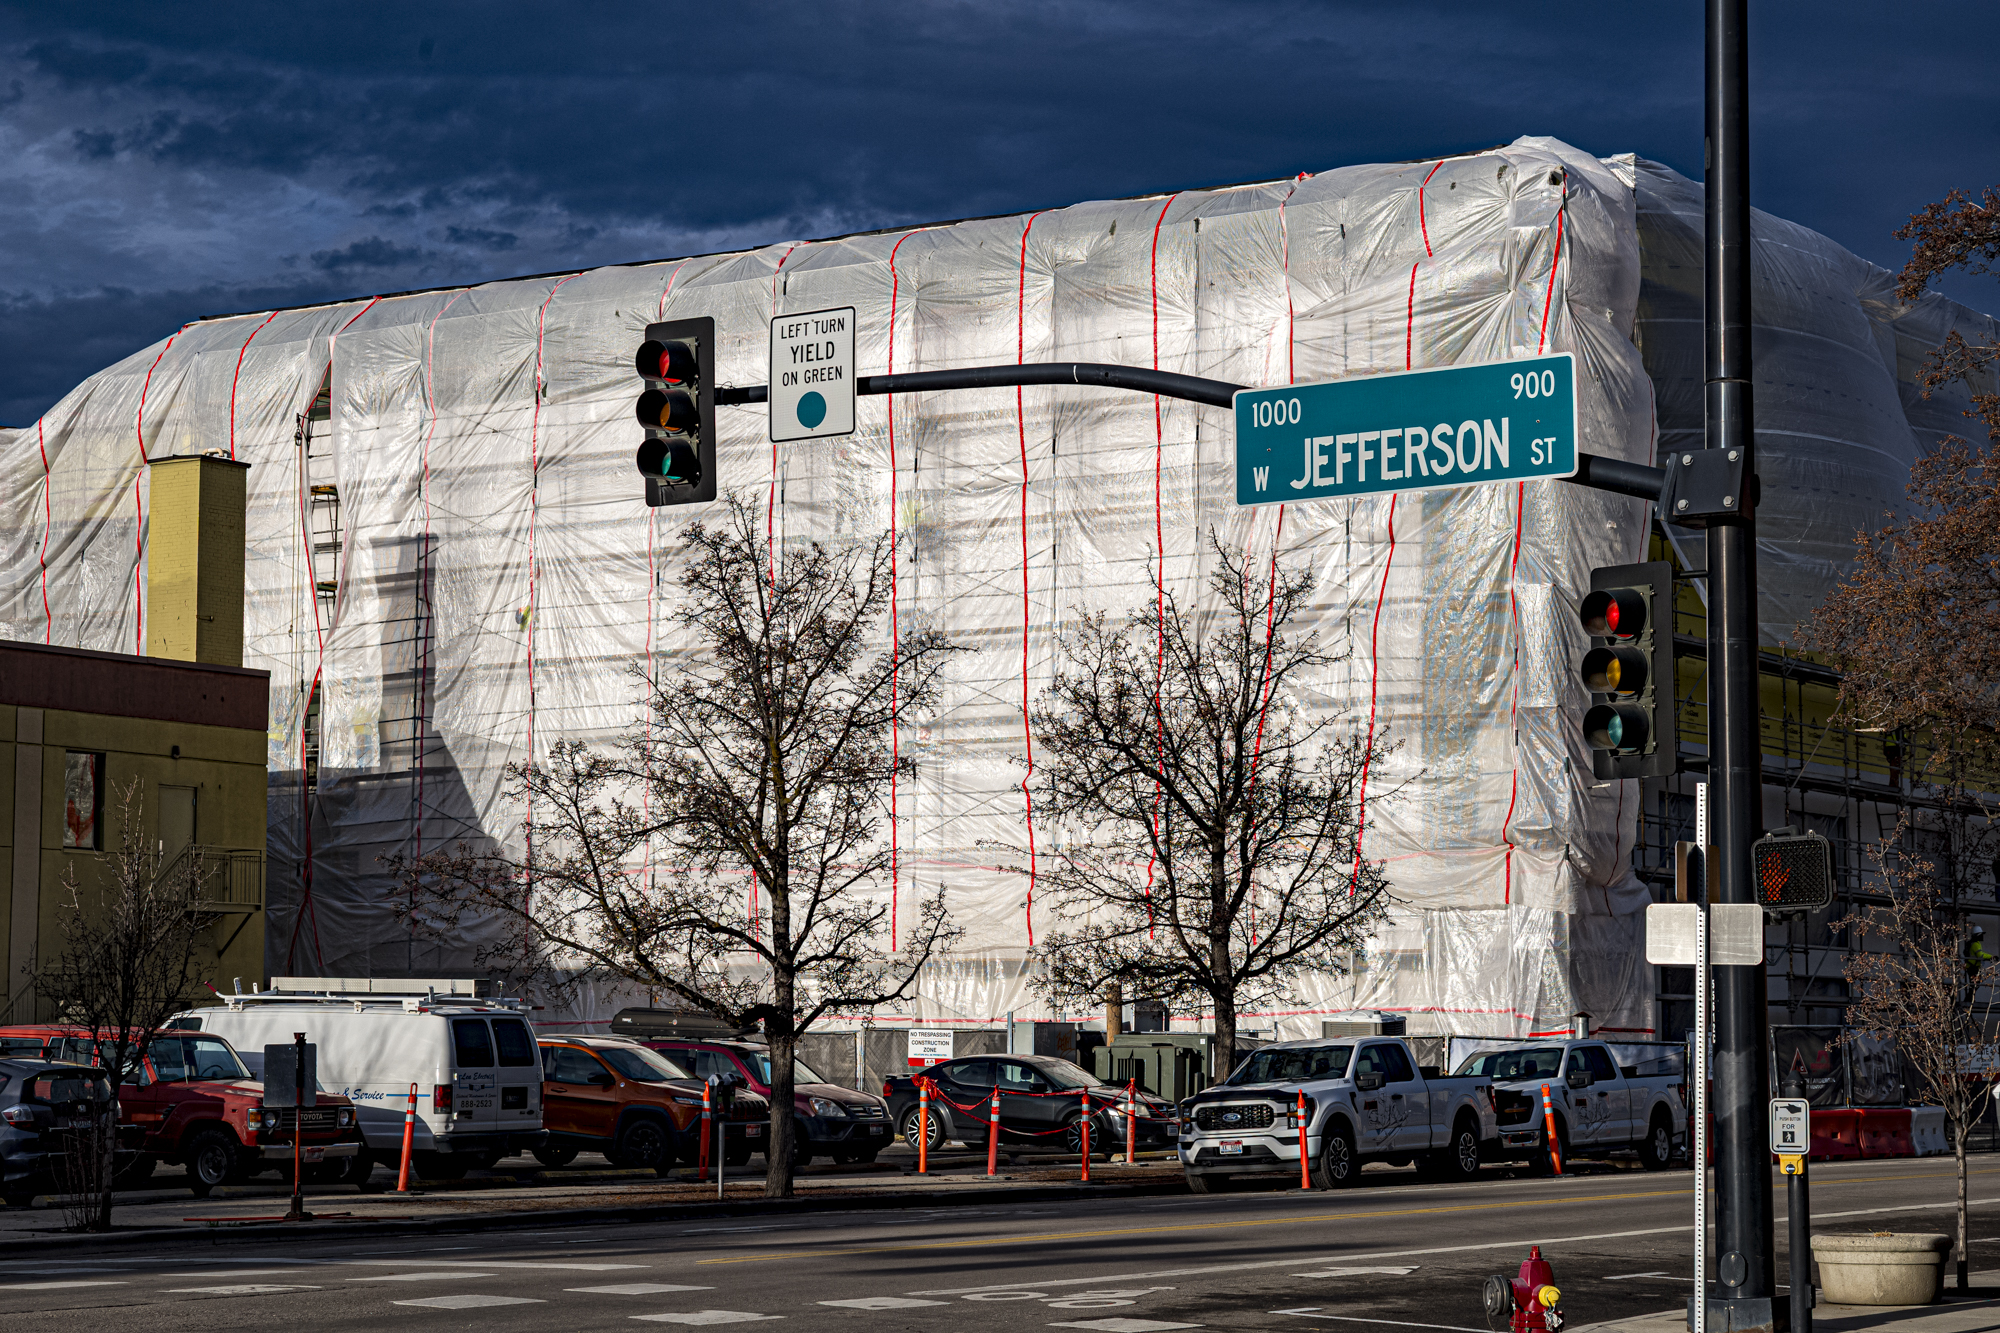
Quite why builders wrap a building like this when it’s under construction I am unsure, but it immediately reminded me of Christo’s wraps.
Leica M10, 75mm Voigtländer Ultron at f/8.
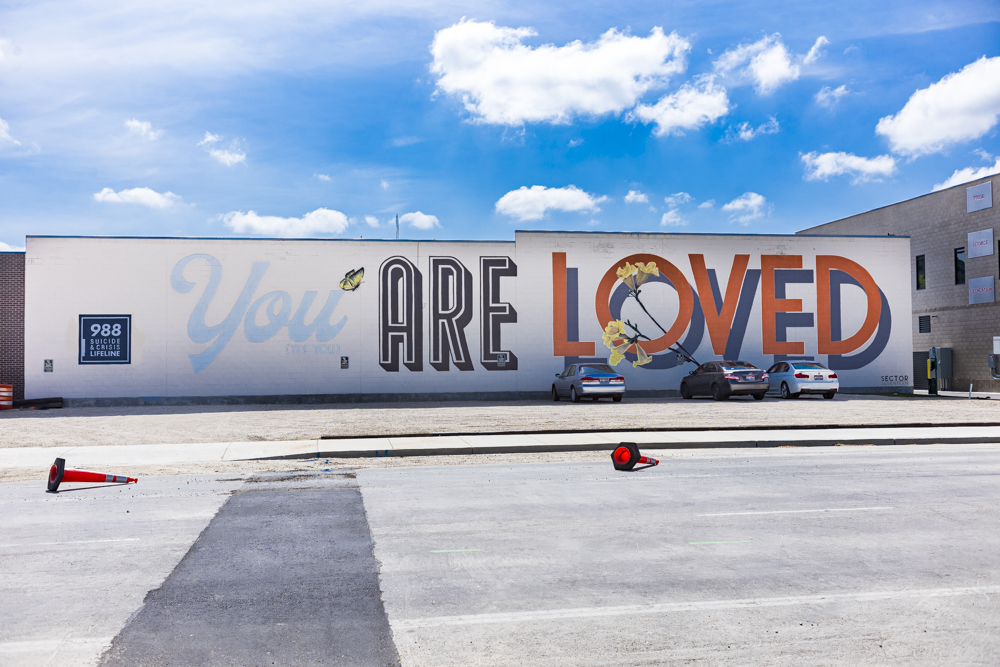
His legacy is everywhere.
I first wrote about Edward Hopper ad photography some two decades ago.
His vision and insights into the loneliness of downtown American cities continues to fascinate. The other evening saw me traipsing somewhat disconsolately through downtown, dismayed at the bland lighting, the sun and Hopper’s long shadows nowhere to be seen. Then, suddenly, the sun pierced the clouds and the magic hour was in full force, creating this:
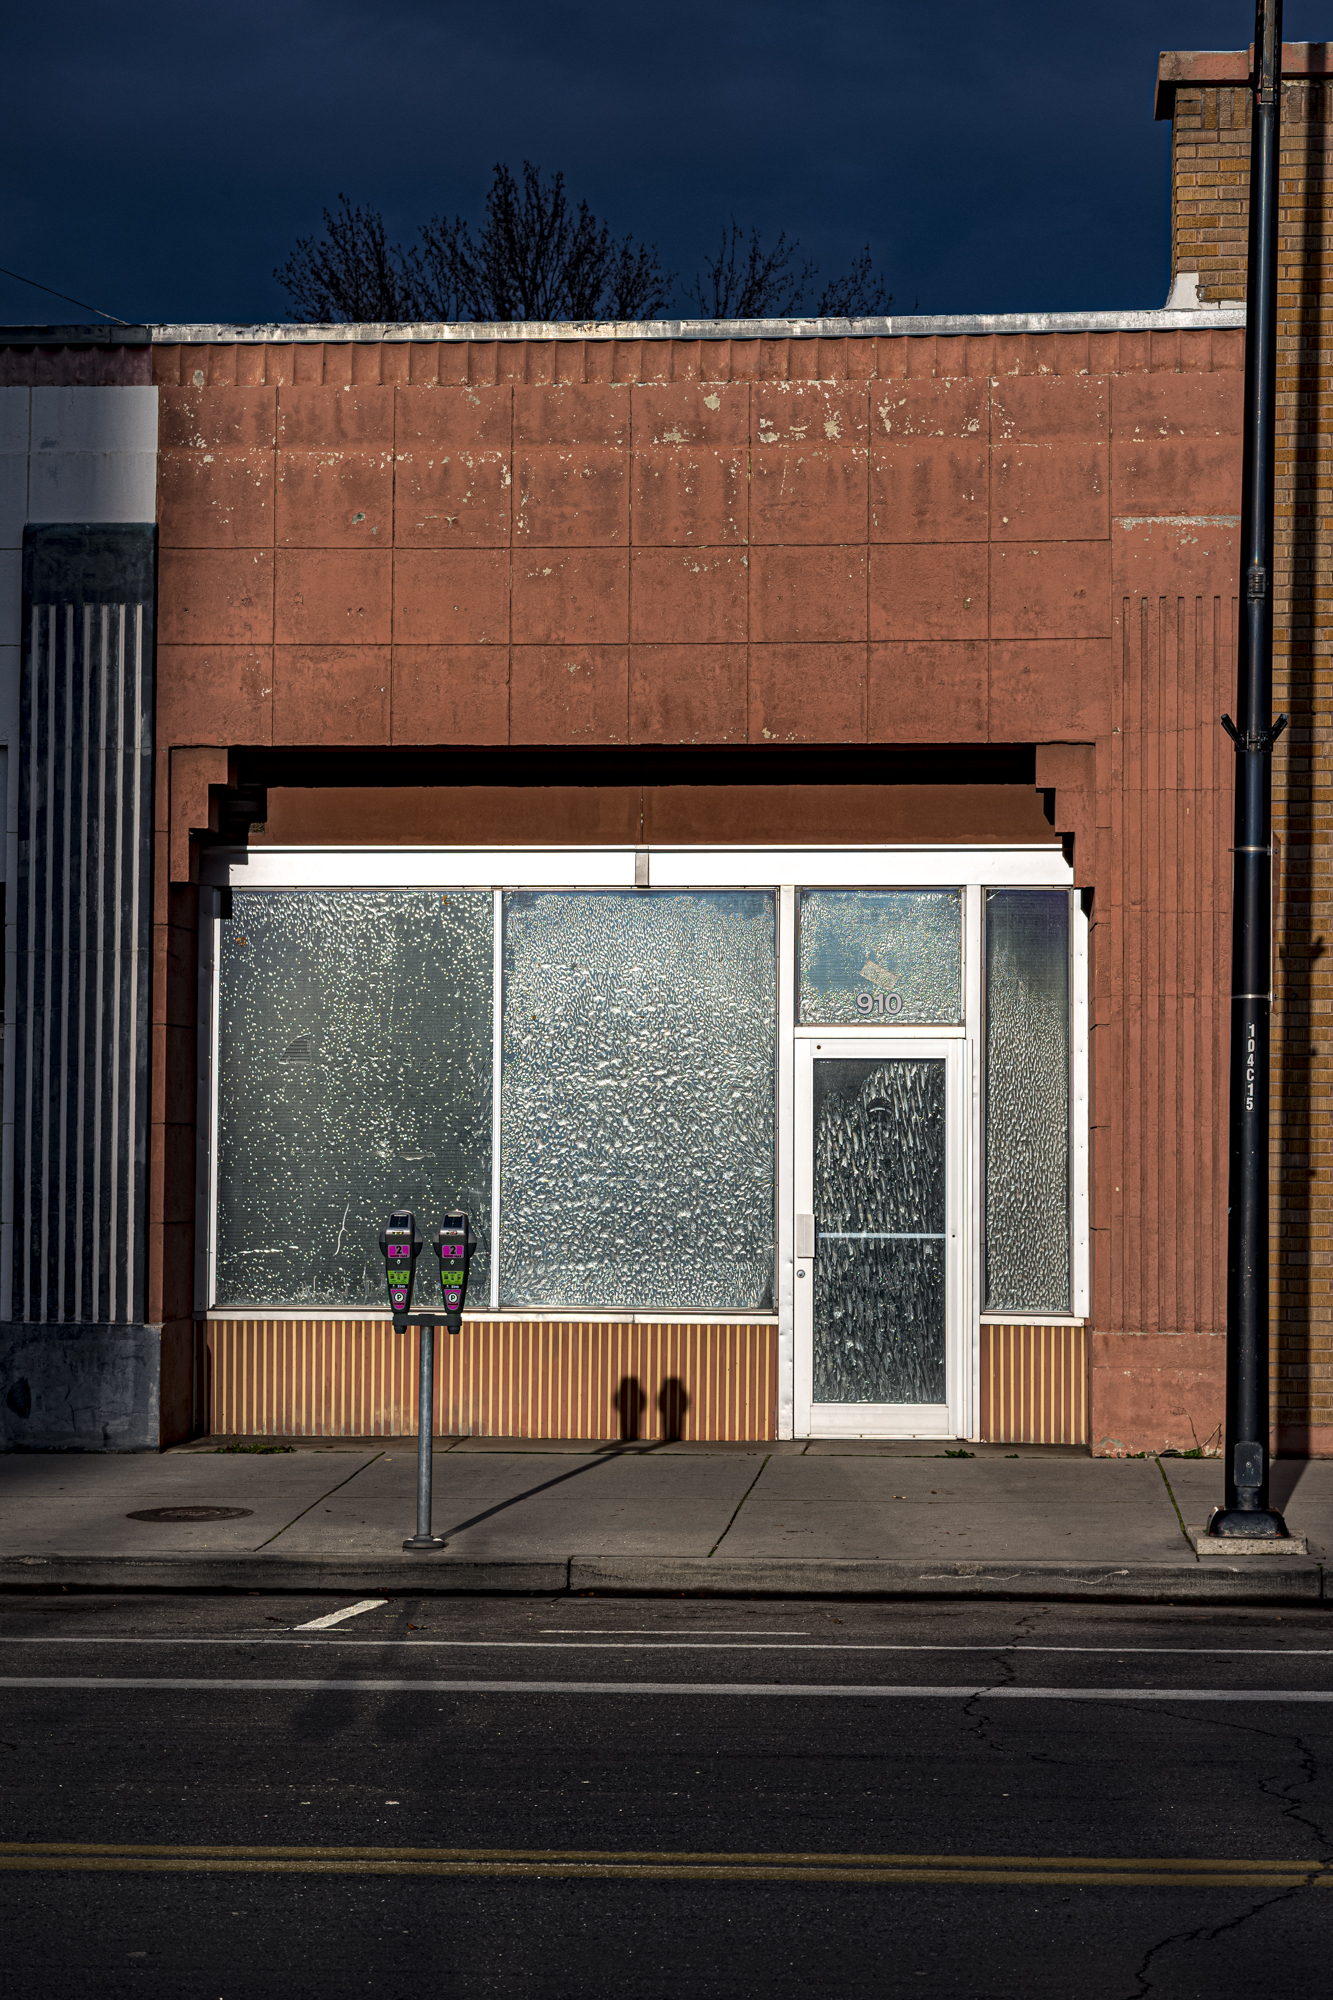
Leica M10, 75mm Voigtländer Ultron at f/5.6. SOOC.
As much fun as it gets.
For an index of all Leica-related articles click here.
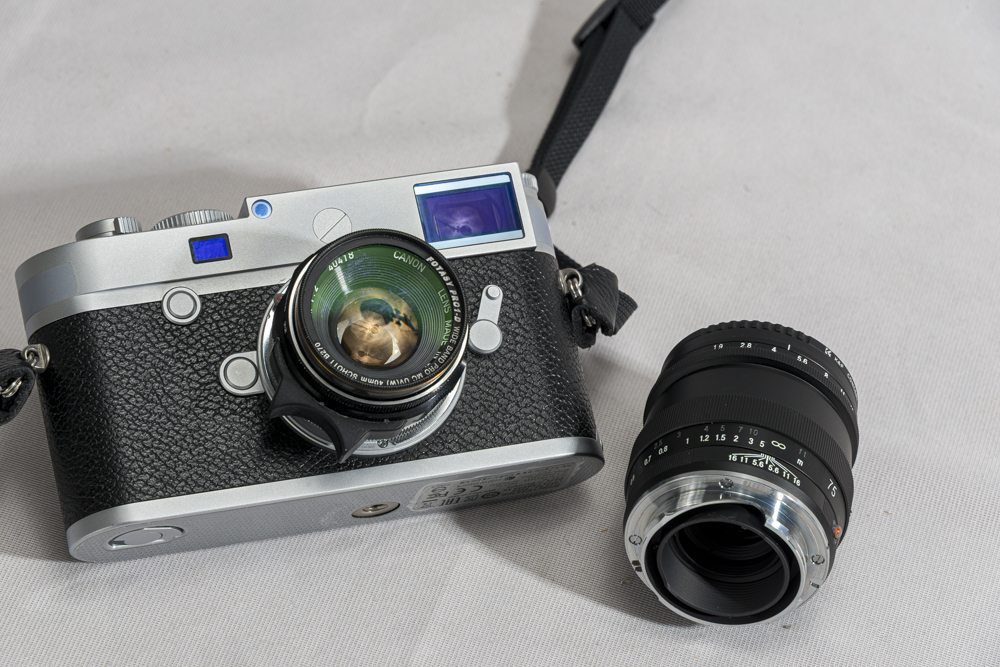
When I bought my first Leica M3 in 1971 it was about as fast a street snapper as there was. Later autofocus, anti-shake and auto exposure were added to more modern cameras by the great Japanese camera makers and the Leica went from hero to zero when it came to operational speed. Only the stealth factor remained, something I always believed was enhanced by the amateur looking silver finish. For some reason that attracts less attention than the black favored by most camera makers today.
And speaking of stealth, no-one needs the stock red ‘Leica’ dot which screams ‘Steal me now’, so here it has been replaced with a faux silver ‘screw’ – you know, the one Leica charges $1000 more for on the M10-P. ‘P’ for ‘Professional’, you understand.
Yet the M body, now in digital form and, with the M10 and M11, finally identical in size to the film bodies of old, remains a favored street snapper. With the 35mm lens, stopped down a bit, zone focusing is as close as you get to fast autofocus, the shutter is quiet and the whole package is small and unobtrusive. With the 75mm lens, when detail is sought, a more contemplative approach to focusing is called for, especially with the unforgiving nature of the sensors in the M10 and M11. In turn these sensors will ensure you will never use film again. The M10’s sensor is as noise-free at ISO 6400 as Kodak Ektar film is at ISO 100, which is 6 stops faster. As for color rendering, the magicians at Leica have seen to it that colors are rendered every bit as well as that fine Kodak film delivers, but without dust, scratches and interminable processing delays. And film is not film any more. It’s all digitally scanned. Enough with the ‘film look’, already.
For street use I set the aperture priority exposure measurement to Auto and the film speed selector likewise, limiting the slowest shutter speed to 1/4f where ‘f’ is the focal length of the lens. That pretty much ensures an absence of movement blur, even when pixel peeping. Both lenses are 6-bit coded (by me!) which ensures that the correct focal length is communicated to the body, allowing proper determination of that 1/4f factor.
You can read more about the 35mm Canon LTM here with the 75mm Ultron profiled here.
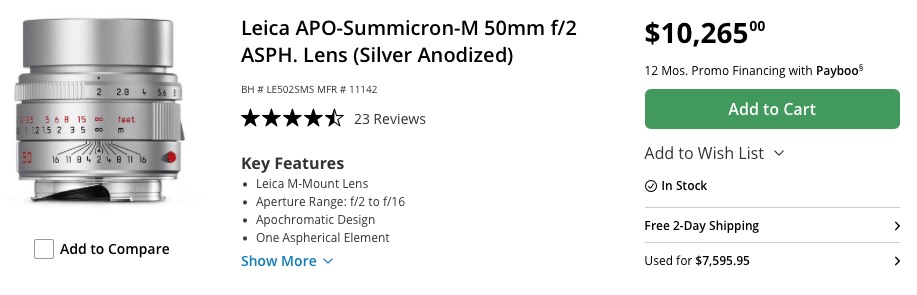
Don’t for one moment think that there is any concept of value with a modern digital Leica M. Even a beater M10 will set you back over $4,000 and only the truly insane – or insanely wealthy – spend the $3,000 and up demanded for a used current Leica lens. The ancient Canon LTM and Leica lenses I use, over 50 years old, and the modern sensor in the Leica body makes these optics sing. Simply stated, those old lenses are better than ever. And Voigtländer fills in the gaps with its modern Leica clones at 21 and 75mm.
Sure, you can take street snaps with any number of modern, inexpensive digital cameras for a fraction of the cost of that digital M body. So why use the modern Leica? Well, nothing feels quite so perfect in the hand or so satisfies with its fit and finish. The optical finder – which shows details outside the frame – is a sheer delight, now made even better with LED illumination of the finder frames and with a higher eye point for the eyeglass wearer (me!) than the finders found in the film bodies. Further, my history with the Leica M goes back over 50 years and its use is second nature to me. So there are elements of familiarity and nostalgia in my choice. The only thing I had to unlearn when moving from the M3 to the M10 is film winding. There is no film winding lever and, strangely, I rather miss it.
The M10 remains my favorite street snapper and while the M11’s 60mp sensor is tempting, I don’t need that sort of pixel density. Plus I would rather stay solvent. The 24mp sensor in the M10 delivers perfect, noise free prints at 13″x19″ at pretty much any ISO setting, and if you want to print larger the viewer will be forced to step back to take it all in. So if it’s perfect at 13″x19″, it’s perfect at any size you want.
* There’s One Born Every Minute.
Here is a handful of recent street snaps, all taken with the M10 and the 35mm f/2 Canon LTM: