Using Snow Leopard.
Why soft proof?
I have mentioned this before but it bears repeating. Soft proofing – meaning previewing on your display what a print will look like with the paper profile of your choice – is easy with Snow Leopard and Lightroom. If you want to get an accurate preview of how your print will look without wasting printing paper and time, you need to soft proof. (Click here for the earlier OS Tiger version of this piece.)
Even outstanding technical writers like Martin Evening (in his LR3 book) say that you cannot soft proof when using Lightroom! Others would have you generate a print file and then open it in Photoshop for soft proofing. Yet others want to sell you a Lightroom plugin for soft proofing.
Well, read on for Dr. P’s free version.
Monitor profiling:
What follows presumes you have a well profiled display in the first place. I recommend the Eye One colorimeter, but be warned the software with which it currently ships will not run with Mac OS X Lion, shortly to replace Snow Leopard. If your display is not profiled you are wasting your time. I profile my three displays monthly – they all drift over time and as most display screens are made by LG, Sony or Samsung, chances are your display drifts too regardless of the label on its case. I address a workaround to allow you to continue using xrite’s dated software once OS Lion comes along here.
You want to profile your display in much the same ambient light as you will be viewing your print, and colorimeters like the Eye One allow you to measure ambient light. The reason is simple. If you profile your display in daylight then view the print in incandescent light, your viewing light temperature (much yellower) is dramatically different from your profiling light temperature (much bluer). You are not comparing like with like.
Don’t believe me.
Take a print and walk around your home with it – from a bright room illuminated by daylight to one illuminated by incandescent light. The changes in perceived color are anything but subtle. The light you profile by is especially important for the accurate rendition of skin tones of loved ones, where visual memory is most acute. (Sort of like judging a sound system – listen to opera or lieder, because we know how the voice sounds). If your portrait is to be viewed by incandescent light then your display should be profiled in like lighting if soft proofing is going to make any sense. Professional proofing stations recognize this by providing a temperature controlled light source.
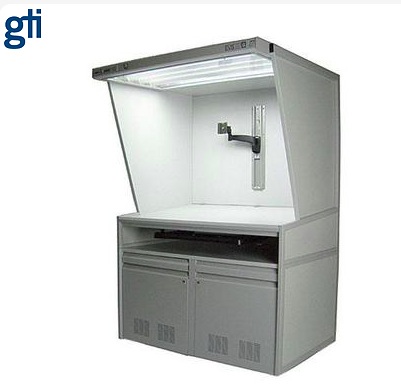
The GTI EVS-1SP – 29 x 52″ – Graphiclite D5000 Viewing System
– for when your ship comes in. $6,000 from your friendly dealer.
Very large devices like this will house two monitors and your print!
Using Lightroom:
In the Print module of Lightroom (I’m using Lightroom 3 in what follows), make sure that in the Print Job->Color Management pane, Lightroom is NOT set to ‘Managed by Printer’. You want Lightroom to take care of color management, meaning it will pass the print job through your paper profile of choice before you spool the job out to your printer.
To confirm you have done this right, click ‘Print’ in Lightroom’s print module, then click Color Options in the lower drop down menu and you should see the following:
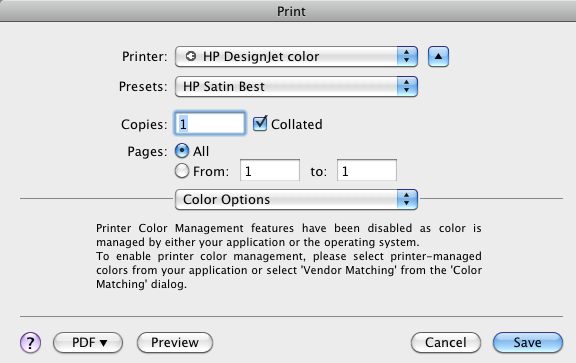
Color Options in Lightroom.
Select the appropriate paper profile in Lightroom:

Lightroom is set to take care of color management duties.
The profile for the paper of choice has been selected, above.
Using Apple’s Preview:
After selecting the paper profile for your paper of choice as shown above, click on ‘Preview’:
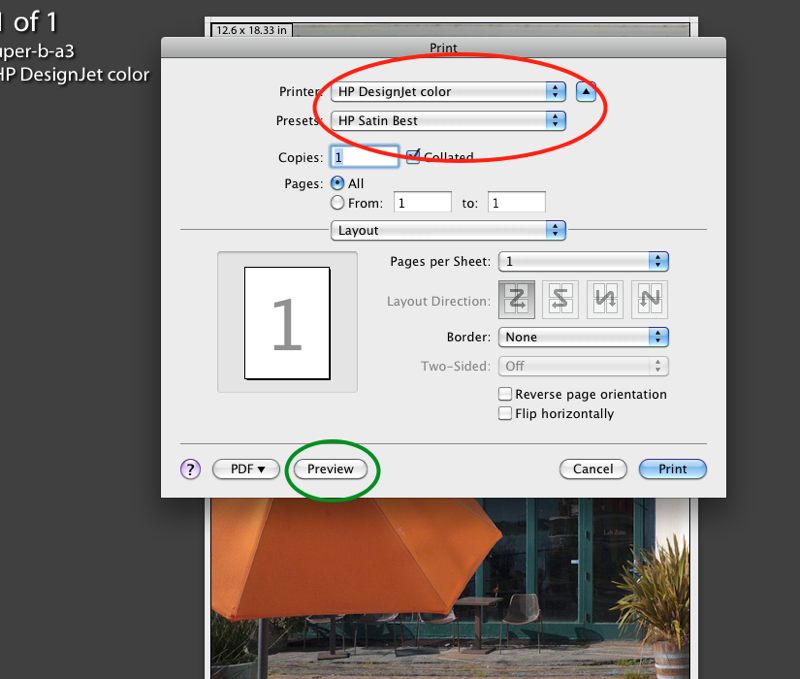
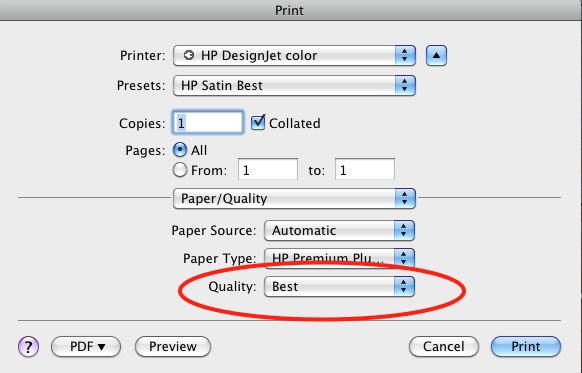
Printer and quality selected in red circled boxes.
Preview button clicked next in the green circled box.
After clicking on ‘Preview’, your Mac will open the Preview application, displaying your print file.
Click on ‘View->Soft Proof with Profile’ and then mouse or arrow down to your paper profile – the one you chose in LR3 will be highlighted. Click on it and you are seeing a preview of your print with the profile of choice applied.
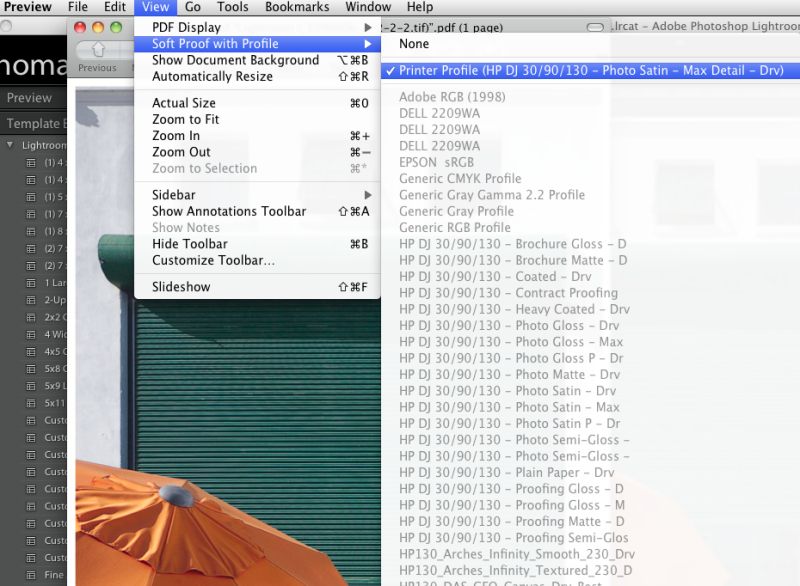
Paper profile selected in Preview.
Apple mentions this Preview capability in passing on its web site.
From Apple’s web site.
If you do not like the colors, go back into Lightroom, reprocess and try again. Otherwise click ‘Print’ and you are done.
The effect of paper profiles:
In the following screen snap I have illustrated how paper profiles clearly affect Print Preview – the left is with HP Premium Plus Satin, the right with Arches Infinity which is far ‘warmer’; the difference is clearly visible on my Dell 2209WA display:
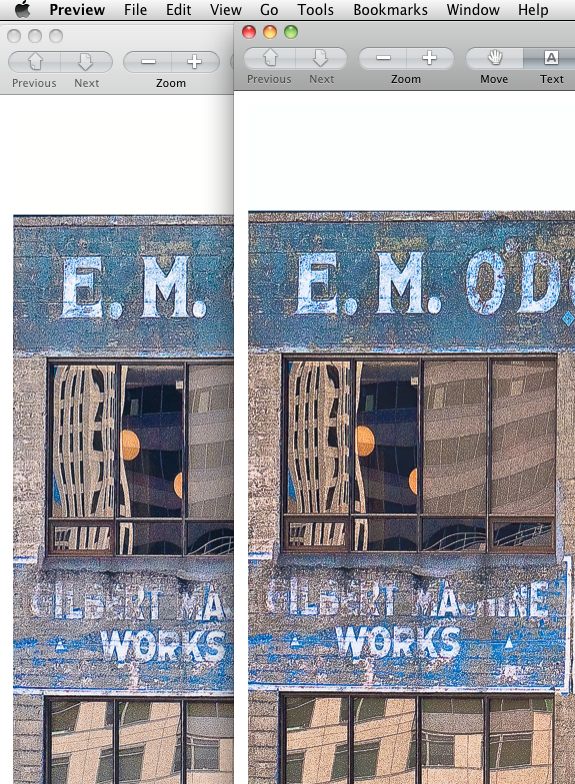
The effect of different paper profiles in Preview.
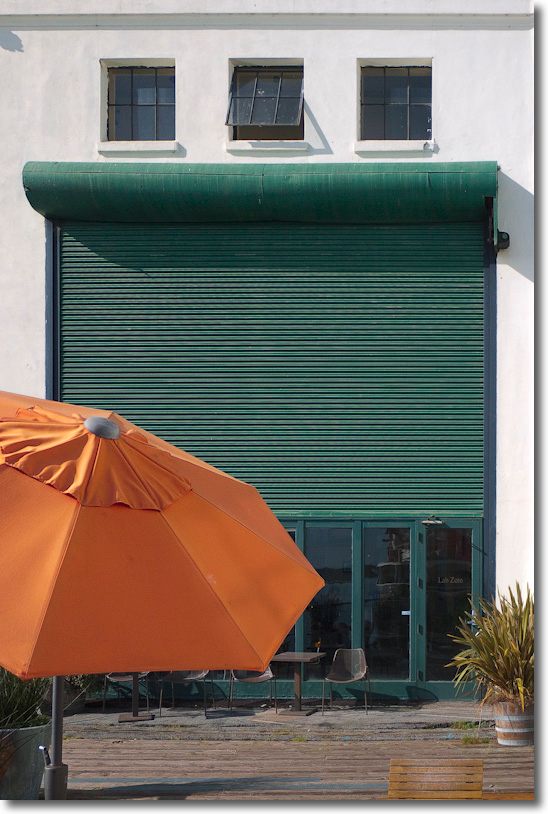
Orange umbrella. G1, kit lens.
By using soft proofing I was able to get the the colors I wanted
in the print without wasting printing time and paper.
Hopefully, one day Adobe will add the soft proofing capability to Lightroom so that soft proofs can be viewed from within Lightroom, but it’s not like it’s a big deal to do this using Preview.
Note for HP DesignJet 30/90/130 users:
The HP DJ 30/90/130 printers have an internal colorimeter which will generate a profile for any paper of your choice, storing that profile in the printer’s ROM. While many of the DJ’s functions can be activated with front panel pushbutton sequences, color profile generation cannot. You must run the HP DesignJet Maintenance Utility which, for reasons only know to some twit at HP, resides on HP’s servers and cannot be run locally from your computer. To make matters worse, you cannot run this Utility using OS Snow Leopard or Lion. To generate the profile you must insert a letter sized piece of the paper of your choice, run OS Leopard or prior, make sure you have an internet connection, pray that HP’s servers are not down, load their System Maintenance Utility, and the profile will be generated and stored by the printer. You can confirm generation of the paper profile by running the Information Pages from the printer and looking for this:
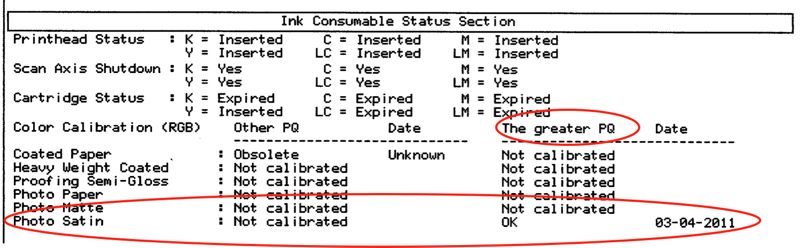
HP Satin paper profile generated on March 4, 2011.
The pidgin English reference to ‘The greater PQ’ means the profile you will be using when you select ‘Best’ in this drop down box; ‘Best’ forces the DJ into one directional printing for highest quality, but is slower than ‘Normal’ which uses bi-directional printing. I always use ‘Best’:
I have saved these settings in an LR Preset named ‘HP Satin Best’, as shown above.
If you adopt this paper profiling approach, then to use the profile generated by the DesignJet’s colorimeter you would elect ‘Color managed by Printer’ in the Lightroom Print pane – see the second screenshot in this piece, above. In practice I find no significant difference in colors on the print whether printed using the DJ’s ROM profile or the ‘icc’ profile which resides on my HackPro’s disk drive. However, as the use of icc profiles is not limited to just six papers (which is all the DJ’s ROM has room for) and because you cannot rename the ROM profiles to something other than the names provided by HP, using an on disk profile gives you far more paper choices and makes those easy to select – the names are obvious. Finally, letting the printer manage color takes away the ability to soft proof the image on your display before hitting ‘Print’.
Later HP wide format printers – the ‘Z’ series – are much smarter; they also cost three times as much as a DesignJet. The Z3100, as an example, has an Eye One colorimeter built in! The Z series uses pigment inks as opposed to the dyes use in the 30/90/130 DesignJet. The six printheads used for the twelve inks each cost $70, twice as much as those in the 30/90/130 DesignJets. The Z3100’s colorimeter creates an icc profile for any paper of your choice then stores it on your computer’s hard drive. Neat.
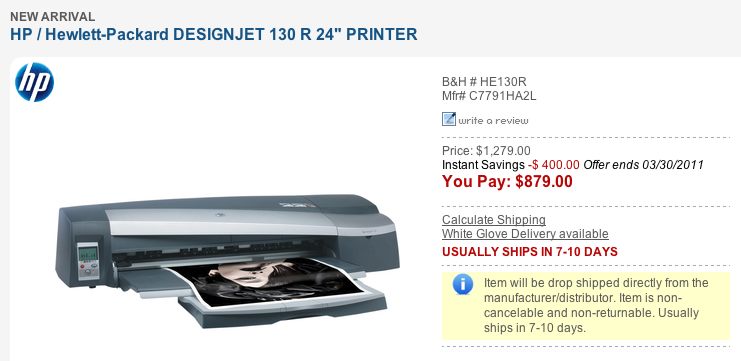
B&H still lists the DesignJet 130R (presumably the ‘R’ indicates inclusion of the roll feed attachment) for a stunning bargain price – there is no cheaper way to get into top quality large printing:
Thanks for the tutorial. It’s great! If you are using an outside vendor for printing, what do you select for Profile under color management?
The better printing vendors will provide you with profiles to use, or will advise you of which paper they use so that you can download the appropriate profile from the paper maker’s site. I address how to use non-HP profiles in this piece.