A brief video guide to scanning film with a DSLR.
For an index of all my Film related articles, click here.
The Lightroom preset includes exposure, contrast and clarity adjustments as well as invoking the Negative Lab Pro converter plugin which changes the negative image to a positive one. I also hit ‘V’ before saving the preset which ensures that the image is converted to black and white, any color casts being removed. Do this on your first ‘scanned’ image and save the preset in the Devlop module, Develop->New Preset->Name your preset. Start the tethering process (Develop module, File->Tethered Capture->Start Tethered Capture) and input the starting number of the first negative.
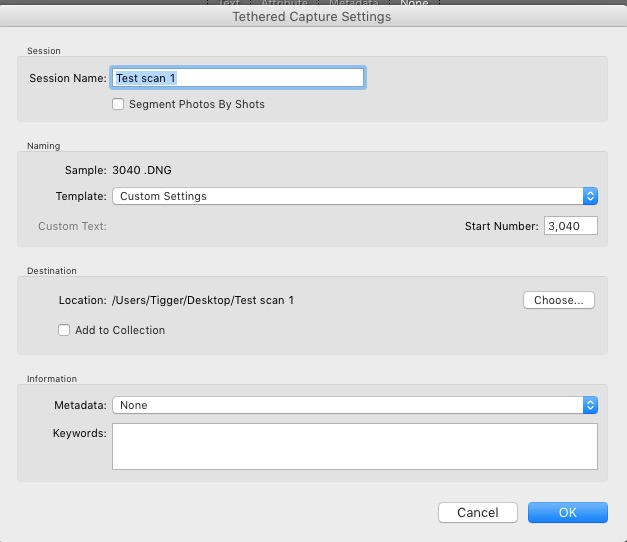
I have input the starting frame number in the tethering dialog. The number for the starting ‘scan’ is identical to that of the negative in my physical film strip binder.
Then tell the tethering panel to use that preset. In the case below the preset is named ‘D800 scan’.

The preset is enabled in the tethering panel.
Now when you ‘scan’ the negative the file will be correctly numbered when sent to LR and will have your exposure adjustments and negative-to-positive conversion automated.
Links for equipment used can be found in earlier articles.