Problem resolved?
For an index of all Leica-related articles click here.
In Part III I made mention of the poor experience I had with FOTOS. I don’t care to download images from the camera to my iPhone but I do want GPS data for search and retrieval in Lightroom Classic. FOTOS did not work properly, recording incorrect times and constantly disconnecting from the camera.
Overnight Apple applied yet another of its endless iOS ‘upgrades’, meaning yet another fix for one of the most porous operating systems yet devised. I’m now on 26.3.1. And you thought Windows was bad? I think that makes four upgrades this year. It’s time critics ceased praising Apple for its apparent diligence and started damning it for making a lousy OS in the first place.
Anyway, with the new OS in the iPhone and the FOTOS app updated with the latest version in the App Store I restarted the connection with the camera and took phone and camera for a walk. The iPhone is set to 5gHz wi-fi.
In the setting screen below (Page 5 in the screen system) I had the Wi-Fi Sleep Mode set to ‘Never’ thinking that sleep might mean yet another 30 second wait when the camera was again operated. The result was that the battery was completely depleted in 80 minutes! However, there were no unprompted disconnections, the rectangular LED at the lower left corner of the LCD display blinking a bright blue throughout. (It’s so bright it washes out in the picture below):

FOTOS up and running, switched to ‘After 5 minutes’.
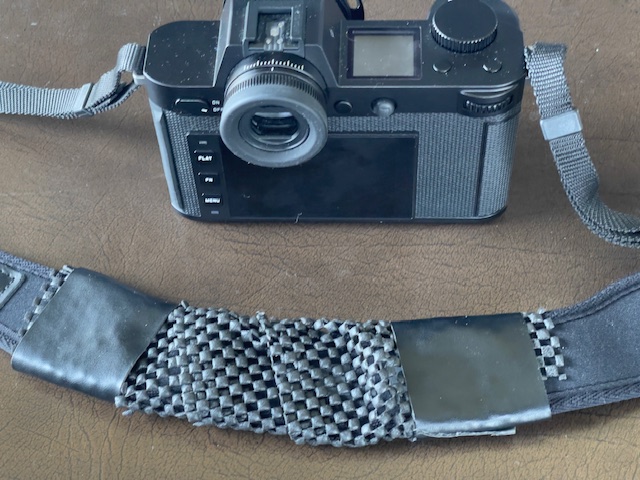
So I switched the Wi-Fi timeout to ‘5 minutes’ to determine the effect on battery life. In the event, after a 5 minute pause, the blue LED continues blinking and placing an eye to the EVF sees the camera wake instantly. So the ‘5 minute’ setting makes sense when the goal is to preserve battery life. After a further 80 minutes with a fresh battery the battery was just 25% depleted. Now this is not quite a fair comparison as I was not taking pictures during that period, but I would estimate that a battery life of 2-3 hours using a 5 minute wi-fi timeout is a reasonable expectation. Nonetheless this cheap and capable backup is recommended, and you will need to re-pair the camera and FOTOS after changing batteries. It’s hard to understand what benefit the ‘Never’ setting confers and the Instruction Manual sheds no light on the issue.
It does not matter whether the iPhone is on or off. FOTOS continues to run in background mode, as long as the camera is left On. I noticed a slight increase in the temperature of the camera body – I measure a maximum increase on the baseplate at 19F after 80 minutes when the ambient temperature was 73F.. No big deal, but clearly something in there – presumably the wi-fi chip – is working hard.
So – for now – it appears that FOTOS is working correctly, until the next iOS change, I suppose. The SL2-S is on the latest OS, version 6.2.0 released in early 2025. Whether the issue was attributable to a dated FOTOS app or to a dated iOS I have no idea as I updated both without interim testing. Not great diagnostic practice, I admit, but I was dreaming of ‘It Just Works’. Remember that Apple slogan?
Correct location mapping in LRC’s Map module.
Update 3/10/26:
After one happy day with a stable connection I cannot reestablish that desirable state of affairs. Simply stated FOTO’s pairing with the iPhone is a disaster. Huge time sink. I’m moving on, forgetting this ‘feature’.
A second update 3/10/26:
I refuse to let this thing beat me, and may have come up with a fix. In an effort to defeat the constant disconnection issue I went to Menu->Page 6->Camera Settings->Power Saving->Auto Power Off and changed the default of ‘2 min’ to ‘5 min’. So far I have been up and running with the blue diode flashing merrily away for 60 minutes, which has to be a record …. The FOTOS app persists in telling me “Camera is not connected” despite what appears to be a good connection. What a mess. More as I experiment with this.
Well, that does not work. While the blue diode continues flashing snd the top display indicates wi-fi is on, all the GPS data are frozen at one location. The time stamp is good, though, as I have told the SL2-S not to use time data from the iPhone. Small progress. The next step will be to revert to Menu->Page 5->Leica FOOS->Wi-Fi Sleep Mode->Never. I still have Menu->Page 6->Camera Settings->Power Saving->Auto Power Off set at the factory default of “2 min”.