CPU installation, lens correction profile and tests.
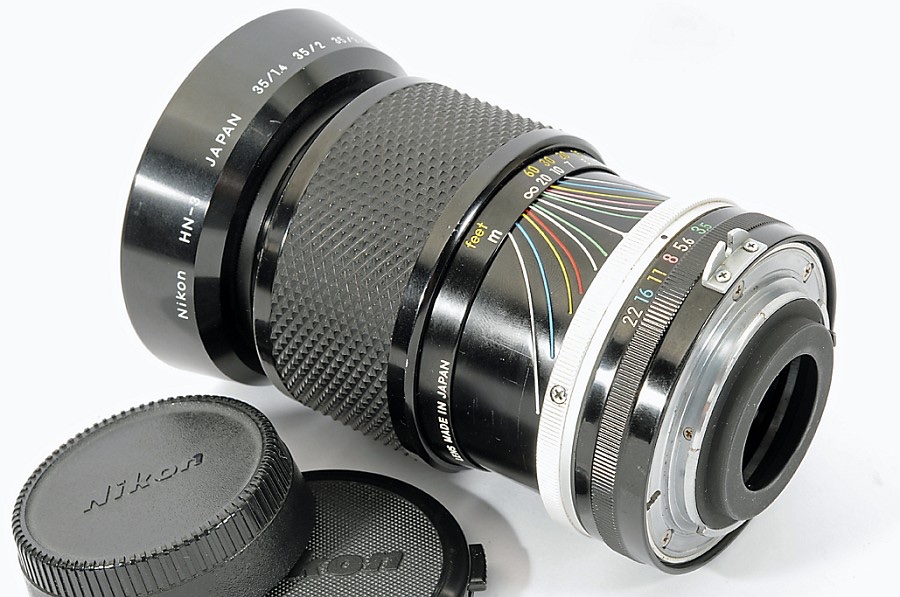
In Part I I looked at the early history of zoom lenses on 35mm film cameras and at the Nikon Zoom 43-86mm f/3.5 optic, noting how the poor reputation for performance of the Mark I design had affected resale values of the improved Mark II version, which we are looking at here.
In this posting I address the installation of a CPU, examine the need for a lens correction profile to fix this optic’s barrel distortion and chromatic aberration, and provide some test images.
CPU installation permits the recording of EXIF data and automatic invocation of the appropriate lens correction profile when images are imported to Lightroom.
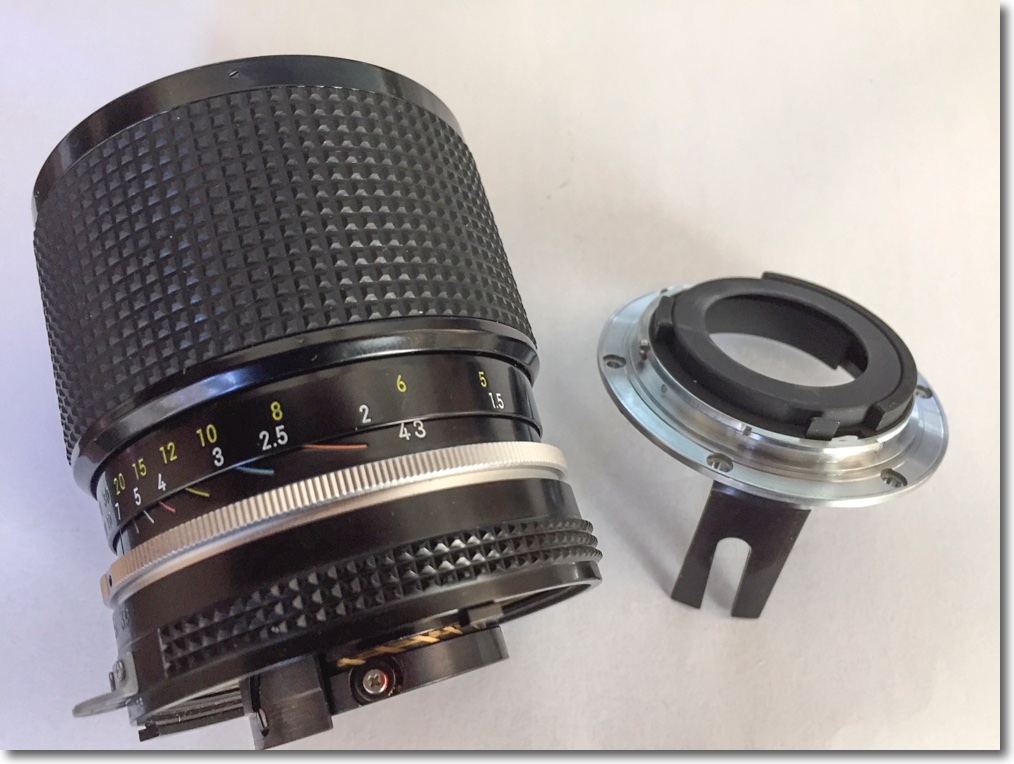
First the lens mount has to be removed, 5 screws. This will disclose shims both above and below the aperture ring. Be careful not to lose these and note how many are above and below the aperture ring.
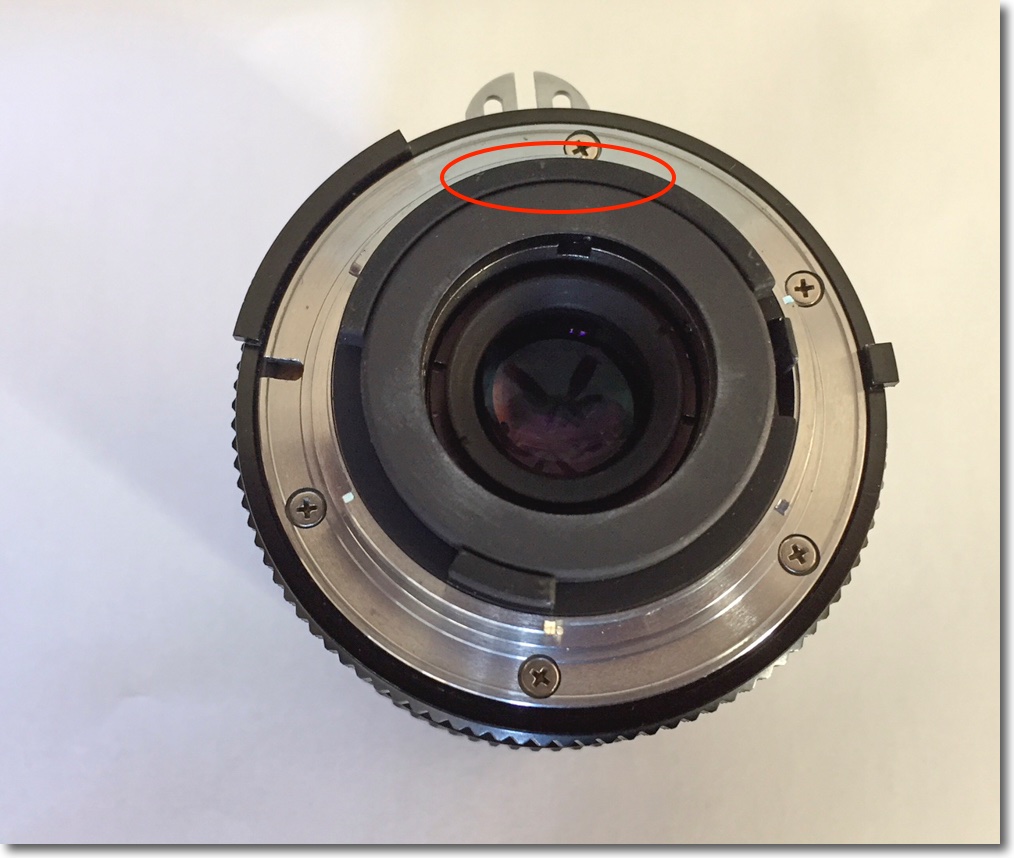
Alloy will have to be removed in the area denoted.
Bayonet mount removed for grinding. Note the relatively fragile claw which mates with the aperture
follower deep in the lens’s barrel. Replace this mount incorrectly and you will lose aperture control.
For this lens, installing a CPU is difficult as a fair amount of alloy has to be removed from the rear of the lens mount to ensure the CPU does not protrude too far and damage the camera’s contacts in the lens throat. There is no easy way to access the area to be machined and while, once removed, the mount can be further dismantled I did not have the tools to do this. If you are not comfortable using hand machine tools you should delegate the work, as it’s not that difficult to mess things up here.
Shims disclosed when the bayonet mount is removed.
Dremel to the rescue. I found a Dremel tool, #7144 in 1/8″ shank at Home Depot for $8. This grinding tool has a very fine pointed diamond encrusted cutting surface and is just what the doctor ordered for grinding away the alloy on the rear of the lens mount to accommodate the CPU.
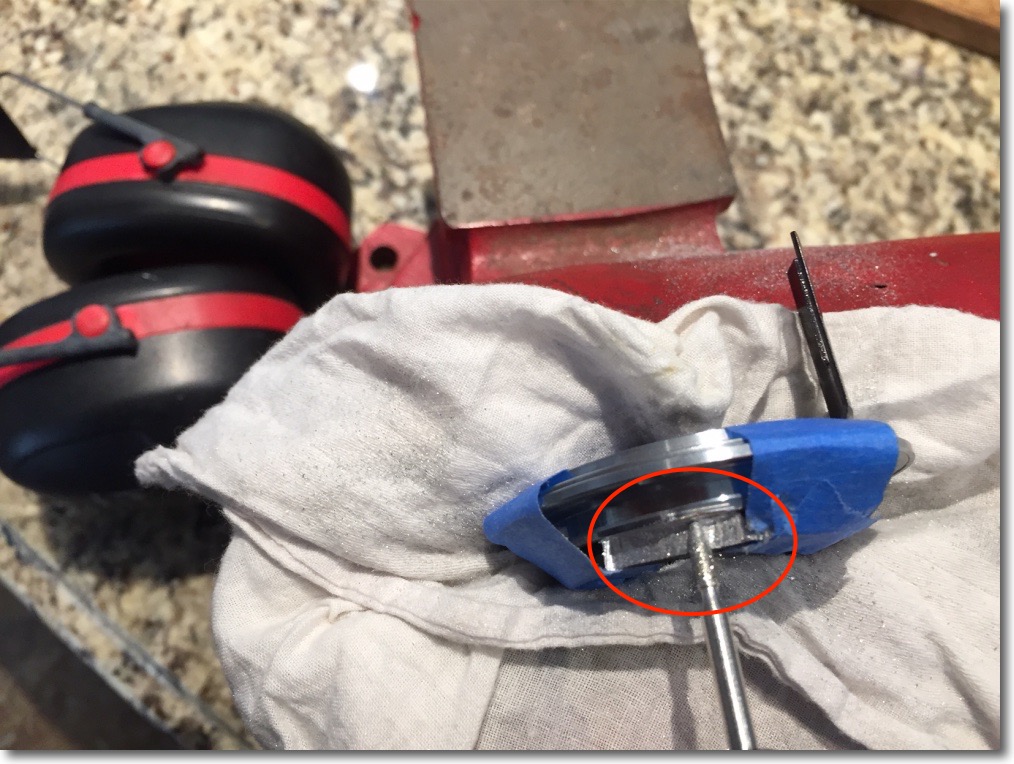
With the lens mount removed – 5 screws – and securely clamped in a vise, the Dremel 7144 tool goes to work.
Note the ear protectors to avoid loss of hearing. Blue masking tape denotes machining limits.
The correct positioning of the CPU is addressed here and is marked beforehand on the mount. The blue masking tape denotes the machining limits. A super smooth surface is not essential as the J&B Weld two part epoxy used to glue the CPU in place will fill in any irregularities. What you do want on a test fitting is a CPU whose electrical contacts are concentric with the lens mount and do not protrude above the extremity of the bayonet mount.
After the requisite 24 hour period to allow the epoxy to cure, excess glue was carefully removed with a sharp knife and miniature Nicholson file and abraded areas touched up with black matte modeler’s paint.
Be sure to align the fragile shims with the screw holes.
Unusually for a Nikkor, the five screws are equally spaced.
There are six holes in the shims, only five accept screws.
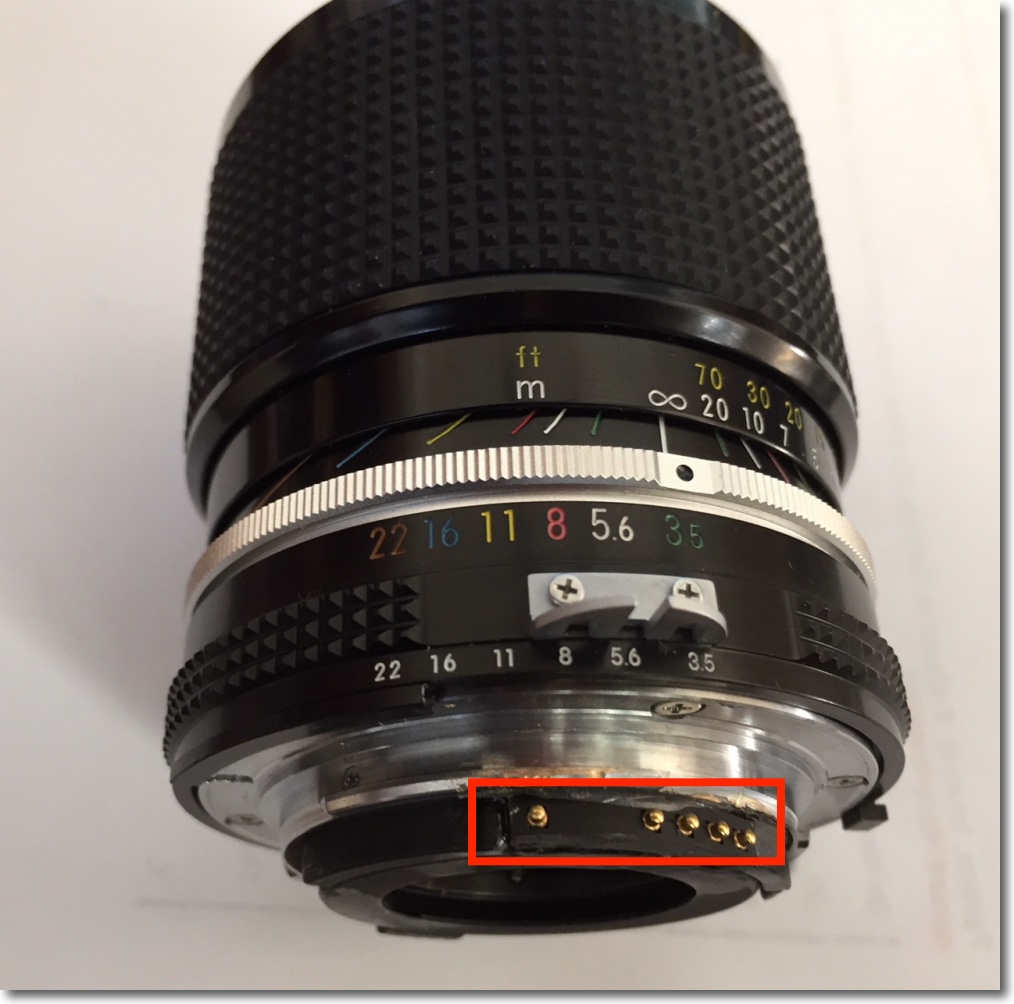
The CPU is installed. About 2 hours of work. If you get any glue on the sprung gold contact pins, the CPU is toast.
The CPU is programmed in the usual way as explained here, conferring maximum and minimum apertures, minimum focal length (I used 42mm as 43mm is not available in the CPU) and transferring aperture control from the camera body to the lens to avoid non-linearity issues as explained in that link.
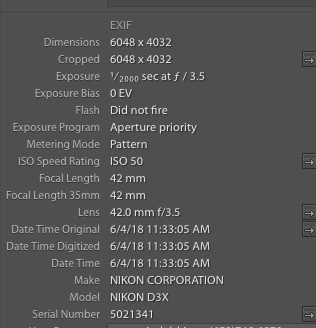
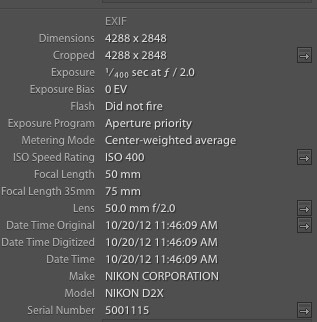
EXIF data correctly reported in Lightroom
after CPU installation.
Lens profile:
Well, this is a surprise. I found that chromatic aberrations and barrel distortion in this lens to be so low that even without a lens profile results are fine.
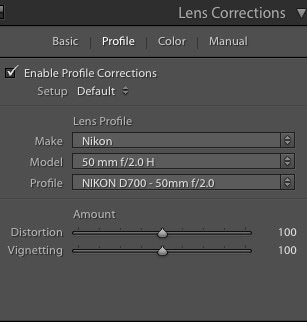
However, I developed a lens correction profile in the usual way and this is automatically invoked in Lightroom if you install a CPU. The CPU’s program data tell LR which lens correction profile to use, something which will be done automatically if your image import dialog checked the lens correction profile when you created it. You can download the profile here. The profile file contains corrections at f/3.5, f/8 and f/16. The closest to the aperture used will be invoked automatically.
Here’s the Develop dialog from LR:
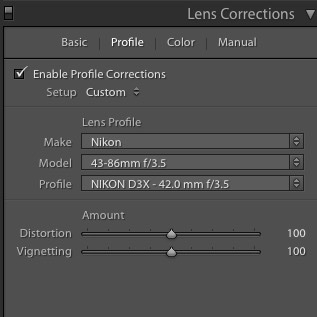
The profile invoked in LR.
While developed using a Nikon D3x, this profile will work fine with any Nikon digital camera, FF or APS-C.
Performance:
I was very pleasantly surprised by the performance of this optic, finding excellent center and extreme edge definition at 43mm and 86mm fully open and even better at f/8 where the lens peaks. Thereafter, it’s just fine all the way down to f/22. It mystifies me what all those years of opprobrium and trash talk directed at this inexpensive lens are all about.
The images below were reproduced without invoking my lens correction profile (see above) and mild chromatic aberration (color fringing) is visible. This completely disappears when the lens correction profile is used.
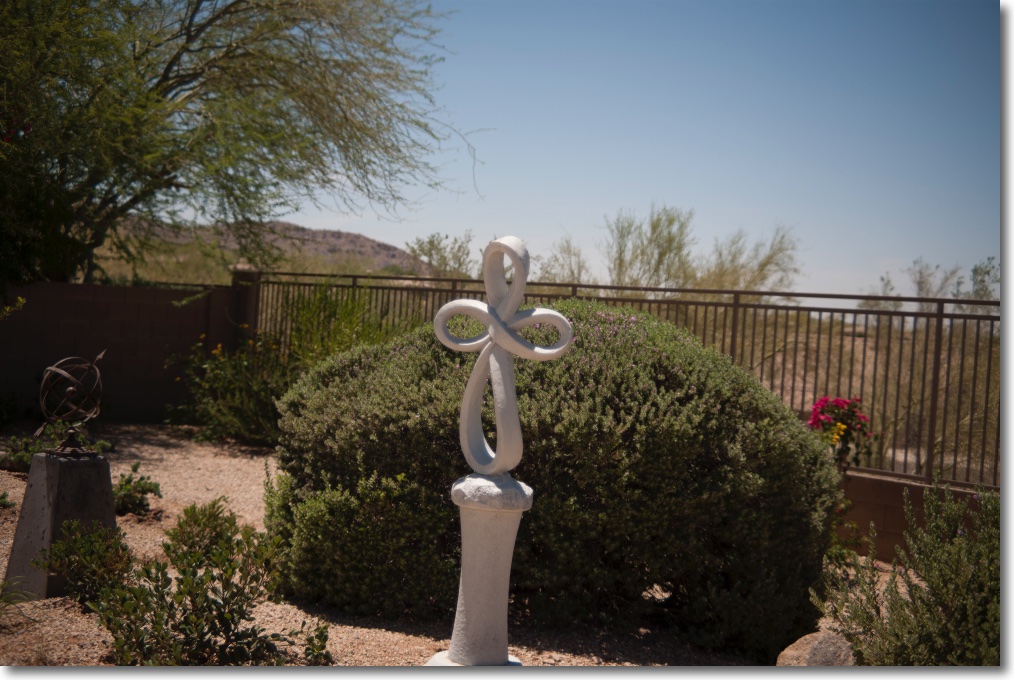
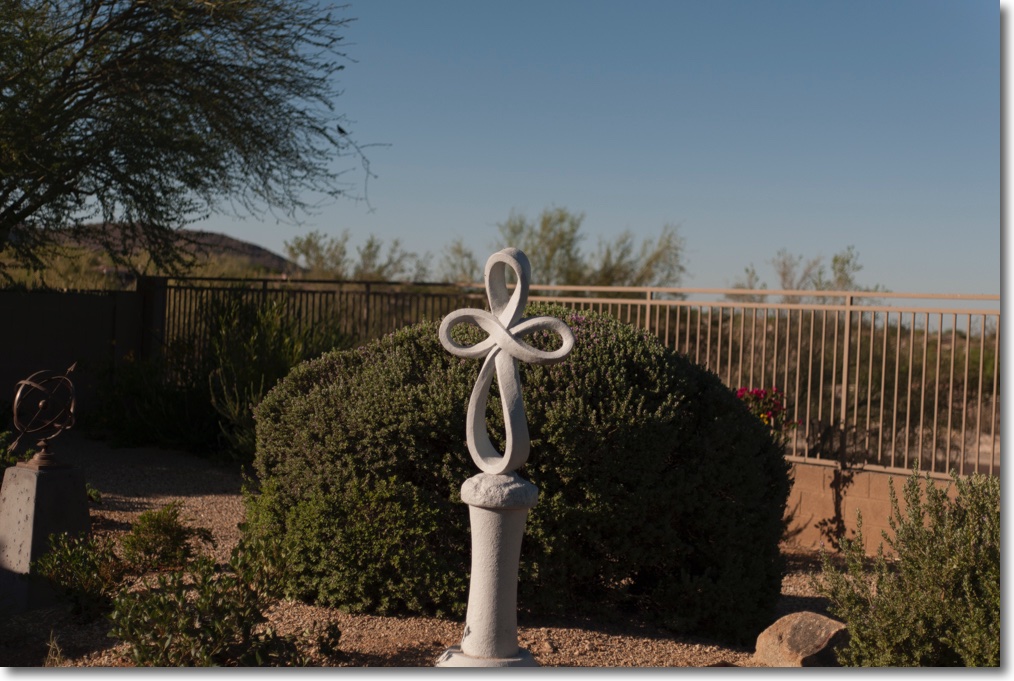
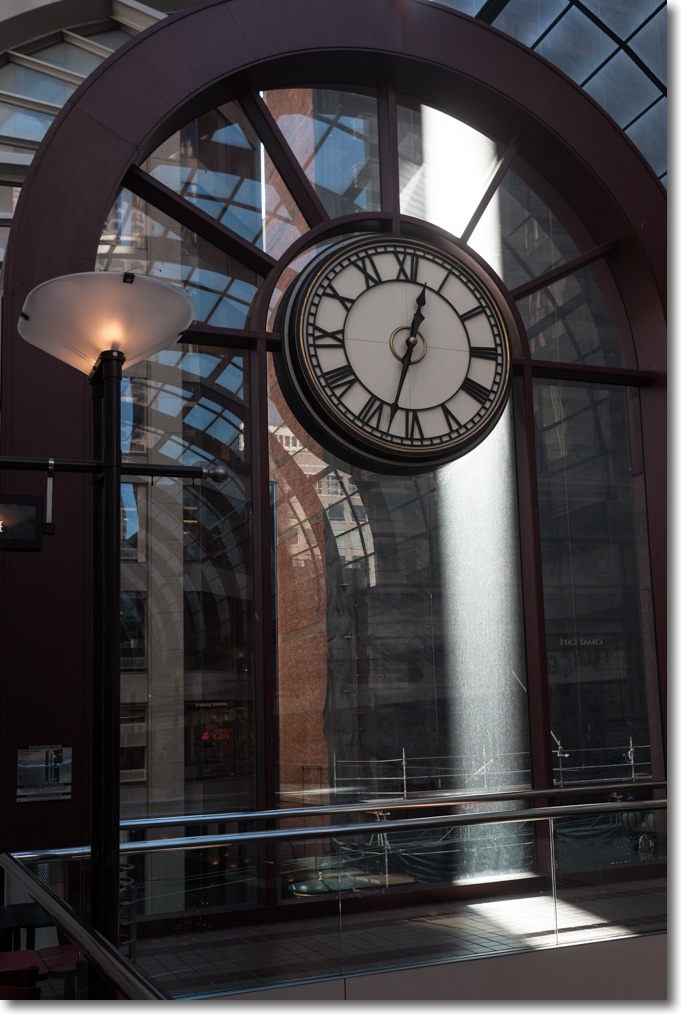
Test scene, Nikon D3x, 43mm full aperture.
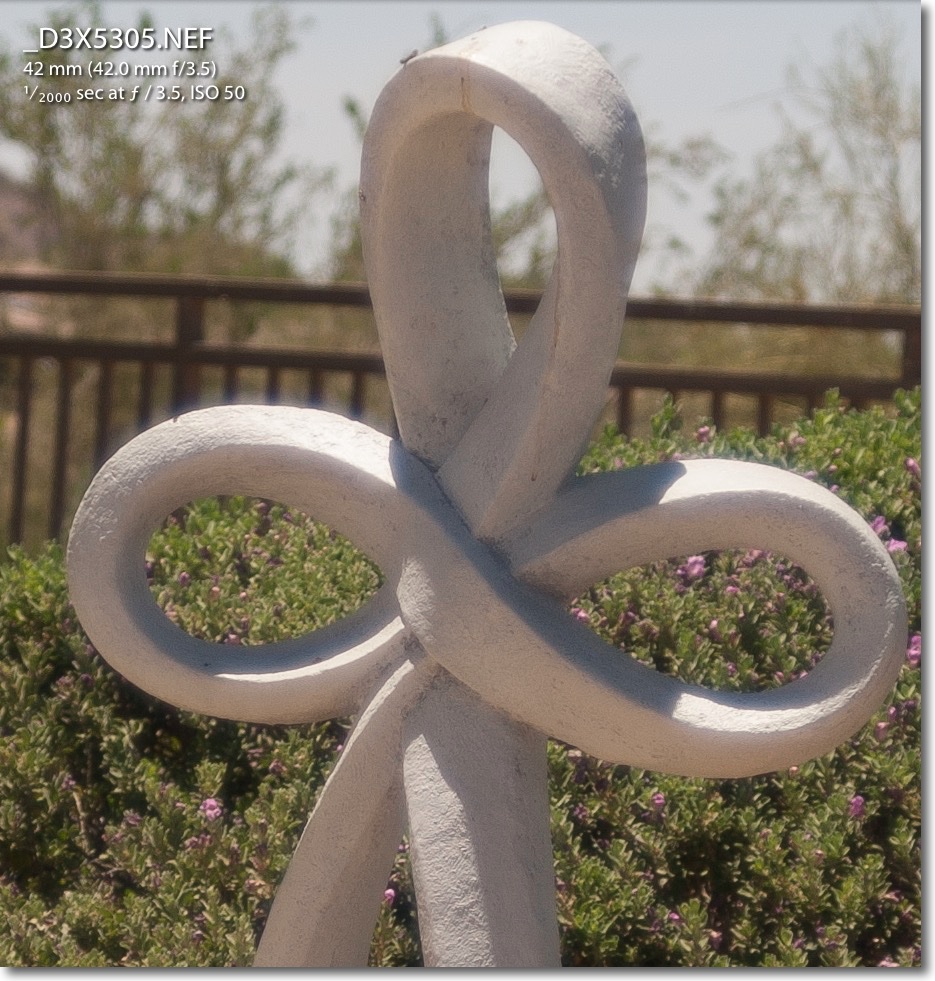
Center definition at f/3.5. 40x enlargement.
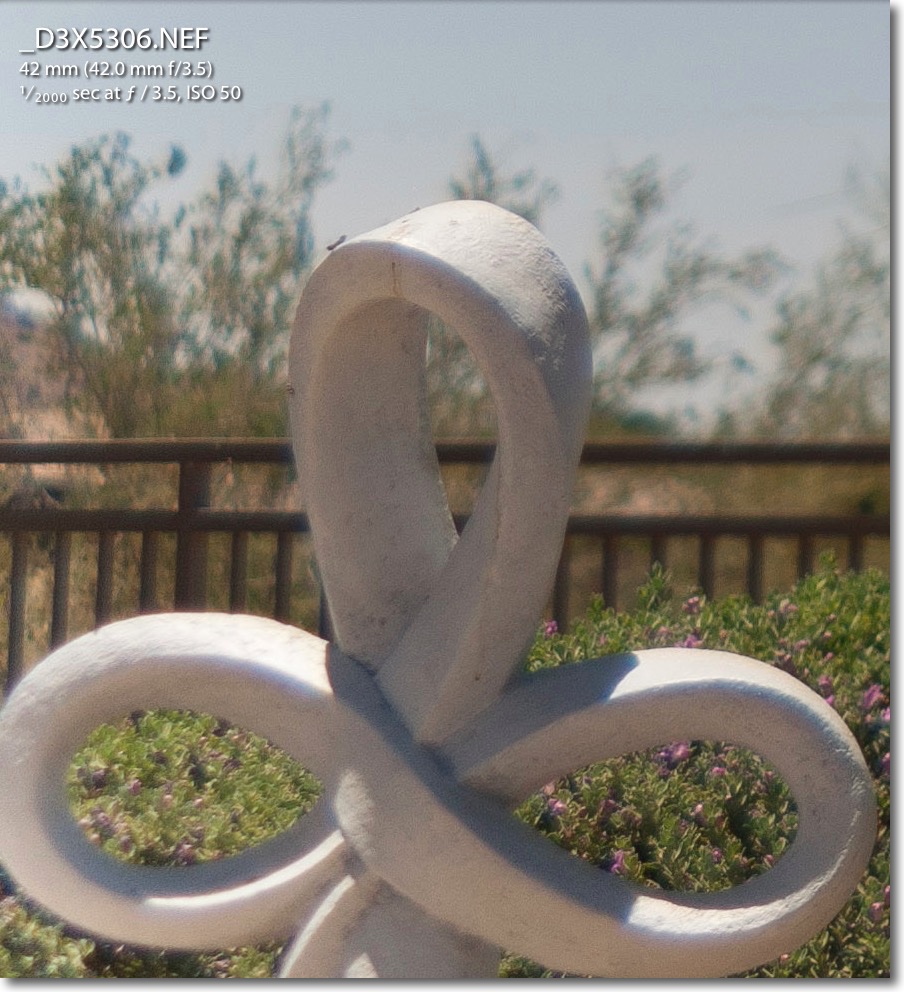
Extreme edge definition at f/3.5. 40x enlargement.

Extreme edge definition at f/8. 40x enlargement.
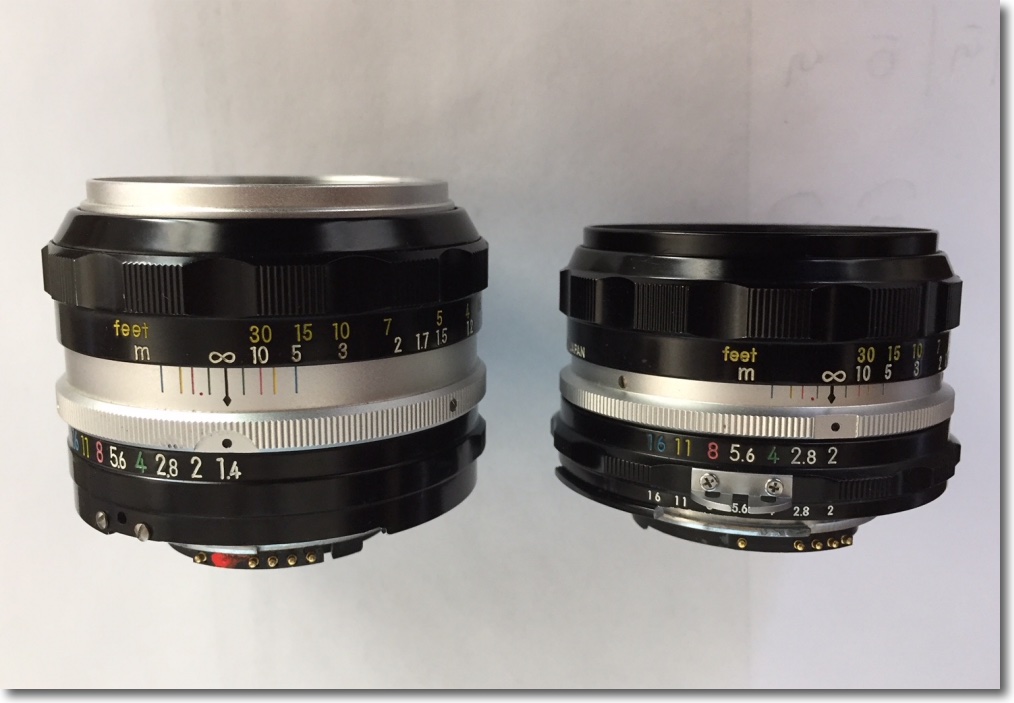
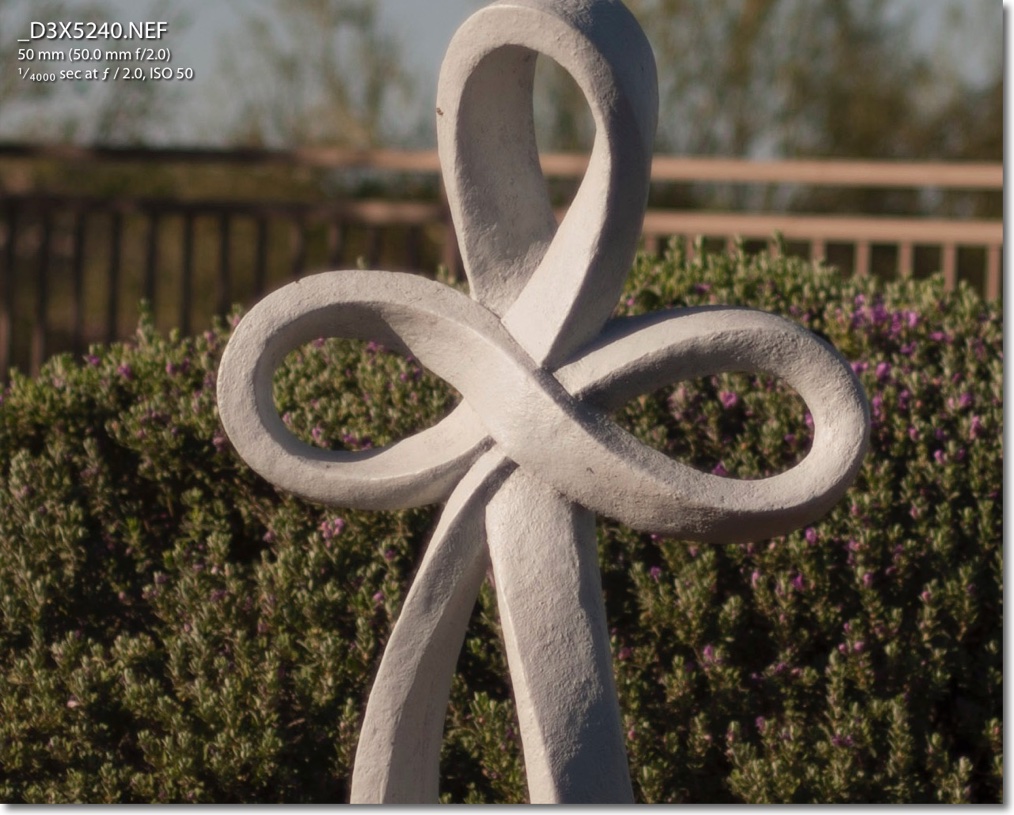
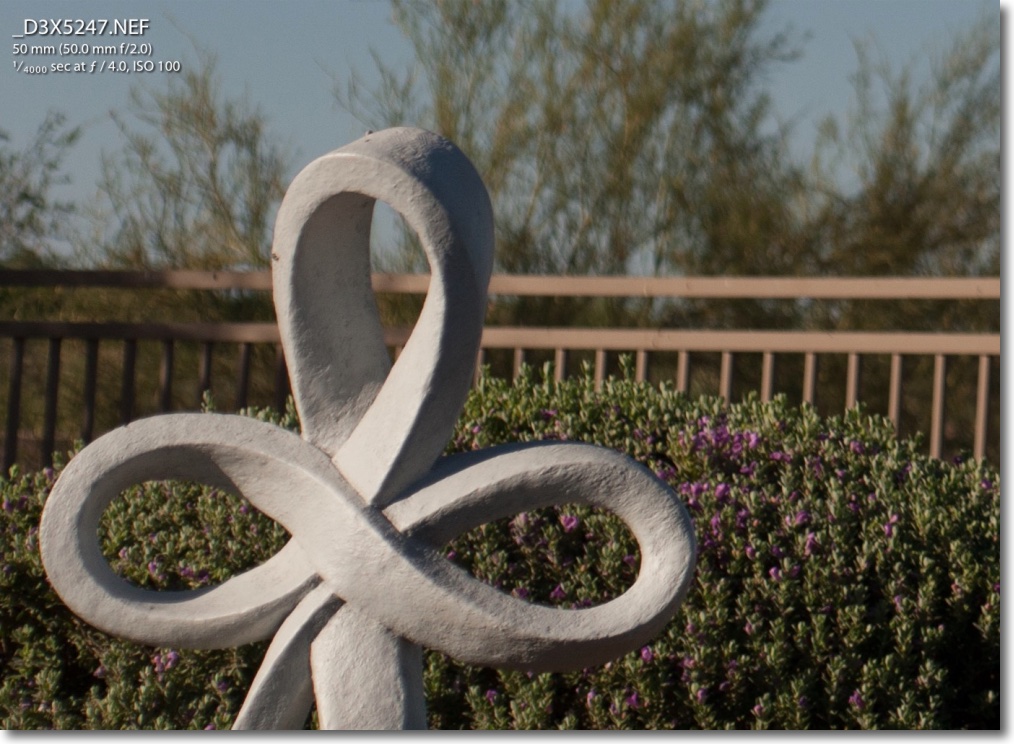
Compare these test images with those from the 50mm f/2 HC Nikkor, one of the best lenses ever made. Impressive, huh? Also note the gentle rendering of out-of-focus areas.
Conclusion:. If you want a mid-range, constant aperture Nikkor push-pull zoom for very little money, snap up the Type II version of the 43-86mm f/3.5. The results are excellent and the ergonomics, fit and finish are unequalled in any zoom lens I have used.
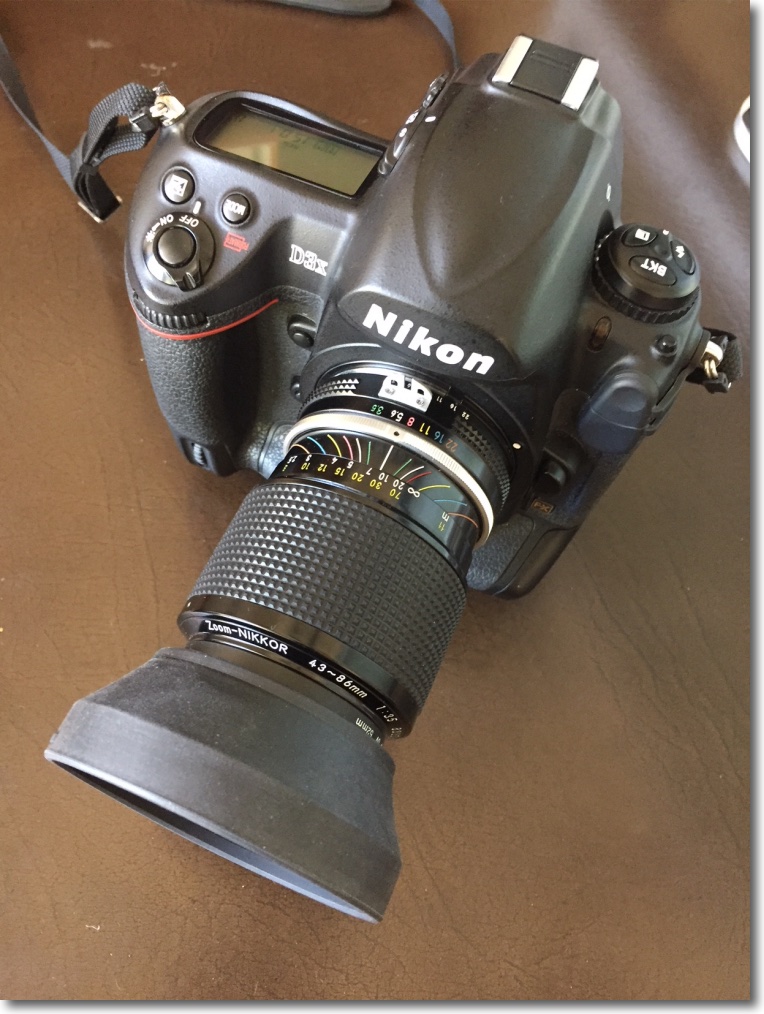
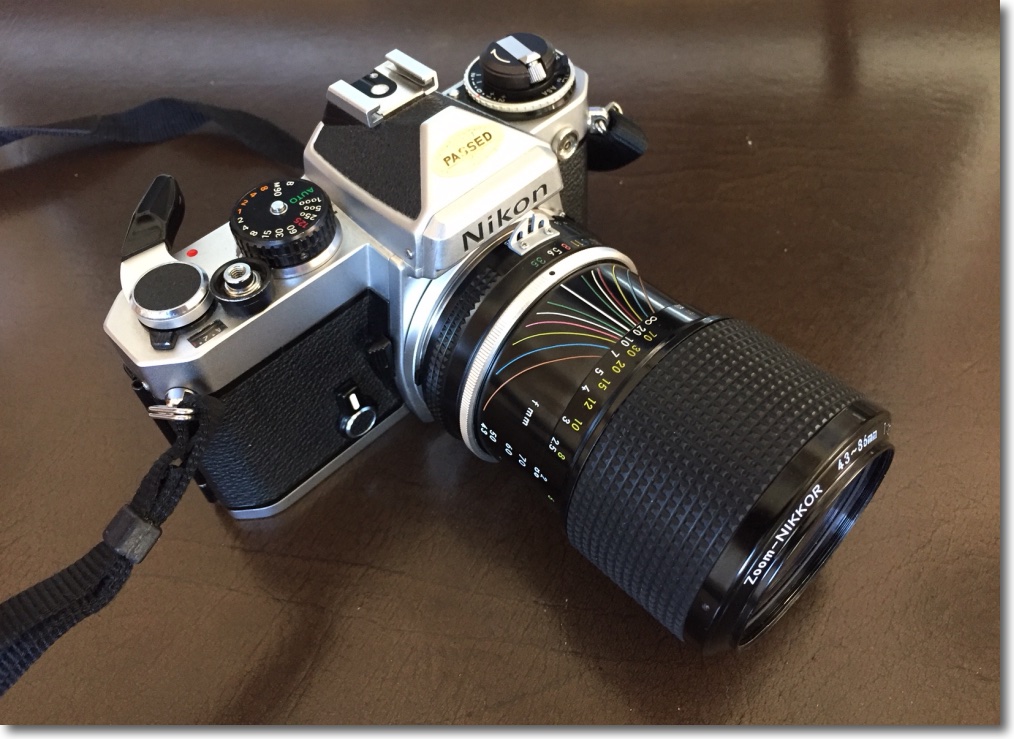
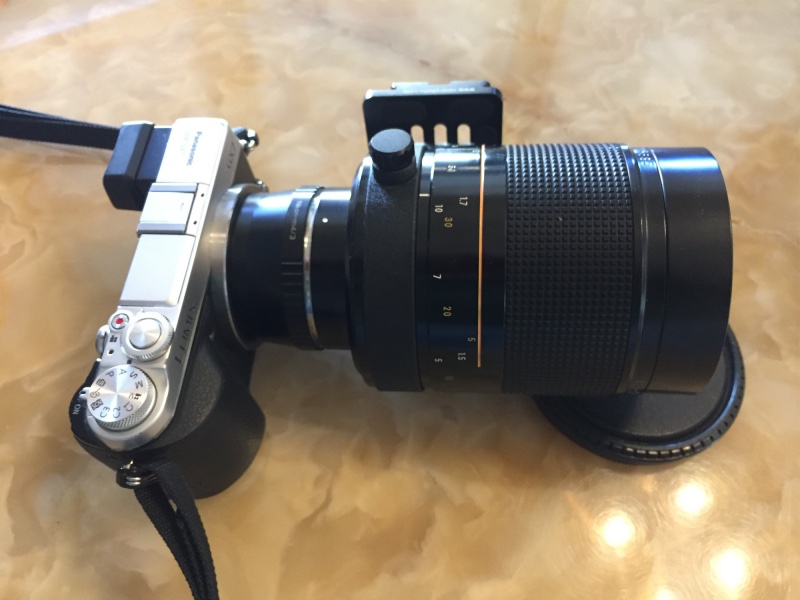
Gear used for the above, including a $6 Amazon Basics UV
filter and a Nikon HR-1 folding rubber lens hood.
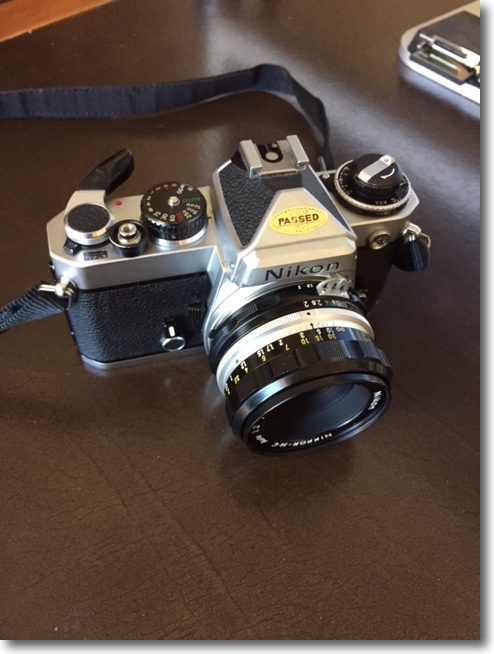
On an APS-C format Nikon, where the extreme edges are not used, this makes for a fine all purpose 65-130mm, high definition optic. In fact I did the CPU programming on my D2x, which is APS-C, sporting a 1.5x magnification compared to the full frame D3x.
The story here is similar to the one for the 500mm Reflex Mirror which, were all those purported ‘experts’ to be believed, is not worthy of serving as an ashtray.