Still in production.
The most remarkable thing about the Nikon Nikkor 20mm f/2.8 AiS lens is that Nikon continues to make it. It’s available new for some $650 – not cheap – and will work on just about any Nikon body, film or digital, since the groundbreaking Nikon F of the 1960s. This example belongs to a friend of the blog for whom I volunteered to create lens correction profiles for use with Lightroom or Photoshop to correct linear distortion and vignetting. As a general rule, the wider the lens the greater is the incidence of these aberrations.
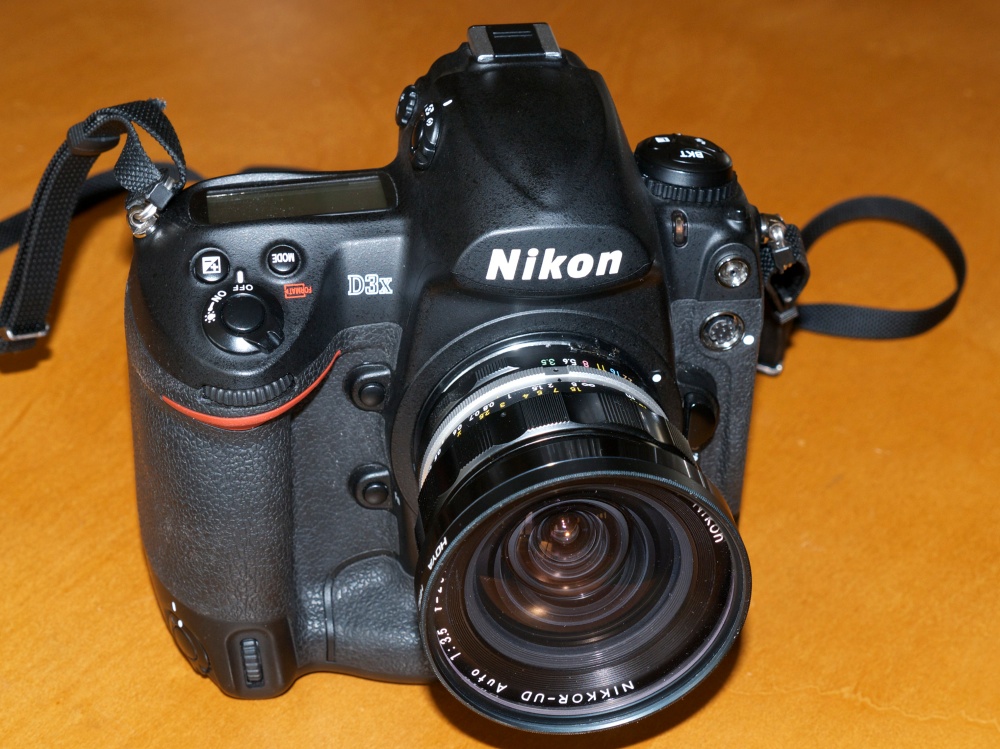
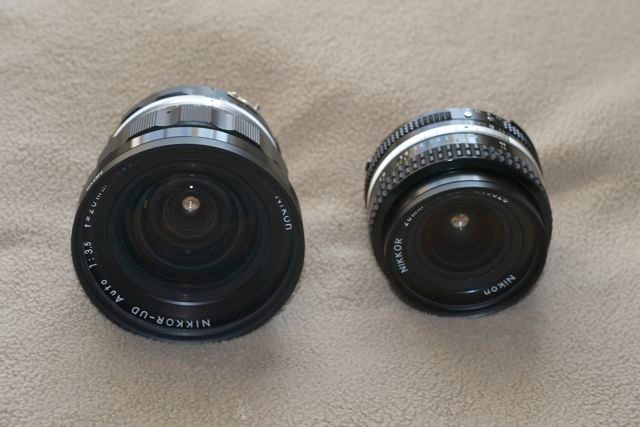
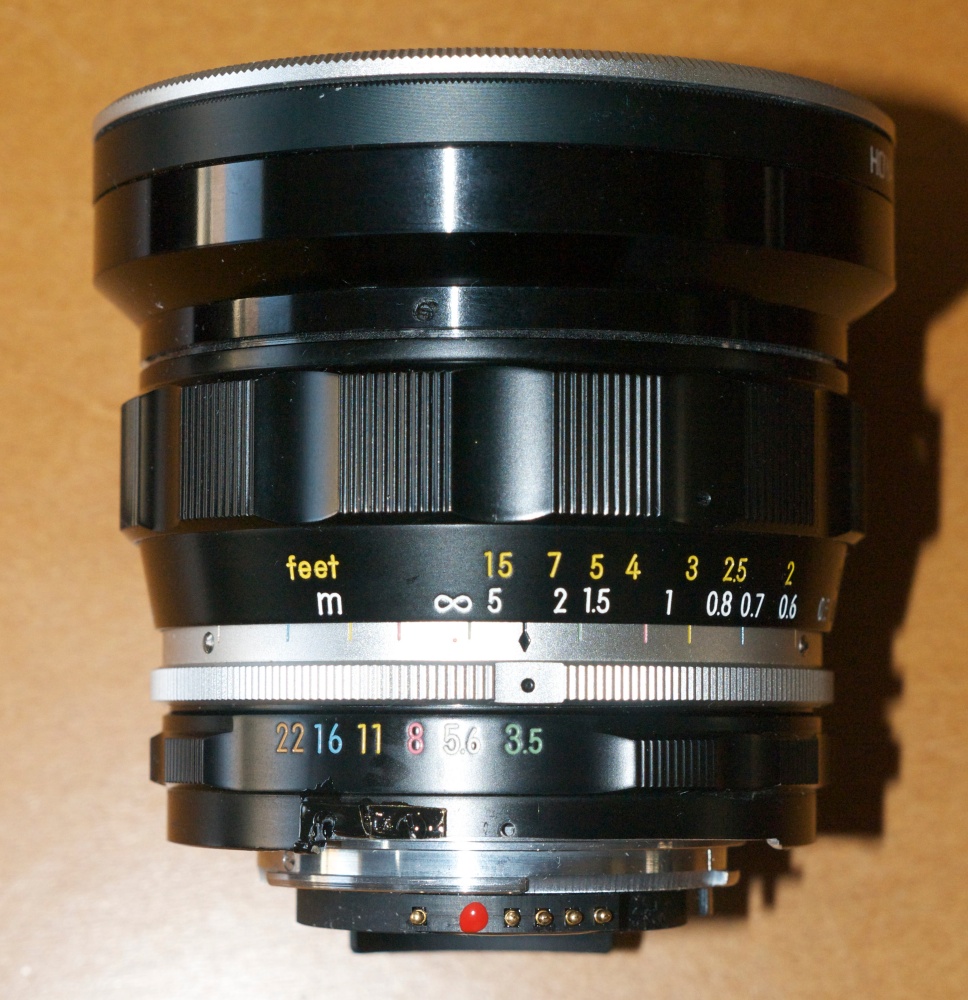
My 20mm Nikkor of choice is the original and massive 20mm UD f/3.5 Nikkor which is nearly a half century old. Mint examples can be found for around $300; many are available and there is no excuse for buying a ‘beater’. It has outstanding center resolution at all apertures, with the edges catching up by f/8. You can read about it here. The current 20mm AiS is much smaller, and both lenses are manual focus only:
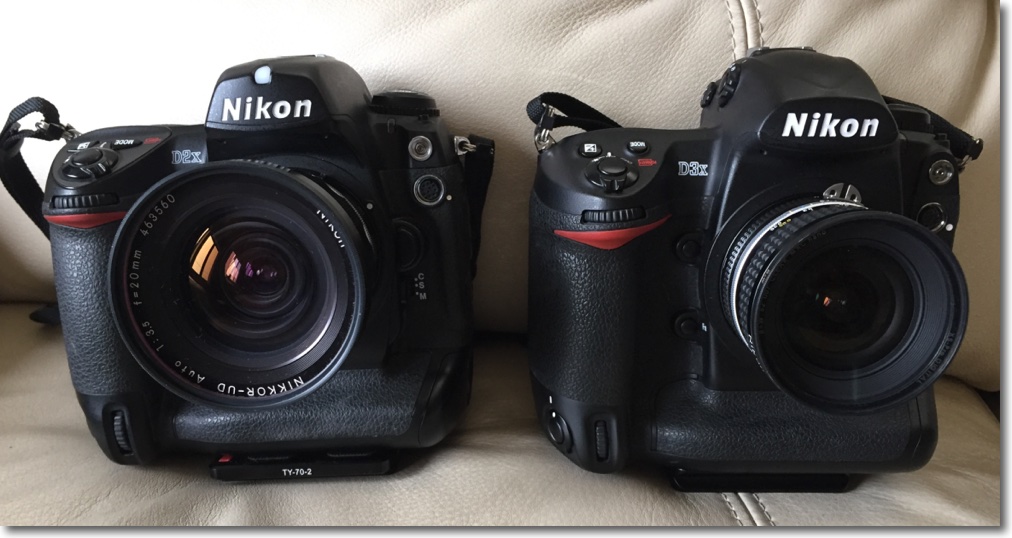
The old UD Nikkor is on the D2x at left.
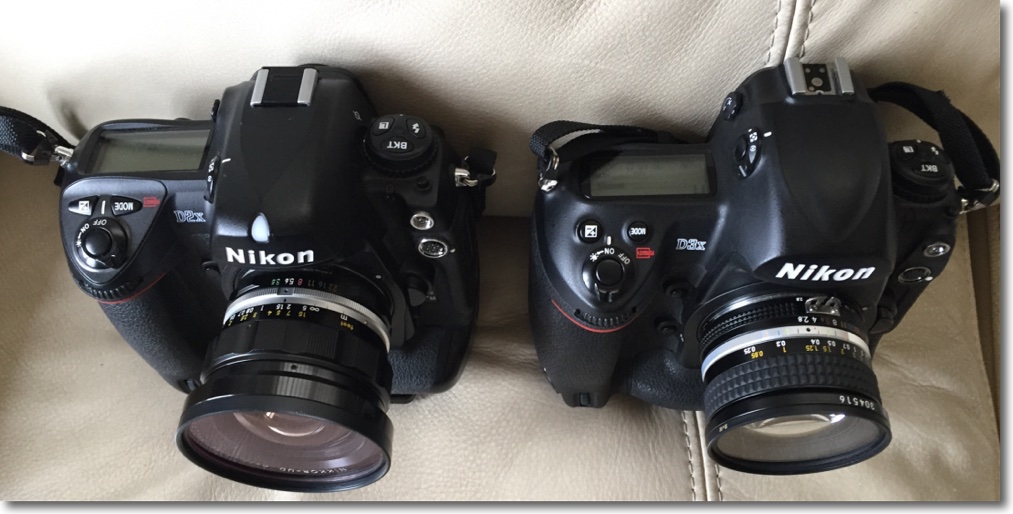
The current 20mm AiS optic is on the D3x at right.
Where the UD adopts the early ‘all metal’ finish of the classic era, the AiS uses rubberized focus and aperture rings. Both lenses are manual focus.
Despite the high price, Nikon does not fit a CPU to the lens so the user has to manually dial in the aperture and focal length on the Nikon body if any lens profile is to be automatically recognized in LR or PS; the CPU I have fitted to the UD dispenses with this need. You can always tell LR which profile to use if you forget to dial it into the body or dial in the wrong one.
The owner of the 20mm f/2.8 AiS shown here advises that Lightroom CC (the cloud version) no longer permits profiles to be dialed in manually, but Photoshop CC does. So if you are solely a Lightroom user and need to manually input profiles, I recommend you use the stand alone Lightroom 6 desktop version, still available. Adobe really does no want you to do that, preferring to steer you to the rental model of the CC version, but follow my guide here and you can download it easily. Given that PS and LR are pretty much stalled and at the end of their development cycles, there’s little justification for buying the CC version with its purported ‘constant updates’. A disingenuous business model if ever there was one, but that’s Adobe for you.
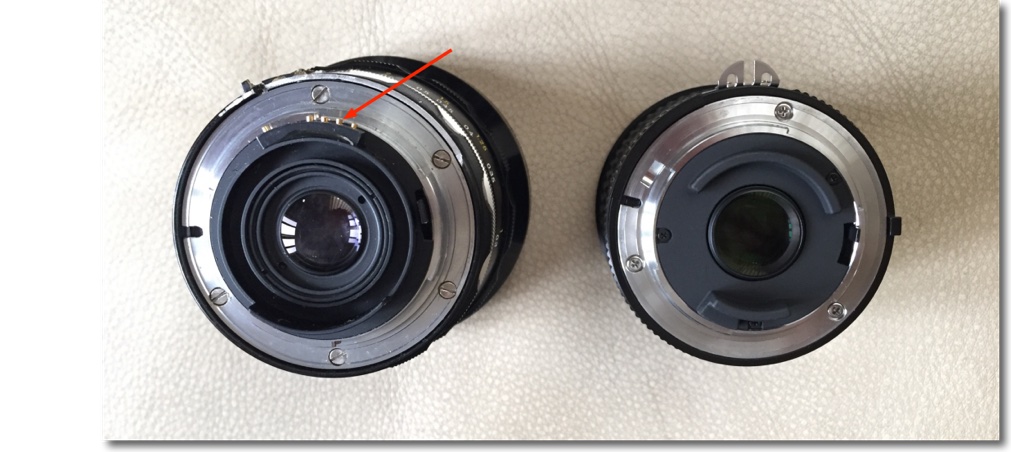
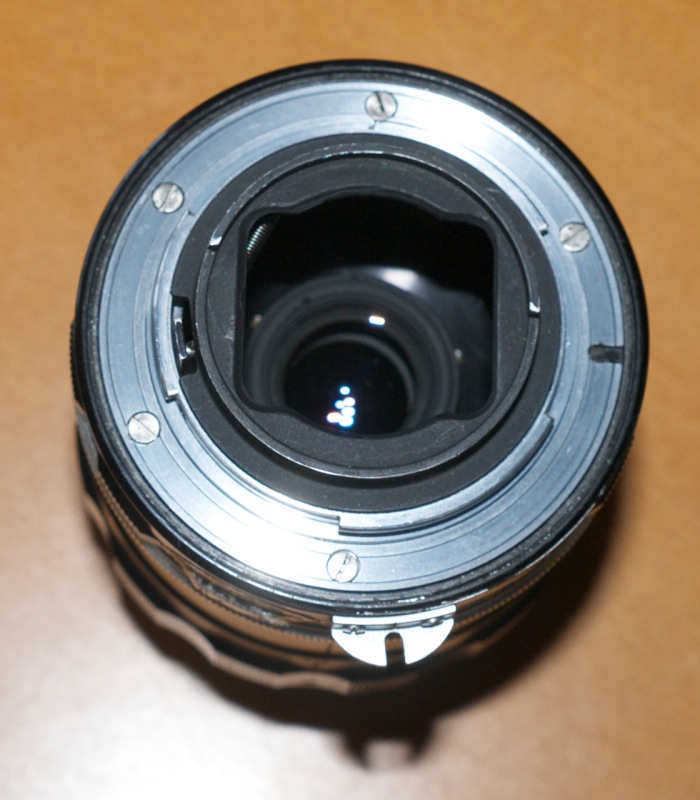
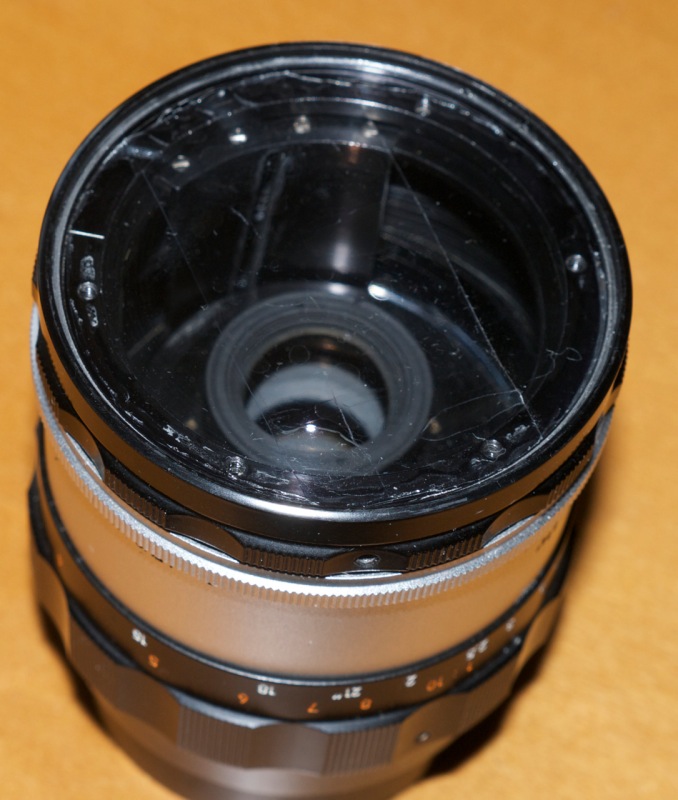
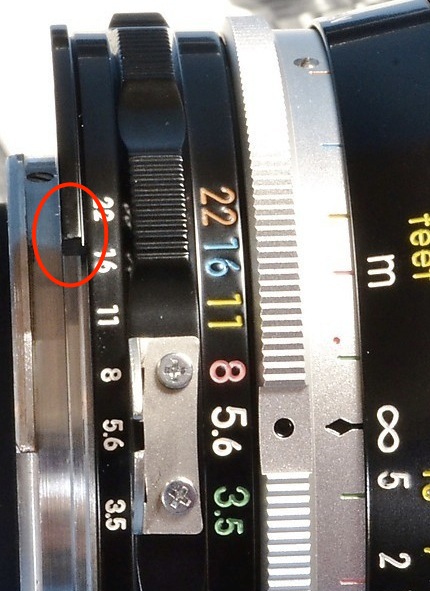
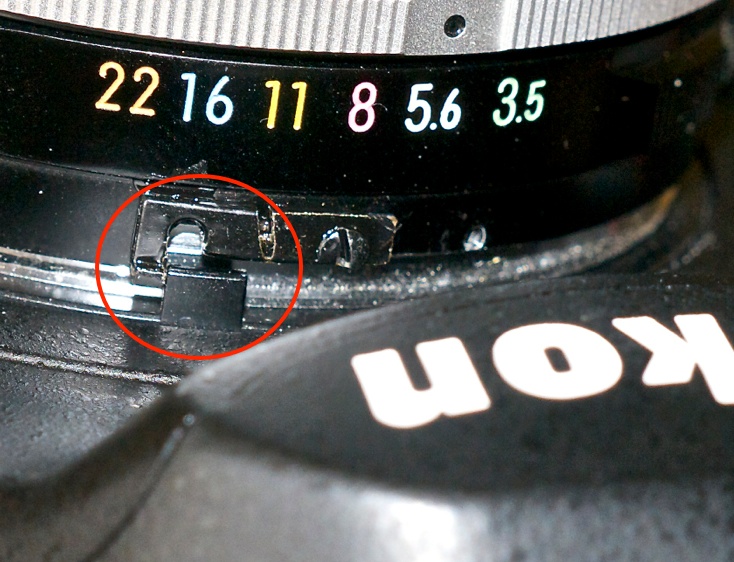
CPU on the UD is arrowed.
Given the narrow rear flange of the AiS, installation of a CPU would be a trivial process, and I describe that here.
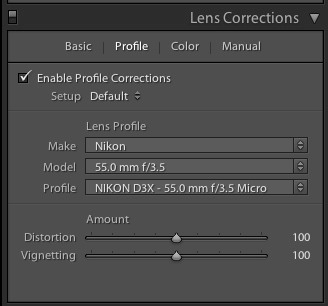
I created the lens profile for the AiS using Adobe Lens Profile Creator in the usual way, at f/2.8, f/4, f/5.6 and f/8. After f/8 nothing changes. Here is the profile invoked in the Develop module of Lightroom 6 – LR 3-5 will work just as well. The profile is placed in the User’s Library directory as explained in the above link. To ‘see’ the directory in Finder be sure to hit the ‘Option’ key when in Finder->Go as the fools at Apple have seen fit to hide it in recent releases of OS X.
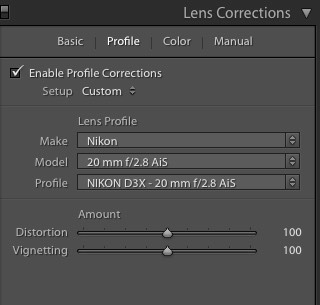
Profile invoked in LR.
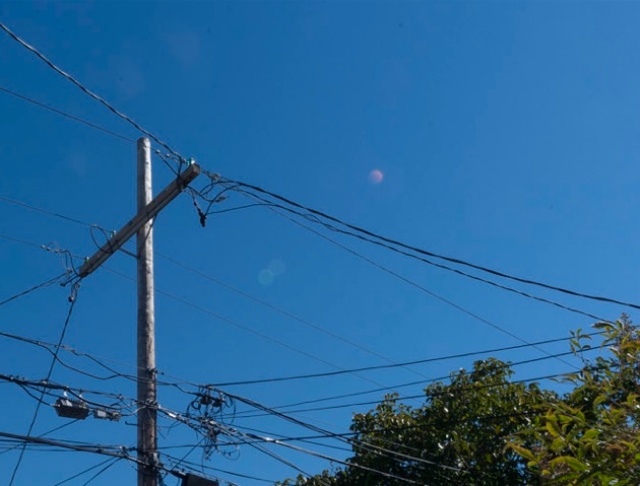
While the profile says ‘D3x’ in the title it is non-body specific and will work with any Nikon digital image, FX or DX (APS-C). In practice the profile does an outstanding job of correcting the fairly pronounced vignetting at wider apertures, as well as correcting the minor but very complex linear distortion which is of the ‘wave’ or ‘moustache’ type common in Nikkor 20mm lenses – both my UD and my (now sold) 20mm f/3.5 Ai lens exhibit it. The vignetting is slightly less pronounced – uncorrected – than in the old UD, but there is little in it between the two and after applying the respective profiles there is no difference in this regard.
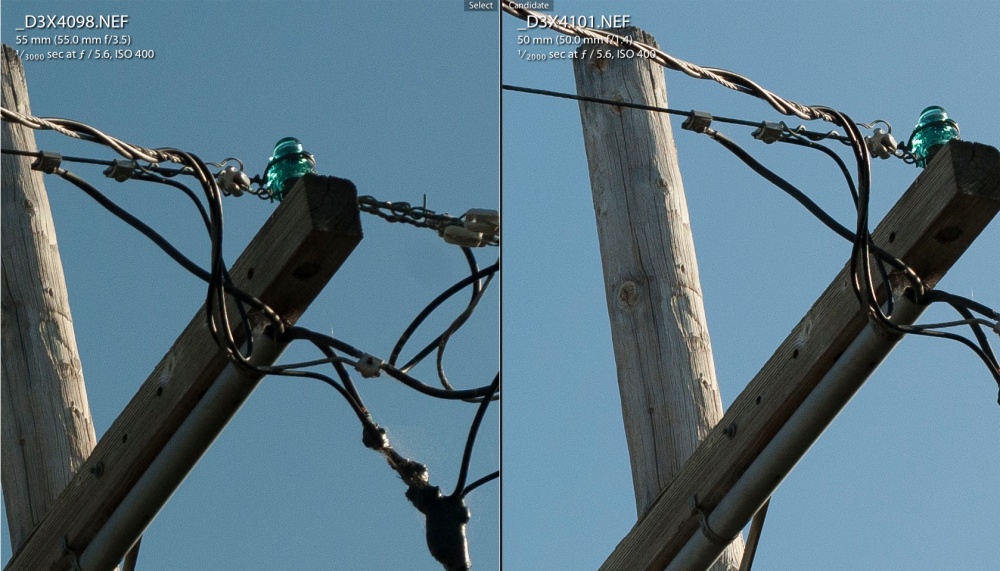
Top right corner at f/2.8 – no profile.
Top right corner at f/2.8 – with profile.
The profile cannot correct for chromatic aberration and the AiS exhibits red fringing (the UD displays green fringing, by contrast):
Red fringing in the AiS at f/2.8.
A quick tweak in LR removes the fringing:
Here are the settings:
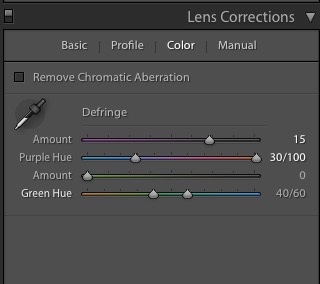
Removing the AiS’s red fringing in LR6.
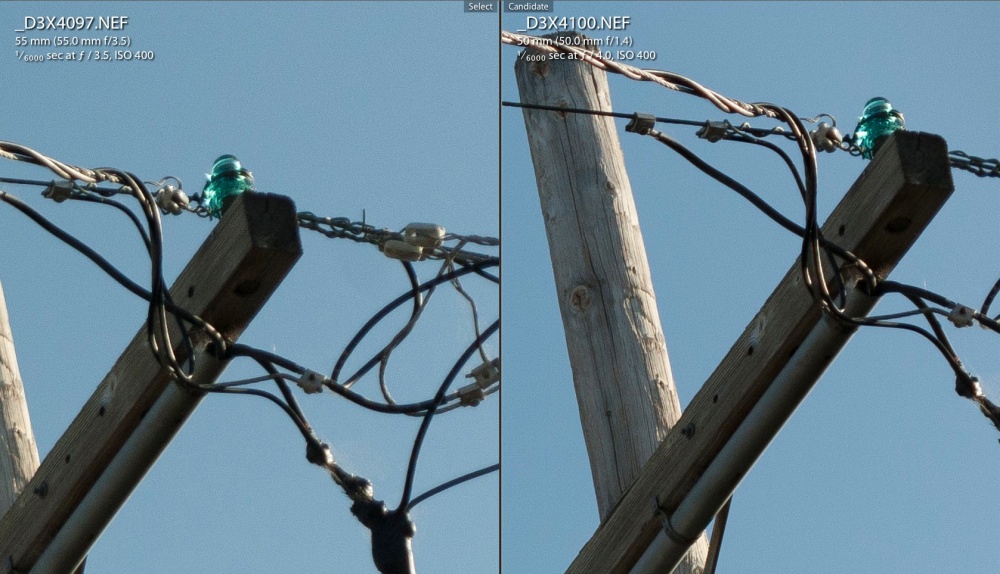
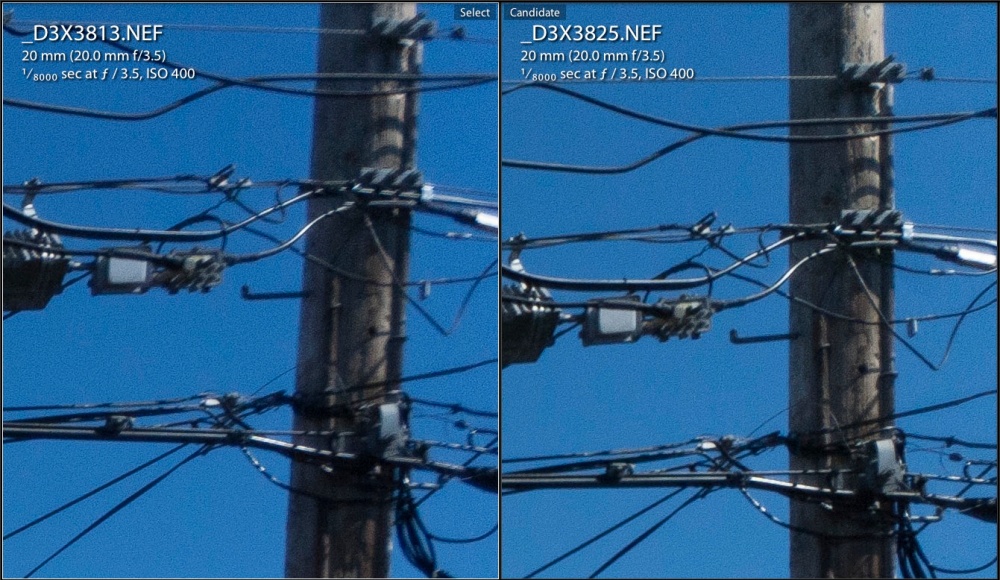
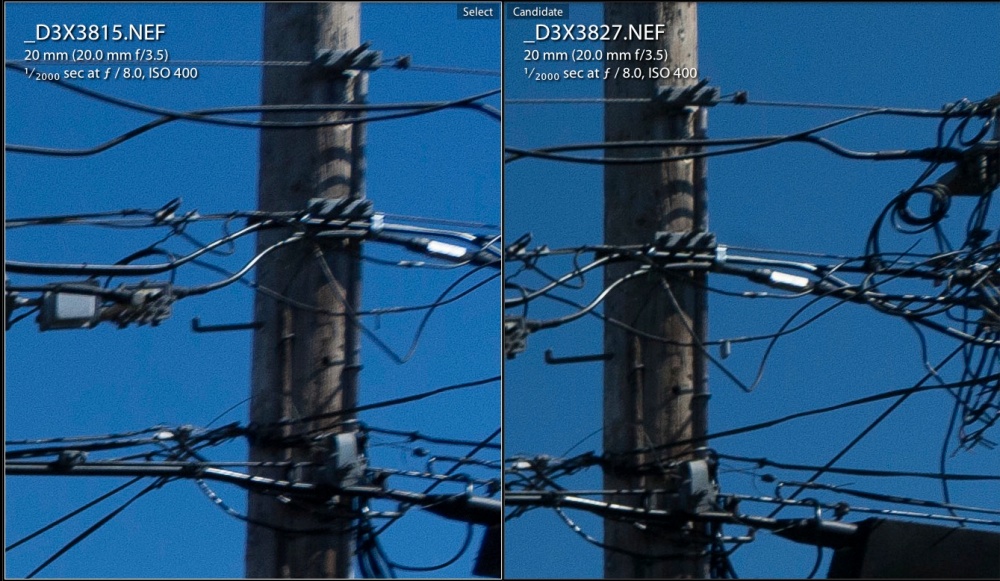
How does the extreme corner definition compare with the UD? As my earlier UD review discloses, the UD is optimized for center sharpness at full aperture (f/3.5) so the corners suffer. Yet despite that the UD is clearly superior in the extreme corners as the image below shows. This would make a 72″ print and was taken in very overcast, low contrast conditions, a very challenging environment for any lens:
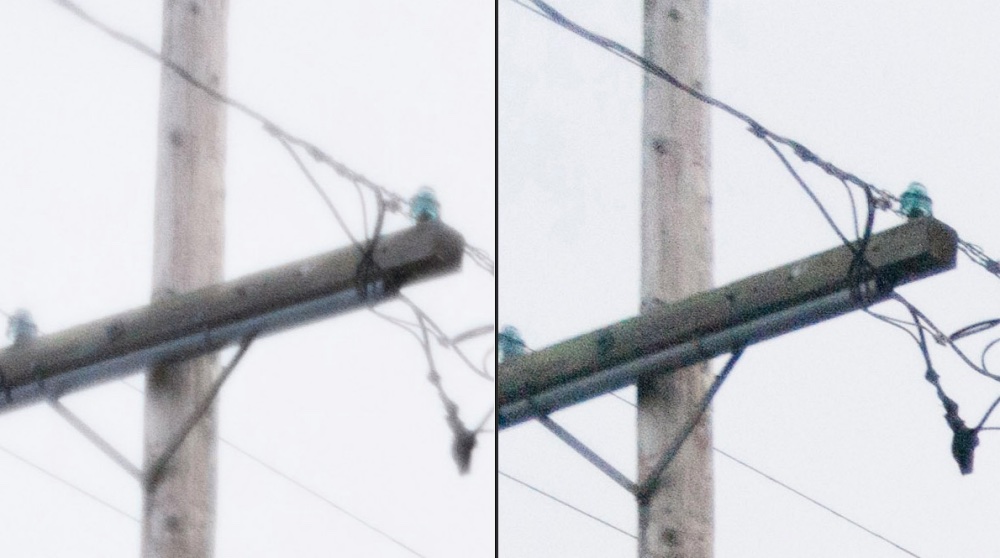
Extreme top left corner – AiS on the left, UD on the right. Both with lens profiles and color correction applied.
So maybe not all progress is forward. You get two thirds of the bulk and weight but lose corner resolution at full aperture with the newer lens. The UD maintains an advantage in corner resolution at all apertures, though the difference falls as the lenses are stopped down. While I do not publish them here, center resolution of the UD is 1 stop better than for the AiS through f/5.6, after which the two lenses are identical.
You can download the lens correction profile for the 20mm AiS Nikkor by looking for it here.
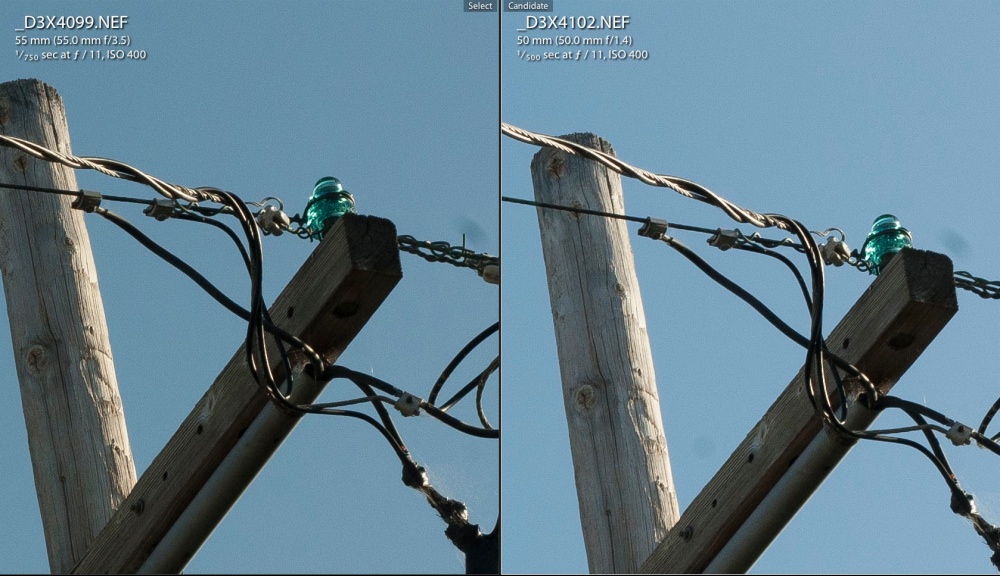
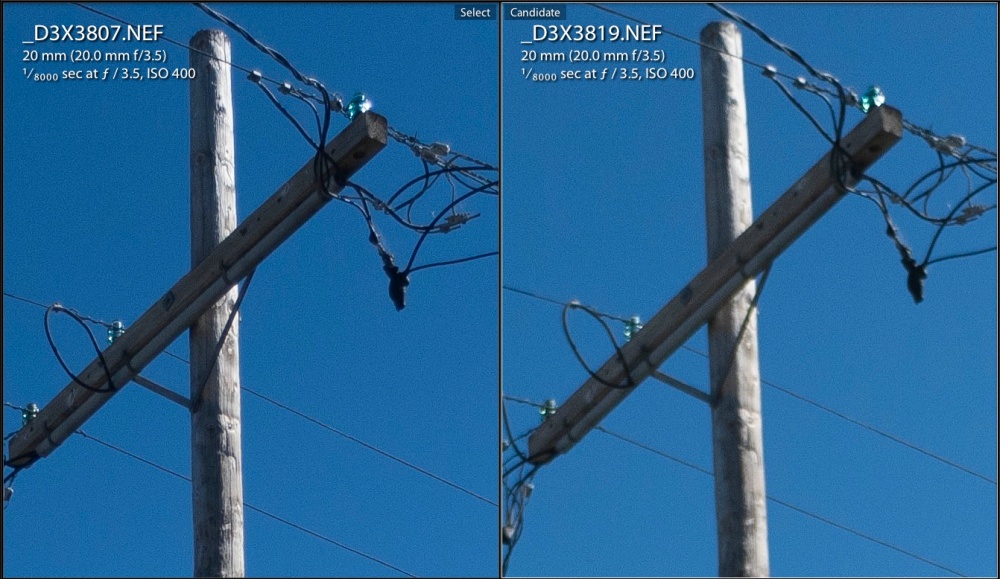
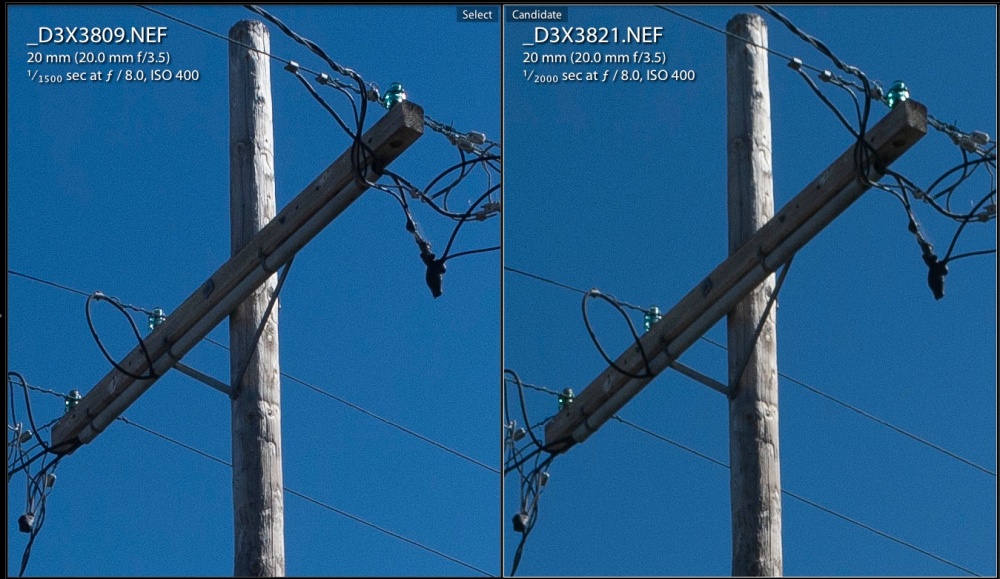
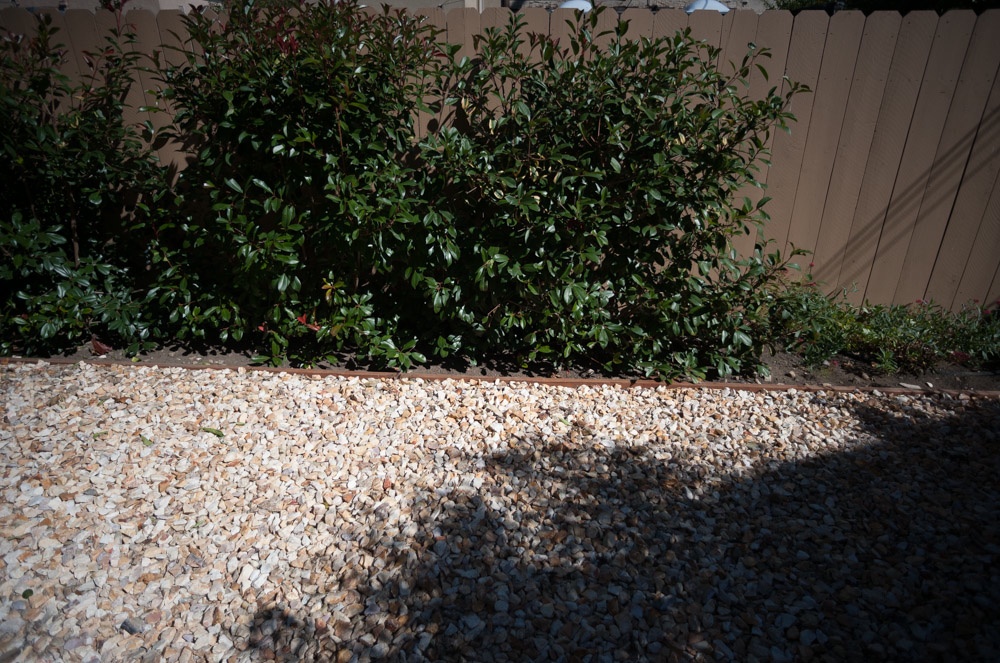
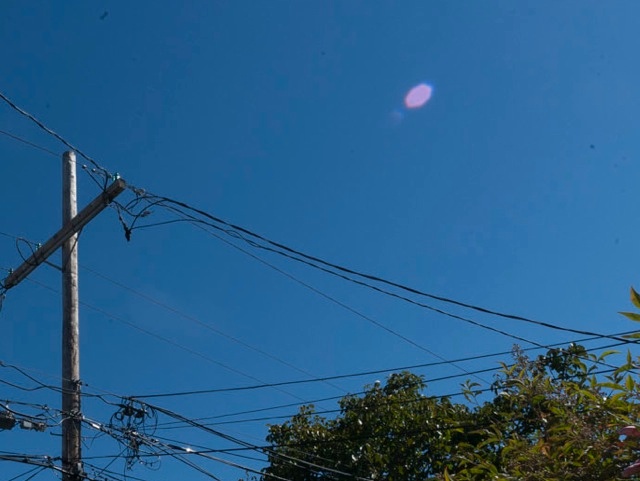
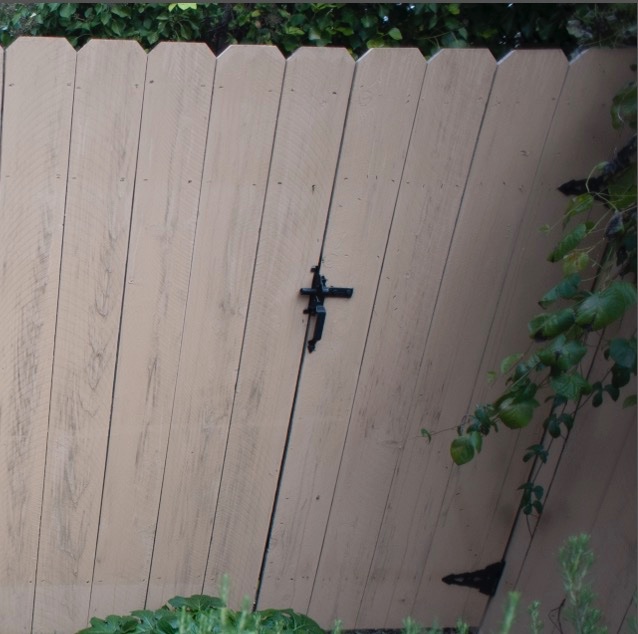
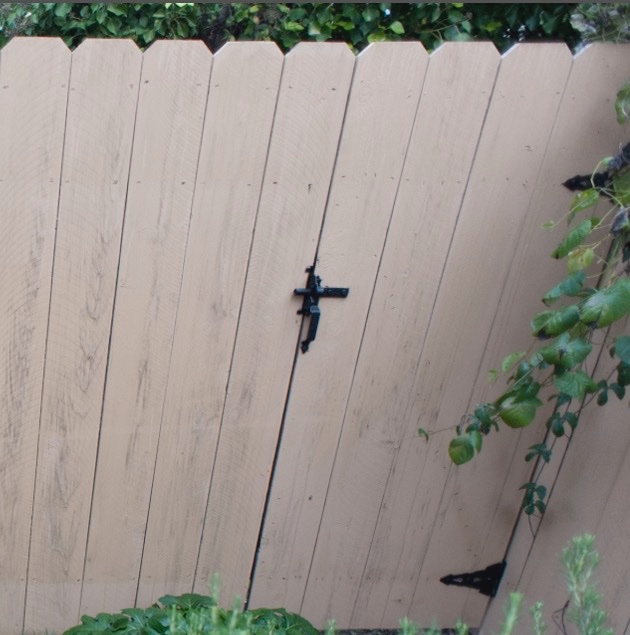
Here’s a far better illustration of how the ‘wave distortion’, seemingly common to 20mm Nikkors, is corrected. These were taken by the lens’s owner:

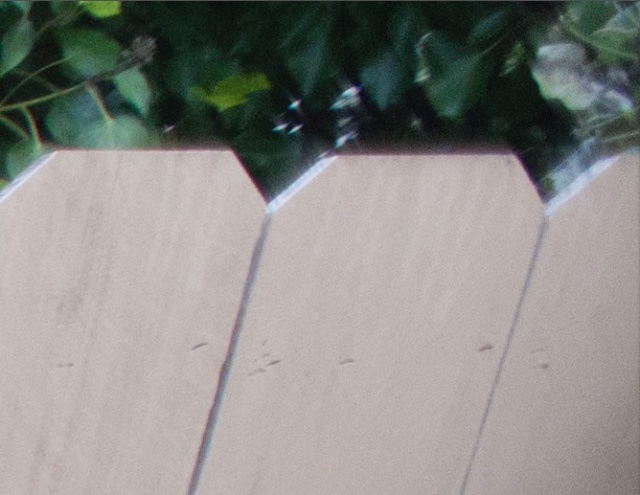
No profile – see how the lintel drops then rises – top right hand corner.

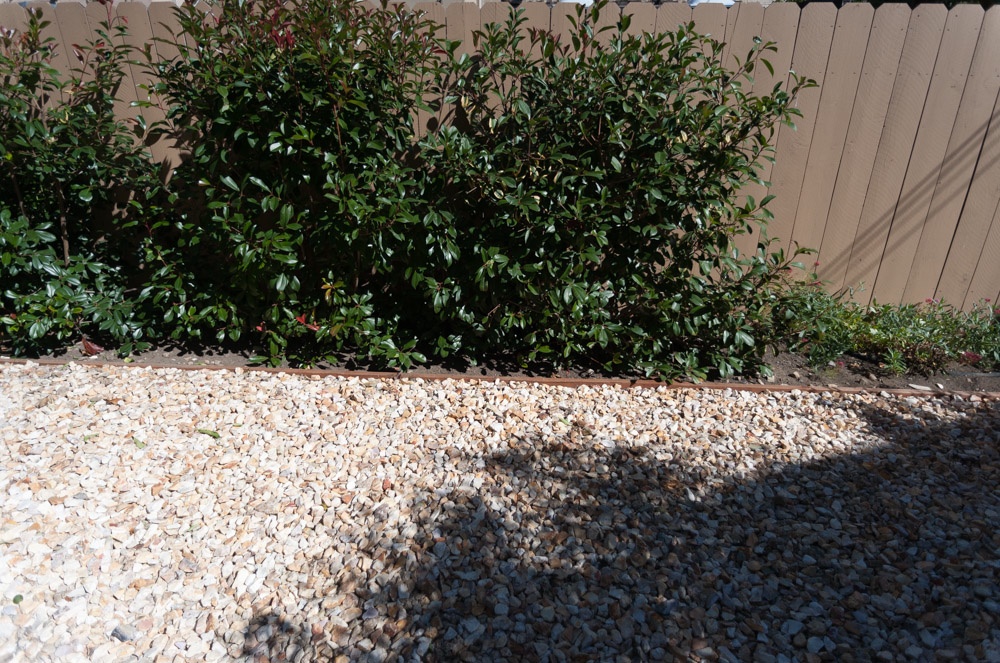
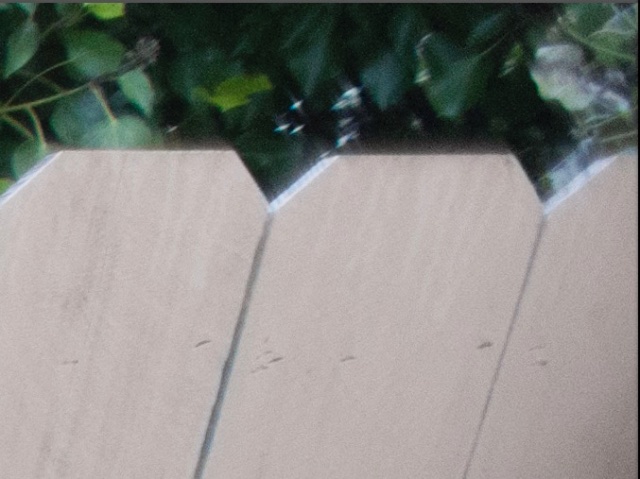
With profile. Red chromatic aberration remains to be corrected but the ‘wave’ is gone.