Finally here!
For an index of all Leica-related articles click here.
I ordered the Keks meter for Leica-M the day I profiled it here on March 8. It finally arrived today from Hong Kong, 18 weeks later.
Why buy this? To my knowledge this is the first meter since the Leicameter – discontinued in its various guises decades ago – which offers coupling with the shutter speed dial of the Leica M for speedy shutter priority readings. Users of older Leica M film bodies have been waiting for this every bit as long and, as what follows discloses, I doubt they will be disappointed.
Weight: The meter weighs 1.6ozs.
Charge as received: As received the state of charge was 40%, and rose to 90% just 15 minutes after plugging it in using a USB-C to USB-A cable. 90% to 100% took an additional 15 minutes. Not at all bad. (Keks claims 60 minutes for a full charge from flat). As the image below shows, the meter ships with a short USB-C to USB-C cable. I prefer to use a USB-A wall mounted power socket with a USB-A to USB-C cable, which is nice and fast, but the meter should charge nicely from a modern laptop or desktop computer equipped with USB-C, if maybe not as quickly.
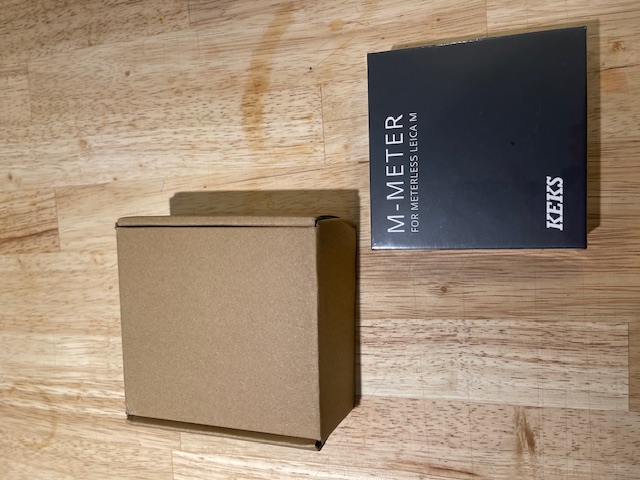
Boxed.
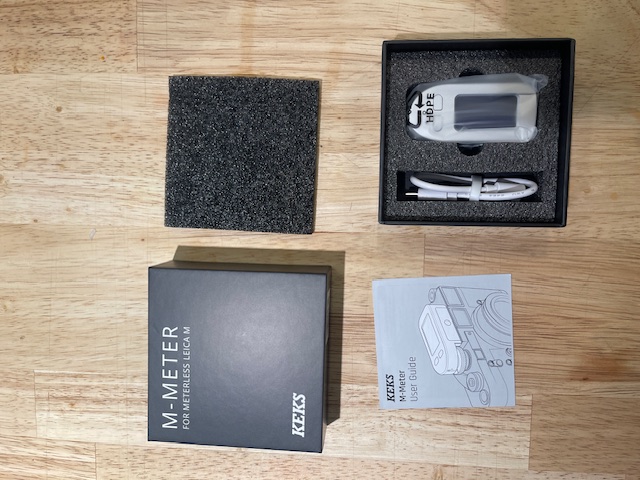
Unboxed.
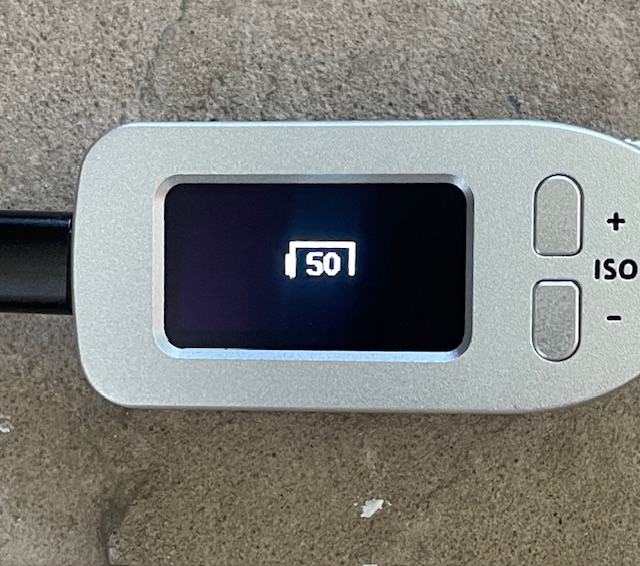
Connected to USB power. Just 20 minutes
from 40% to 90% charged. The state of charge
is displayed when the rear button is depressed.
Setting variables: A host of variables can be tailored. You can see how to do this by downloading the manual here. Here is how the meter is shipped, with parentheses showing my preferred setting:
- Exposure compensation: 0 stops (Same)
- Apertures: 1/3 stops* (1/2 stop)
- ISO stops: 1/3 stops* (1 stop)
- Display brightness: 50% (Auto)
- Display on time: 15 seconds (Same)
- Max aperture: f/1.0 (f/1.4 for my 50mm Canon LTM lens)
- Min aperture: f/128 – rather silly really (f/22)
* Using 1/3 stop settings with a film camera is confusing precision with accuracy.
The last setting allows the user to dial in the 1, 1/2, 1/5, 1/10, 1/25 etc. steps for early Leica M3 bodies. Wonderful that the manufacturer thought of this. (Check my Comment, below, how to do this). As I said in my initial review, Keks is going to sell a lot of these meters and I see they are already on backorder at B&H.
The claimed replaceable battery: At this time I have yet to summon up the courage to remove the baseplate to discover what sort of (purportedly replaceable) battery is used. The specifications state only that it is a 220mAh cell. Suffice it to say that the base is retained with four Allen head bolts and these fit a 1.5mm (tiny!) Allen wrench. Update: See the conclusion of this piece, below.
Coupling with the camera’s shutter speed dial: The shutter speed coupling dial turns to ‘B’ smoothly whereupon it is lifted and turned further CCW to a stop. The meter can now be slid into the camera’s top plate mounting shoe, with the camera’s shutter speed dial first set to B. The process is identical to that with the earlier Metrawatt meters. The knurled ring on the meter is then turned CW until the pin drops into the corresponding slot on the shutter speed dial of the Leica. The meter is now coupled to the shutter speed dial and offers far superior ergonomics for shutter speed setting owing to the larger diameter of the meter’s knurled knob. The Keks meter engaged perfectly on my 1959 single-stroke Leica M3.
Use with long shutter speeds: The Keks meter can display shutter speeds as long as 30 seconds. To access these you set the shutter to ‘B’, lift the knurled knob and keep turning counter-clockwise. Coupling is lost but the shutter speed dial is set at ‘B’ where you want it, and you can count the indicated seconds long exposure when making the exposure using a cable release. This function is identical to that in the various Leicameters.
Acceptance angle: Using a point light source and a protractor I measured the horizontal angle of acceptance of the meter at 36 degrees (Keks claims 30 degrees), which is close to the 27 degrees (=90mm lens) claimed by Metrawatt for the Leicameter MR/MR-4, meaning that with the 90mm frame line invoked on the camera semi-spot readings of the area indicated by that frame line are possible with the Keks meter. Now I’m getting the sense that some real Leica M enthusiasts were involved in the design of this meter.
Design errors: Five boo-boos, and none is a big deal.
First, the meter displays Exposure Values (EVs) below the ISO setting, as shown below. Who on earth uses these with a Leica M, which is not equipped to display them?
Second, why show EVs (to two decimal places!) when no decimal places are used in practice with EV equipped cameras like certain Rolleis, Retinas and Hasselblads? It would be nice if the EV display could simply be hidden as it adds useless clutter. Perhaps a piece of black insulating tape is called for?
Third, it would be nice if the aperture was indicated as f/4 etc. not 4.0F.
Fourth, the display sometimes indicates 1/50th (the flash setting) when it should display 1/60th, especially when moving from a slower to a faster shutter speed. This error is accounted for by sample-to-sample variations in the Leica shutter speed dial’s detents and is not Keks’s fault. Keks is to be applauded on delivering a fix – see “Shutter speed calibration”, below.
Fifth, on one or two occasions I got wildly inaccurate readings on a first press of the rear button (the readings come on instantaneously), cured by a second button press. The errors are so egregious that you are not about to be fooled. Just press the button again.
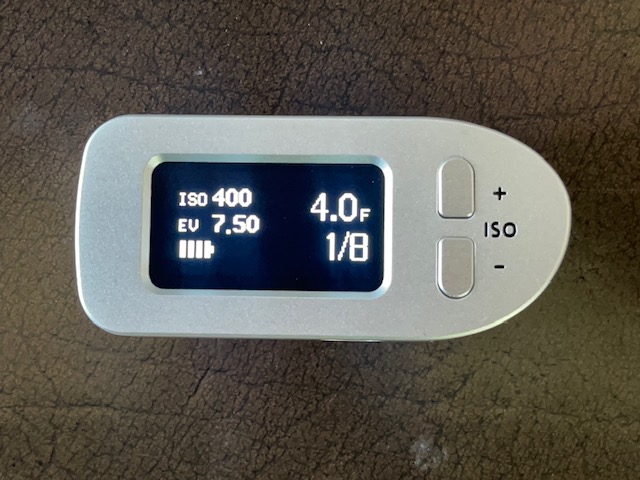
The EV display is below the ISO. ISOs can be changed with the two top plate buttons.
Continuous exposure readings: A double press of the rear button is required to enable continuous readings – a ‘C’ will appear on the display to the right of the battery charge indicator. A single press will lock the reading, exiting continuous reading mode. Beautifully implemented.
Shutter speed calibration: The shutter speed dial click stops are equally spaced on the Leica except for those between 1/30th and 1/50th and between 1/50th and 1/60th. 1/50th is the electronic flash synchronization setting and the click stops between the adjacent speeds of 1/30th and 1/60th are half the spacing of all the others. As shipped my Keks meter could not distinguish between shutter speed dial settings of 1/50th and 1/60th, showing 1/50th for both settings as the shutter speed dial was rotated toward shorter shutter speeds. So a speed of 1/60th was incorrectly shown as 1/50th. Keks includes a useful calibration function to address the issue of the set speed and the indicated speed differing, as here.
With the shutter set at 1/60th but the meter indicating 1/50th press the power (rear) button and the ISO ‘-‘ button to enter Settings. Then use the ISO ‘+’ button to cycle to ‘Reset’. Press the power button then press the ISO ‘+’ button until you see ‘Calibrate SS’. Press the power button. The display will read ‘Shutter: B-2’. Using the ISO ‘+’ button keep pressing the button until you see ‘1/60’, then press the power button once more. What was formerly displayed erroneously as 1/50th second is now correctly displayed as 1/60th second. This calibration function works for all shutter speeds, though in my case only one shutter speed was being displayed incorrectly. Given that there will be sample-to-sample variations in Leica M bodies Keks can only be applauded for adding this function. Clearly the designers are avid Leica M film camera users. Ingenious.
Tech specs for the sensor:. Keks uses the Vishay VML7700 sensor and you can see the full technical specifications by clicking here.
Setting shutter speeds with the meter off: You cannot set shutter speeds on the camera when the meter is off. It must be on for these to be visible. But it’s just a quick press of the rear button to illuminate the display so, again, not a big deal.
Battery level: This is disclosed as shown at the lower left in the image above. 4 bars = 100%. The Leicameter MR/MR-4 uses a front panel battery level check, notorious for mechanical failure. The Keks approach is better, acting as a continuous reminder in use, with no buttons to press.
Clearance for a rewind crank: Unless your camera is one of the M4 variants with the angled rewind crank, you may prefer to fit your earlier Leica M with a rapid rewind crank, as I do. In this case clearance with the side of the meter’s case is important as you really do not want to have to remove the meter to rewind the film. As the image below shows, clearance is more than adequate:
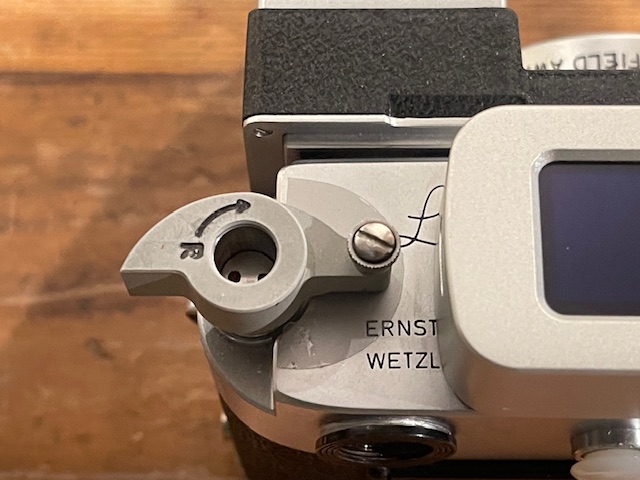
Clearance with the rewind crank installed.
Use in poor light:. Far superior to the older Leicameters as the Keks meter’s OLED display is internally illuminated. I just wish it was black on white rather than white on black.
Beyond the limit? If the light is below the meter’s sensitivity range the aperture display simply changes from an f-number to three dashed lines. Fine with me.
Sensitivity: Keks claims EV1 at the lower end, which is 1 second at f/1.4 with ISO100 film or 1/4 second at f/1.4 with ISO400 film. My tests suggest this is fairly stated. The upper limit is stated as EV20 which is jolly bright sunshine! I could get it as high as EV21 in the brightest setting.
Accuracy: I compared readings from the Keks with those from my Leica M10 (built-in meter) and from my Gossen Luna-Pro F under a broad variety of lighting conditions. Used properly the Keks was in agreement with both.
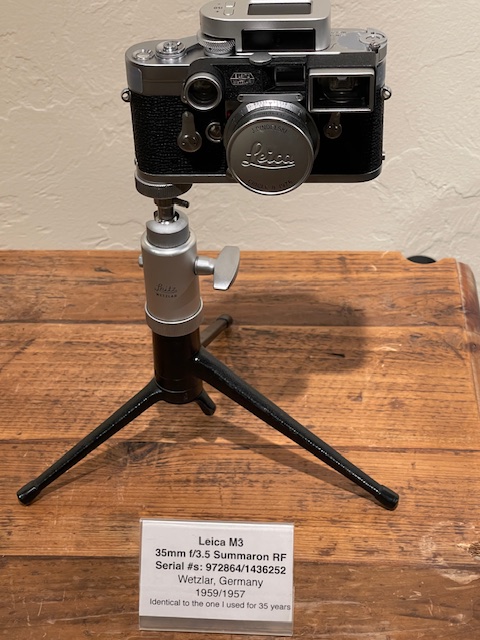
On my 1959 Leica M3.
The Keks meter for Leica M is recommended without reservation, especially at the price asked.
Battery replacement: I screwed up my courage and decided to take the top cover off to see about battery replacement.
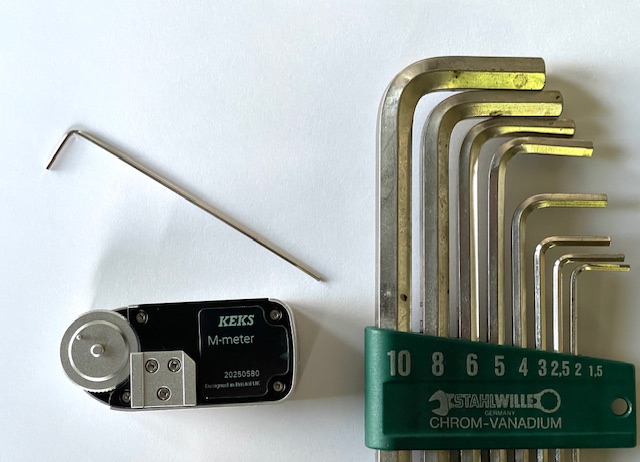
A 1.5mm Allen wrench is required. A German
Stahlwille seems appropriate!
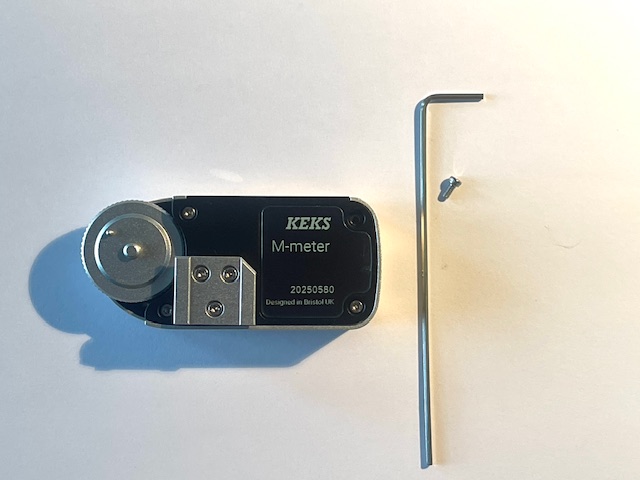
The four screws around the periphery of the black
plastic plate are removed. While no thread locker
appears to be used they are a snug fit.

The nicely machined top plate comes off
along with three free-floating buttons –
power, ISO up and ISO down.
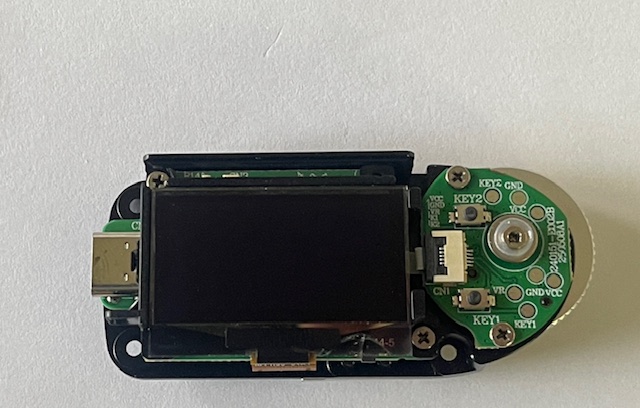
The innards exposed.
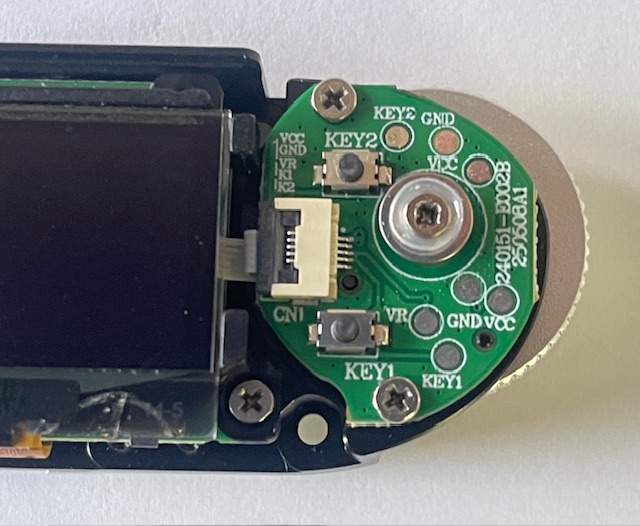
Battery location?
The battery is not immediately visible after this first stage dismantling. I suspect it’s under the right hand assembly – last image above – but fear that dismantling that will make reassembly difficult as it houses the shutter speed dial/rotator. So I called it quits at this point. (Check the Comment by Keks, below).
So my suggestion to Keks – their comment below suggests they read this blog – is to publish the battery replacement procedure for those mechanically adept. The economics of sending the meter in for battery replacement likely do not solve. Now, sure, that battery should last many recharge cycles and several years, but as a legacy product – and a fine one at that – it would be nice to know that the meter can be kept functional in the long term.
