Better modeling.
For an index of all Leica-related articles click here.
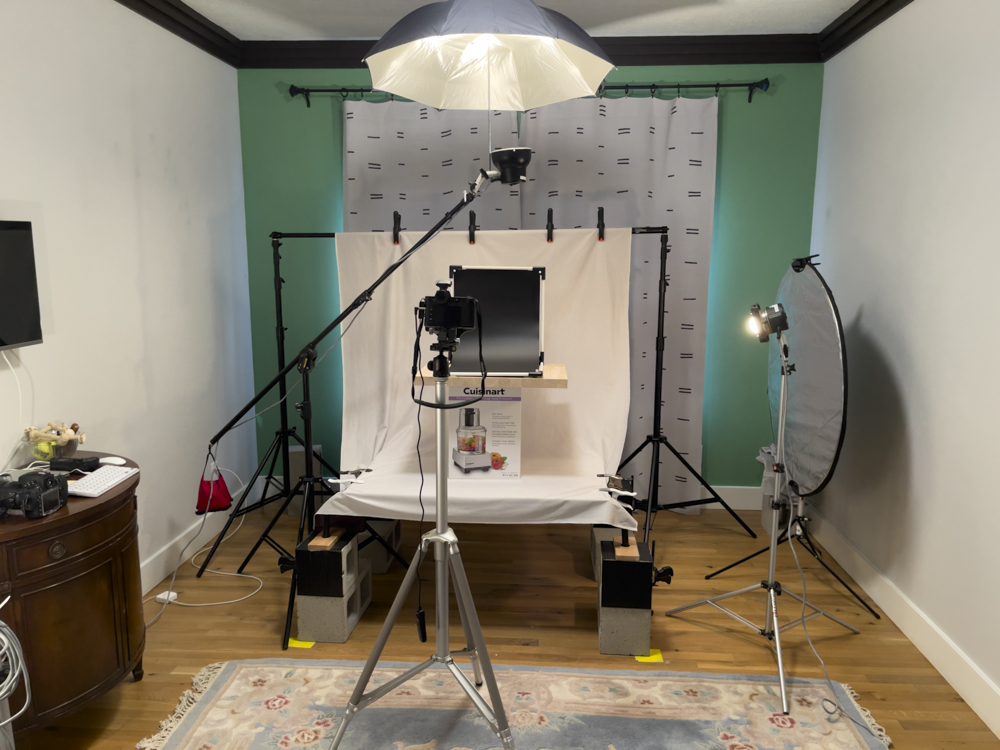
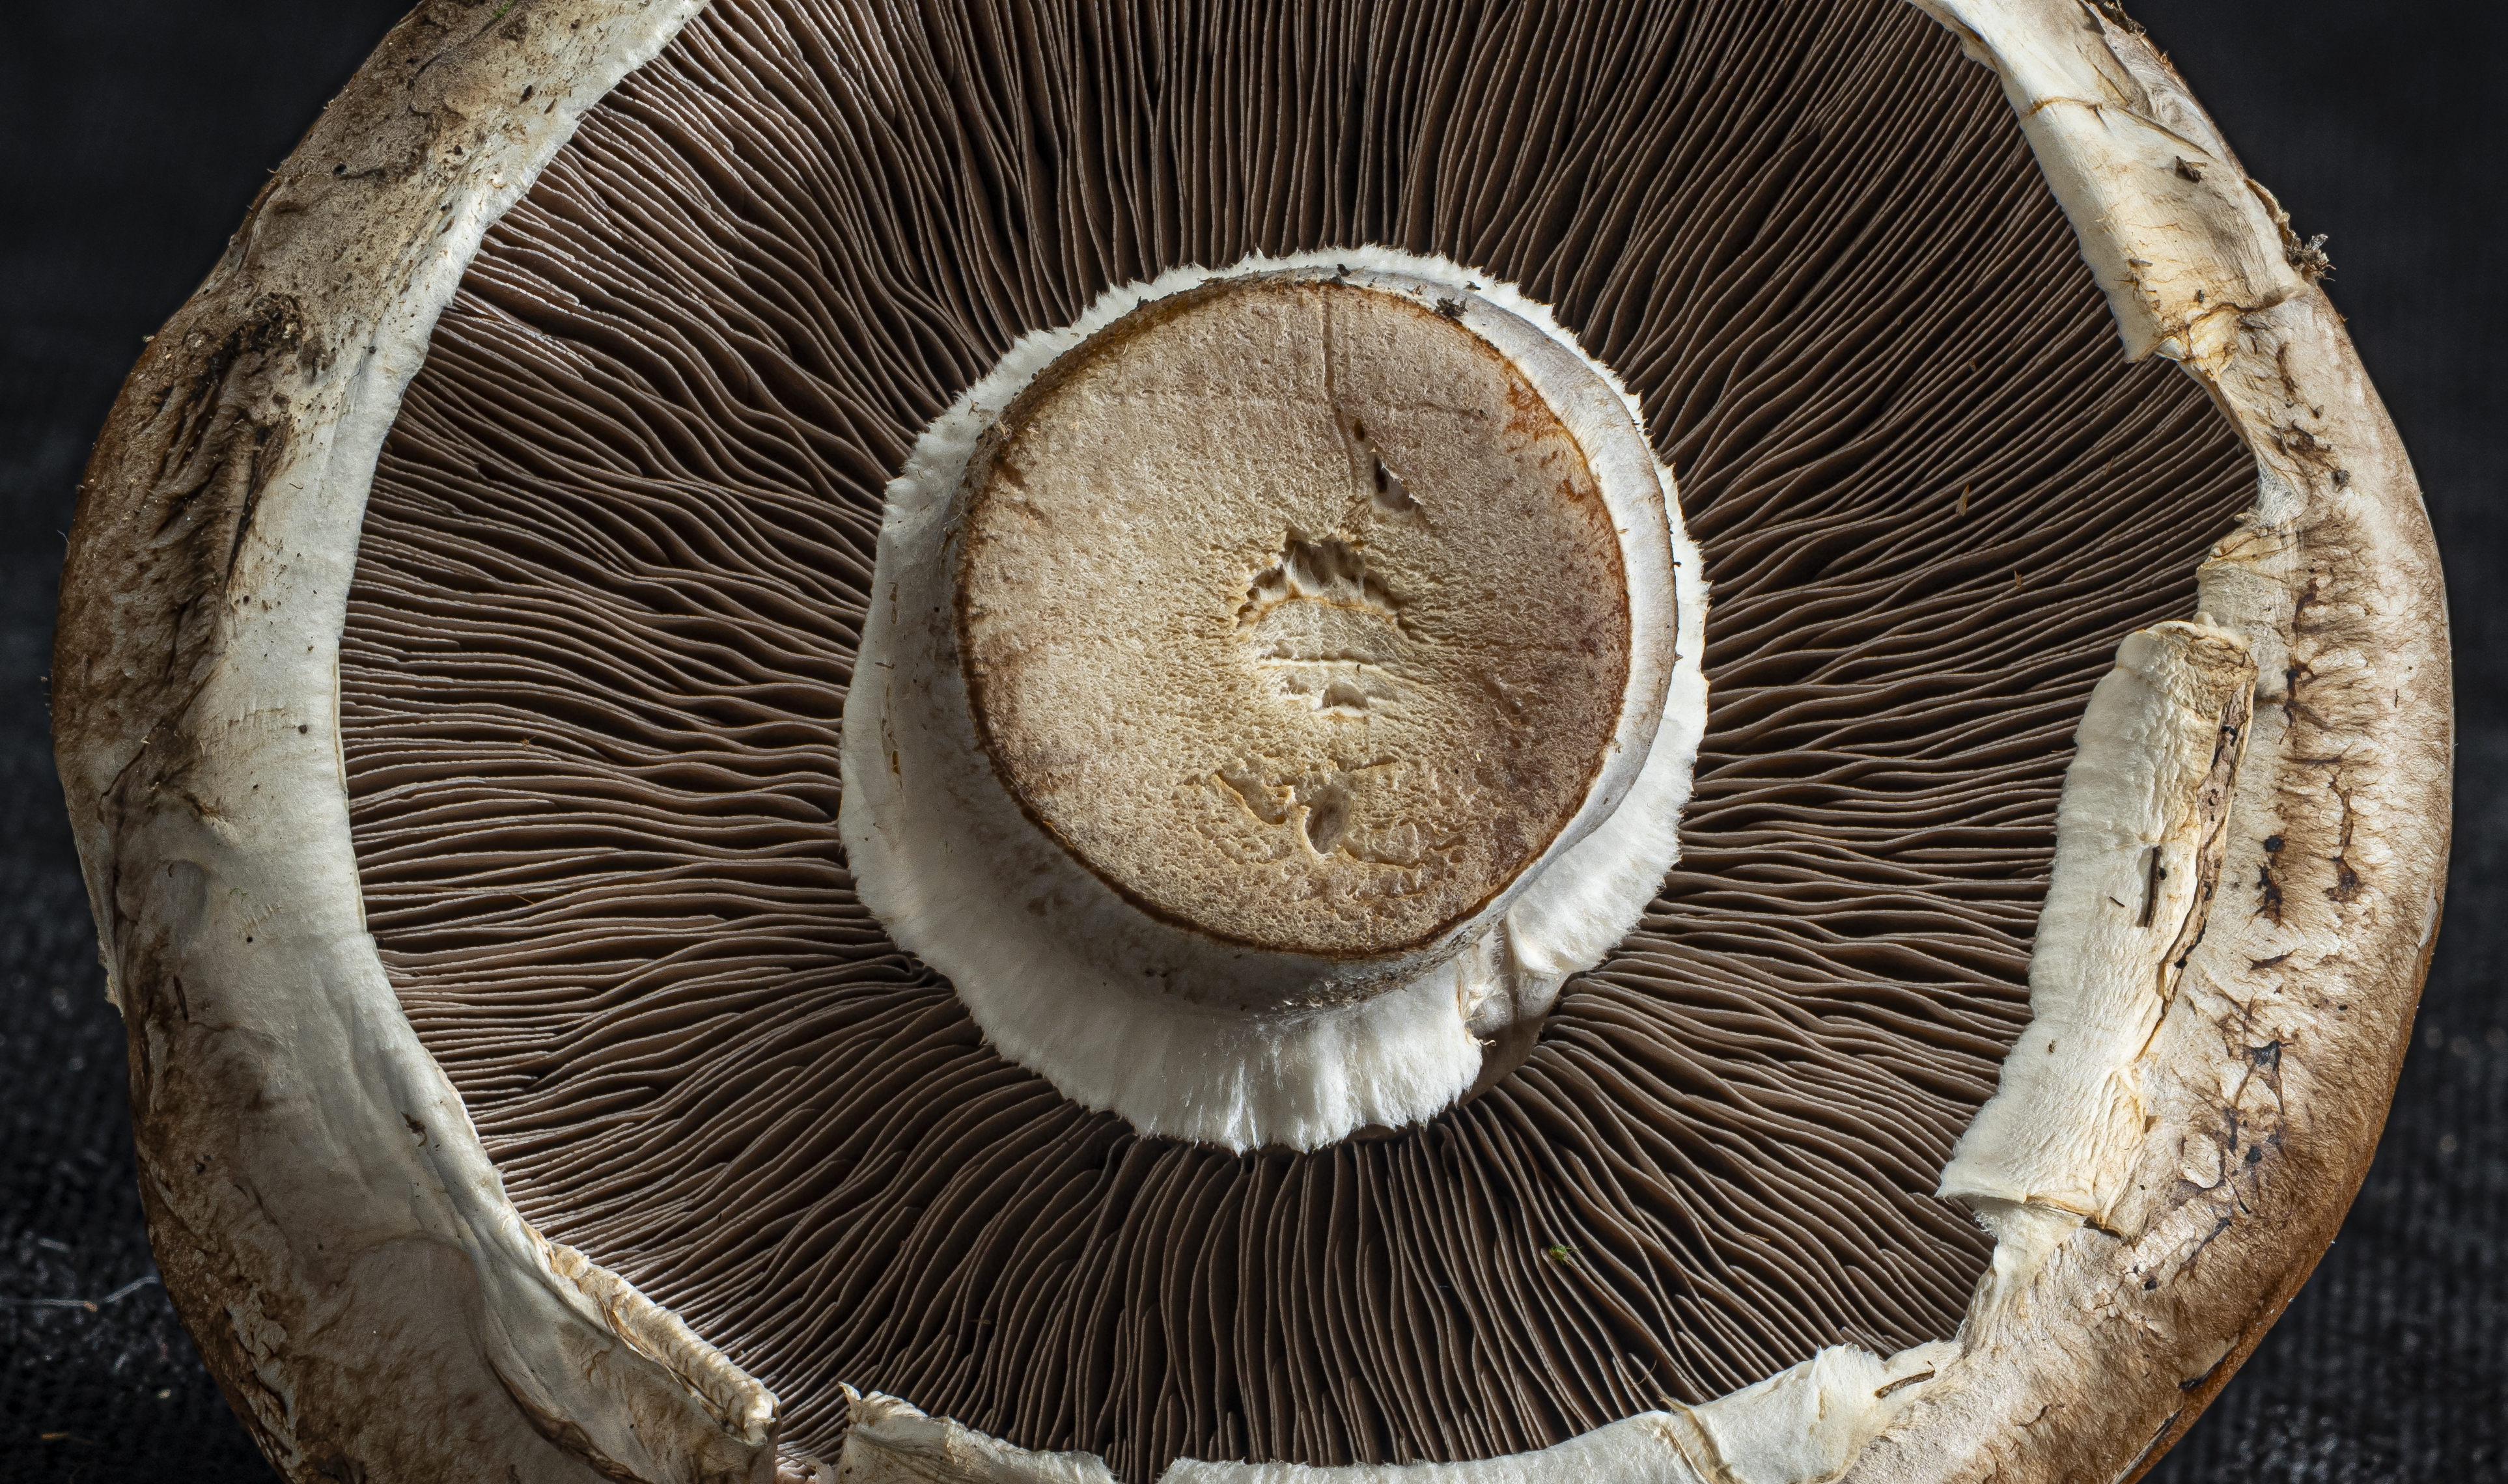
While the ring flash light works well it’s totally shadowless, meaning there is no modeling of depth as there are no shadows. Desirous of adding these, I experimented on a macro of a beautiful portabella mushroom using my ancient remote flash trigger on the Leica SL2-S. The transmitter goes in the hot shoe and the receiver plugs into my Novatron studio strobe power pack. Despite dire warnings in the SL2-S’s instruction manual that use of non-approved triggers might damage the camera I had at it, knowing that the transmitter works faultlessly with my Nikon D800, so I guessed all would be all right with the SL2-S. And it is.
I first wrote about this trigger in 2006 when using a Canon 5D and you can click here for details. Doubtless similar devices remain available inexpensively on eBay. The transmitter in the camera’s hot shoe is used wirelessly and the SL2-S must be set to use the mechanical shutter. As the Instruction Manual confirms, flash will not be triggered in electronic shutter mode owing to the possibility of rolling shutter banding effects.
For the image below I wanted to get the base of the mushroom’s stem sharp, with the focus range extending all the way to the beautiful folds. This necessitates no fewer than 77 exposures, the full travel length of the lower rack on the Leitz Focusing Bellows II. Helicon Focus Pro handled the DNG files with aplomb, rendering the stacked result in no time. Maybe 30 seconds. I’m using an Apple Mini M4 in base configuration. The resulting stacked file in DNG format came in at an economical 64mB. And boy, is it a cracker:
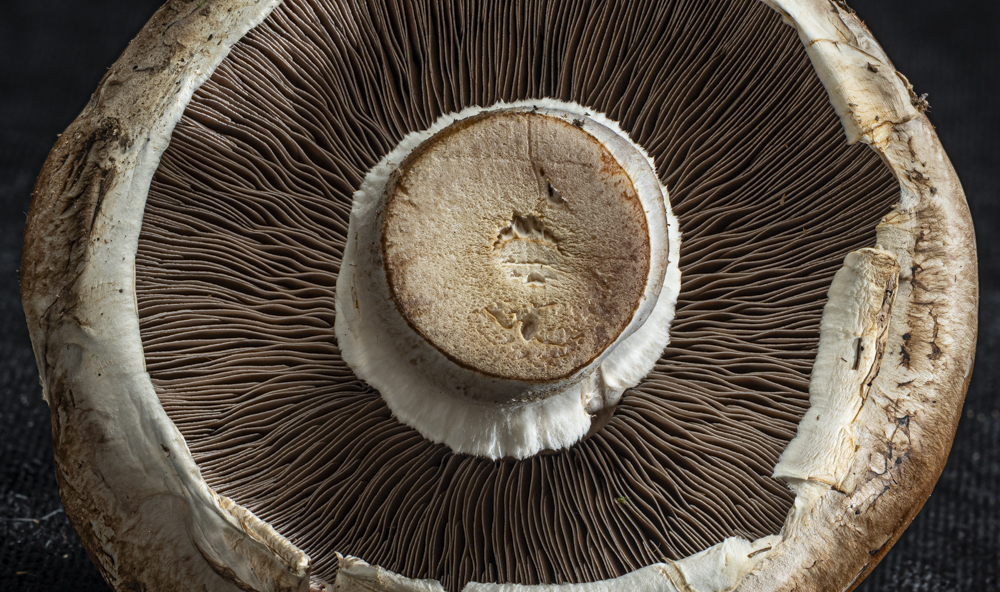
Click the image for a larger version.
The 135mm Elmar was set to f/16, the three Novatron strobes at half-power, handling the 77 exposures, one every 2 seconds, with aplomb. I confess I closed my eyes to avoid the worst of all that flashing. Probably the first time I have taken a photograph with my eyes closed.
Leica SL2-S, Leitz Focusing Bellows II, Leitz 135mm Elmar lens head, three Novatron studio strobes, shutter set at 1/125 second. ISO 400.