Category Archives: Technique

Canson Infinity ink jet paper

French and best.

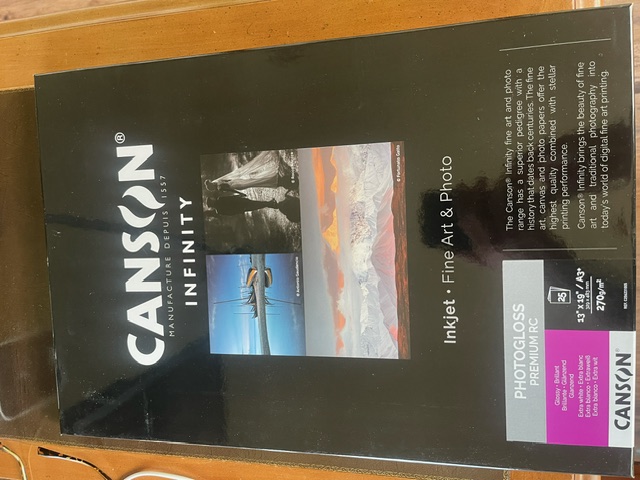
The French company Canson claims it has been making paper for artists for over 450 years, so you would think they have got it down by now. And my experience with Canson Infinity Photogloss Premium RC paper suggests they have.

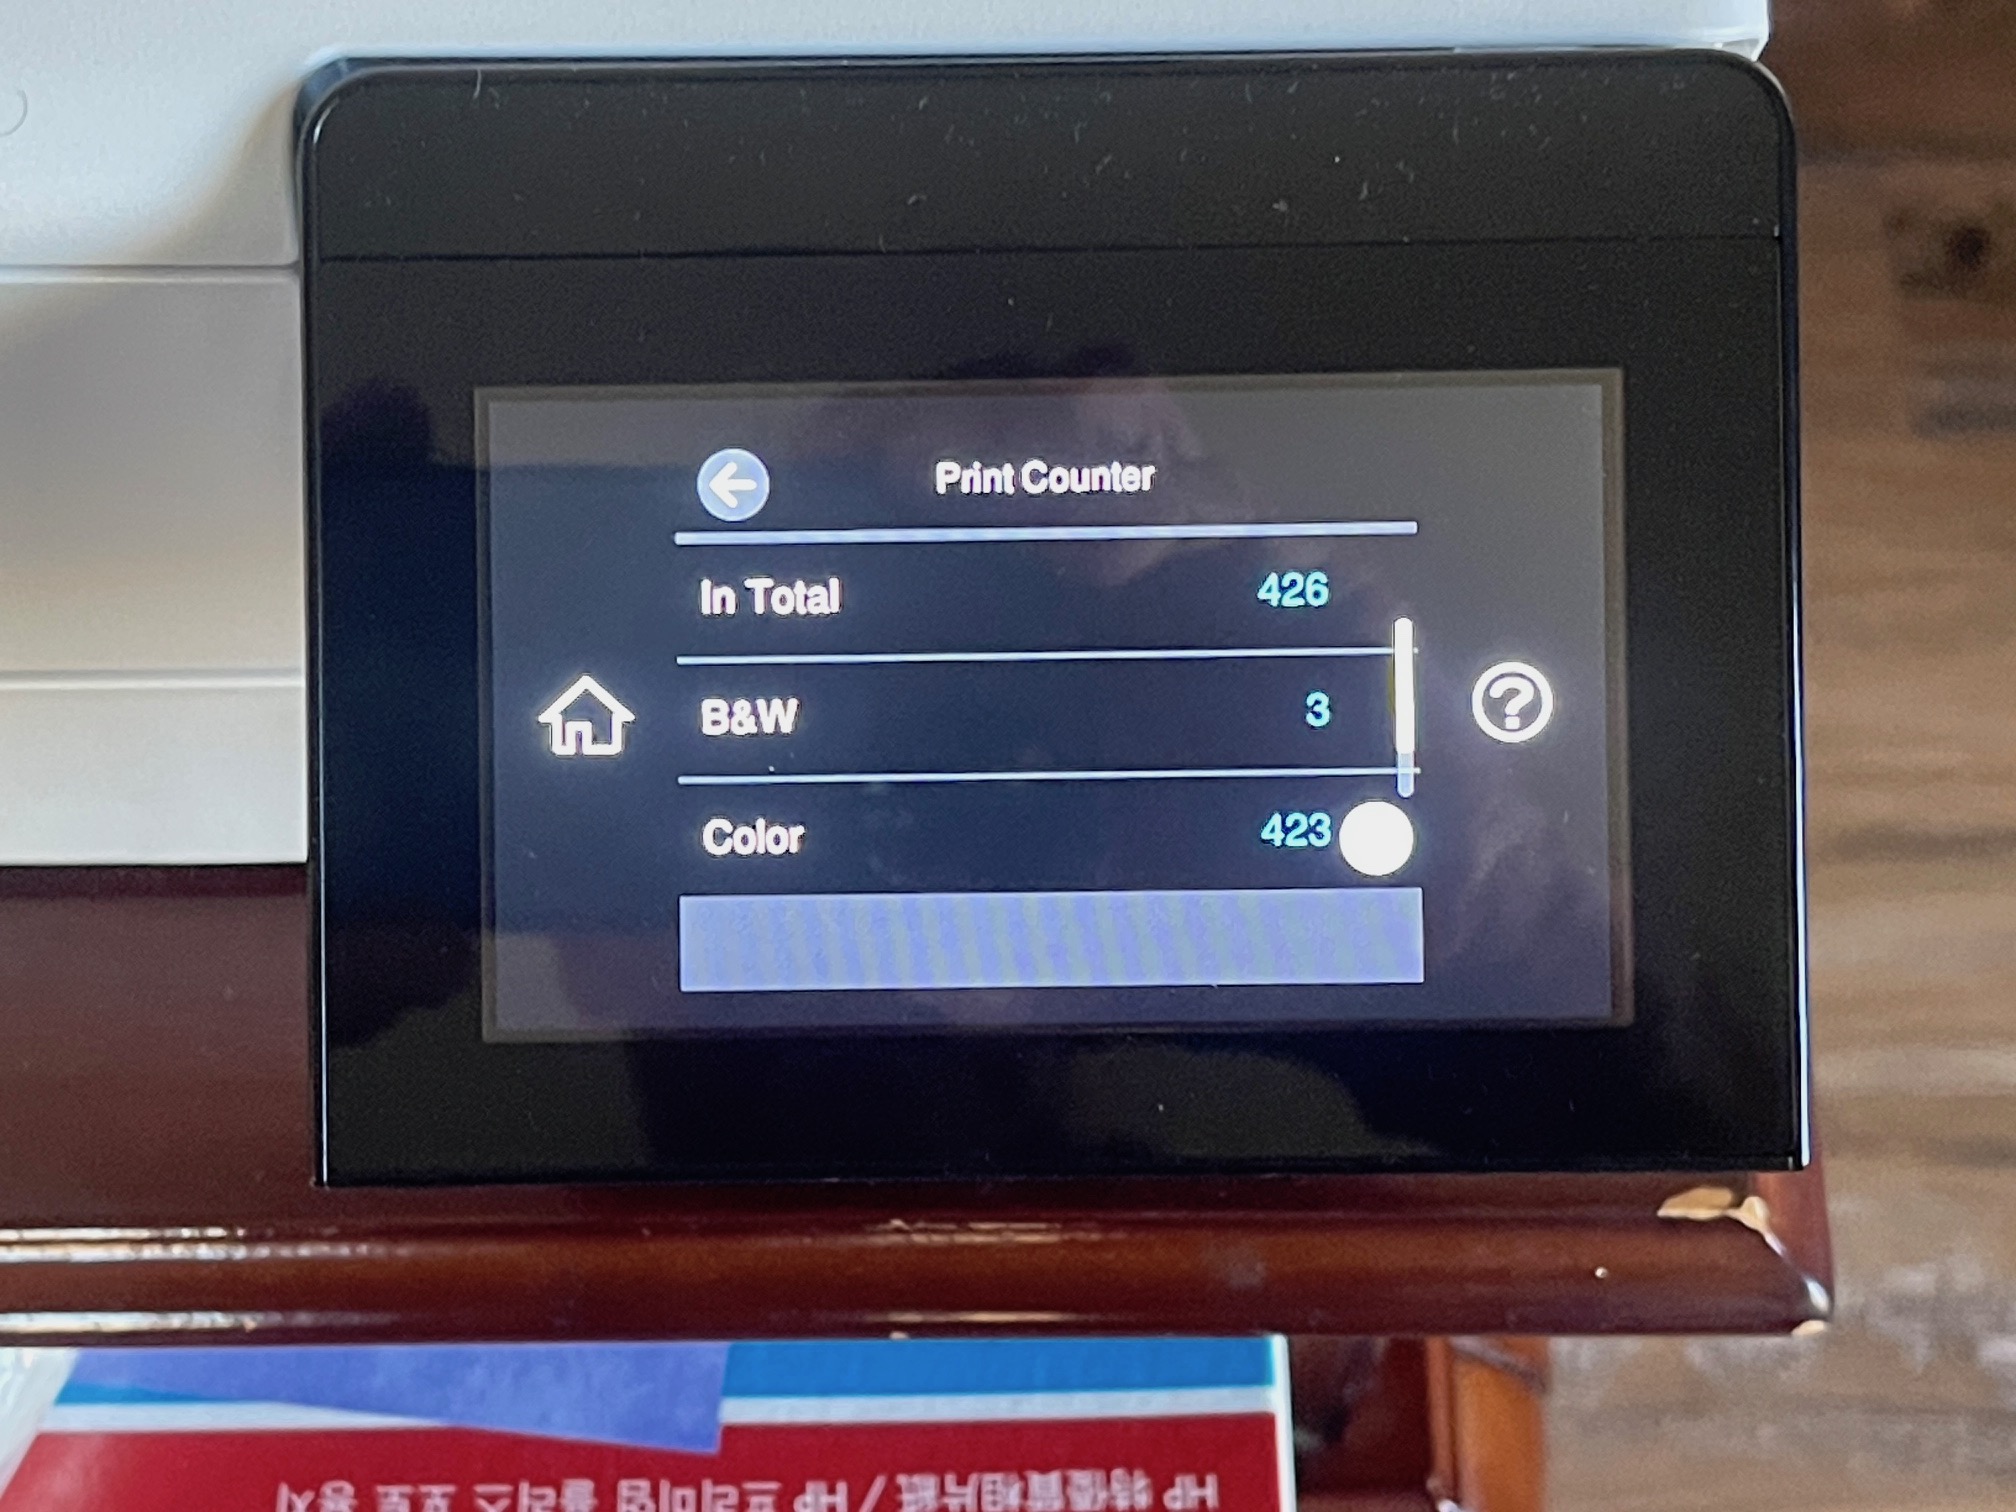
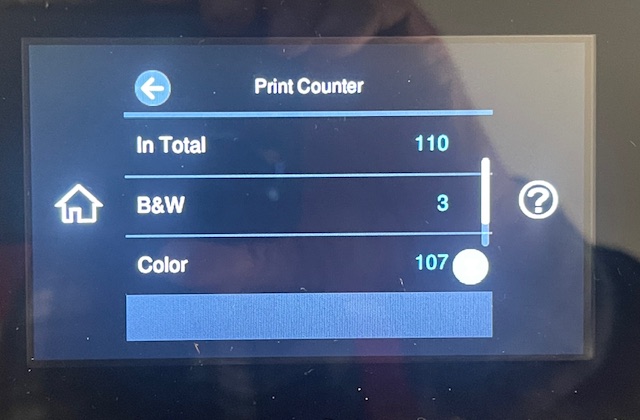
Long time readers will know that I used an HP DesignJet 90 printer for many years. The long lived dyes in that paper mean I have prints made 20 years ago, hanging in bright sun, which remain fade free. When HP discontinued their DesignJet printers many years ago they remaindered supplies of their branded swellable paper (meaning the surface swells to absorb ink dye) and I bought some 600 sheets at a few cents a sheet. That supply lasted me for the best part of a decade until my studio dog project which between free prints to owners and further prints for local display used up some 150 sheets and printing of archival images for placement in large format albums accounted for 250 more, and counting. My dirt cheap supply of HP Premium glossy was done.

There’s a lot of clap trap surrounding fancy printing papers. Some of the worst, as my extensive tests disclosed, come from the vaunted Hahnemüle every one of which was marginal to very poor. This only went to prove just how good the HP branded product was, though I never did discover who actually made it. Most certainly it was not Hahnemüle.

I only print on high gloss paper as anything else destroys definition and dynamic range. Glossy also produces the deepest blacks. You pay thousands for your gear and then destroy definition by printing on fancy schmantzy matte paper? No thank you. Sure, matte will hide blemishes and mounting errors the answer to which is that you need to fix your technique and use glossy.

If I had a complaint about HP glossy it was that heavier areas of ink would reduce gloss locally and overall gloss would drop a tad once the print/mounting tissue/board went through the Seal dry mounting press. Also, the print needed a good 24 hours for the ink dyes to dry thoroughly.

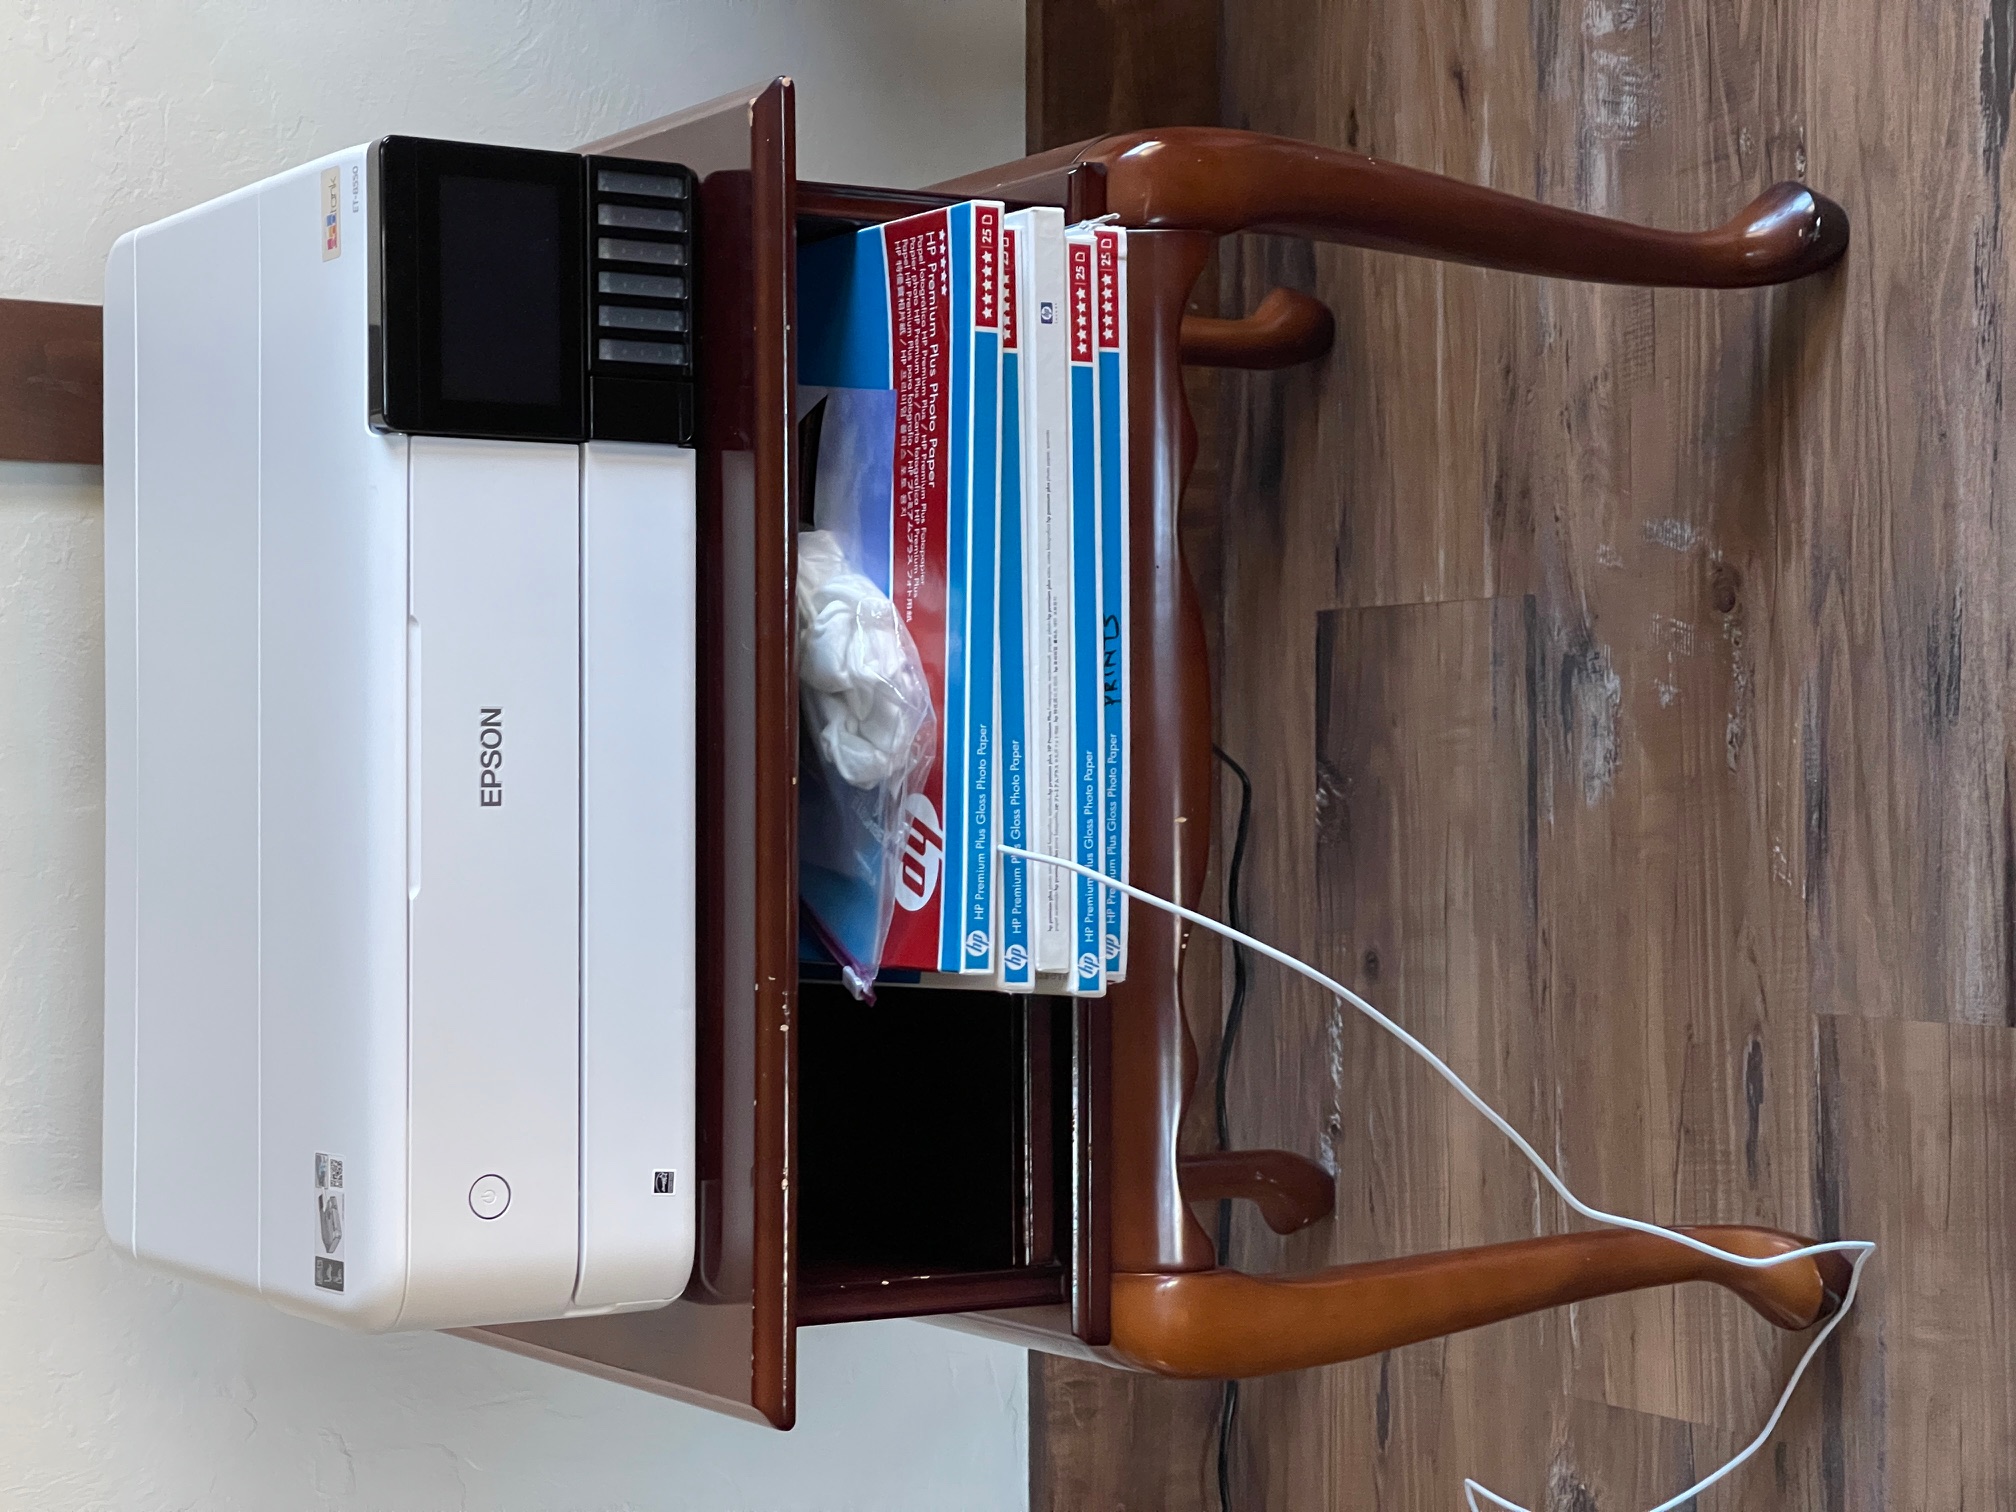
Well, I’m happy to report that none of these issues plague the Canson paper. The gloss is very high, is not remotely reduced after laying down ink (I am using an Epson ET8550 dye printer) and, better still, is full preserved after dry mounting at 190F for 75 seconds under pressure. (Interestingly, Canson makes specific reference on its site to the surface maintaining its high gloss even after being subjected to heat). Whereas HP paper would emerge tacky from the printer the Canson product comes out dry. Obviously I cannot speak to longevity – which is largely attributable to the ink not the paper, but Epson has been in the printing business a long time so there’s reason to think they have got the ink design right.

Based on my experience Canson Infinity Photogloss Premium RC paper is strongly recommended. It weighs 270g, just a tad less than HP’s 280g, no that any of that matters if you end up mounting the print on mounting board. It costs around $2 a 13″x19″ sheet and B&H has it.


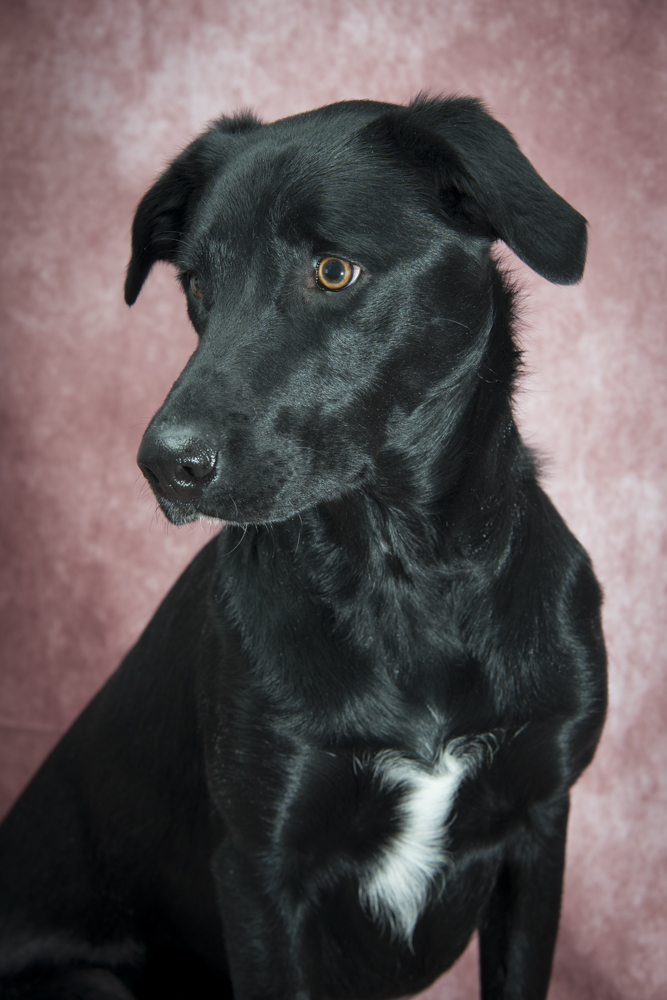
Gorgeous Hazel in the studio, my first Canson candidate.

Canson makes a broad variety of icc paper profiles including one for the Epson ET8550, and it’s what I use with Lightroom Classic.


The cryptically named
Canson icc profile in LRc.

One year with the Epson ET-8550 printer

Nothing but good news.


Print count. The fold-out touch screen works well.

For an index of all articles about the Epson ET8550 printer, click here.

Over the past year I have made over 400 13″ x 19″ prints, many exhibited in photo shows, with the Epson 8550 printer. The machine’s small footprint makes finding room for it easy while the maximum print size of 13″ x 19″ is more than good enough for exhibition sized prints. I mat those 18″ x 24″ for a satisfying result. After 400 large prints I have not had to run any of the maintenance utilities – nozzle cleaning, head alignment and so on,


The Epson ET-8550 photo printer in my home office.

As you can see I’m still using up my large supply of HP Premium Glossy dye ink paper, bought from HP when they decided to get out of the dye printer business for ten cents on the dollar, and along with the tailored profile I had made by the fine people at Freestyle Photo in Hollywood I am making good use of those 600+ sheets of paper.

Issues? Really nothing serious. I had one paper jam early on, likely caused by loading too many sheets into the feed tray. I now limit that to no more than ten and the problem has not resurfaced. Ink use remains extremely frugal at 48 cents a large print though the Grey ink is used some three times faster than the four colored dyes. At under $20 a refill bottle it’s far more economical than its predecessor, the HP DesignJet 90.

Regrets? Well, I miss the ability to make 18″ x 24″ prints but Epson does not make an economically priced printer in that size.

My maintenance box is half full so will have to be replaced in a year or so:


Maintenance box replacement.

B&H carries the replacement and it costs $25. It’s a simple drop-in replacement.

Is there an issue with color fidelity with just five ink dyes compared with the ten or more in the large ‘pro’ printers? Not at all. With a properly matched display like the BenQ PD3200Q print-to-screen color matching is well nigh perfect. The ‘experts’ claiming the contrary have no idea what they are talking about.

One quirk, used with my now ancient version of Lightroom (v 6.4) is that LR does not ‘see’ the printer if the printer is turned on after Lightroom is booted, so I have learned to turn on the ET-8550 before firing up Lightroom. No biggie.

In conclusion, if you are looking for a high quality reliable printer and need nothing larger than 13″ x 19″ prints (though the ET-8550 will also do panoramic prints, which I have not tried) the ET-8550 is recommended. If 8″ x 10″ is the most you need the cheaper ET-8500 is what you need. At $100 less that strikes me as a false economy. I paid $629 for the ET-8550 a year ago and I see that the price has now risen to $750. The premium paid at entry is quickly recovered because of the very frugal ink use.

By the way the printer also has a built-in scanner and it works well. Epson constantly updates the printer’s software and I have been sent four updates over the past 12 months.

Epson ET-8550 – ink use

In a word, frugal.

For an index of all articles about the Epson ET8550 printer, click here.

One of the claims made by Epson for its ET-8550 ink tank printer is that is uses ink frugally.

Here are some data from my early experience. Bear in mind that about 1/4 of each ink bottle is used to fill the feed tubes and print heads when the printer is new, so the actual ink use is even lower, and I allow for that in my calculations.


110 prints made from new.

All prints made have been 13″x19″ in size. In practice I made 31 monochrome prints, not 3 as shown, as I now output them from Lightroom as ‘color’ originals which have been converted to B&W. Epson counts those as ‘Color’ as it cannot tell the difference.

Here are the ink levels after those 110 prints from new:


110 prints made from new.

Each ink bottle is 70ml in size, meaning we have to add back 25% of that amount, or 17.5ml, to take out the effect of the ink stored in the lines and heads. Obviously these do not need refilling – it’s a one-off permanent ‘ink sink’ for a new printer.

This computes to use in mL and % of full as follows after adjusting for the ink sink:

BK – pigment black – 0ml, 0%
PB – dye Photo Black – 17ml, 25% – this confirms that the 8550 is only using dye black ink for prints, not pigment black ink. In fact, the 0% use of the pigment black ink suggests that pigment black ink is being reserved solely for printing office documents and dye black is used, by default, for making photographic prints.
C – dye cyan – 25ml, 35%
Y – dye yellow – 17ml, 25%
M – dye magenta – 26ml, 38%
GY – dye grey – 81mL, 116% – I have refilled the GY tank once with 70mL of ink added

The high GY use reflects the many B&W prints made, but averaging the five dye tanks out use (pigment black is not used for prints so that sixth color is disregarded in the calculations that follow) is 166mL or 2.4 tanks for 110 13″x19″ prints. Stated differently, five dye tanks will allow printing of 230 13″ x 19″ prints or, if you prefer 608 (!) 8.5″ x 11″ prints. The cost of five 70mL dye ink bottles of genuine Epson ink (only a fool would use aftermarket substitutes at this price) is around $85 or 48 cents a 13″x19″ print.

That agrees with my definition of frugal, and while you can print office documents using that pigment black ink, I do not recommend that for two reasons: first, it’s bog slow. Second, a cheap desktop laser printer is faster and cheaper.

One note. Dye ink is absorbed by the swellable HP printing paper I am using and probably handled in much the same way by Epson papers and those from other makers. The dyes soak into the emulsion of the paper and need time to dry. In fact, you can feel the tackiness of the surface of a fresh print. So leave new prints out in the air for 24 hours before putting them in sleeves or heating them for mounting, etc.


My high end print drying area.

Itoya large print portfolio

An inexpensive display approach for large prints.

It costs some $40 to mount, mat and frame a print for hanging. Not cheap, especially is you have many. A related issue is that wall space is limited unless you are an oligarch or billionaire.

One inexpensive alternative is the ‘family’ album, but that usually comes in small sizes for display of wallet sized prints.

However, there is a fine product to be had, made by Itoya, which comes with 24 13″x19″ plastic sleeves, each with a black interleaver to prevent ‘bleed through’ with back to back images. B&H has the best price; buy two or more and shipping is free.


The album holds 48 13″x19″ prints, back to back.
Click the image to go to B&H.

Longevity? I have one where the prints have been in contact with the acid-free plastic sheets for over a decade and the colors are as good as new, with no yellowing. One cautionary word. If your prints are freshly made let them air dry for 24 hours before inserting in the sleeves. This will avoid having heavy ink areas stick to the plastic. That is certainly my experience with the Epson ET 8550.

It takes longer to sort the prints than it does to insert them in the sleeves:


This batch used less than one tank of ink in total in the Epson 8550.

Framing really big prints – an update

New supply sources.

I last addressed this topic in 2006 and the only things changed since then include the usual bankruptcies and disappearances of vendors.

With a new batch of mounted prints ready for framing (you can read about dry mounting here), courtesy of the fine Epson ET-8550 printer, it was time to procure mats, mounting boards, frames and glass, and some research disclosed two vendors with good quality and affordable products:

  • Mat Board Center. Ten 18″ x 24″black mats cut for 13″ x 19″ prints, along with 1/8″ thick mounting boards and glassine sleeves ran me $126.20. This vendor has frequent special offers and I got free shipping, so check before you order. The mats are perfectly sized, the boards were 1/16″ too wide for my frames of choice, easily remedied after a few minutes with a sharp Stanley knife. Avoid their Plexiglass frames – Plexiglass is awful, a dust magnet and scratches as soon as you clean it.
  • Four 18″ x 24″ wooden frames with glass (yes, not the awful plexiglass alternative) with a backboard came from The Display Guys at Amazon at just $104.99 for four. Packaging could not be better and the frames and glass arrived in perfect condition. All you need add is some wire and hooks or use the attached saw tooth hangers.

That figures to a total of $38.87 per mounted and framed print compared with $75 back in 2006 ($145 in today’s money!) with no need to clean the glass and no need for a framing points driver as the backboard supplied has latches. Given that the frame and glass are encased in Saran Wrap, the best way to unpack this is to slit the clear wrap from the back, inside the frame. That will give you free access to insert the mat and mounted print with the front glass still protected by clear wrap. Insert your picture hanging wire, hang the mounted and framed print and remove the wrap as a last step. You never risk touching/fingerprinting the glass.

Because the foam mounting board I use is 1/8″ thick, the swivel locks for the backboard cannot engage, so you may still have to invest in a framing points driver to retain the backboard with this combination. It’s a modest one-off cost which will repay over many years.

I attach the mat to the mounting board with a couple of strips of 3M double sided mounting tape. Alignment can be critical and you do not want white borders showing in the event that the mat shifts relative to the print during the process of inserting the ‘sandwich’ in the frame.


Frames unpacked and ready for insertion of mounted prints.

So price inflation is not all you would expect and I have found the above supplies to be indistinguishable in quality from the ones used 17 years ago, and I did not even have to assemble and glue the frames.

A note on the Seal/Bienfang (now D&K) 160M mounting press I use: these retail for $2200 new, which is a ridiculous sum for so simple a piece of hardware. They are regularly available on eBay for $500. Don’t waste money on a new one. Repair parts remain easily available. Replacement thermostats are here. Other than that there’s not much to go wrong here.