How to make sure you are using the paper/printer profile.
For an index of all articles about the Epson ET8550 printer, click here.
There’s a poor piece of interface design in the Print module of Lightroom Classic (LRc) which, if the user is not aware of it, will result in a custom paper profile NOT being used and will have LRc default to color management by the printer, which is NOT what you want. I’m on LRc 14.1.1 but would bet that earlier versions have the same bug. Easily checked if you read on.
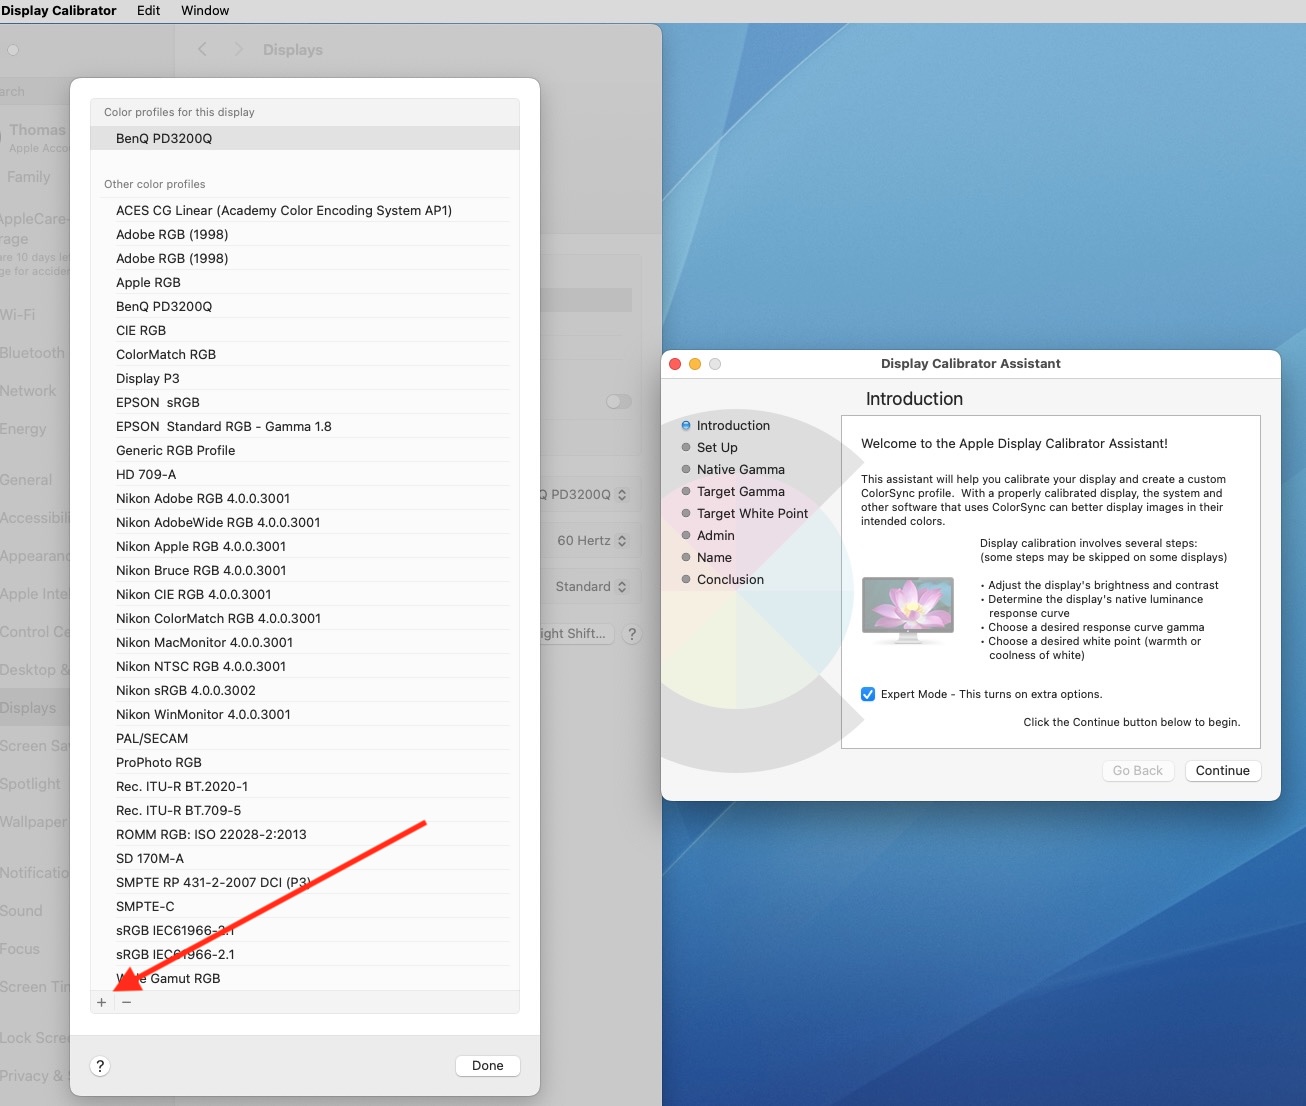
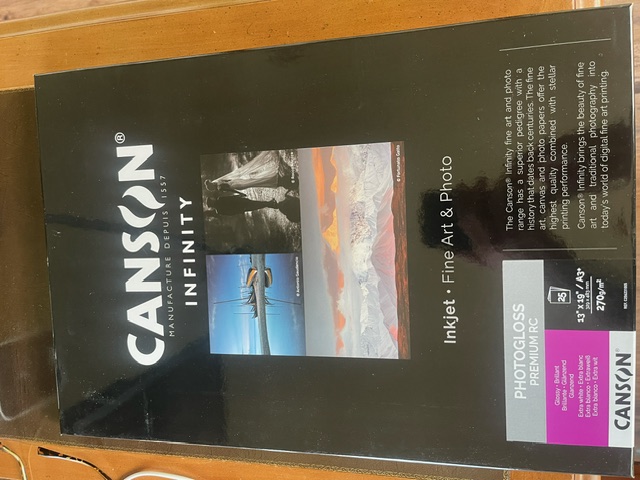
Most quality paper manufacturers make icc profiles available for a variety of printers and for a broad selection of papers. For example, my default paper’s maker, the French Canson company, lists a host of profiles for its papers here. Dial in your printer’s make and model – the Epson ET-8550 in my case – and you can download and install the relevant profile(s) for use with LRc.
If you are using a custom icc profile matched to your printer and paper then you must not allow the printer to manage color. You want your computer to manage color which in the case of a Mac means you must use Colorsync. This will ensure that the tailored profile is applied when the print job is sent to the printer. Adobe has a somewhat cryptic italicized note to this effect in the Print Job section of the Print module, thus:
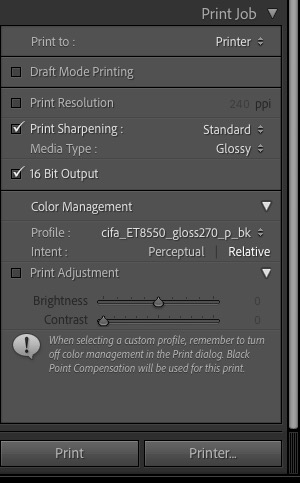
The Canson paper profile has been invoked under
‘Color Management’. Note Adobe’s italicized advisory.
The problem is that you cannot ‘turn off’ color management on purpose (meaning selecting ColorSync – see below) as LRc does that for you. But you sure as heck can accidentally turn it on, and I explain how that can happen in the details which follow.
Now click on Printer, lower right above and you get this:
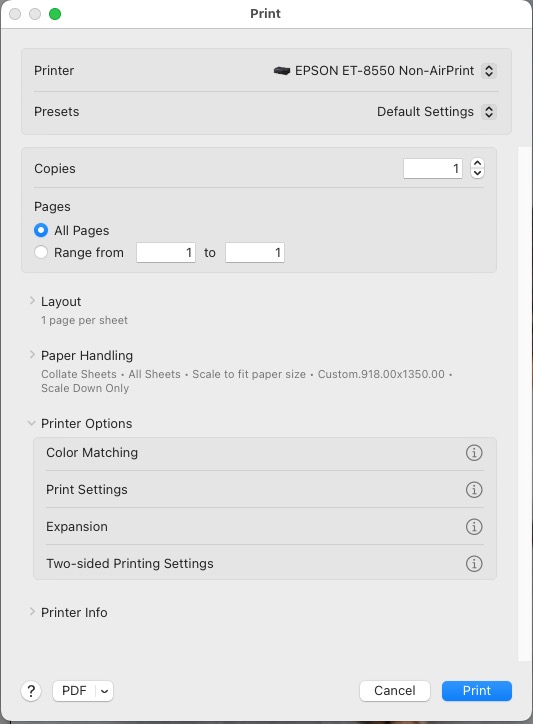
The Print dialog.
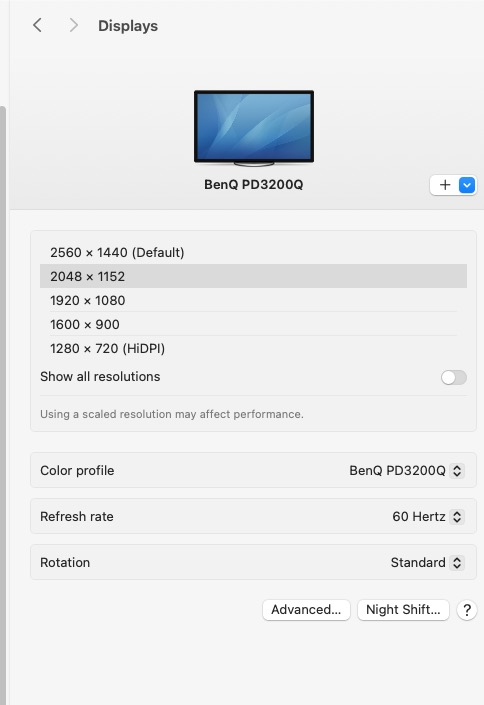
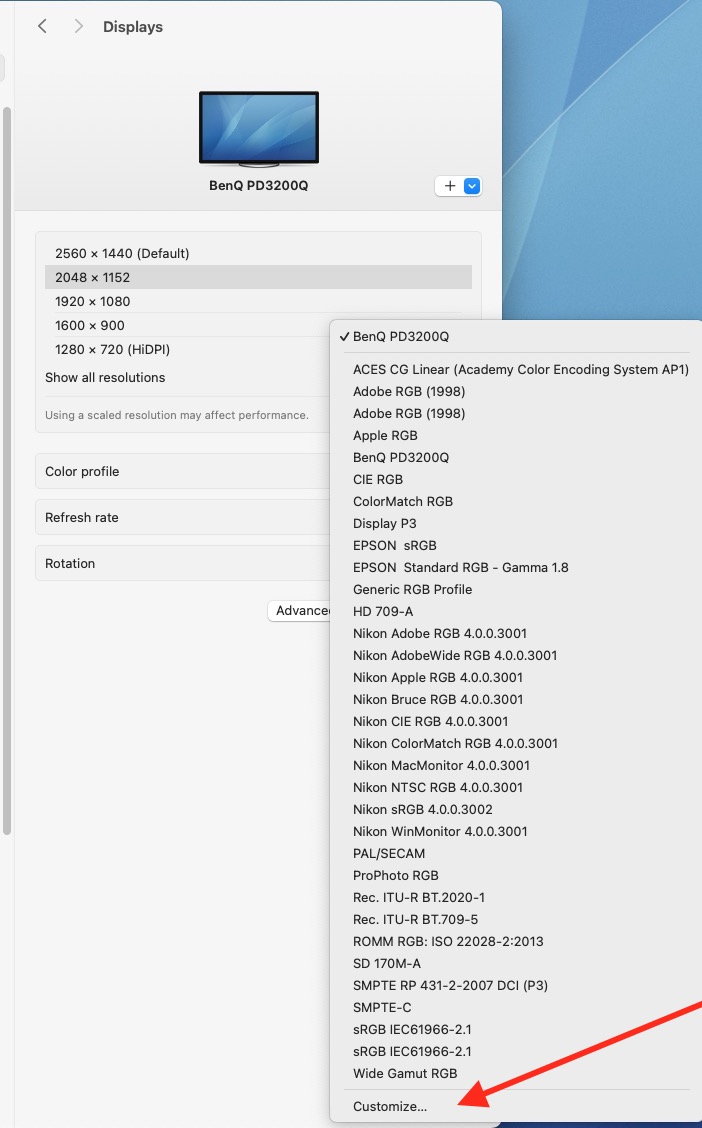
Click on ‘Color Matching’ and you will see:
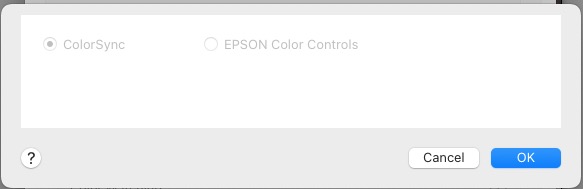
LRc has selected ColorSync. It’s greyed out,
so you would think it cannot be disabled. Read on.
Whatever you do, do NOT click on ‘Cancel’ to exit this dialog. If you do click on ‘Cancel’ and click on ‘Color Matching’ again guess what? Adobe switches the printer setting to ….
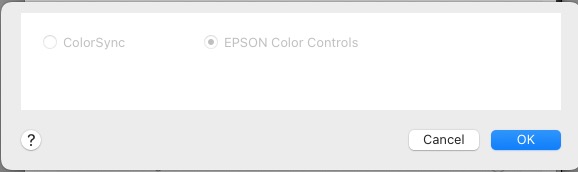
The Print dialog. LRc has switched
to ‘Managed by Printer’. WRONG!
The tailored custom paper and printer profile you think you are using will be bypassed and the printer will take control of color management, which is exactly what you do NOT want.
Instead, to exit the Print->Printer Options->Color Matching-> dialog (go up two images) you MUST click on ‘OK’. That will preserve the ColorSync setting and you should not have to go into that dialog box ever again. The ColorSync setting is stable and is preserved even if you exit and restart LRc.
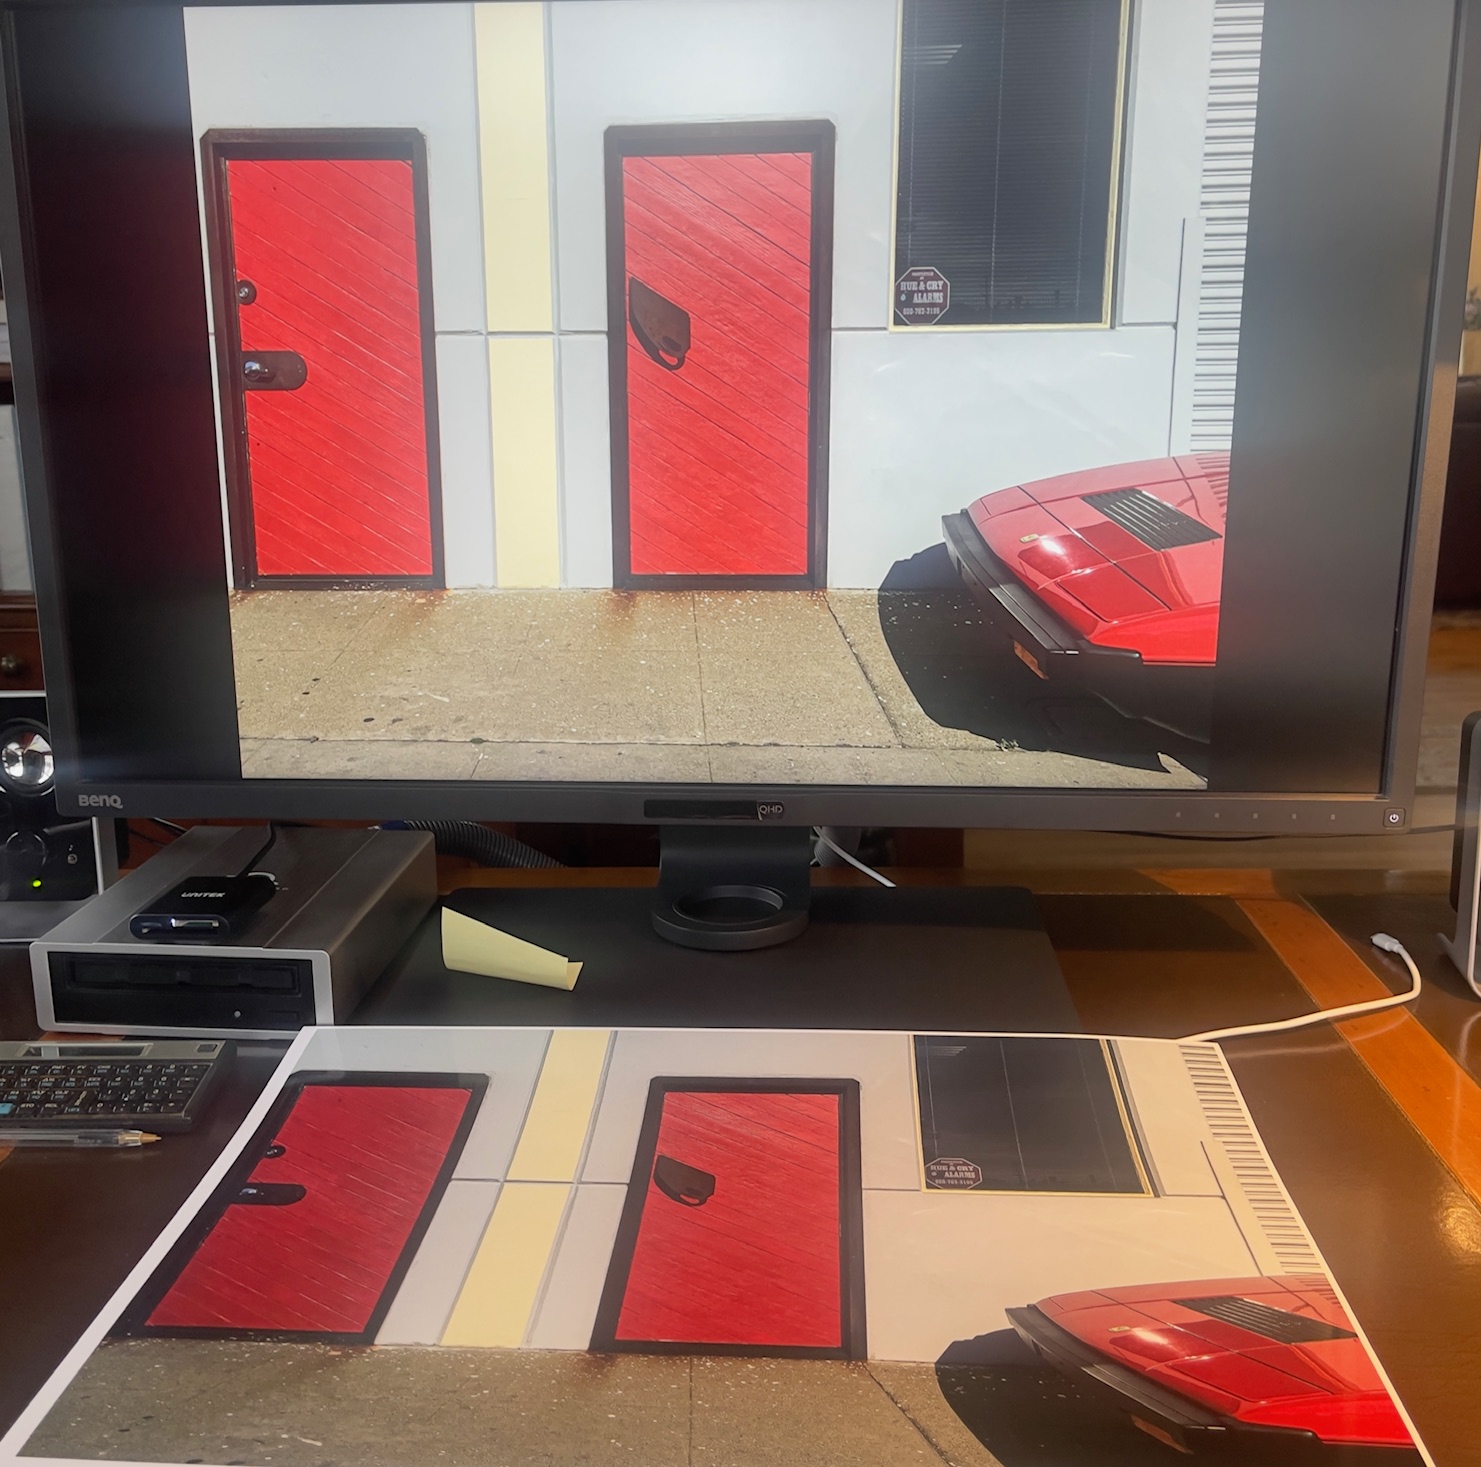
How did I discover this? Well, print colors were off in my first run with Canson paper and only after a bit of digging did I realize that I had lost the ColorSync setting which ensures that LRc manages color using the custom paper/print profile. The Epson printer had taken over, messing things up as it does not know to apply the custom icc printer/paper profile. All the printer knows is that you are using glossy paper (if you told LRc that – in the ‘Print Settings’ drop down in three images above) and nothing else.
You can safely confirm that color management is indeed Off by clicking on Print Settings->Advanced Color Settings whereupon you should see this:
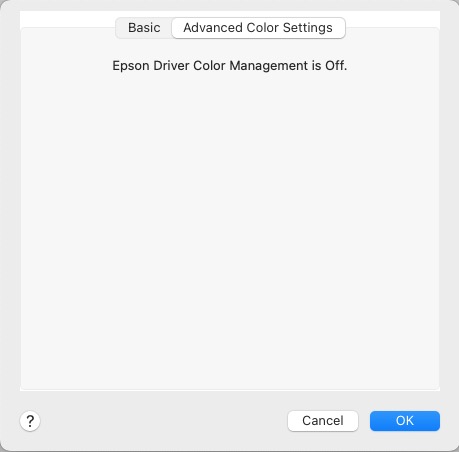
Confirmation that Color Management is Off.