Category Archives: Technique

Snapseed for OS X

A great effects app comes to the desktop.

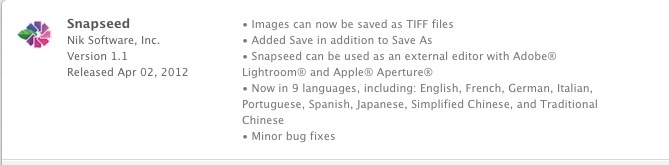
I wrote about the use of the iOS app Snapseed here and have had lots of fun with it since on my iPhone 4S. Nik Software has now released a like-featured OS X version, althjough it’s four times the price of the iOS version at $20. Go figure.

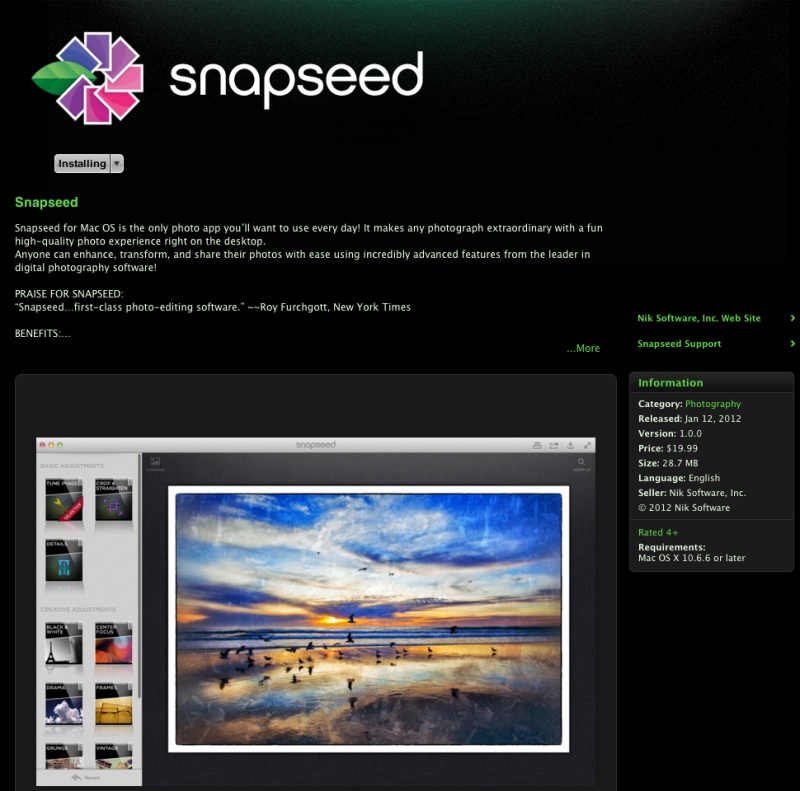
Snapseed in the Mac AppStore.

It’s 57mB (twice the size shown above) and downloads in a couple of minutes. As I catalog all my snaps in Lightroom, I went to LR3->Preferences->External Editing and added Snapseed as an export option. Thereafter it’s a simple matter to export a RAW original to a JPG in Snapseed – Snapseed does not support TIFF or PSD files, so exports to it are converted to JPG. Likewise, it can save in JPG only, albeit respecting the full size of the original – meaning 3056 x 4576 for a RAW file from my Panasonic G3.

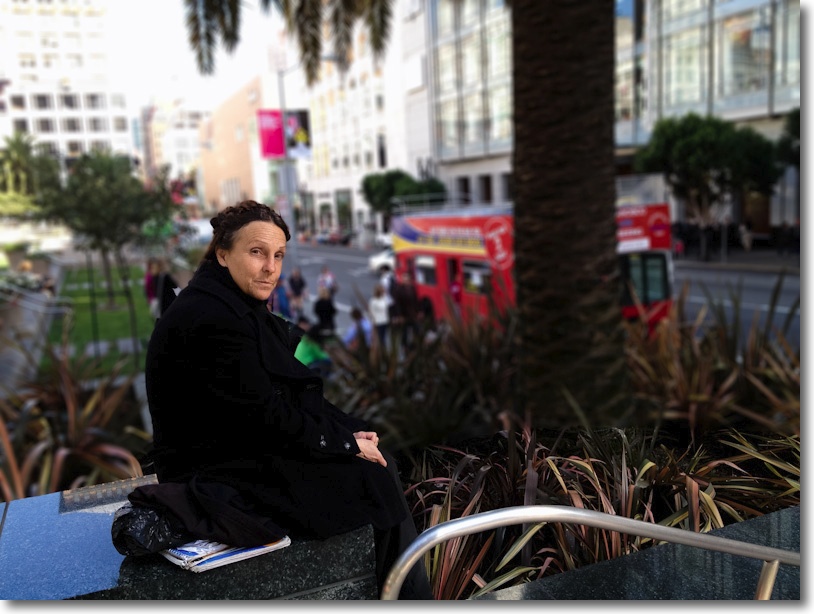
The timing of the app’s release could hardly have been better as I had just snapped a worker at the Transbay Terminal construction site on Howard Street in San Francisco with a backdrop of massive I-beams and the original needed a little something to confer the industrial feel I wanted. An export to Snapseed saw the original thus:

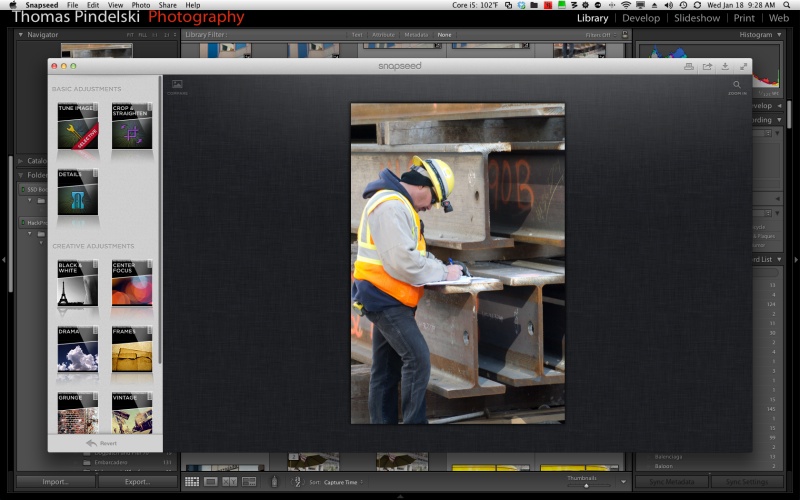
Original exported into Snapseed.

A few quick tweaks in the ‘Grunge’ panel were followed by a touch of CenterFocus/Vignette/Blur, and with the addition of a Grunge Frame I had what I wanted. Saving the file seemed to place it in the Lightroom directory, judging by the filename, but I could not see it in the Lightroom Grid view, so decided to save it to the Desktop and import it thence to LR3. I suspect I’m doing something wrong and will look into it – with PS CS5, for example, a ‘Save’ places the file right next to the original in the LR3 Grid display.

Here’s the result:

At the Transbay Terminal site, SF. G3, 45-200mm @ 78mm.

The simple user interface, the quality of the many effects and the general speed and ease of use make this a bargain, even at $20, compared to $5 for the iOS version. Sure, you could do all of this in iOS, laboriously exporting and reimporting the picture, but life’s too short for that. This is no substitute for the industrial strength of Photoshop, but try doing all of the above in under one minute in that behemoth of an application. Snapseed is proof that a few carefully selected effects in a well engineered product suffice most of the time.

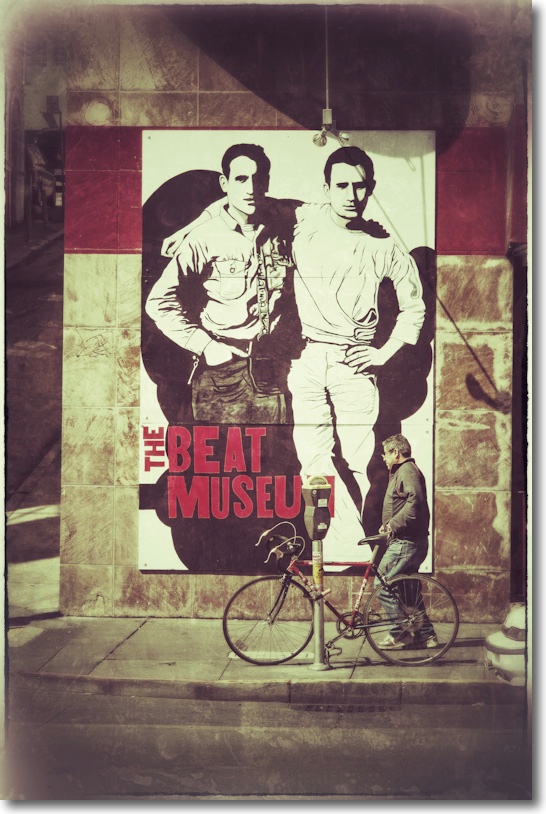
Here’s another before/after of an image also snapped yesterday.

The original:

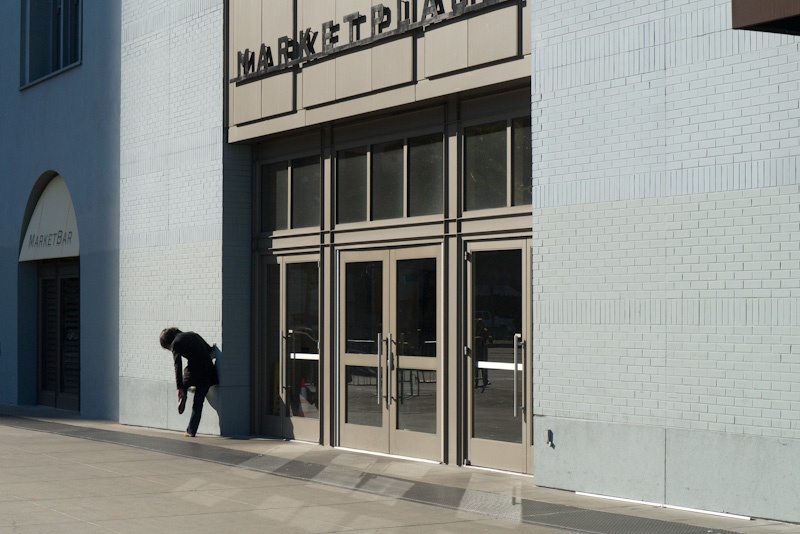
The shoe. G3, kit lens @35mm.
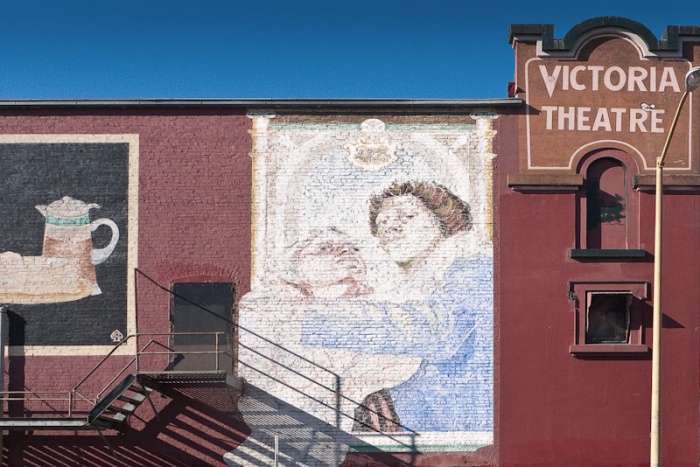
After:

After Snapseed.

In this example I used the ‘Tune Image’, ‘Drama’ and ‘Frames’ settings. ‘Tune Image’ includes selective options, though I did not use those here. Snapseed has done a great job of enhancing drama and bringing up detail in the bricks, highlighted by the setting sun.

Update March, 2013:

Sadly Google, which acquired Snapseed along with Nik Software, has discontinued the OS X version. Quite why not keep it available, when the support and development costs are zero, beats me but doubtless Google is Doing Evil, consonant with its missing moral compass:


Recent App Store search for Snapssed for OS X.

Correcting verticals

A simple Photoshop routine.

The eye is exceptionally sensitive to parallelism and hence to leaning verticals. Hang a picture on the wall just a few minutes of arc out of level and anyone will spot the error immediately. Leaning verticals in photographs, where none are called for, are every bit as objectionable.

Correcting these is easy and better done in Photoshop than in Lightroom with its limited controls.

Click the picture for the instructional video and watch out for the phone call at the end! It seems that no matter how hard one tries to switch of all the sounds that pervade our lives, there’s always at least one sound source to be missed.

Click the picture for the video.

The video is 8 minutes long.

Background Blur

Making the subject pop.

I have referred to the need to blur backgrounds in pictures made with short focal length lenses often. As cameras get smaller, focal lengths shorten. The 35mm FFE lens in the iPhone 4S, for example, has a focal length of but 4.3mm, meaning just about everything is always sharp. At a given aperture, depth of field is solely a function of focal length, having nothing to do with sensor size.

To put this in perspective, the 50mm FFE lens on a full frame 35mm camera or DSLR become 150mm on a 4″ x 5″ sheet film monster, 80mm on a 6×6 medium format Hasselblad, 25mm on an MFT body and just 6 mm on the typical cell phone with its microscopic sensor. Compared to a 6mm, the depth of field of a 150mm lens is miniscule – everything is in focus with the former, little is with the latter. So selective focus on small cameras, absent help from software, is not going to happen ‘in camera’, yet.

If a picture is worth a thousand words an instructional video is an order of magnitude more efficient, so I have made a brief video explaining how to confer background blur using Photoshop CS5, which you can see by clicking the image below. While I start and end the process in Lightroom3, that’s not a required part of the workflow. Use whatever database you like for storage.

And remember, the only people who will know you used this technique will be those you tell in advance.

Click to view the 8 minute video.

One day this technology will be built into software in cameras. The user will be able to restrict the zone of sharpness to the main subject. Cameras already have face recognition. Selective focus is a rational extension of this thinking. Meanwhile, PS CS5 does just fine.

Simple animation

A time lapse movie is easy to make.

Our 9 year old son likes to get traditional games from Mindware, a source which specializes in non-electronic toys and games with the common theme of making a child (or adult assistant!) think.

His latest is a study in criminality, also known as the building of Manhattan. First you assemble a jigsaw puzzle of Manhattan, complete with cutouts for all the buildings, then you insert the buildings in chronological order showing how Manhattan, as we know it today, grew. The oldest is the 1812 City Hall, the newest the Millennium Tower, that monument to hubris and stupidity which is an open invitation to terrorists for an action replay of 9/11.

When assembling the puzzle, Winston reminded me that he had taken a movie animation class during his summer holidays, so it was a matter of moments to set up the G3 on a tripod, hand him the wireless remote and instruct him to press the button after each building was inserted. This he proceeded to do with great aplomb, giving the remote a dramatic swing and press each time. David O. Selznick would have been proud.

You can download the result by clicking the picture below. Two things are immediately obvious – the white balance control in the Panasonic G3 sucks (as it did in the G1) and I really should have used a constant light source like an electronic flash. A couple of frames are unsharp, probably the G3 waking from sleep and failing to focus in time. Further the inevitable bumps of the tripod make the result move around a bit. Finally, the Statue of Liberty was not the oldest structure, but as a proud American, Winston insisted of placing it first.

Click the image to download.

I have a pretty good knowledge of Manhattan’s architecure from having lived there many years and because architecture fascinates me, so it was no surprise to find that the easiest buildings to place were those built before 1960 with the hardest dating from the International Style boxes which dominated the subsequent decade. I mean, how do you tell one smooth-sided slab from another? I’ll make honorable exceptions for Seagram for its quality and Lever House for its airiness, both on Park Avenue, but the rest of that period would benefit from a wrecking ball. And if you want something quite unsurpassed for sheer ugliness, try the grandly named 1 New York Plaza on Water Street at the tip of Manhattan, where I worked at Salomon Brothers in the 1980s. The miscreant designing this had some sort of obsession with those early touch type elevator buttons because that’s all it resembles.

While you can get a far higher quality result than in this case, the technique involved is simple. Dump all the pictures into iPhoto, click Command-A to select all, then drop them in a New Project in iMovie. I used iMovie ’09. Hit Command-A in iMovie to select all the images then hit C for Crop. Click on Crop to avoid the Ken Burns effect default, which does not work for time lapse movies. Then export the movie (‘Share’). This one has 127 images/buildings, one second for each. The download is just 11mB in size.

Using GPS coordinates

Easy with an iPhone.

Many photographers like to record GPS data with their pictures, thus saving the exact location of the snap. While GPS receivers are gradually making their way into cameras and some makers offer add on gadgets to record such data – the poor man’s route is available to anyone with an iPhone. I suspect Android phones offer the same technology, but do not know. My cell phone is an iPhone 3G – two generations old, soon to be three generations old.

Any picture taken on an iPhone records GPS coordinates which can be viewed in Lightroom 3, iPhoto or any number of other processing applications.

Here’s an example using the snap of my lunch at Nova Bar the other day, imported into LR3:

GPS coordinates for lunch.

Simply typing these into Bing Maps (I refuse to use products from the criminal cabal that is Google) you get the location:

The location of the photo on a map.

In a Bird’s eye view the coordinates disclose the location on the wrong side of the road, all of 30 yards out. Not bad.

Nova is on the other side of the road – pretty close!

So unless you have the latest and greatest in camera technology, a quick snap with your cell phone will allow you to save the GPS locations for your latest ‘shoot’.