Swellable choices.
Paper in large cut sheets for the HP DesignJet 30/90/130 dye ink jet printers is becoming increasingly hard to find under the HP brand name. This is hardly surprising, coming from America’s worst run big business. What distinguishes this paper from most current offerings is that the surface swells to absorb the ink dyes used in these printers, in contrast to almost all current ink jet printers which use pigments deposited on the surface. Further, archival life (80 years) is guaranteed with HP’s Vivera dye inks. If you use pigment ink paper with the HP 30/90/130 printers there is no guarantee that the ink will either dry properly or deliver archival life.
As I do not want to buy paper in rolls and have to cut it up manually, a process comparable to a root canal once you get to deal with paper curl, I did some research on large cut sheet supplies from sources other than HP. I write ‘sources’ rather than ‘manufacturers’ as HP never made its printing paper, outsourcing the task like with everything else they ‘make’. The paper boxes state ‘Made in Switzerland’ but I have never been able to determine who the maker is
Moab‘s web site is confused about the meaning of Vivera inks. This has been a trade name which HP has used for both its archival dye and pigment inks. Thus Moab’s statement on its site that ‘Our papers all work with Vivera inks’ is not sufficiently specific to give comfort about use with the DJ 30/90/130 range.
Museo (Crane) specifically states that dye inks are not going to have archival lives used with their papers.
Ilford is hip to dye inks, offering those as a choice in both its regular and commercial sizes. However, the commercial papers come in rolls only and the only one in their regular range which is usable with dye inks is Galerie Prestige Mono Silk which is stated to be for black & white only. I (hardly ever) do black & white, so move on.
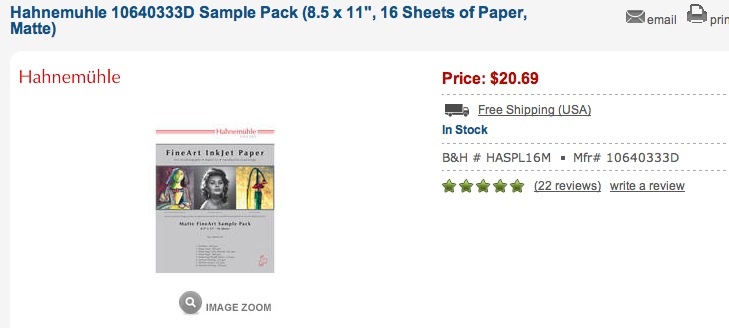
Hahnemühle offers hope. They claim to have been making paper since 1584. Hahnemühle is a German company with subsidiaries in England, France, America and China, so it’s unlikely they are the manufacturer of the HP-branded paper. Their largest cut sheets are 17″ x 22″ – a little under the 18″ x 24″ capacity of my DJ90 – but they specifically state that the following papers are suitable for use with dye inks, selling them in sample packs of eight, either matte or glossy:
Papers in the matte sample pack:
- Bamboo 290gsm (0,1,2,3)
- Photo Rag Duo/Book & Album (Sugar Cane) 220gsm – printable on both sides (0,1,2,3)
- Photo Rag ultra smooth 305gsm (0,1,2,3)
- Photo Rag 308gsm (also available in 188gsm and 500gsm) ** (0,1,2,3) (188gsm and 308gsm only; 500gsm comes in 24″ x 30″)
- Photo Rag Bright White 310gsm ** (0,1,2,3)
- German Etching textured 310gsm ** (0,1,2,3)
- William Turner textured 310gsm (also available in 190gsm) ** (0,1,2,3)
- Museum Etching textured 350gsm (0,1,2,3)
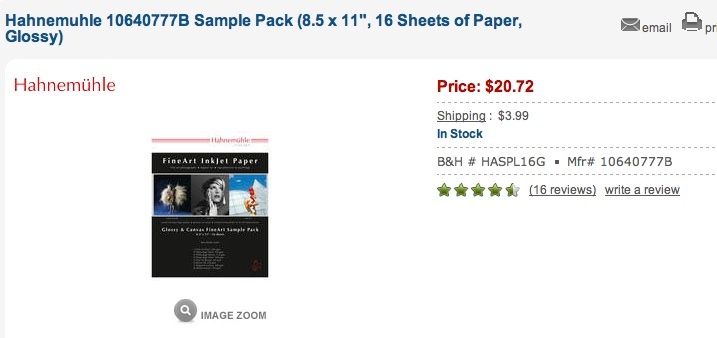
Papers in the glossy sample pack:
- Fine Art Pearl 285 gsm (0,1,2,3)
- Photo Rag Baryta 325gsm (0,1,2,3)
- Photo Rag Satin 310gsm ** (0,1,2,3)
- Photo Rag Pearl 320gsm (0,1,2,3)
- Fine Art Baryta glossy 325 gsm – for black & white (0,1,2,3)
- Baryta FB Glossy 350gsm (0,1,2,3)
- Daguerre Canvas 410gsm (4)
- Monet Canvas 410gsm (4)
** Denotes that an icc profile is available for download on the Hahnemüle site for the HP DesignJet 30/90/130 printers.
Notes:
0 – Available in 8.5″ x 11″
1 – Available in 11″ x 17″
2 – Available in 13″ x 19″
3 – Available in 17″ x 22″
4 – Available in 11.7″ x 16.5″
Each of these also comes in a variety of larger roll sizes. Weights are shown above as they are of concern. HP-branded Premium Plus Satin weighs in at 280gsm, Premium Plus Glossy at 286gsm. So there is an issue as to whether the HP will handle heavier papers loke those above, which will be thicker.
Hahnemühle (“Ha-ne-mule-er”) still offers downloads of paper profiles for use with the HP DJ 30/90/130 printers and I explain how to install these for Lightroom 2 and 3 users in a five-year old piece here written in anticipation of the day when HP-branded dye ink jet paper would no longer be available. That day is close.
For Lightroom 4 users I will include a downloadable file of paper profiles, in the follow up piece, for a handful of Hahnemühle papers, once I have tested these, together with instructions as to where you need to copy these to so that they show up properly in both the Develop/Soft Proofing and in the Printing modules of Lightroom 4. The enhanced soft proofing (screen preview of the print) capabilities of LR4 really make upgrading a lot of sense if you are still on an older version of LR. The soft proofing in LR4 not only simulates the colors of your finished prints, it also simulates the white color of the paper you tell LR to soft proof to! And the differences are quite easily visible on the display.
Archival HP DJ 30/90/130 profiles appear here on their site. I will include all of these – and more from my archive – in the two follow up articles to this piece.
B&H lists a sample pack including all of the above papers for a modest sum and I have one of each of matte and glossy on order:
I’ll report back after having run some tests. There will be two subsequent pieces – the first dealing with Hahnemühle non-glossy paper surfaces (Matte and Textured), which I suspect most readers here use. The second will deal with glossy Hahnemühle papers (Satin and Glossy), glossy being the surface I use most of the time as it delivers the highest dynamic range and detail.
Matte/textured paper tests appear here.
Glossy paper tests appear here.
Fade tests will be published three months hence when I have the results.