Riveted.
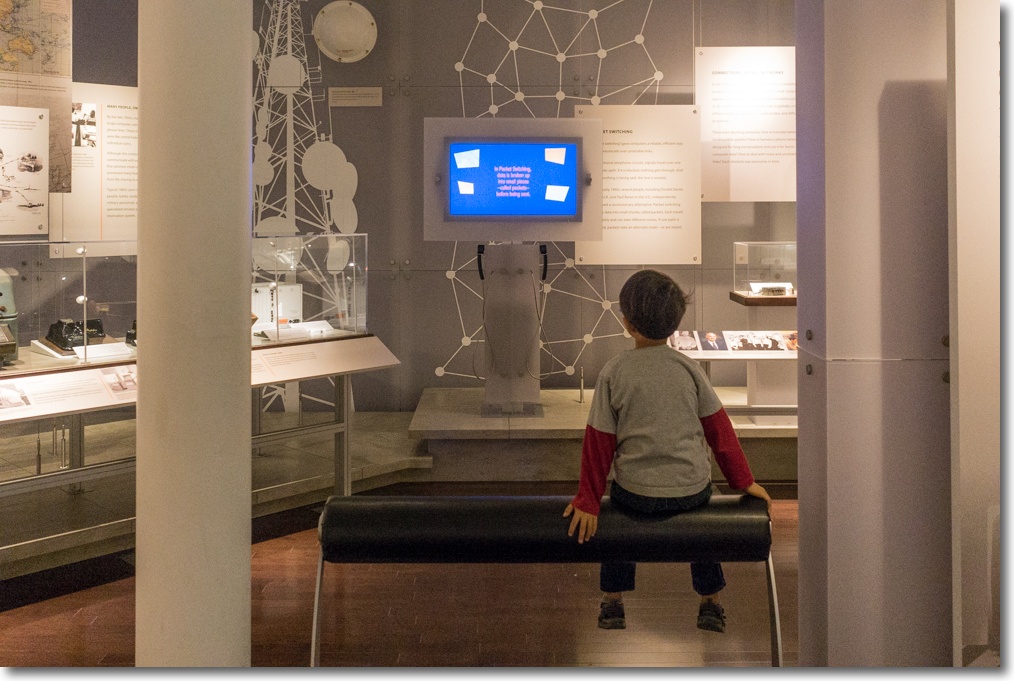
A young boy is fascinated by one of the many interesting exhibits at the Computer History Museum in Mountain View, CA.
Panny GX7, 17mm Zuiko, ISO1250.
Riveted.
A young boy is fascinated by one of the many interesting exhibits at the Computer History Museum in Mountain View, CA.
Panny GX7, 17mm Zuiko, ISO1250.
North Beach, SF.
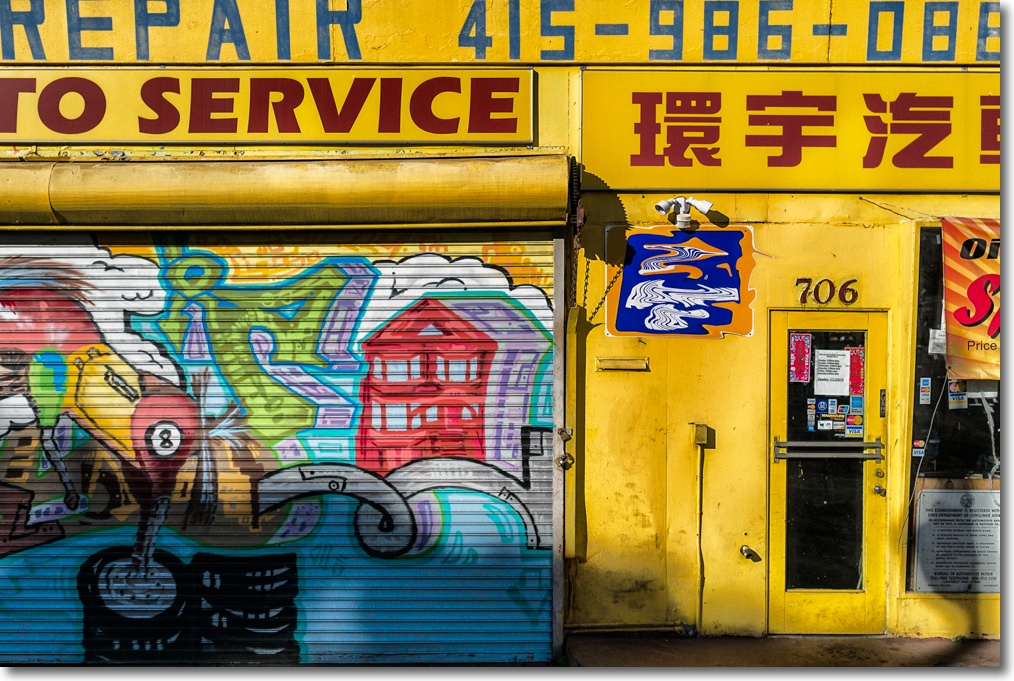
Panny GX7, 17mm Zuiko.
Vogue photographer.

Clifford Coffin’s star shone brightly at London, Paris and New York Vogue in the decade ending 1955. As the elegance and generous use of fabrics of that era, inspired by Dior, gave way to a more severe look he faded from view, disillusioned with the trend in women’s clothing. A fire in his New York studio on Lexington Avenue, which destroyed all his personal work (only that at Vogue survived) saw him quit photography altogether, his fortune made. He moved to Pasadena, living the life of a recluse and on his death his bequests totalled almost $400,000, a startling sum for the time. His earlier education included business studies at UCLA where he developed considerable acumen in money management, as the size of his bequests confirms.
While little known today, he left a large body of studio work for Vogue, all of it quite exceptionally elegant. His perfectionism saw him doing his own hair and makeup for the models, something impossible to conceive of today. There’s a fine monograph on his work by Robin Muir which you can see at Amazon by clicking the image below.

At the ‘Flesh and Metal’ show, Stanford University.
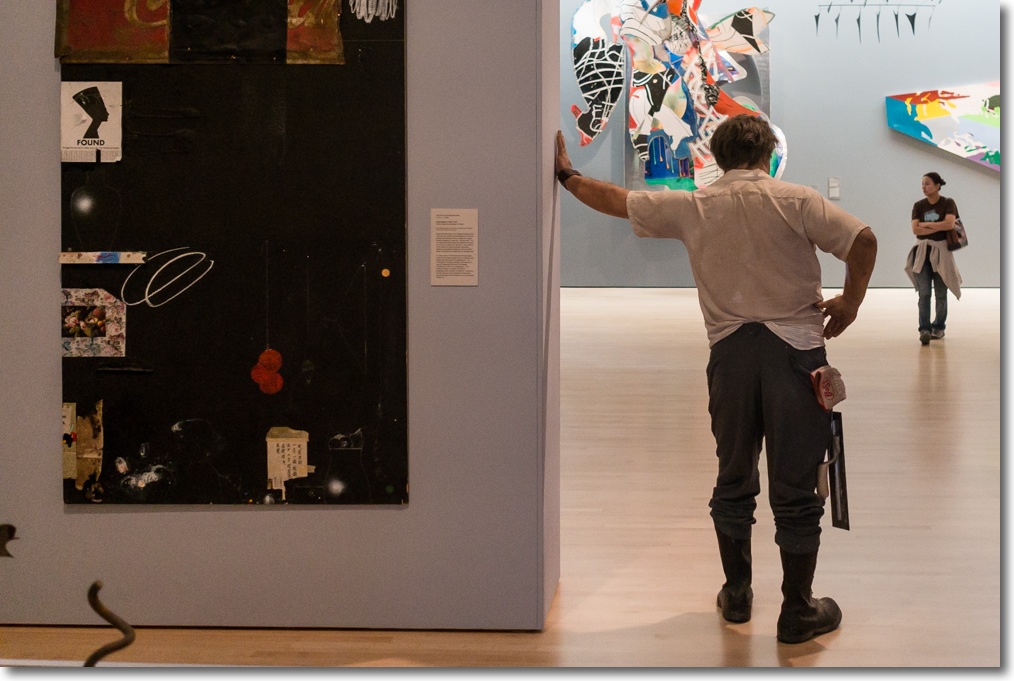
Panny GX7, 17mm Zuiko.
An interesting addition.
It’s not available in the US yet, though B&H already lists it:

The real comparison here for street snappers is the stellar Olympus 17mm f/1.8, which I have been using for a few months now. Regular readers will have noticed that the predominant gear byline for most of my recent street snaps published here is “Panny GX7, 17mm Zuiko” and the reasons are the same I noted in my original review. The fastest AF focus ever, unbelievable flare reistance into the sun, lovely color rendering and excellent optical quality at any aperture. The 17mm Zuiko is very much my “where have you been all my life?” lens.
So this new Panny-Leica optic has its work cut out in the competitive landscape. Fair, it’s a tad wider at 30mm FFE compared with 34mm FFE for the Oly and, truth be told, my brain is hard wired for 35mm after decades with a Leica M2 or M3 and a 35mm Summaron or Summicron attached.
But the point here is that it is heart warming to see so many lenses and makers in the MFT system – Panasonic, Olympus, Leica, Voigtländer with others like Bower/Rokinon joining the frey. And it’s ridiculous to argue that the $600 asked for the new 15mm optic is high. Have you priced Leica’s MF Summicron for the M body recently?
I was going to run a piece in late 2013 on the Panasonic GX7/Olympus Zuiko 17mm f/1.8 as the greatest street snapper combination yet, but decided to hold off until I had more experience with the outfit. Unless there is something very special indeed about the new Leica optic, expect to see that piece run in December, 2014.
Meanwhile, the hegemony enjoyed by Canon and Nikon in pro DSLR ‘flapping mirror/vast bulk and weight’ applications addresses an ever narrowing field of specialization. If you need very shallow depth of field and routinely print larger than 18″ x 24″, there’s still good reason to go with the big boys. But for everyone else, MFT solves. APS-C seems increasingly pointless to me – most of the bulk of FF and none of the pluses of MFT.
Conflicted advice? Hardly. I use a Nikon D3x/D2x and a host of legacy MF lenses, mainly because it’s fun and the investment is amortized. But light and jolly this gear is most certainly not.