Controlling fans and heat.
In Part IV I concluded that the MacBook Air was a credible tool for light, mobile use with Lightroom3. But I remained troubled by the significant rise in the heat of components during the relatively stressful tests of importing and generating 1:1 preview files for 50 RAW files from my Panasonic G1.
In this article I examine how photographers can better manage heat in the MBA and quantify the tradeoffs in terms of battery life when stock fan speed profiles are changed.
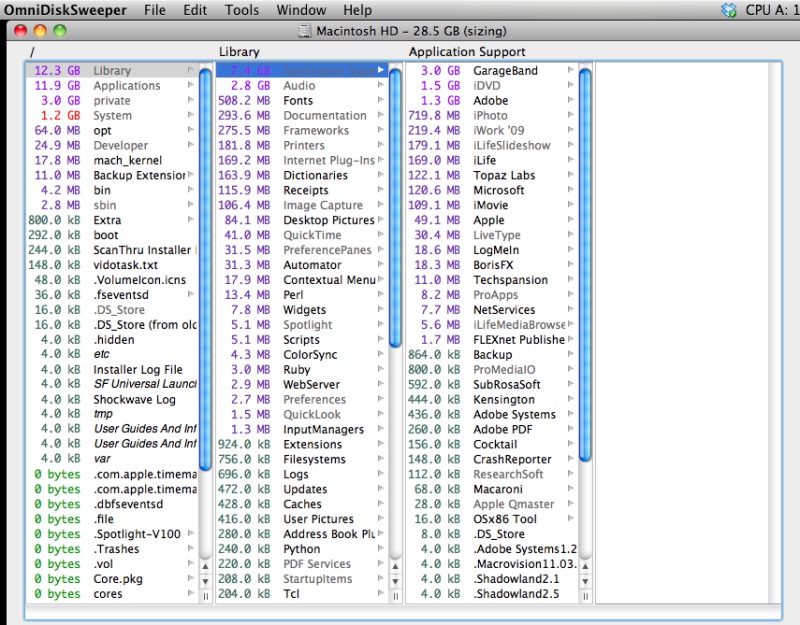
Because I have little trust in Apple’s heat management, having suffered innumerable Mac failures from overheating, I thought it might make sense to take a hard look at cooling in the new MacBook Air. Mine is the bottom-of-the-line version, meaning 11.6″ display, 1.4gHz CPU, 2gB RAM and 64gB (meaning it’s about 45gB when you have all the necessary things installed) flash hard drive.
Now from a specifications standpoint, the MBA has some obviously good and obviously bad heat issues.
The good:
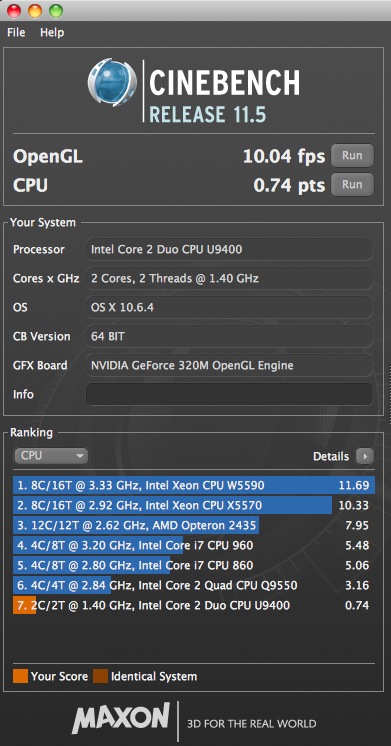
- The low powered 1.4gHz Intel U9400 Core2Duo CPU runs cooler than something faster, though that is making a virtue out of economic necessity. It’s also a mature design so cheap in bulk.
- The absence of a spinning hard disk drive cuts heat.
- The new generation of graphics GPU, like the Nvidia 320M used in the MBA, runs cooler than its predecessors on a separate chip.
- The close fitting alloy case should be a far superior conductor of heat – meaning it acts as a heat sink – than the plastic ones which act as heat retainers on my many blown iBooks and MacBooks which came before.
The bad:
- The MBA is the slimmest laptop netbook ever made, so there’s less space for heat to exit.
- The heat exhaust slots of the earlier MBA have been deleted and the only exit for hot air is the very narrow slot at the base of the display hinge.
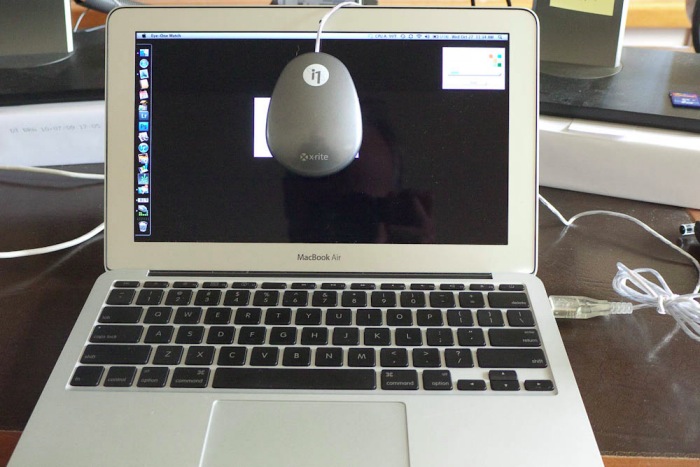
- There is but one poncy little fan to cool both the CPU and GPU inside the case, as illustrated below.

The sole fan in the MBA, circled top right.
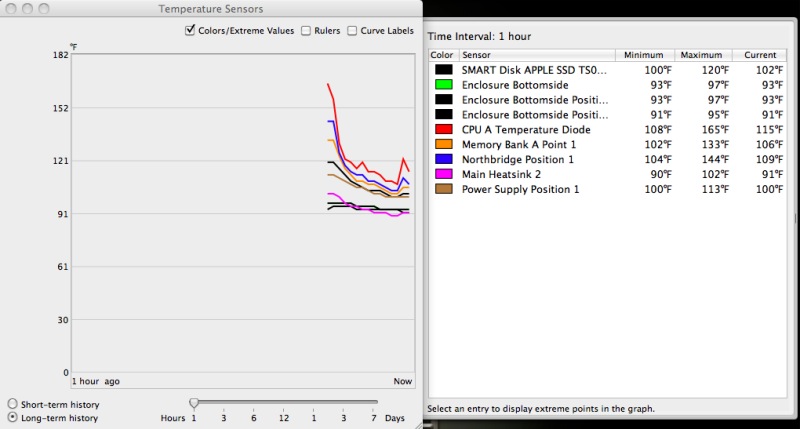
I had already noted the significant rise in measured and observed heat (my lap got hot!) in my tests where I imported 50 RAW files into Lightroom3, creating 1:1 previews. That chart is repeated below:
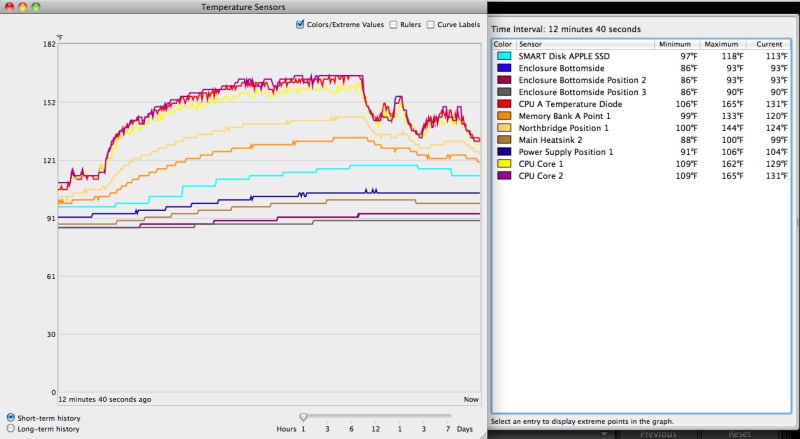
Component temperatures during RAW file import and processing.
As you can see, the CPU’s temperature rises from 106F to 165F during the import process. You can assume the GPU’s temperature rises a like amount as the two processors are adjacent to one another.
Tools used to measure temperature changes:
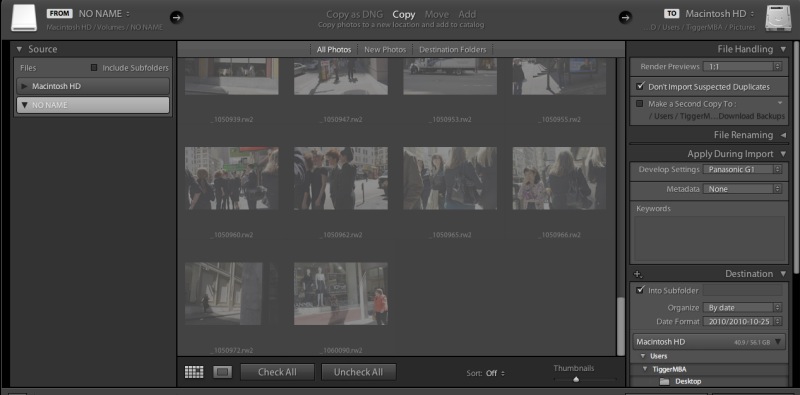
- I imported the same 50 RAW files from a plug-in USB hard drive and Transcend 8gB Class 6 SDHC card as used in my Panasonic G1.
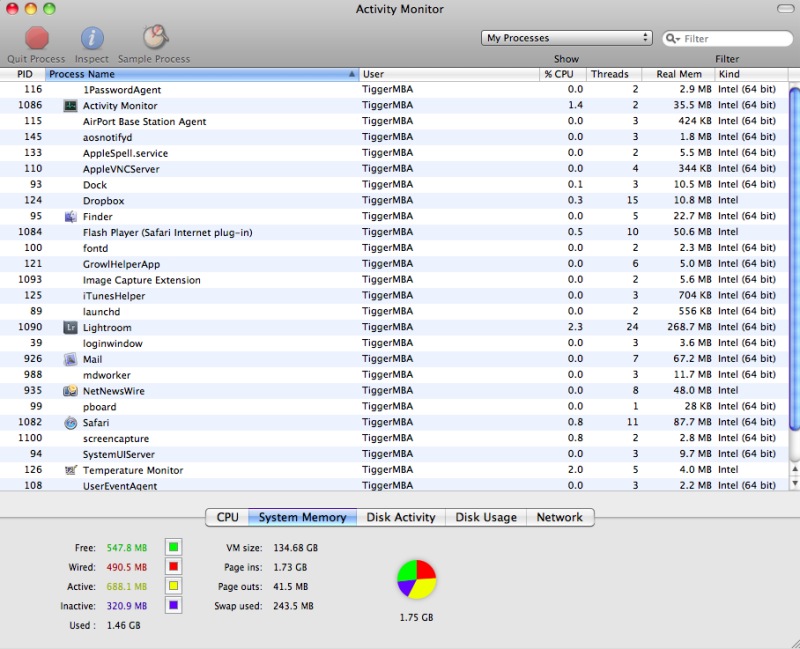
- For constant temperature display in the status bar I used smcFanControl, which discloses that the default fan speed setting is 2000 rpm (where it is silent) and the maximum is 6500 (where it all but roars). smcFanControl’s readout appears in the status bar at the top of the MBA’s display.
- I used MacBookPro/Extended Fan Control, which installs as a preference pane in System Preferences.
- All tests were done on battery power, replicating real world use. Battery percentage remaining was displayed in the status bar at the top of the MBA’s display by appropriately dialing in the System Preference settings. I was especially interested in seeing what additional battery consumption would result from cranking the fan up to keep the MBA cool.
- I used Temperature Monitor, as before, to graph the results.
MacBookPro/Extended Fan Control suggests a temperature range for the CPU of 86F to 194F with default fan settings – their display is a little confused showing two fans and a 1200 minimum fan speed, when the reality is one fan and a 2000 rpm minimum. However, the actual fan speed reported is identical to that reported by smcFan Control, so it’s a useful tool, not least because, unlike smcFanControl, MacBookPro/Extended Fan Control can be set to dynamically chane the speed of the fan depending on the CPU’s temperature. As there is no way on God’s earth that I am going to allow my MBA to run up to 194F (likely a degree or two from the service limit), I set MacBookPro/Extended Fan Control to a limit of 149F, the lowest I could get. I don’t care how much anyone lectures me about Apple’s sophisticated CPU and GPU thermal throttling, there is simply no way I’m going to buy it. Let it get to 194F and how long do you think the thing is going to last? Exactly.
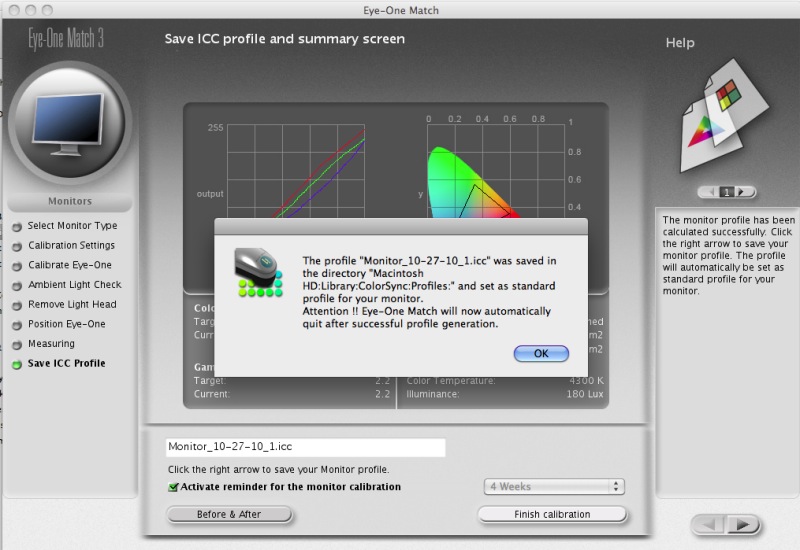
Here are the MacBookPro/Extended Fan Control settings:
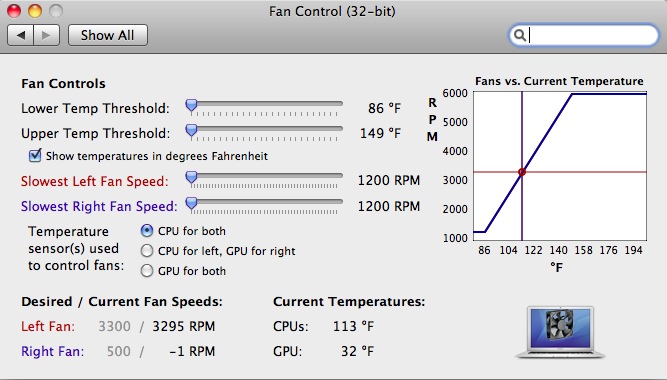
The single fan was running at 3,295rpm as shown at the base of the screen shot. CPU/GPU at 113F (not 32F).
Results: The results could hardly be more instructive.
- Compared with Apple’s stock fan control, where the fan is never audible, the MBP’s fan spooled up to a maximum of 5013rpm during the import/preview generation process at which speed it was audible if not obtrusive. This is still well below the 6500rpm limit.
- Battery capacity was depleted by 5% compared to 4% stock.
- The CPU/GPU maxed out at 138F (see chart below) compared to 165F stock.
- Import/preview generation time was unchanged.
- CPU temperature was back to 108F within 5 minutes of completion.
- Fan speed was back down to 2800rpm within 5 minutes of completion.
So for the cost of 1% extra battery capacity use, maximum CPU/GPU temperature was reduced by 27F, all of this at an ambient temperature of 75F. If you don’t think that’s worth 1% of extra battery use then I have a great bridge for sale at a bargain price, just for you, located in Brooklyn, New York. I only have one, so hurry.
Conclusion: The heat conscious MBA user will install MacBookPro/Extended Fan Control and set it the way I have. There is no earthly reason to trust Apple’s heat management and default fan profile settings when you can do much better for a modest battery drain increase.
Here’s the revised temperature graph which, frankly, is a jaw dropper – the enclosure bottom temperature (the part your lap feels!) remains unchanged:
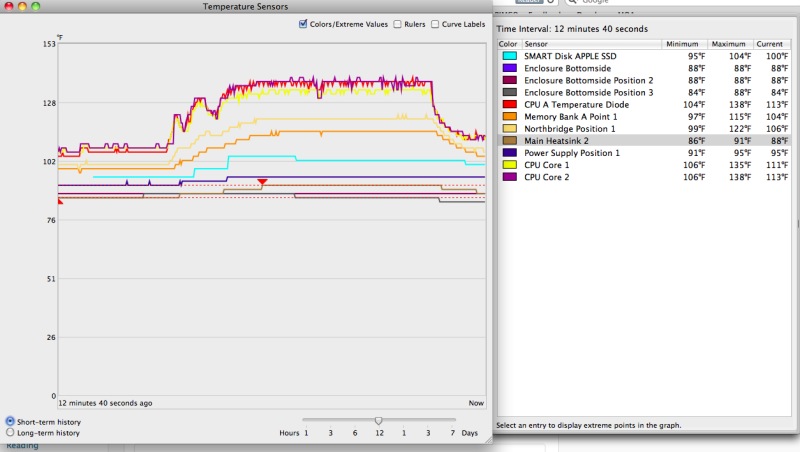
Key MBA component temperatures with MacBookPro/Extended Fan Control installed.
The five large fans and a monster CPU radiator in my HackPro do an even better job but the HackPro is not what you would call portable ….
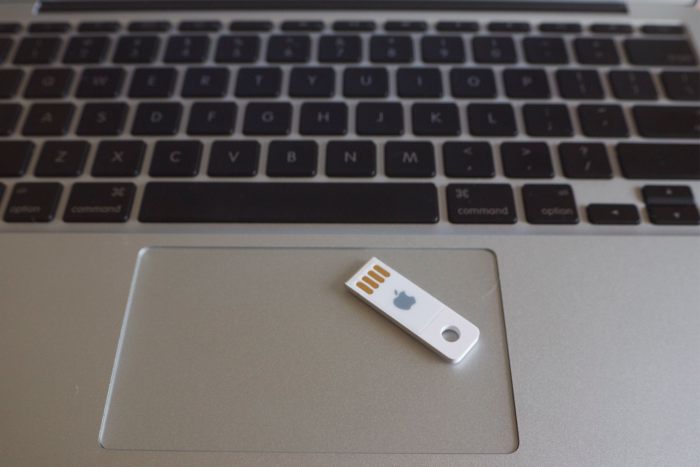
What to do if you blow out the fan and have to replace it? Apple has sneakily used five pointed Torx screws to make it impossible for you to remove the base and access the fan. What I suspect they really do not want you doing is replacing the plug in flash drive with a larger one (it is not soldered in), and iFixit, when dismantling the MBA had to fashion their own screwdriver to access the innards. (By the way, the RAM is soldered in and cannot be user upgraded). Fear not. The ingenuity of man will ensure that higher capacity flash hard drives become available in no time for far less than Apple will charge you and ifixit already has a supply of five pointed Torx screwdrivers available, for all of $4.95, which will allow you to replace the fan yourself.
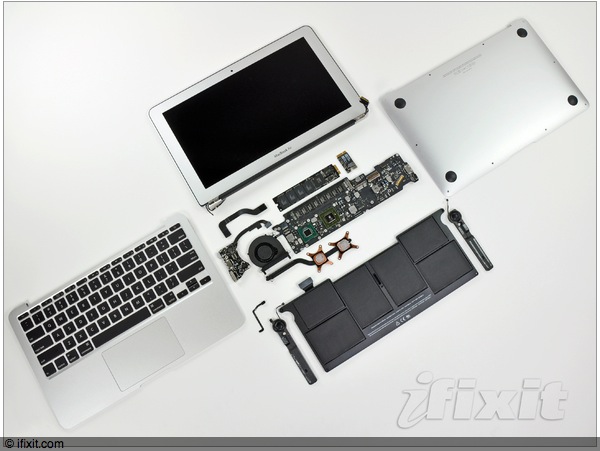
ifixit’s view of the 11.6″ MBA.
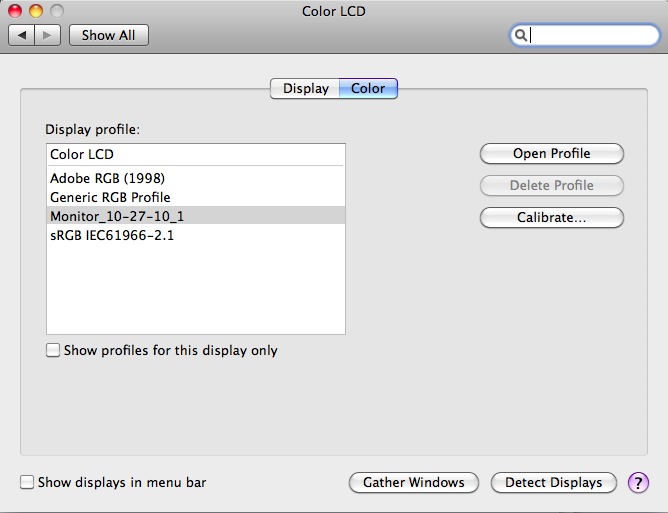
A note on use with 1Password: If you use 1Password to store all your passwords, be sure to uncheck the box shown below:
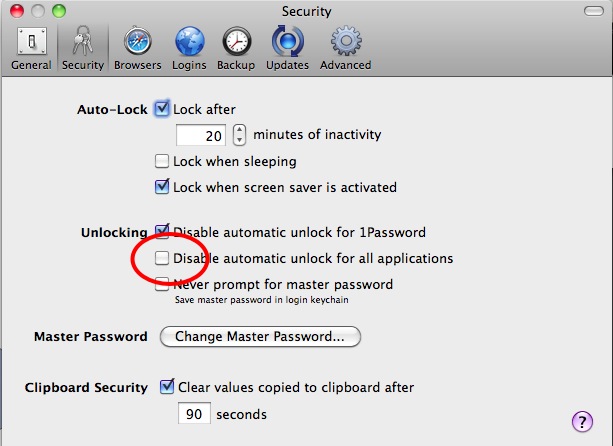
Failing to do this will mean that you have to re-input your master password every time you use 1Password after putting your MBA to sleep (meaning after you close and reopen the lid). I learned this thanks to 1Password’s superb support – a quick exchange of emails on a Sunday. That’s what it takes to succeed nowadays. An excellent product, superbly supported.