Some preliminary thoughts.
I wrote of the original AppleTV in these pages a few years back. After my first one blew, I ended up selling the second for this was a deeply flawed device. Its various purposes were to store data, relay data from other devices and allow purchase or rental of movies from the iTunes store. It did none of these well.
Data storage on the internal hard drive was very limited. Absent extensive hacking, external storage could not be added. I hacked mine and would lose the hacks with every OS upgrade.
The relaying of data was not great either. Even with 802.11n wireless, jittering of the movie sourced from your remote Mac was common owing to the pokey Intel CPU used.
And, finally, the iTunes movie library available for purchase or rent was not only very limited in scope, the format for purchased movies was the so-so ‘.mkv’ one, rather than something higher quality.
But the single worst feature, by far, of the original AppleTV was that it ran criminally hot. In his manic pursuit of a clean exterior, Steve Jobs had dispensed with fan cooling for the hot running CPU and hard drive, opting for conduction of heat through the device’s metal skirt. That would get so hot (on both the ones I owned) that you would not want your child close to the gadget. It also dramatically shortened life expectancy and reports of failure in well under two years were a dime a dozen. Design had truly ruled function.
So once I got rid of mine I gave the device no more thought. Movies are routed to our TV from a MacMini to which my file servers are attached, using VLC to play the movie. DVDs from Netflix are played through the MacMini. And pictures residing in iTunes on my Hackintosh are relayed to the TV via the MacMini and simple wireless networking. The movie files are uncompressed VOB format (4-5gB a movie) and there is no stuttering thanks to the competent Core2Duo CPU in the Mini, whose fan is cranked up to avoid the usual Mac overheating problems. I run it at 3,000 rpm minimum, compared to maybe 1,000 stock. A new fan is cheaper than a new MacMini. When I want to watch a streaming Netflix movie the MacMini is pointed to Netflix using Safari and off we go.
It all makes for a very reliable setup yet, when the new AppleTV was announced a few weeks ago, I took notice for one reason. It runs the same A4 CPU used in the iPad and that CPU is cooler than Steve McQueen.
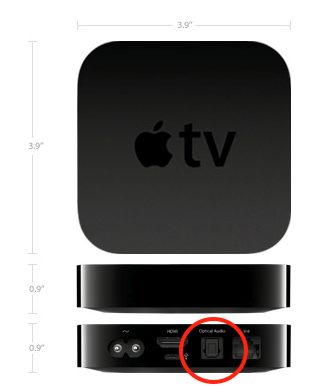
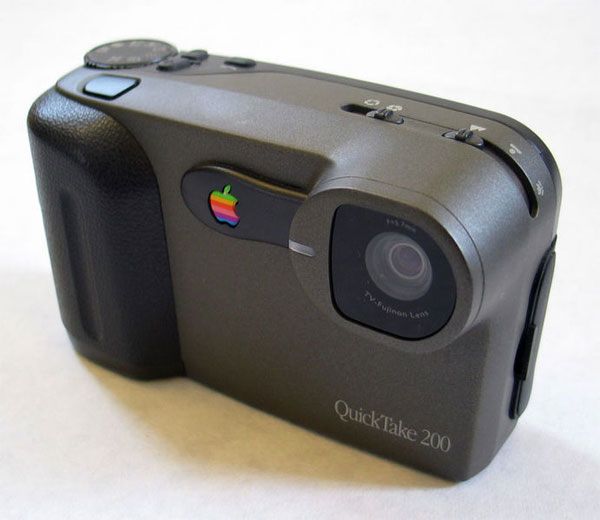
The new AppleTV. TOSlink optical digital sound output socket circled.
The thinking underlying the new AppleTV has changed. There is no more internal storage (hooray for that) and there is still no fan. With the A4 CPU none is needed. The device is now solely a streaming connector for your data, whether stored on other home Macs or in the cloud, be the latter Netflix, iTunes, internet radio stations, etc. And the interface from the original AppleTV is retained and it is outstanding. Just point and click with a simple and elegant remote control.
I wrote about the elegant Apple Remote when reviewing Plex and it is a gorgeous design, even if the buttons could use greater spacing. The new AppleTV includes one and the now much smaller AppleTV (the size of a hockey puck) and Remote sell for just $99. Not much downside if you decide it’s not for you.
Some of the original limitations remain. Your movie files must be in a format AppleTV likes (.m4V, .mp4 and .mov) so you still cannot play your ripped VOB uncompressed DVD files unless you go through the time consuming (if easy) conversion process using an app like Handbrake (free download). Your rental movie choices are still limited to those in the iTunes library and you can no longer buy movies using the AppleTV, as it has no storage. And you cannot access the Internet to rent from Amazon’s Video on Demand service – I use the MacMini for that, with Safari.
But the added functionality makes it worthwhile for me. First, it runs super cool, even when taxed with streaming an HD movie. Setup is easy and you can use the built-in wireless internet connection or an ethernet cable. I prefer the latter as it’s simply more robust. And now you can get dozens of internet radio stations and, most importantly, Netflix, delivered in the usual Apple TV interface. Anyone who has used Netflix streaming through a browser on their TV knows just how poor that UI is, with very small text. I cannot make it out sitting 10 feet away from our 42″ TV. And while you can get the nice AppleTV interface on your MacMini using Frontrow, you cannot get Netflix or Internet radio that way. So just for Netflix alone, the AppleTV makes sense. I can easily read the clear text on the screen of our 720p LCD TV, a somewhat dated bottom-of-the-line Vizio from WalMart.
The Apple Remote:
Typifying Apple’s attention to ergonomic design, the Apple Remote supplied with the AppleTV is not the same as the one you can buy separately for $19, though either will work.
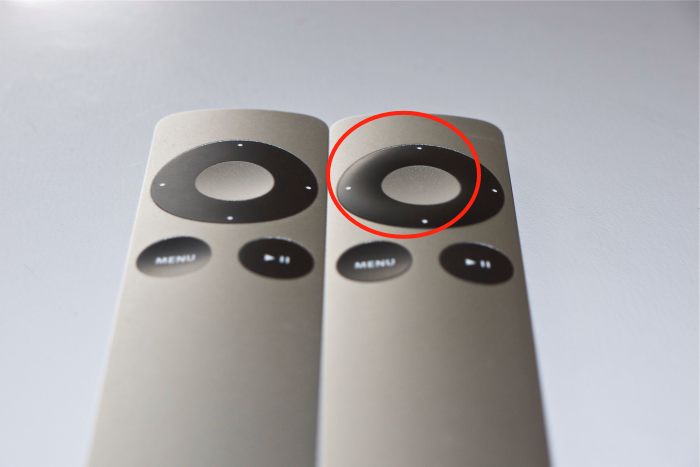
Regular and AppleTV Apple Remote – note the raised directional buttons on the latter – circled.
The raised directional buttons on the AppleTV version have a purpose. They permit instant tactile recognition of which is which if you have both, like I do. I use the regular one to control my MacMini. To preclude one remote speaking to both the AppleTV and the MacMini you have to pair each to its respective device. In the AppleTV that’s a simple menu option. For the MacMini you point the other remote at the Mini and hold the Menu and Right arrow buttons for a few seconds until you see the paired logo on the screen. Henceforth each remote will ‘speak’ to the related device only, so when you switch inputs between your AppleTV and the MacMini, you do not enter a chaotic screen resulting from all the instructions you sent to one device being ‘seen’ by the other.
These remotes are infra red, meaning line of sight is needed to your AppleTV if they are to work. You can greatly enhance their range and reduce their directionality by adding an IR blaster or, if you have an iPhone or an iPhone Touch, download the free Remote app which will make your handheld device into a wifi remote, no line of sight being involved.
Connectivity:
The changes here will likely affect how you connect the new AppleTV to your peripherals. Out of the box all you need do is add an HDMI cable, plug it into your modern TV and you have video and sound flawlessly relayed. Anything more than 720p on the TV is wasted as that’s the maximum definition supported by the AppleTV or, indeed, by iTunes or Netflix movies.
However, if like me you prefer better quality sound from your TV, you will want to use a separate amplifier/receiver and external speakers to get the best from the source material. With the old AppleTV you simply switched off the speakers in your TV and used RCA coaxial cables to route sound from the AppleTV to your amplifier to which you connected external speakers. The new AppleTV has no RCA connectors for analog sound, supporting digital sound output only through the single TOSlink optical digital connector – circled in the first picture above. If, as is my case, your external amplifier is older and does not have an optical digital input, you need to convert the optical digital sound output from the new AppleTV to analog, using a Digital to Analog Converter (DAC). It’s cheaper than buying a new amplifier/receiver.
There are two approaches. If you use 2.1 sound (2 speakers and maybe a subwoofer) you need one of these, and a short TOSlink optical cable. The latter goes between the DAC and your AppleTV and the output of the DAC goes to your amplifier using standard analog RCA coaxial cables. If you use 5.1 surround sound, you need one of these. There are cheaper versions than these Gefen DACs but they have been extensively tested with the AppleTV are are known to work. In either case, your total investment is less than one old AppleTV.
At this time I’m using the (poor) internal speakers in our TV to test the new AppleTV while I await delivery of the Gefen DAC.
First impressions: Compared with its predecessor, the new AppleTV runs cool, is far more responsive to the remote, is overall faster, renders iTunes Store movies at a higher quality level and delivers Netflix streaming and a large selection of internet radio stations, neither available on the old version. Why, there’s even classical music for old goats like me. It is very easy to setup as a host for your pictures stored on your remote Mac and does a superb job of rendering slideshows on your TV screen.
More in Part II when I have the DAC installed for higher quality sound, and have stressed the device. Initial impressions, suffice it to say, are positive.
Disclosure: I have been using Apple hardware and software for a decade. All of it has been paid for with a very small fraction of capital gains on my Apple stock holdings. In that sense, I have never actually ‘paid’ for anything from Apple and truly have no axe to grind for the products. Just for the stock! At the time of writing I am long AAPL common stock and call options. This is not investment advice. Take your own advice, not mine.