Hasta la vista, Photoshop.
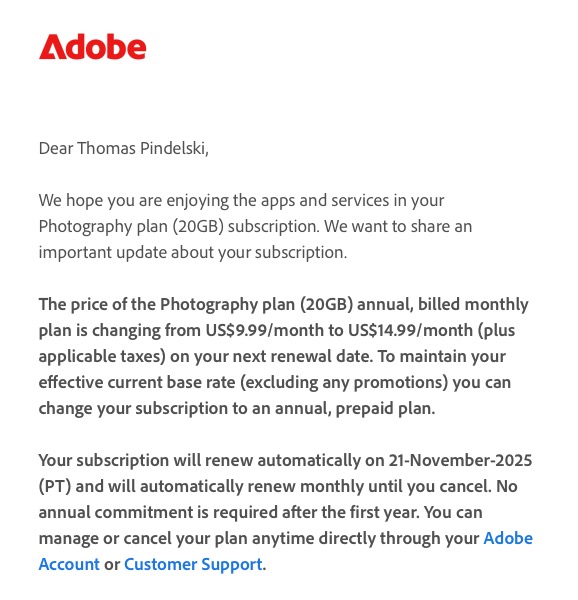
Much as the many enhancements in Lightroom Classic, compared with my decade old Lightroom version 6, reduce the need for Photoshop, there are still those images which require the more granular processing capabilities of a Photoshop-like application. However, on upgrading my 15 year old Mac Pro to the latest Mac Mini M4, Photoshop CS5 refuses to boot. That’s sleazy Adobe for you.
I think I have found a solid replacement for Photoshop: Affinity Photo 2. No subscriptions, just a one-off payment of $34.99 with a full 7 day trial period, no watermarks. That’s Black Friday pricing. Some research discloses that Version 1 of Affinity Photo was continually upgraded over a seven year period at no cost to owners, so paying that sort of sum every few years is not exactly something to grumble about. Affinity only asks for money for major version upgrades.
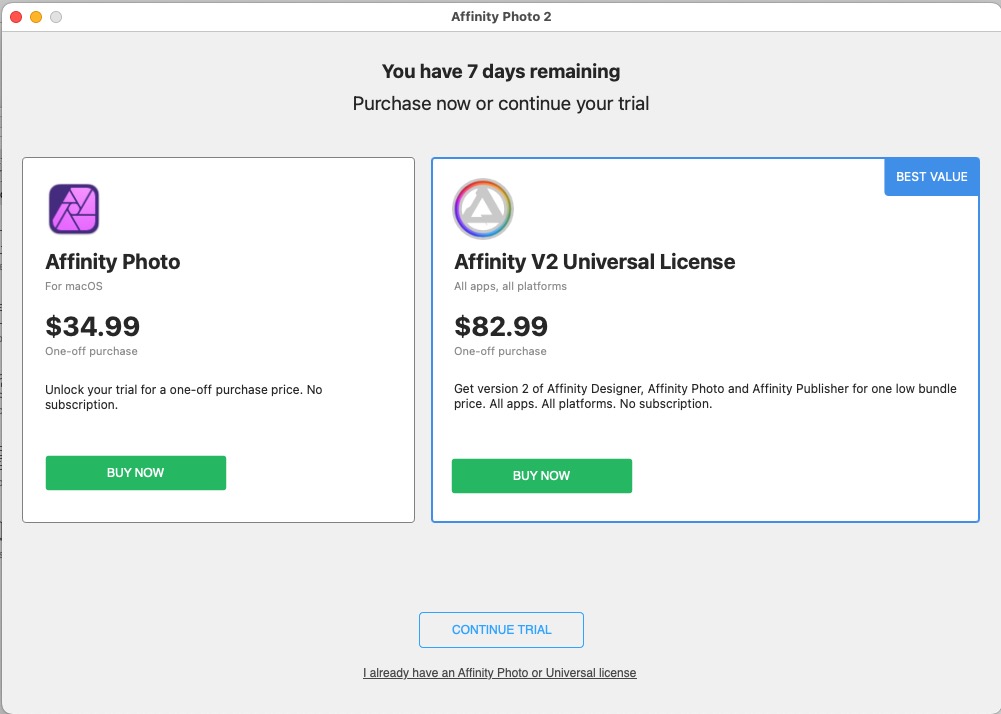
Purchase options.
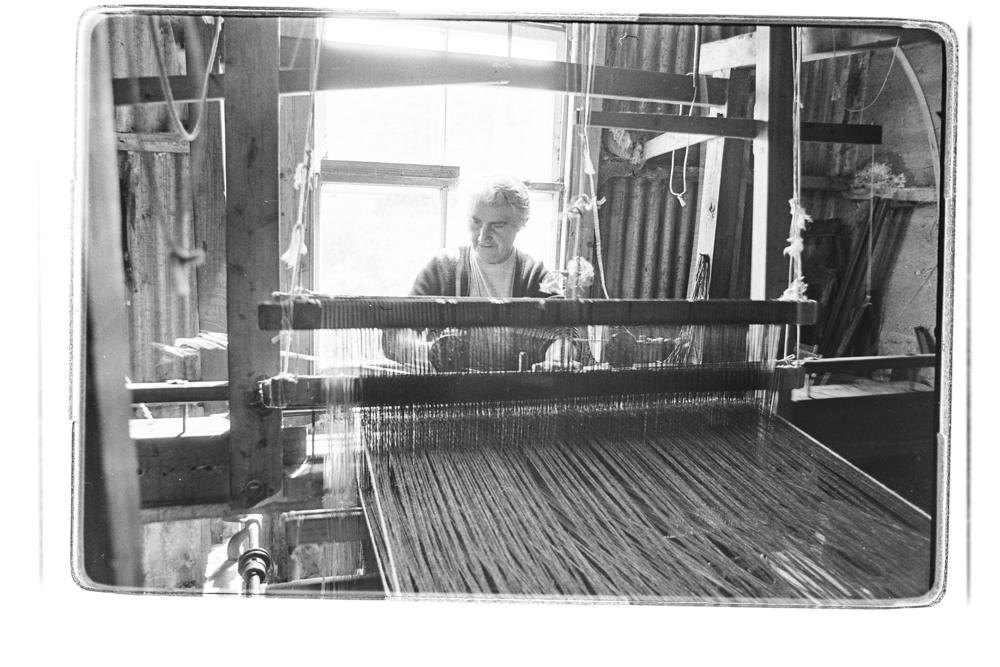
I needed traditional PS tools to edit this image and clean up the background people, plus add selective lens blur. LRc is just not sophisticated enough to do that. (The image was taken on a Panasonic GX7 micro 4/3 camera. One inherent issue with micro four thirds sensors is that the short focal length lenses which are standard with the sensor come with high depth of field. That’s physics, not Panasonic’s fault).
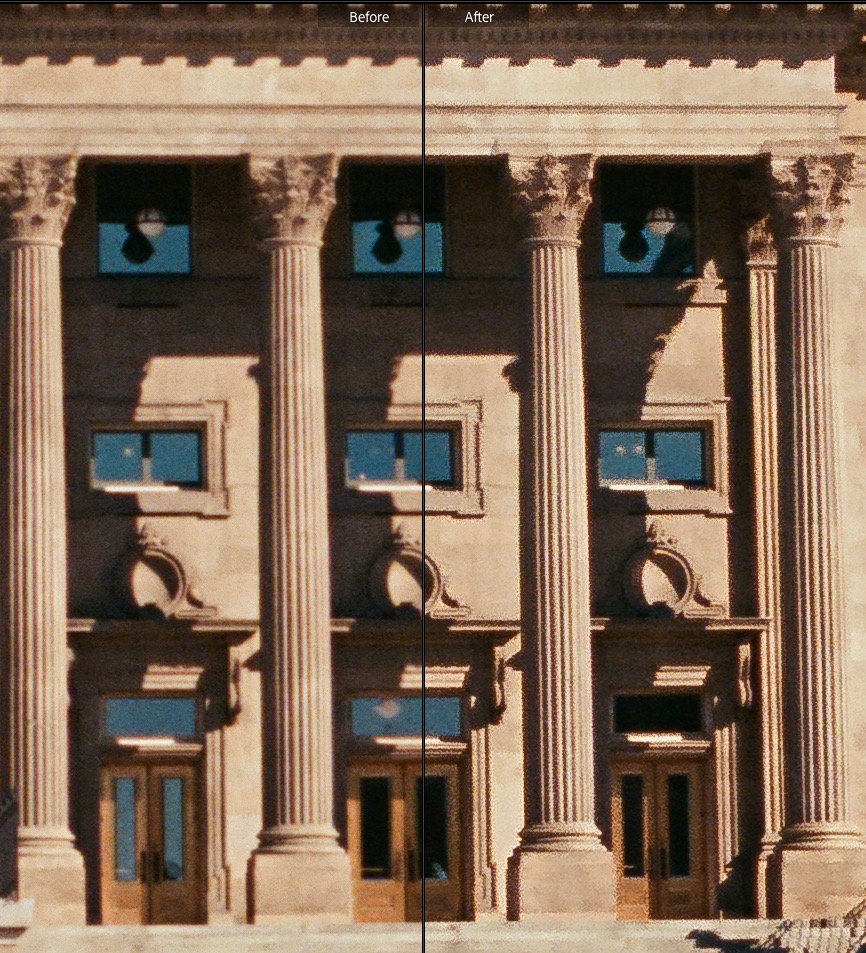
Here’s the before and after, the ‘after’ processed in Affinity Photo 2:
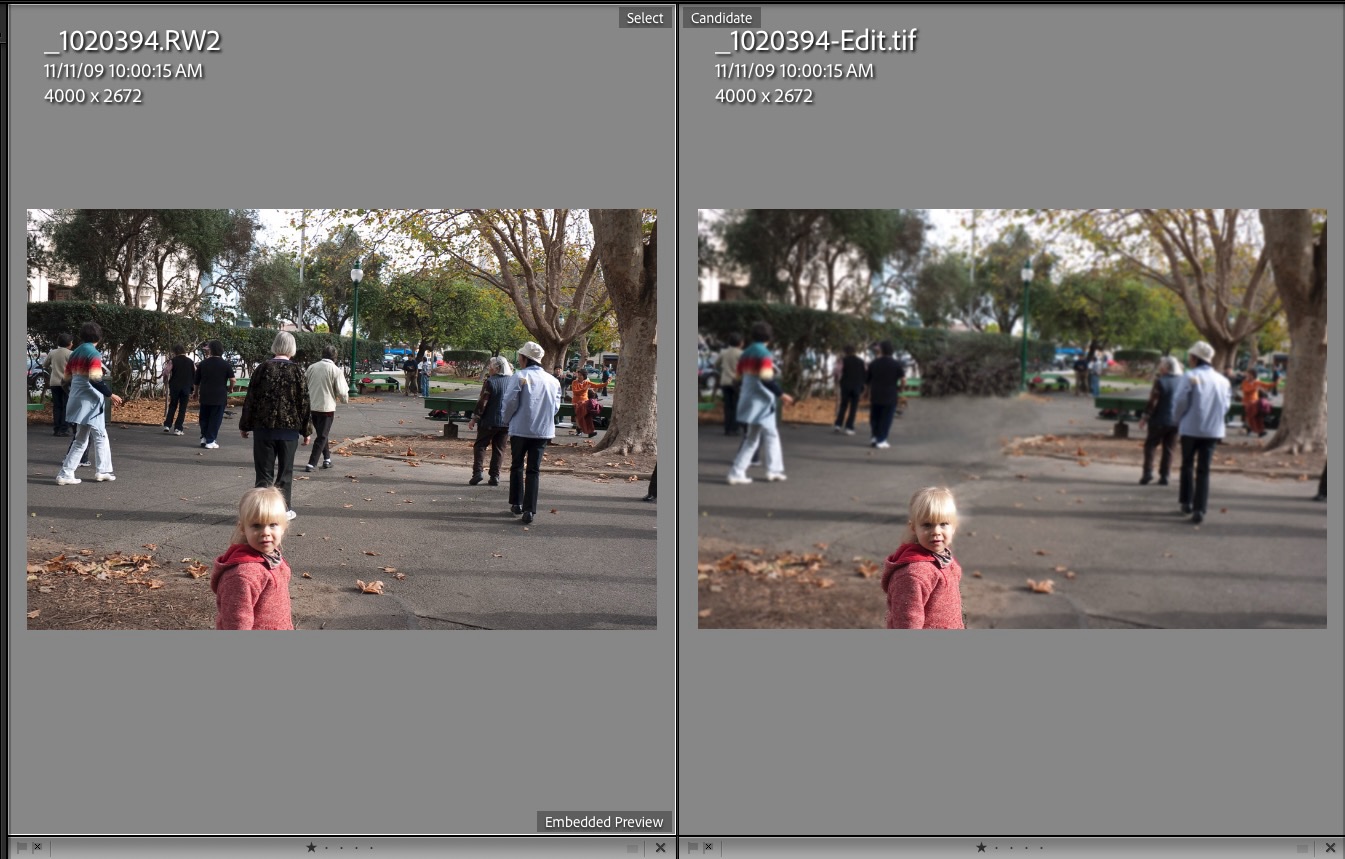
North Beach, San Francisco.
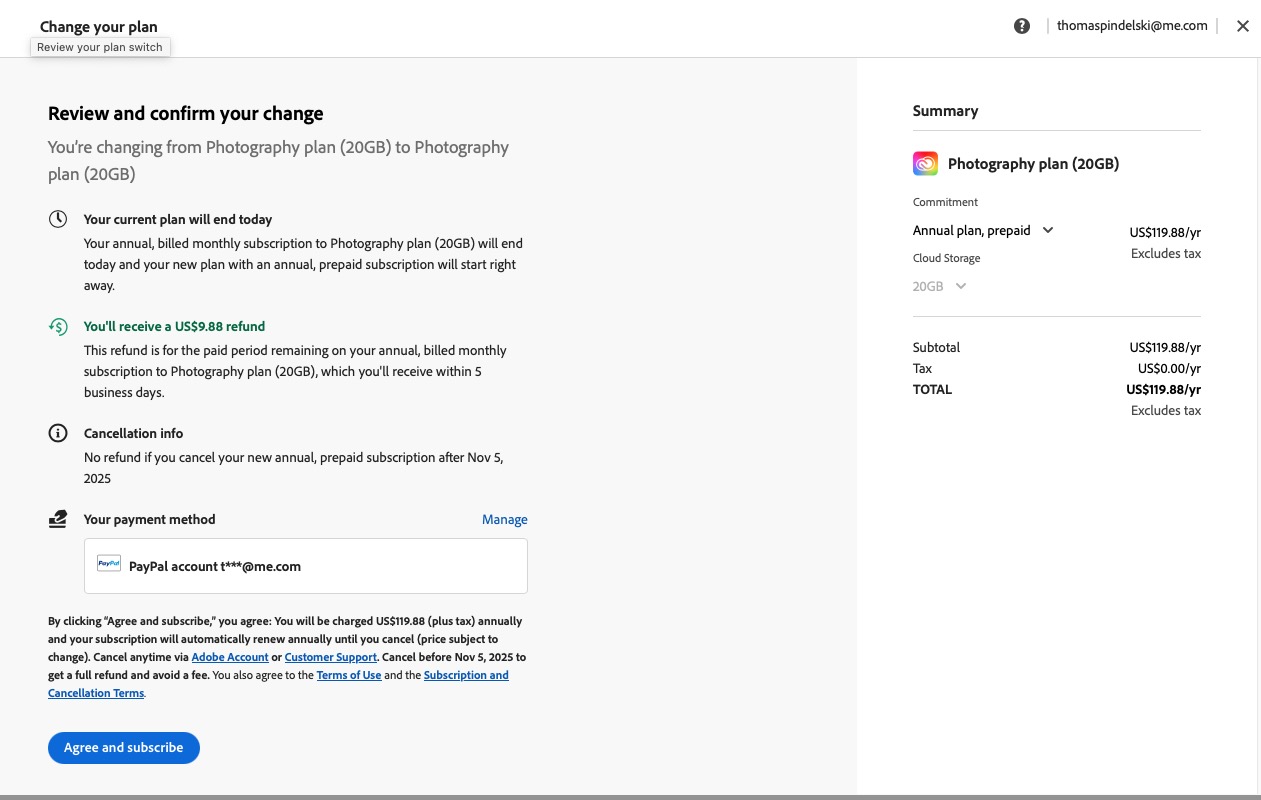
The Affinity interface is very much like PS. Adobe is asking $23 to $35 a month, meaning $276-$420 annually, which I think is exorbitant. And that’s on top of $120 annually for LRc. You pay for Affinity in a couple of months by comparison, and you own it. I set up LRc to allow round trips just like in the old PS days (Option-Command-E to export to Affinity – you set this up in the Lightroom Classic Preferences->External Editing panel) and then just a Save in Affinity will return a modified .tif file to LRc. The original RW2 file above is from Panny RAW in the GX7.
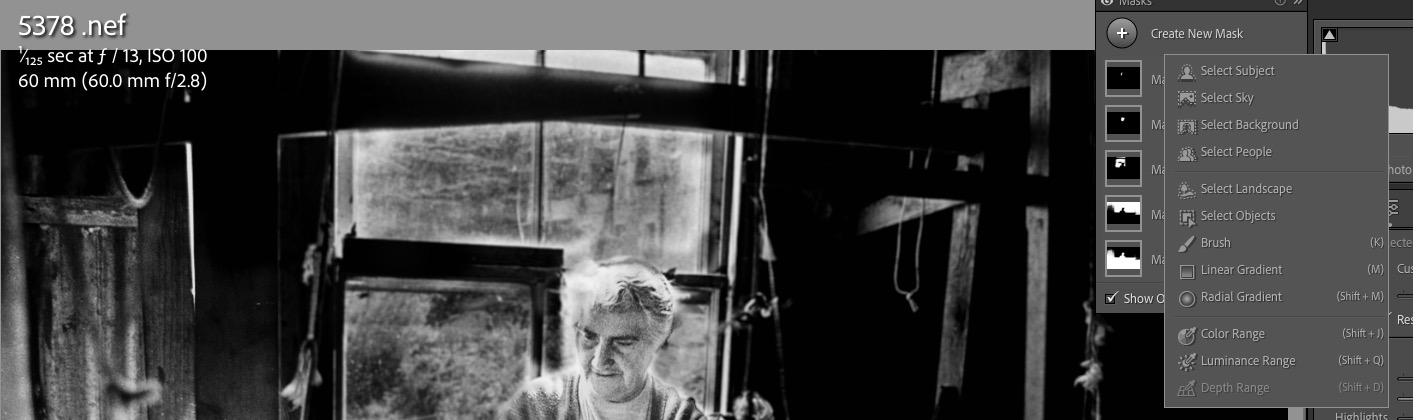
Given the similarity of the tools and commands to PS the learning curve is not all that bad, and layers are supported. Here’s the interface – I have tailored it to light gray finding the default black hard on the eyes:

The processed image and the Affinity interface.
The 7 day trial period delivers a fully functional app. I downloaded mine from the Apple App Store, the safe way to go.
There are many good tutorials available on You Tube. For a round trip from Lightroom Classic I find that the exported .tif file pops up in Affinity Photo 2 in some four seconds on my base spec Mac Mini M4. I have never seen a beach ball in Affinity which processes everything very quickly. Affinity is optimized for Apple Silicon. From their website:
“The new GPU represents an industry inflection point—we now have compute performance surpassing nearly all discrete GPU hardware, but retain the key benefits of unified memory. This required us to step back and think again about where performance bottlenecks might be, as it’s clear the ‘old rules’ no longer apply.
“The results of this work yield a benchmark score of around 30,000 for the M1 Max 32-core GPU, absolutely obliterating any other single GPU score we have ever measured. Our changes have also improved performance on the previous M1 chip, which is now roughly 10% faster in our benchmark in version 1.10.3.”
Apple says it recorded up to 5.6x faster combined vector and raster GPU performance in Affinity Photo with the 16-core M1 Pro, and up to 8.5x faster with the 32-core M1 Max.
So there. Mostly BS, but you get the idea.
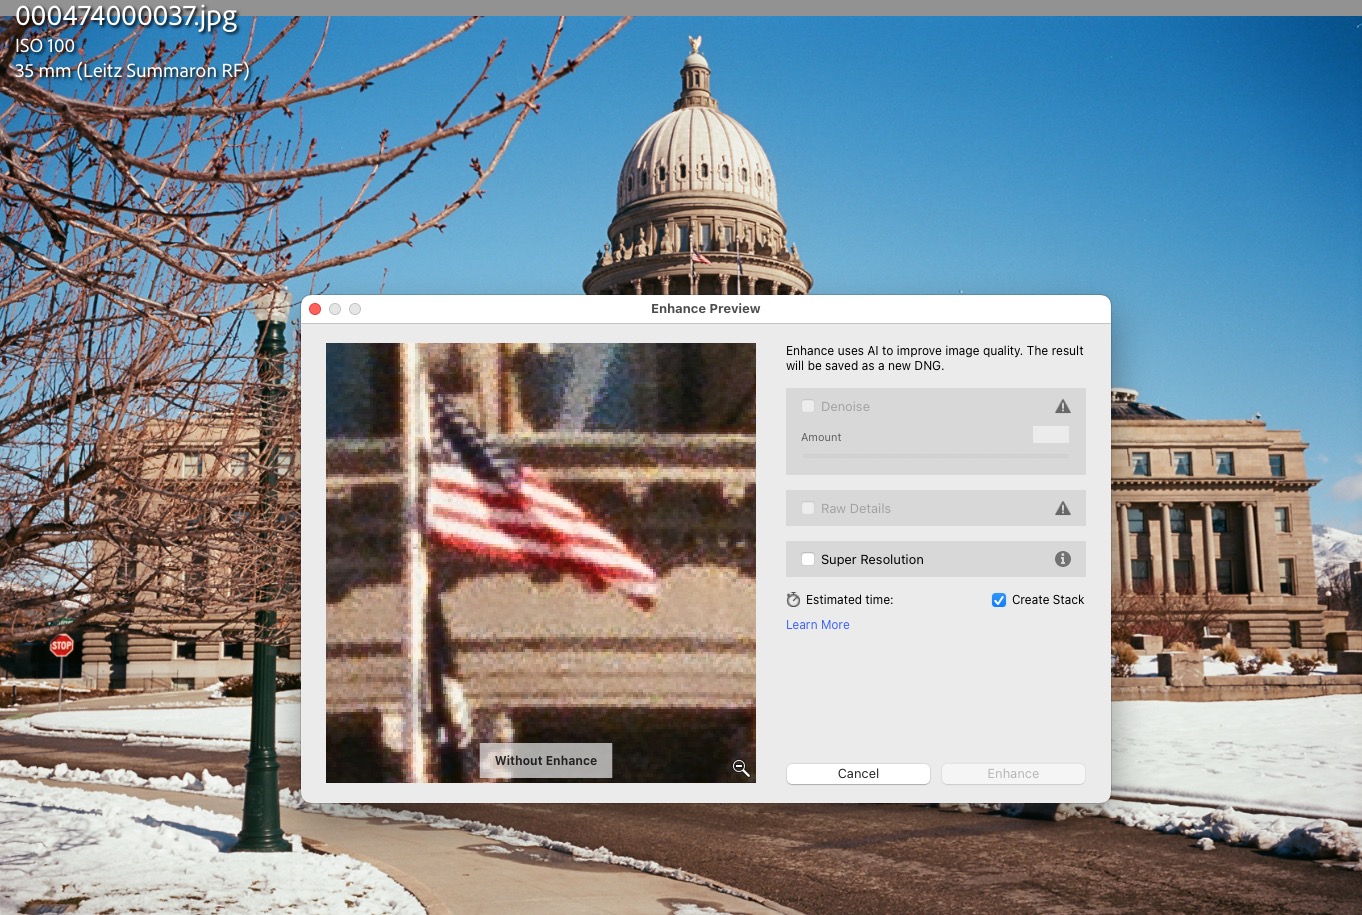
One word of advice. One of the really well implemented enhancements in Lightroom Classic is the Denoise function. This does an excellent job of taking out chroma noise in files without destroying detail and it’s very processor heavy, typically taking 30 seconds on the speedy Mac Mini M4. (Chroma noise is very common in files which are produced by small sensors in micro fourth thirds cameras). Once you round-trip an image to Affinity (or Photoshop) it comes back as a .tif file which Denoise cannot currently handle. At this time the function only works with most stock RAW files and will not work with either Apple Pro RAW, .tif or .jpg formats. So if you are going to use Denoise along with a round trip to Affinity, do so before the round-trip, while you’re core file is still in RAW format.
While Photoshop has a deeper AI focus – Photoshop’s neural filters will allow you to change a dour face into a smiling one if that’s your thing – the key AI feature of PS is available in Affinity. This has been around in PS for over a decade and is named Content Aware Fill. In Affinity it is called the “Inpainting Brush Tool”, and can be found in the drop-down menu for the Blemish Removal Tool. It’s a useful tool for removing extraneous items from images and works every bit as well in Affinity as in Photoshop. Further, the Magic Lasso outlining tool, frequently used in conjunction with Content Aware Fill in Photoshop is identical in Affinity. Both do an excellent job of selecting an area of choice to which you wish to apply localized changes.
Affinity also offers applications for graphics designers and publishers. These are also attractively priced. I have no need for those, but if you are into those fields they’re probably worth checking out. All apps come in both Mac and Windows versions. Now if only Affinty would clone the excellent database and cataloging features of Lightroom I could ditch sleazy Adobe for once and for all.