We have learned little.
It is 50 years to the day since America lost its first war. Viet Nam. The losing streak has continued uninterrupted since, despite an annual budget for the Pentagon and for Veterans’ Affair of $1 trillion.
The New York Times ran a superb piece focused on the photography from that conflict. The Pentagon had not yet adopted a policy of sanitizing its failures by strictly controlling access to photographers and journalists. Back then they were free to roam – armed solely with a Nikon – amongst the armed forces. And their work, along with the resulting student protests, saw the war come to an inglorious defeat for the land of the free.
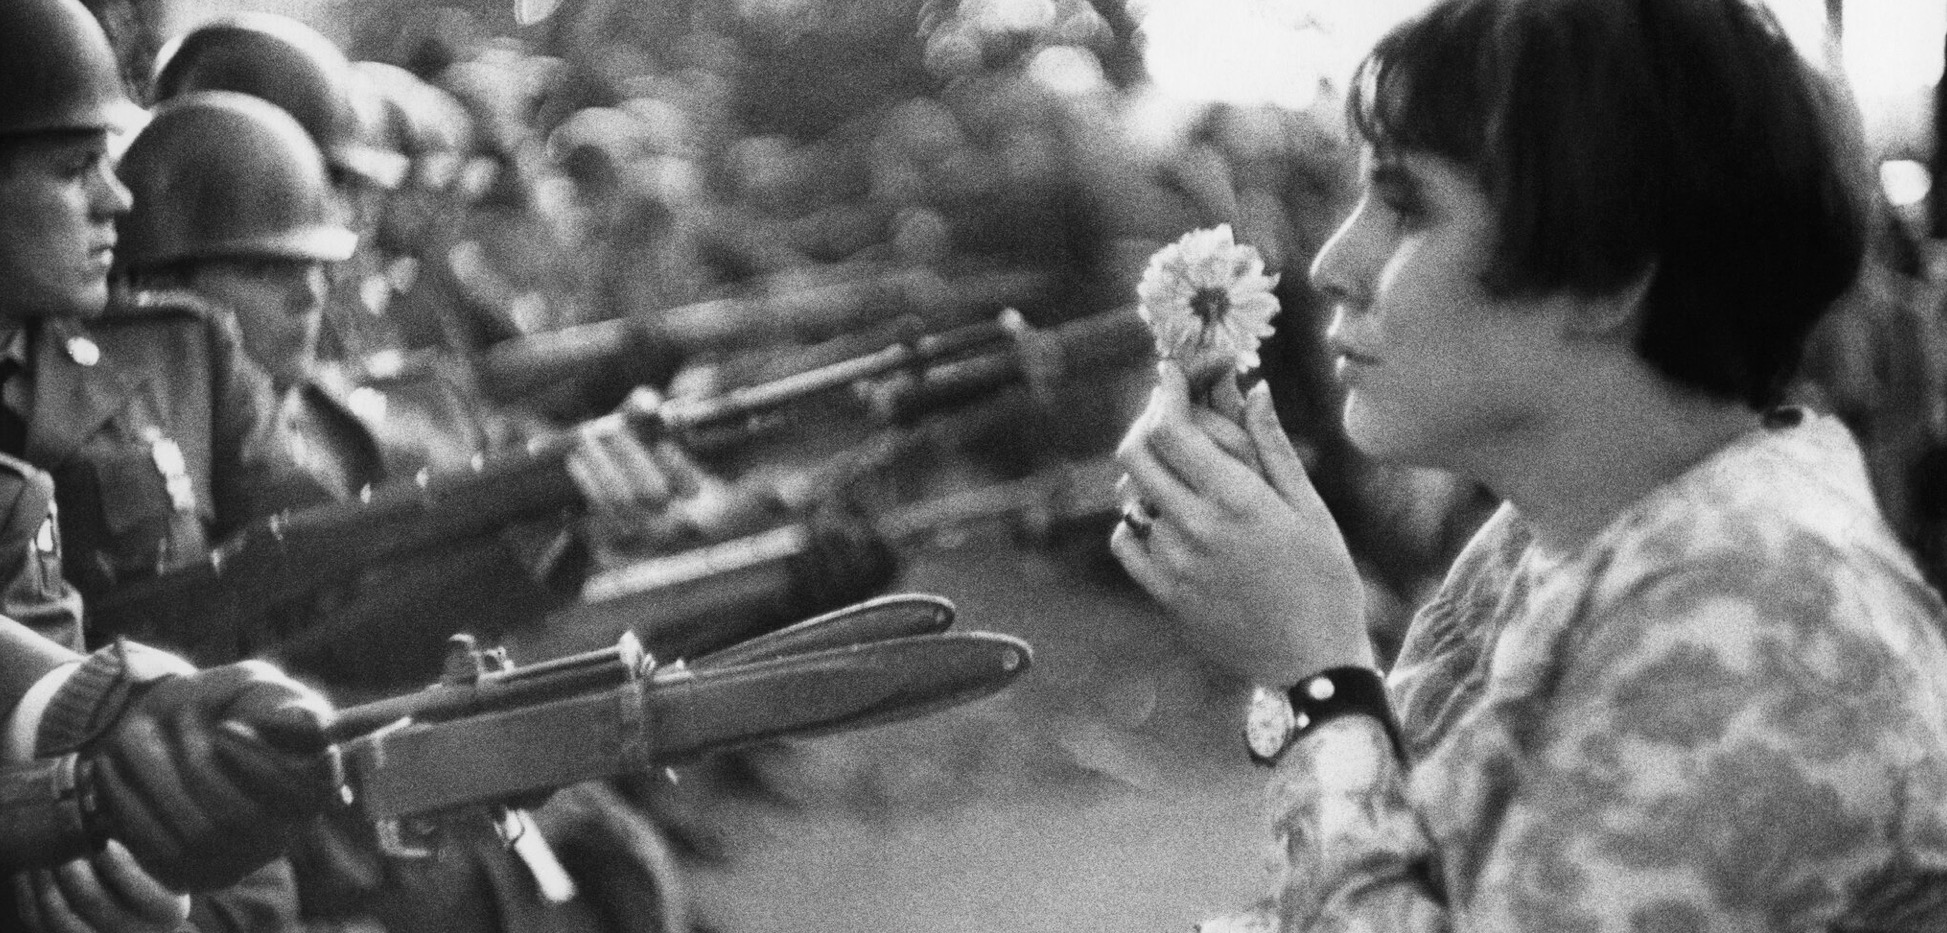
A protestor confronts US soldiers. Click the image to download the article.
Many of those brave photographers died in the process of pursuing their passion along with 55,000 American soldiers and over a million locals. Read and weep.