Category Archives: Lenses

90mm f/2.8 Tele-Elmarit – some results

A fine performer.

For an index of all Leica-related articles click here.

I wrote about the ‘thin’ Tele-Elmarit here. This is an optically improved version of the earlier and heavier ‘fat’ model, with most being made by Leitz Canada. With the exception of the modern ridiculously expensive collapsible (a feature no one wants or needs) 90mm Tele-Elmar this is the smallest and lightest 90mm lens Leica has ever made, and it proves to be a fine performer. It’s also affordable. Into the light it’s flare prone but the ‘Dehaze’ slider in LRc does wonders for that defect. To keep bulk down I do not bother with a lens hood.

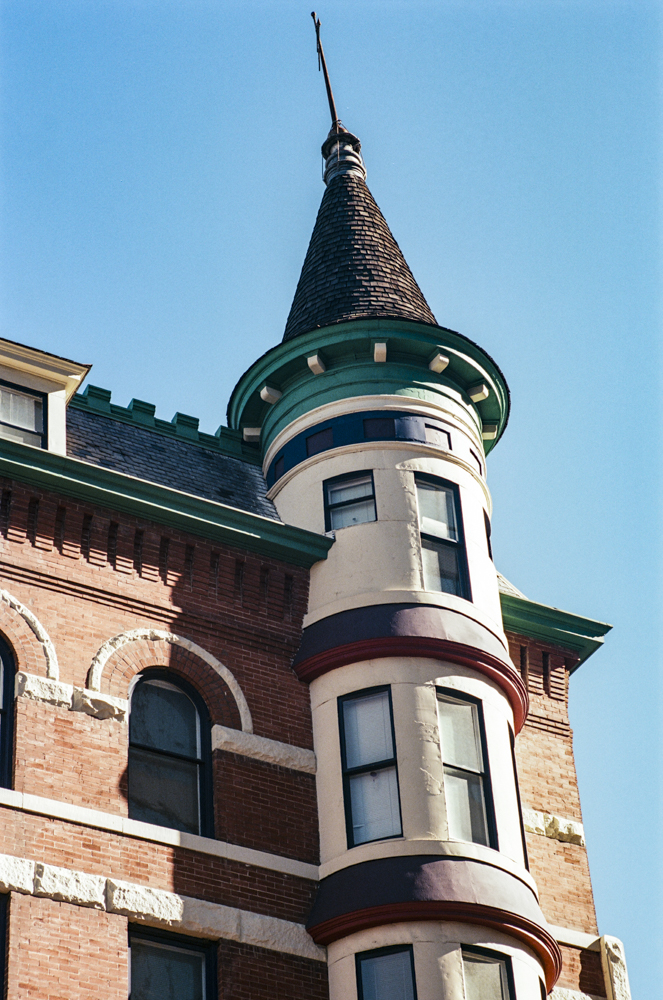
While it’s a tad on the long side for street photography the lens is adept at picking out architectural details and at a light 8 ozs. in a very small package it’s easy to pop it in a coat pocket on the off chance it could come in useful.

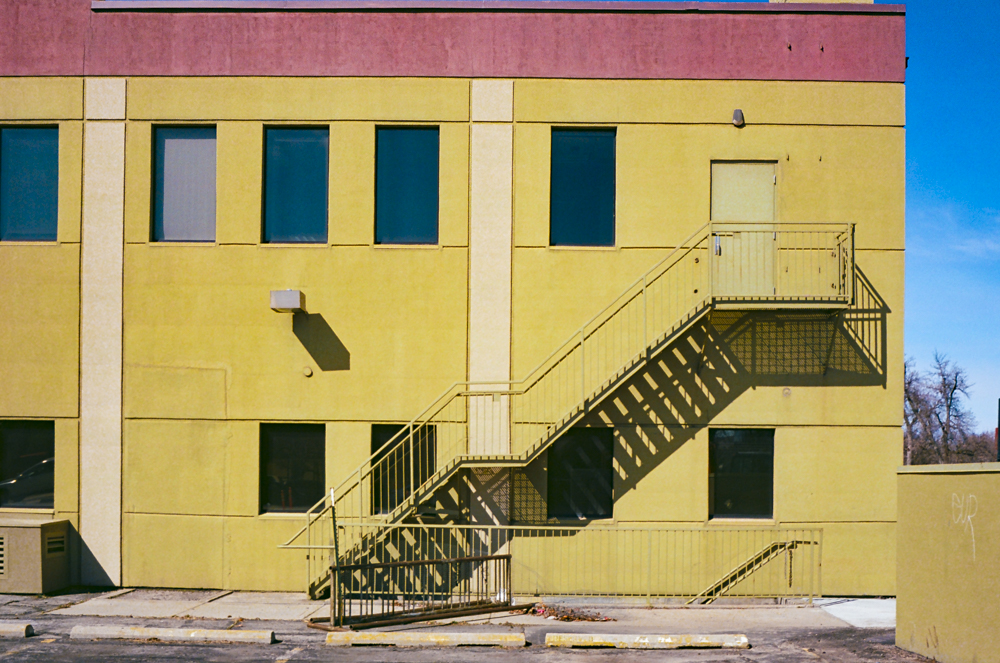
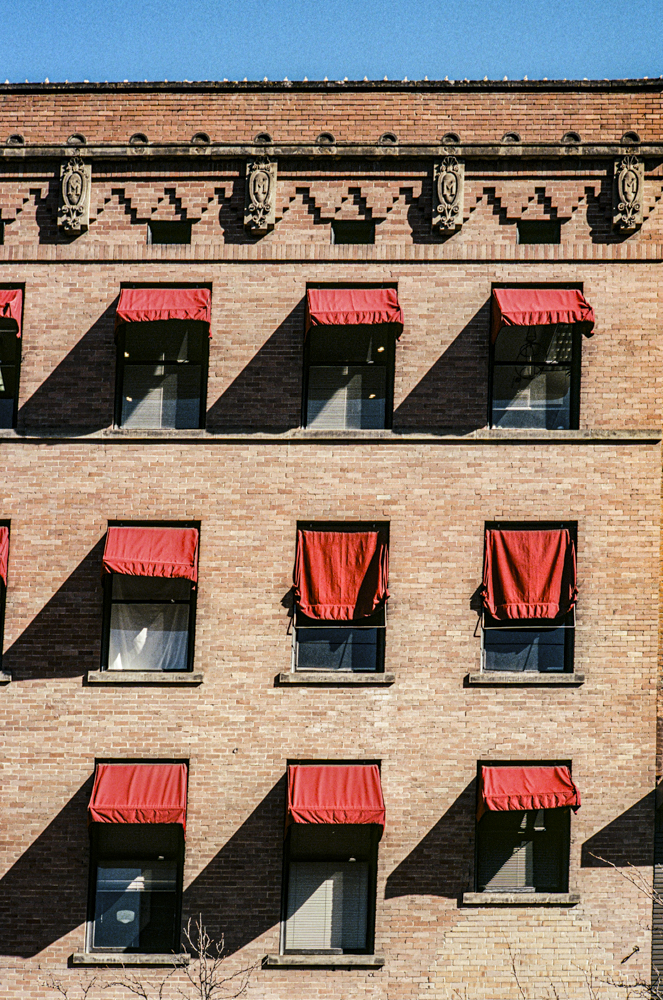
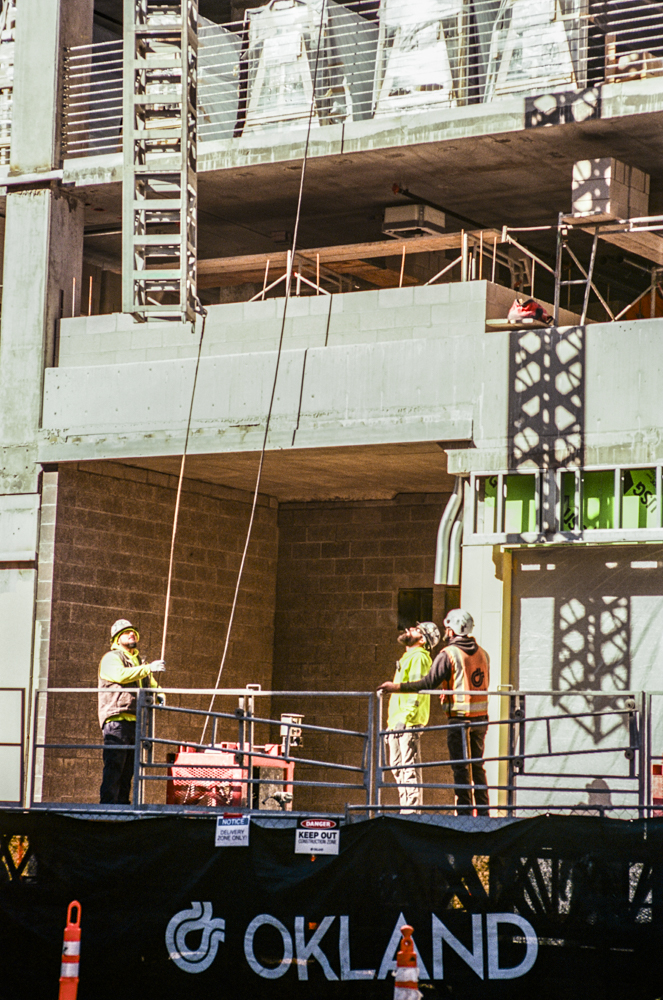
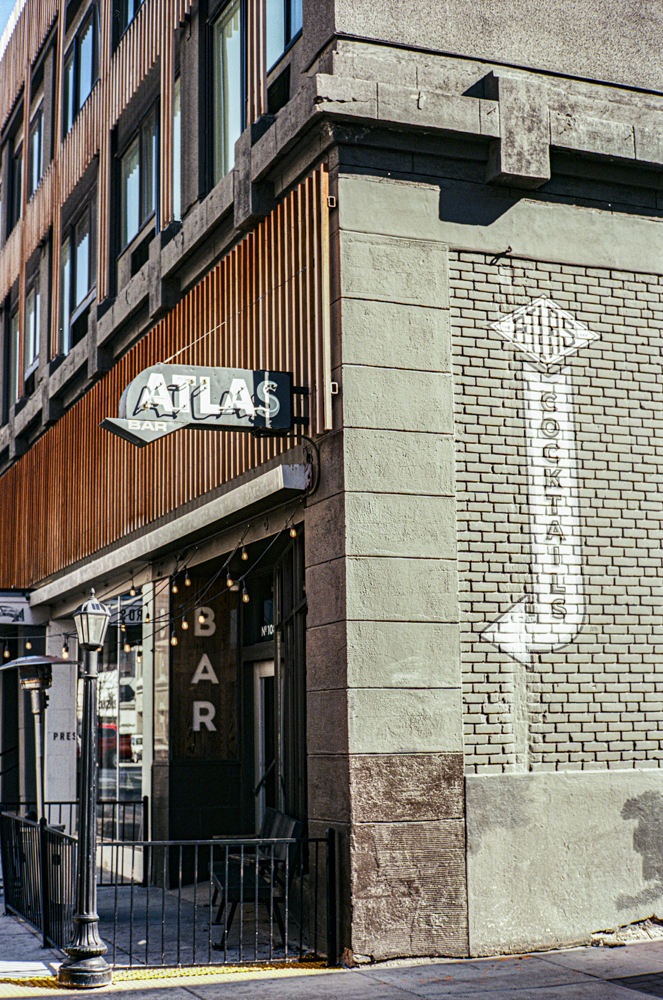
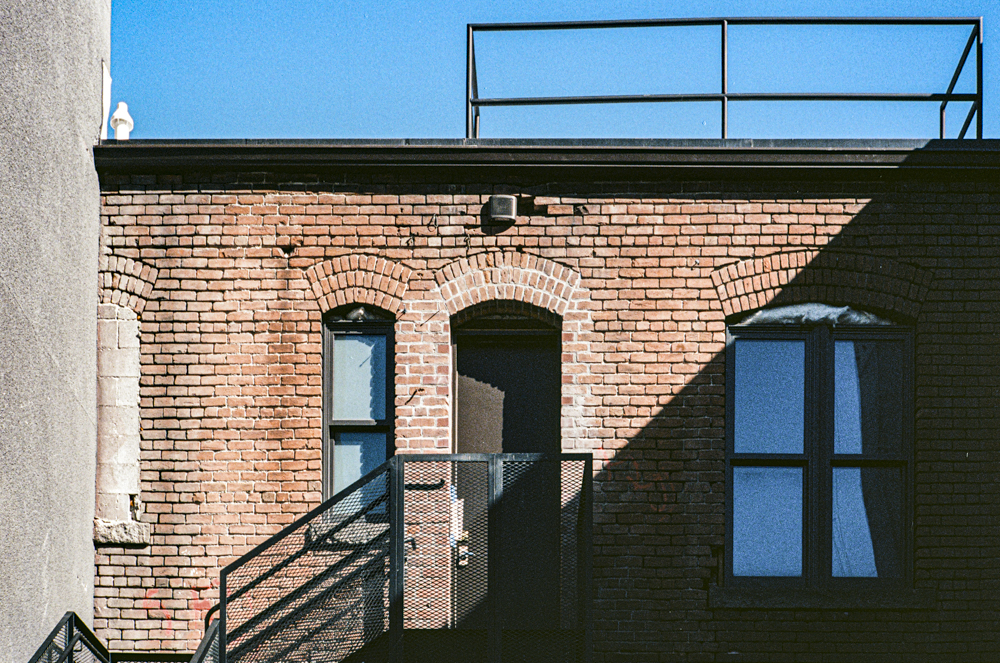
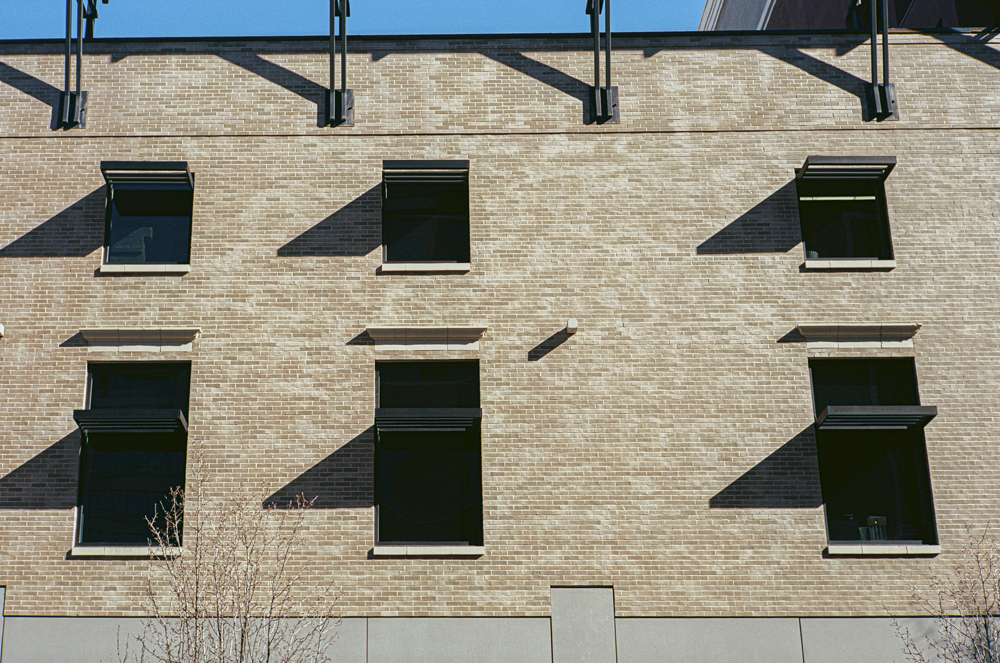
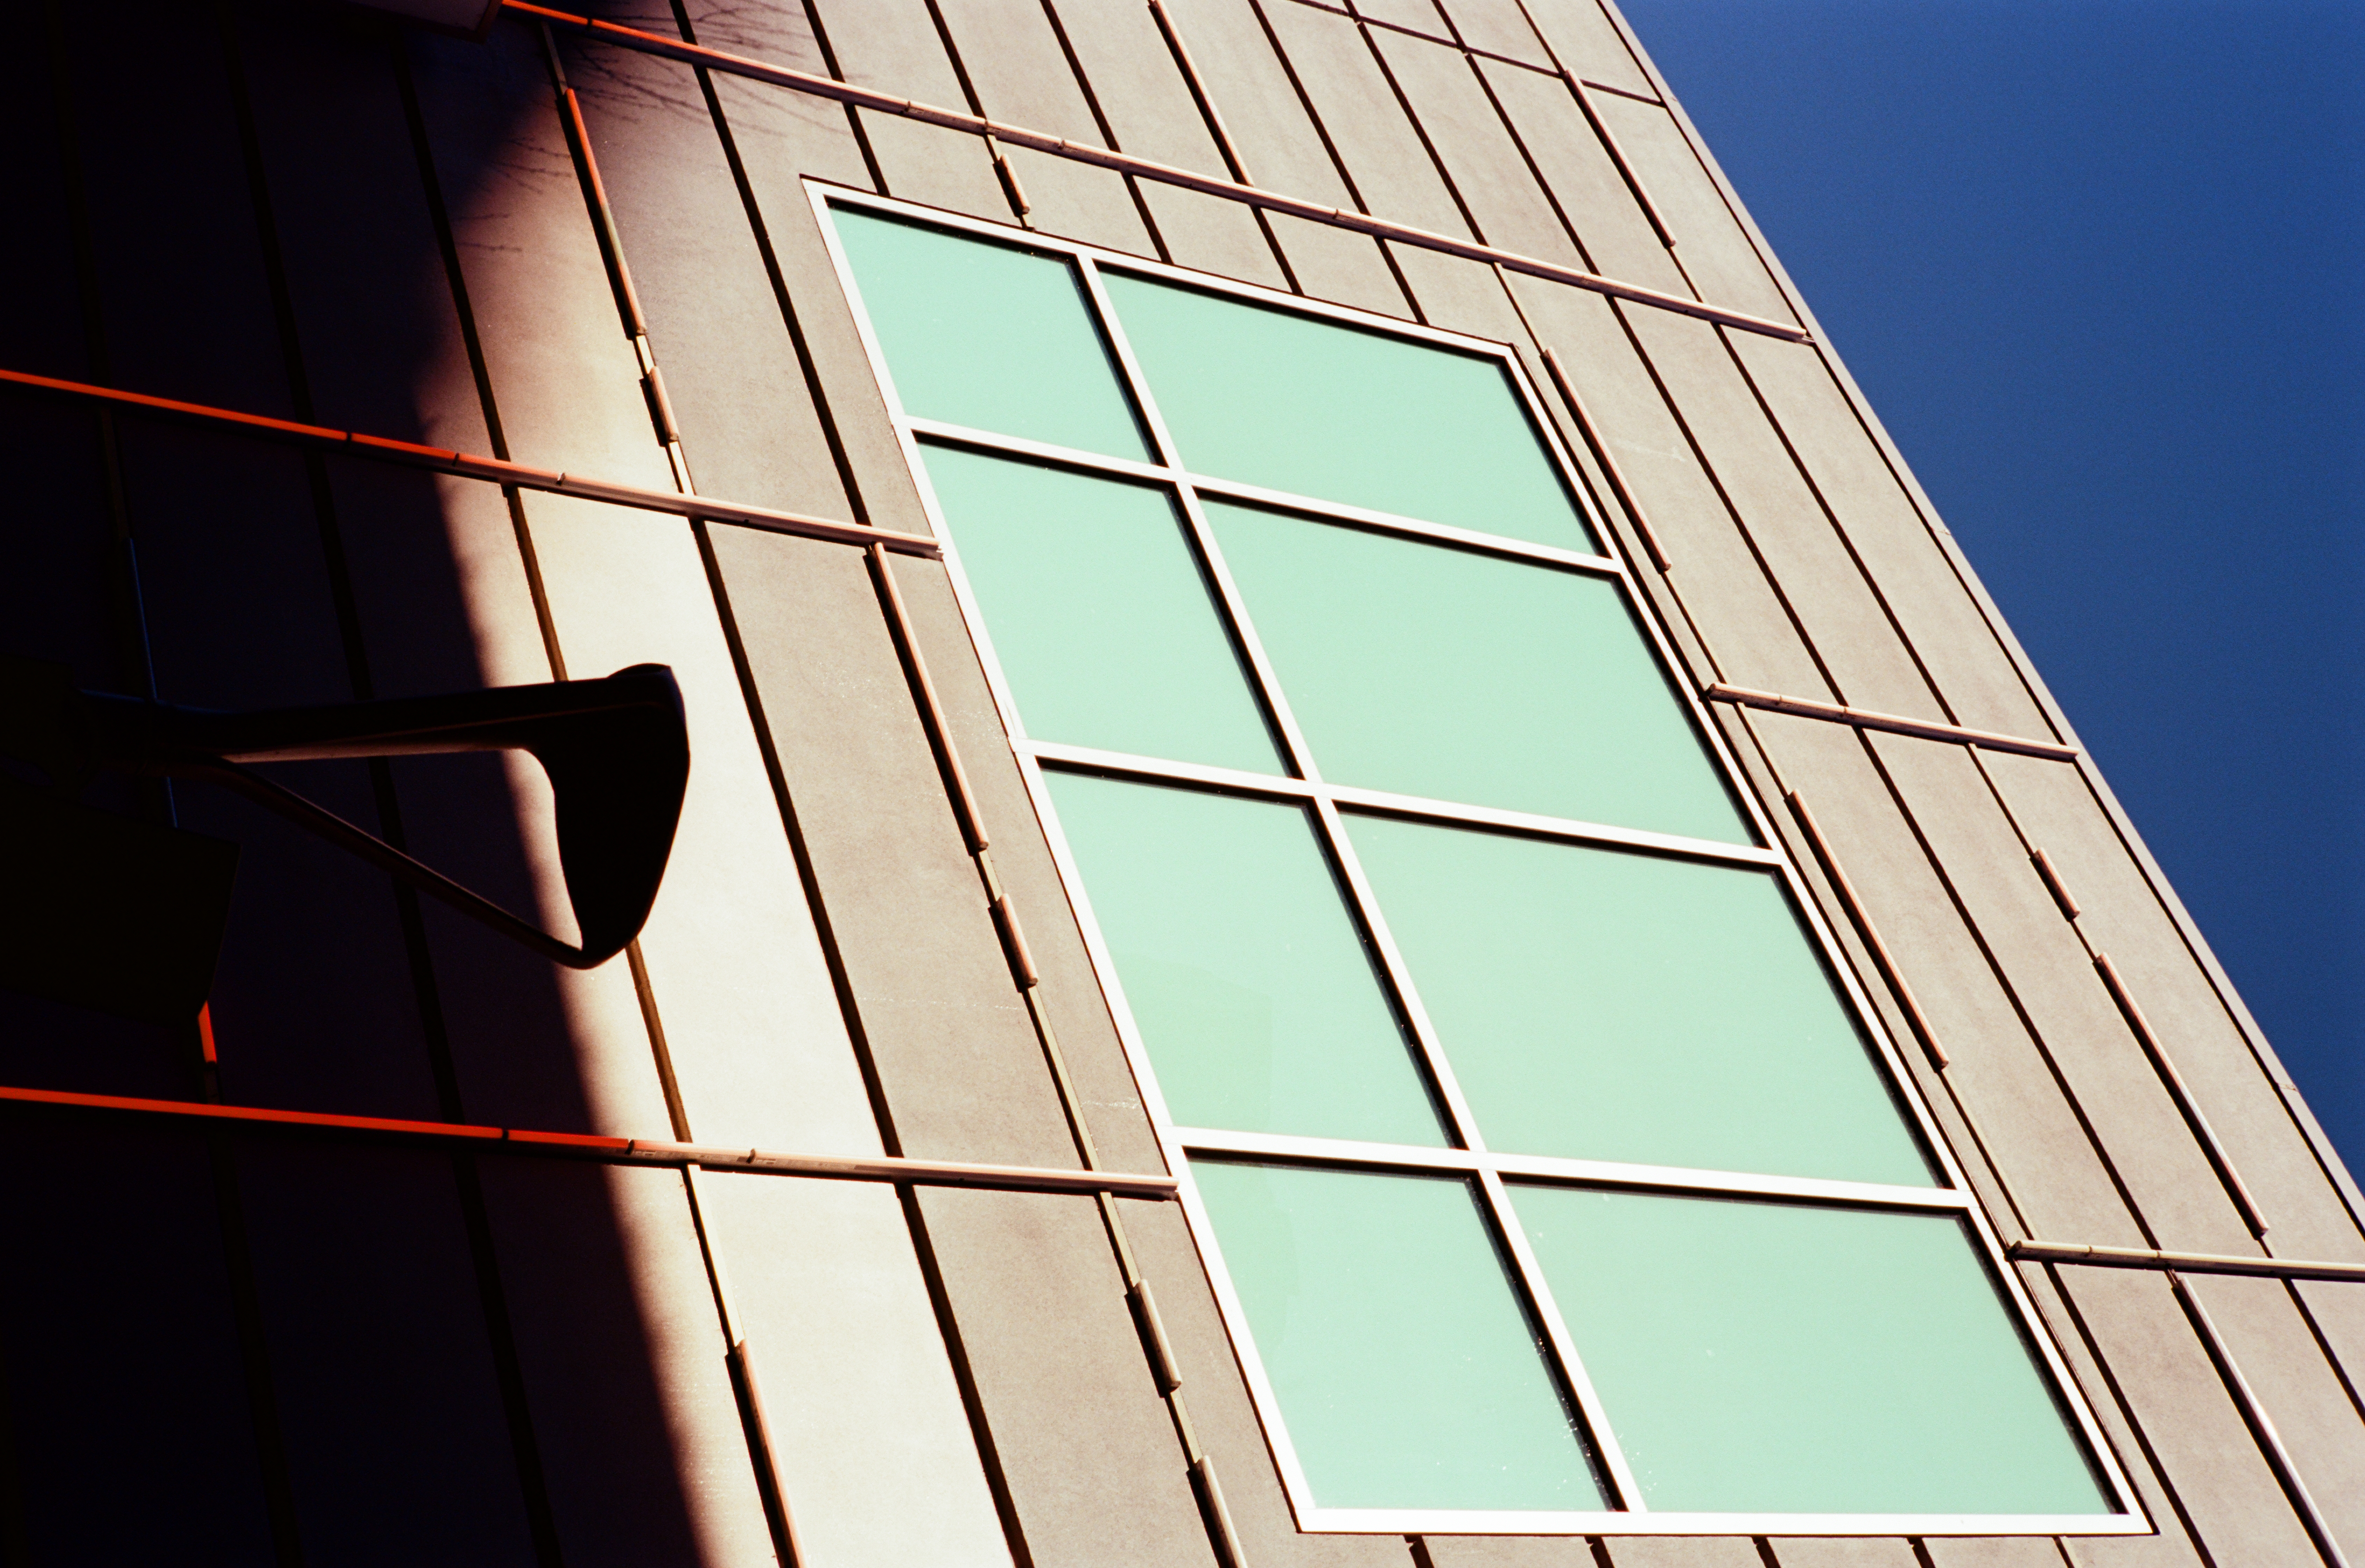
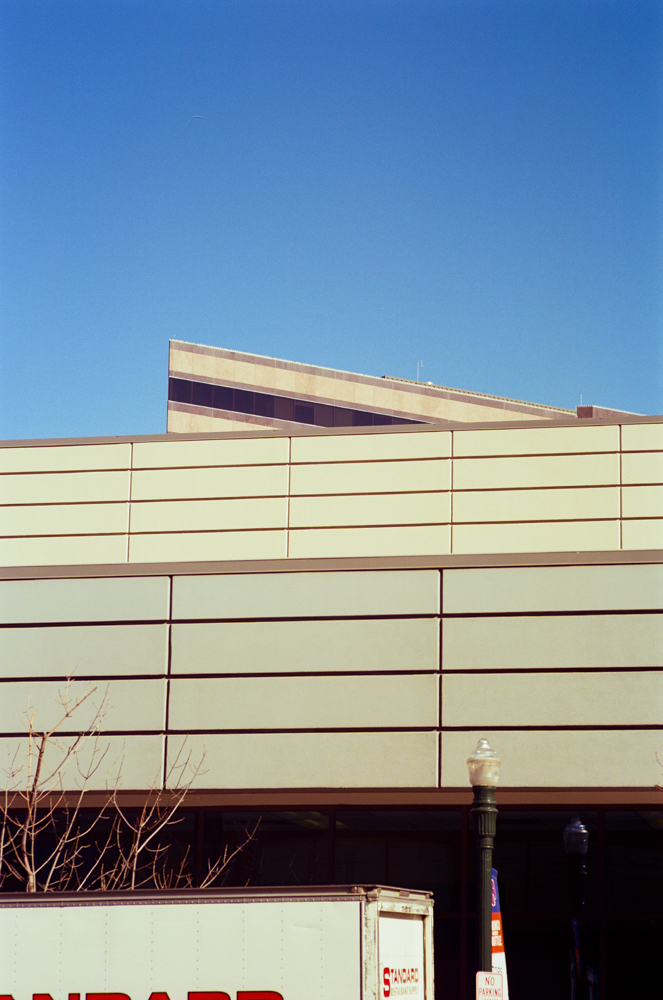
Here are some early results, all on the Leica M3 with Ektar 100 film, JPGs scanned HQ on a Noritsu scanner.


As one of the very few affordably priced and reasonably modern Leitz lenses, assuming you can find a copy without haze or fungus, the 90mm f/2.8 Tele-Elmarit is recommended. Mine cost $454 shipped and absent some minor wear on the barrel has untarnished optics, with smooth focus.

Canon 50mm f/1.4 – some results

Not half bad.

For an index of all Leica-related articles click here.


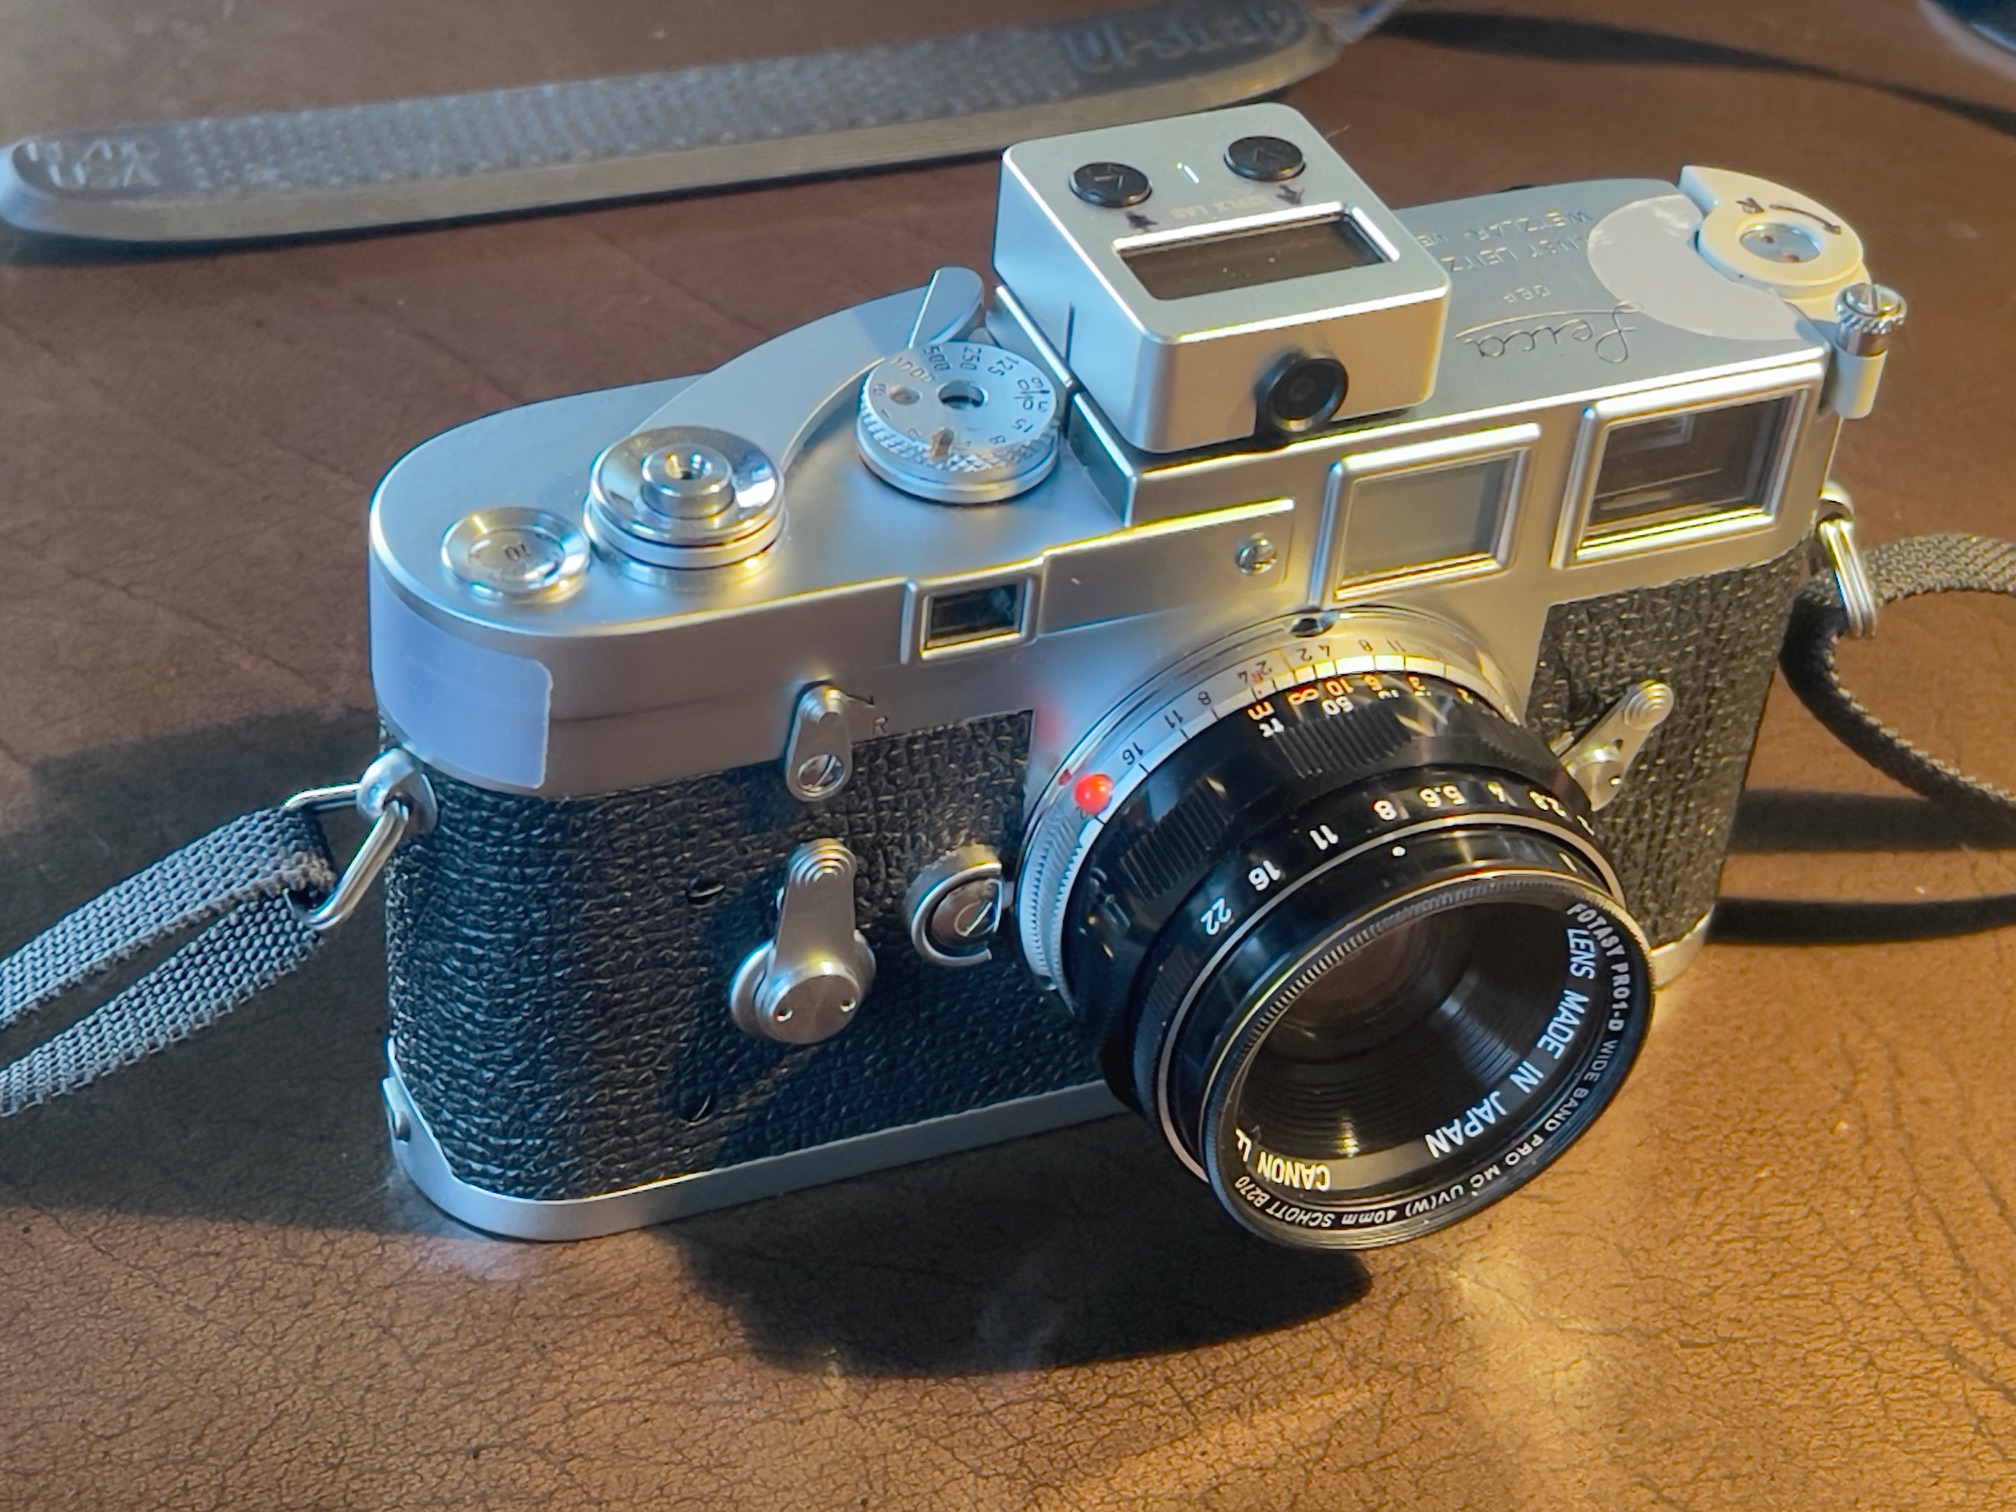
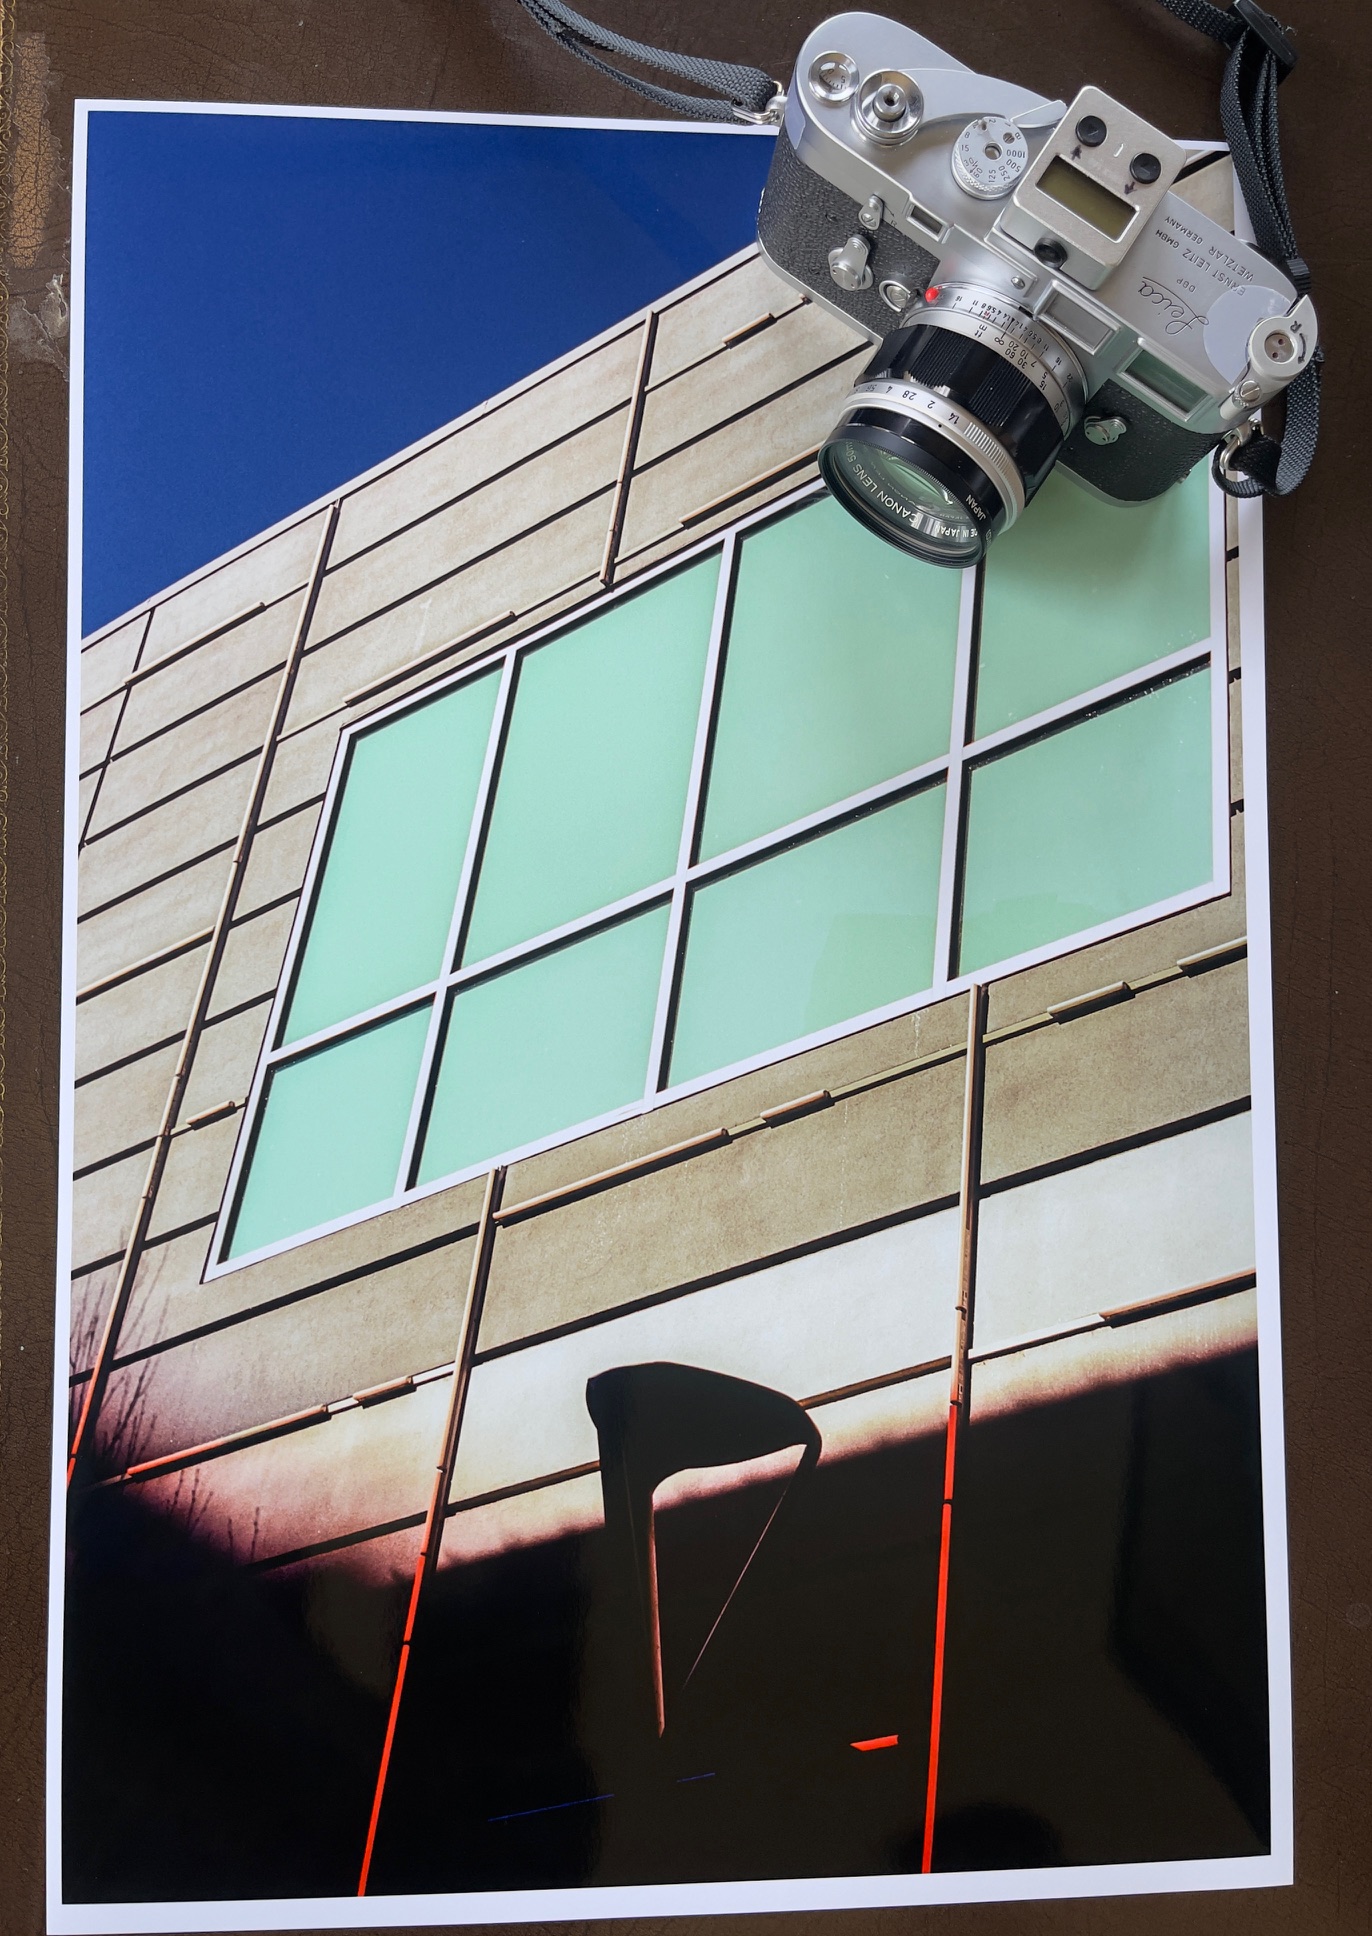
M3, 50mm Canon f/1.4 LTM and a BIG print.
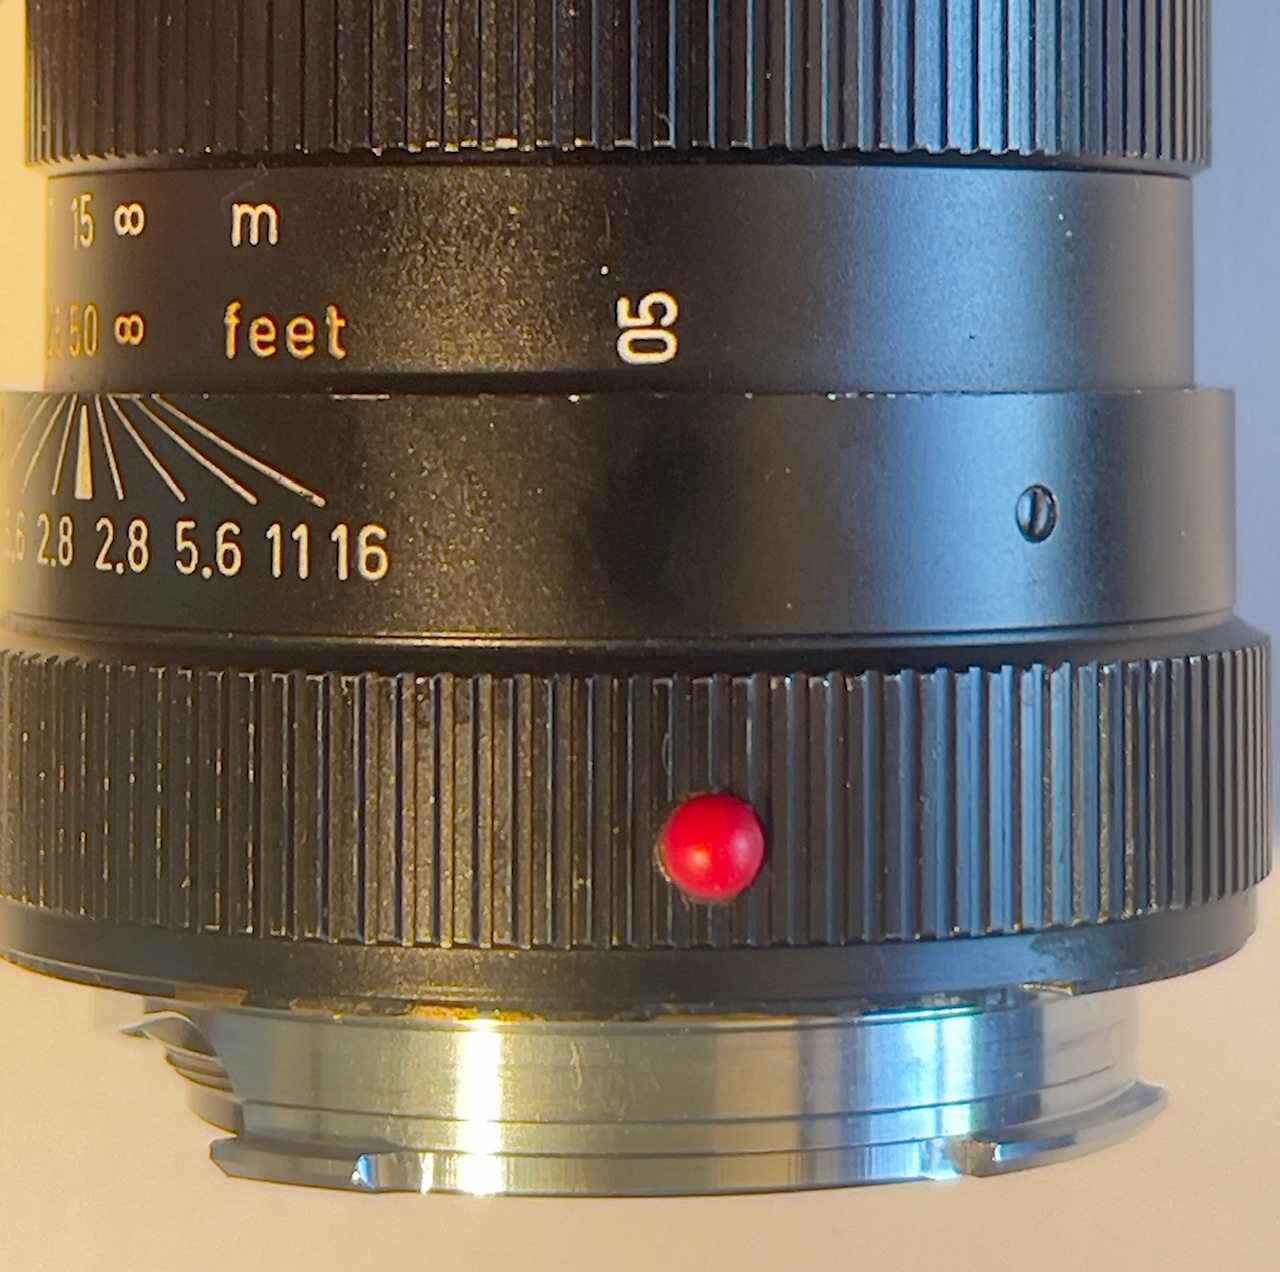
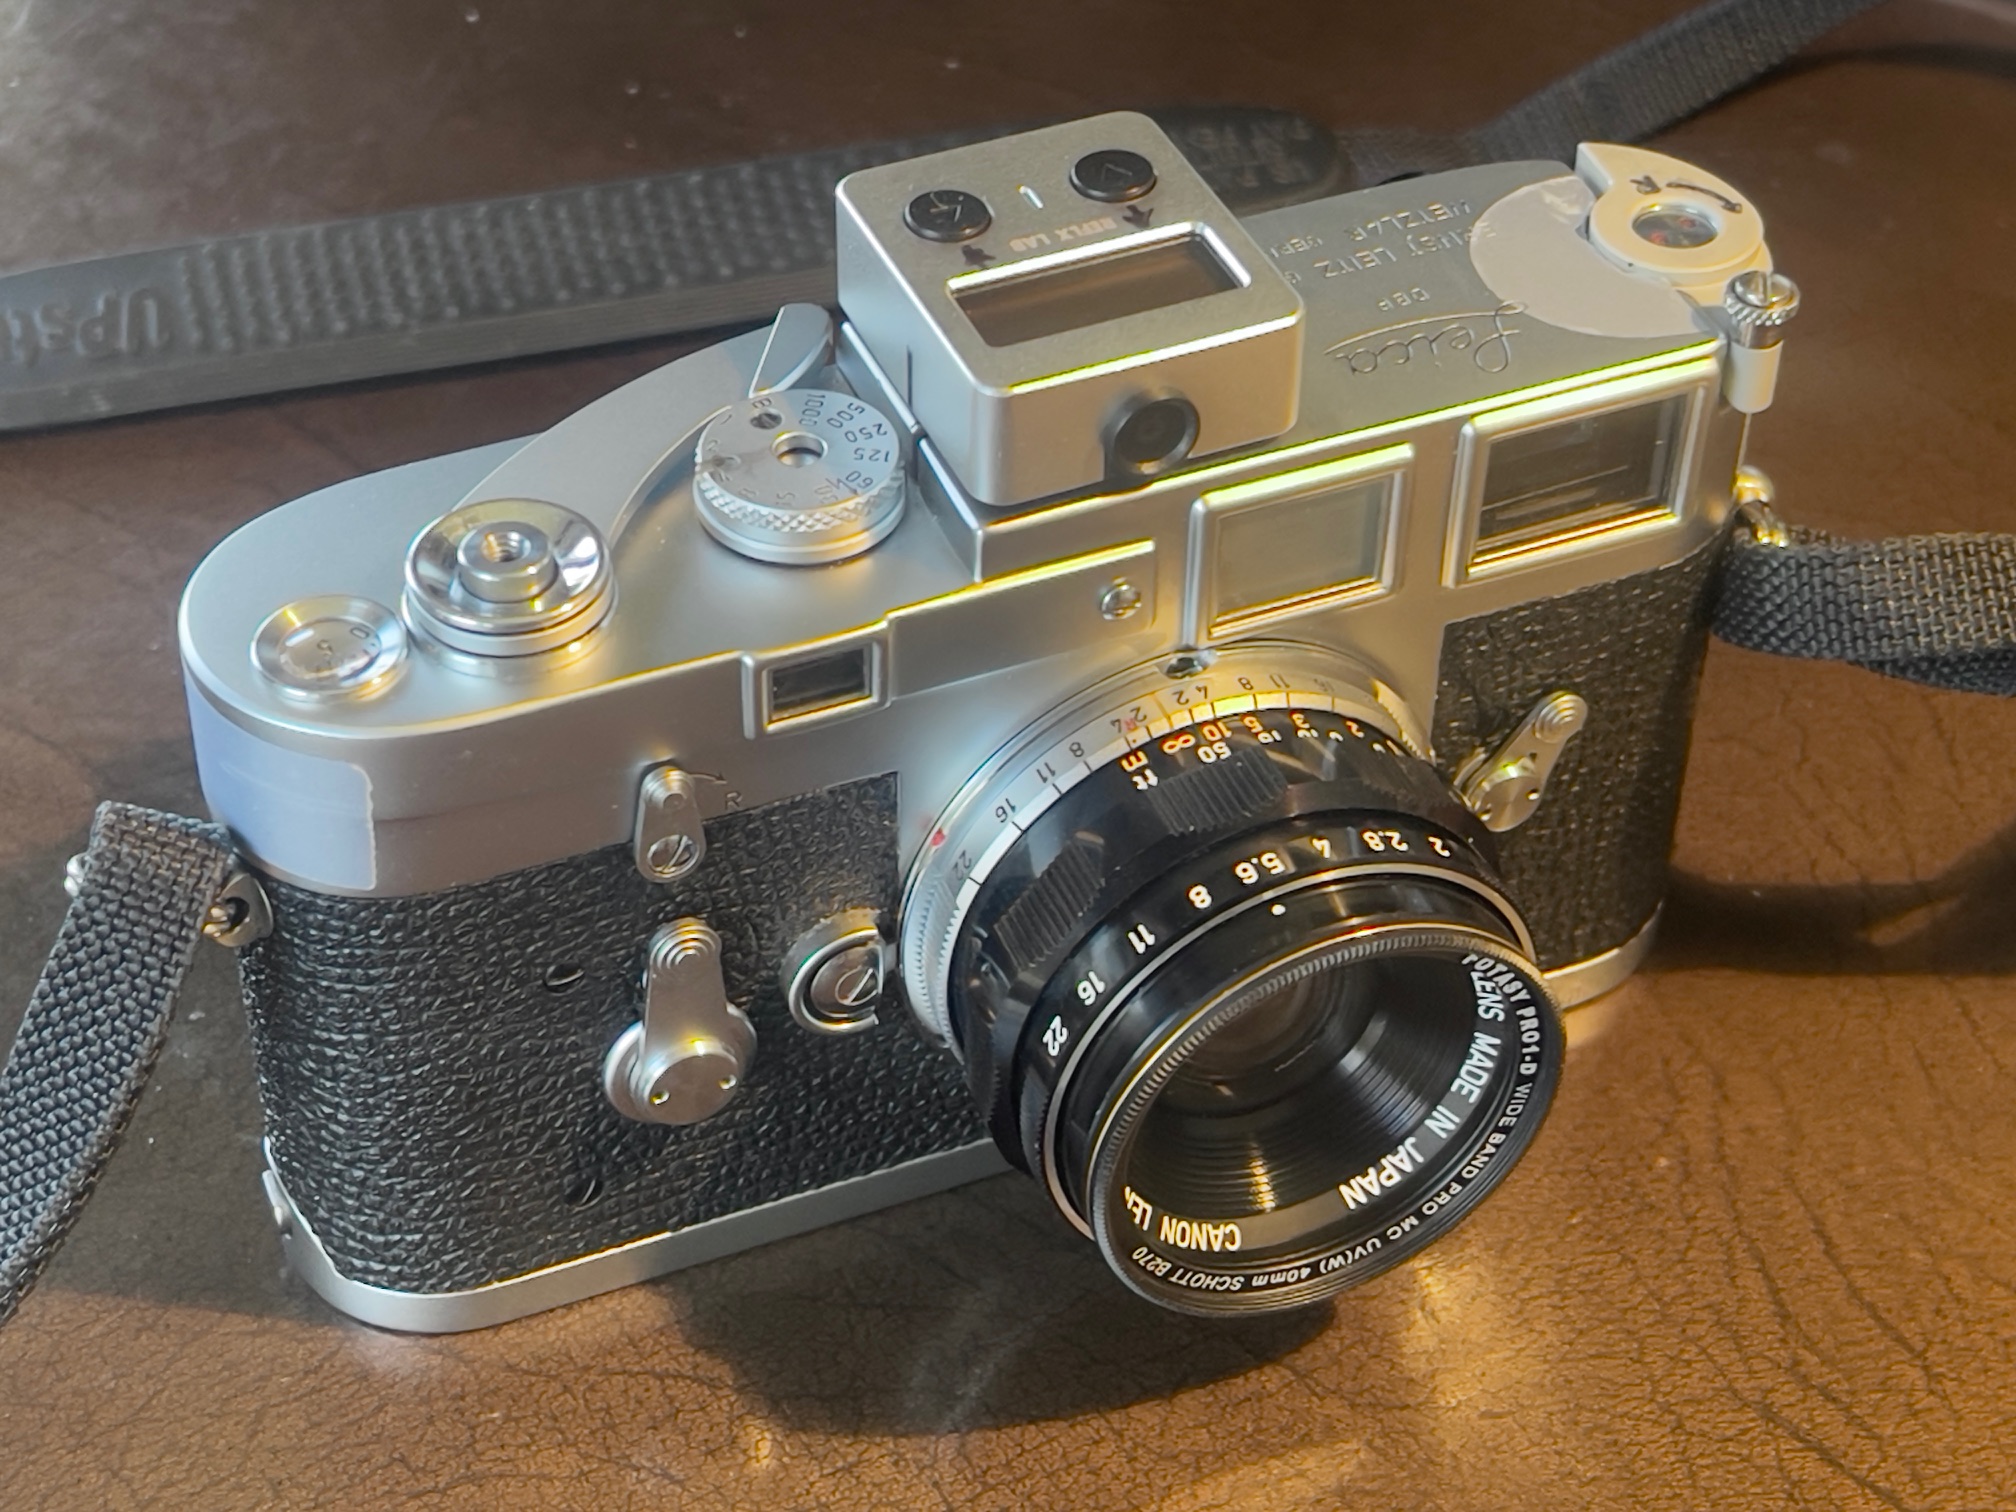
I added the red lens alignment index dome.

After the interminable wait for the scans to come back from the photo lab – sometimes I just hate film – they finally arrived 9 days after mailing in my Dropbox account and I duly downloaded the Noritsu HQ scans into LRc and immediately added EXIF data. I generally search the LRc catalog by lens used as that seems to work best for my memory.

What makes a lens ‘good’? For me I care little about resolution charts, coma tests, distortion measurements, you name it. What I want is a high resolution print at 13″ x 19″ in size, often cropped from just 50% of the original. Using that criterion the Canon 50mm f/1.4 LTM lens adapted to my Leica M3 is a fine lens indeed.

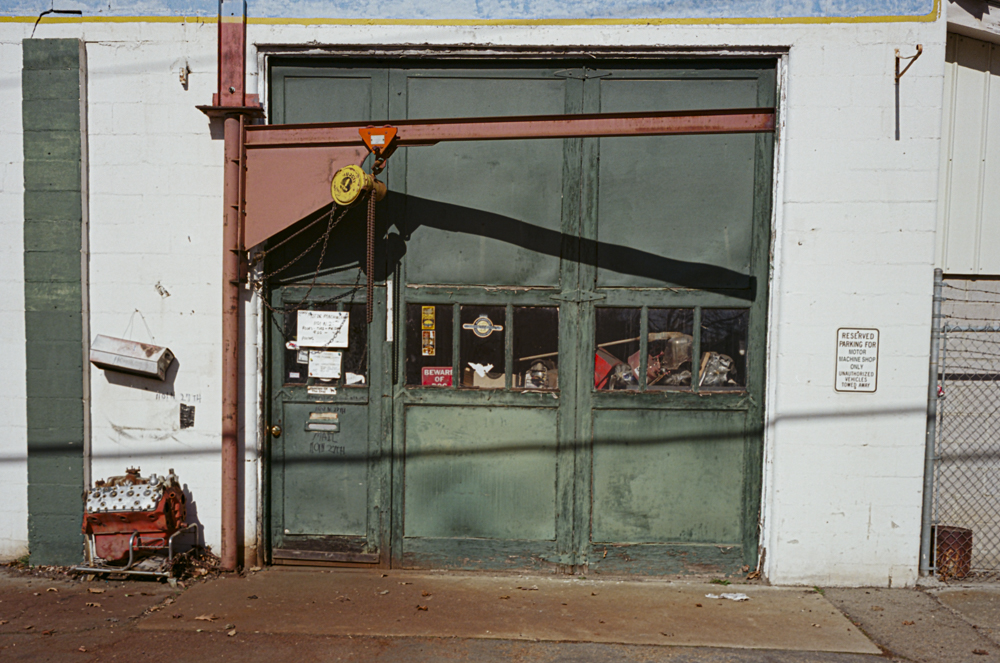
Here are some results, all on pokey 100 ISO Kodak Ektar. It may be slow but the grain is very fine indeed and the reds are the closest thing to Kodachrome since Kodachrome.


Barista girl. 1/15th, f/1.4. Ektar is sloooow!


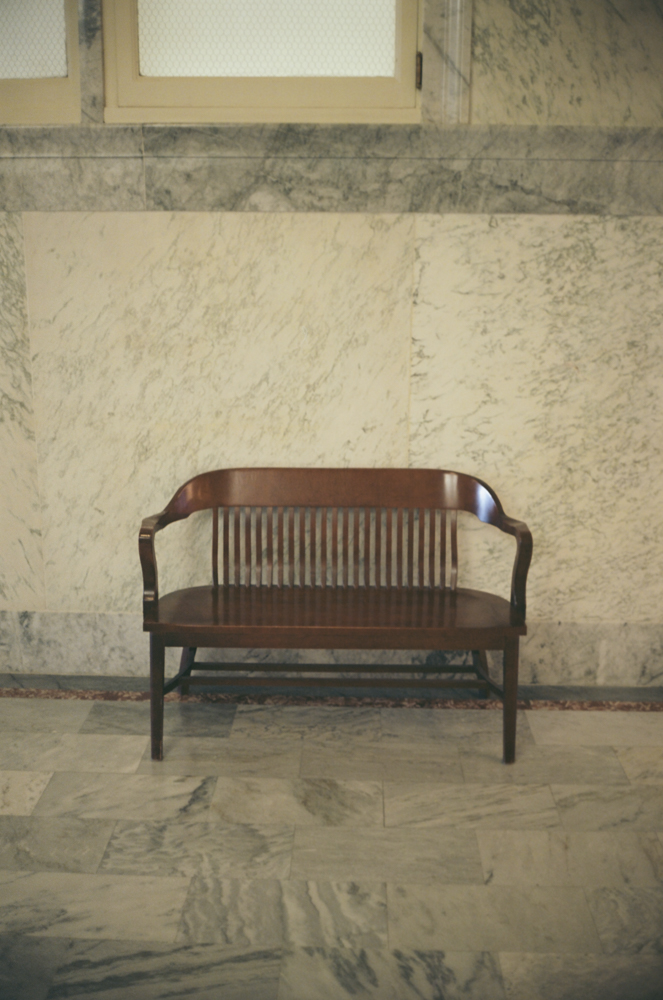
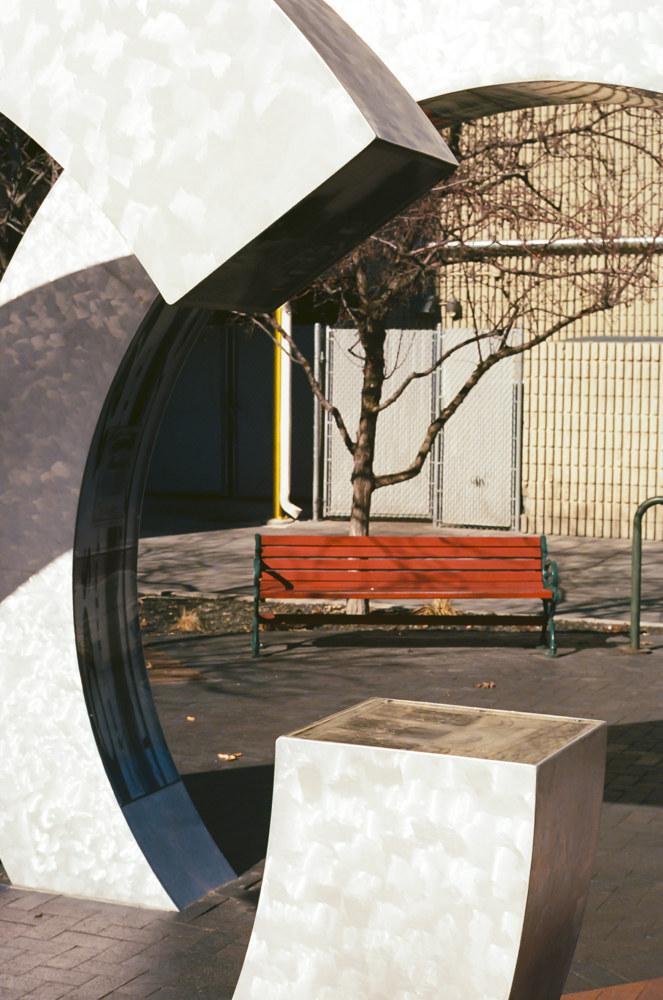
Bench. f/8.


Local barber’s shop.


I couldn’t but think of Stieglitz’s famous Wall Street image.


Near-Kodachrome reds. Click the image for a larger version.


In the style of Keld Helmer Petersen.


More Keld.


Hard hat place.

If you do not want to spend megabucks on a Leica 50mm lens, the affordable Canon 50mm f/1.4 LTM optic is recommended.

Adding indexes to LTM lenses

Tricky.

For an index of all Leica-related articles click here.

Having added two Canon Leica Thread Mount lenses to my little Leica M3 outfit, I found it difficult to easily align the lenses properly when fitting them to the M3. There’s a small red index line on the LTM-to-M bayonet adapter but it’s very hard to see when the adapter is mounted on the lens.

What I was missing was the red index hemisphere (“dome”) found on all Leitz M mount lenses, like on my 90mm Tele-Elmarit. These are absent from LTM lenses from any manufacturer:


The indexing dome on the 90mm Tele-Elmarit

In addition to providing visual indexing when mounting the lens, these domes also provide ready tactile guidance so that you can literally change lenses in the dark almost as easily as in daylight.

A couple of minutes on eBay and I was hosed down $10.23 for two minuscule red plastic indexing domes, arguably the costliest plastic per ounce on Planet Earth. Still, watcha gonna do? (I searched for “Red Dot Marks for Leica Lenses”). Be sure to clean your lens’s mounting surfaces with some isopropyl alcohol before proceeding.

The domes measure 3.2mm in diameter (0.1255″), identical to those used on Leitz rangefinder M-mount lenses.


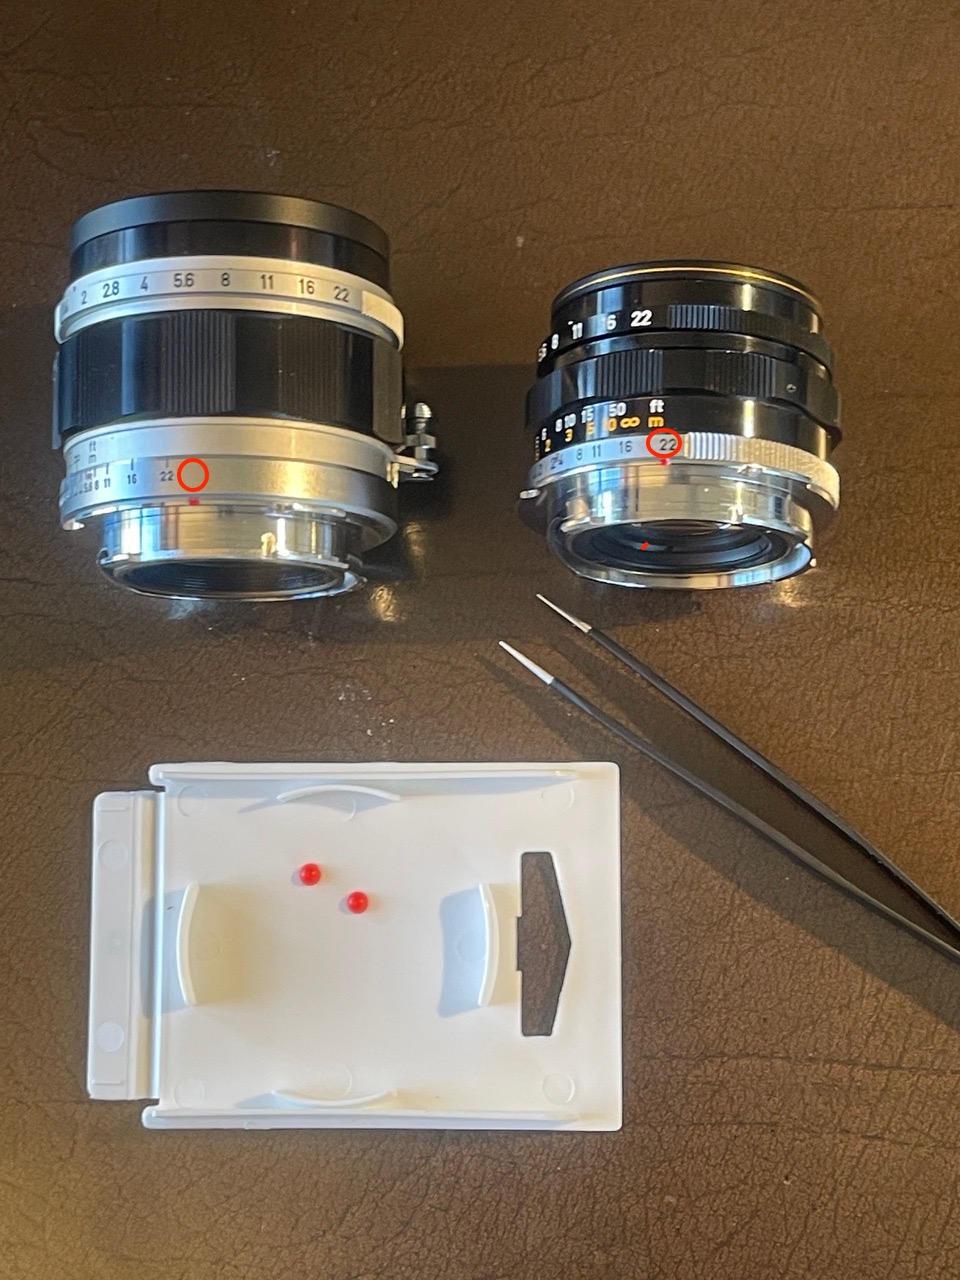
The domes with the 35mm and 50mm Canon optics.
Miniature tweezers are essential for easy placement.
Red circles indicate correct locations.

As you can see these are very small and you must use a pair of miniature tweezers to place them in position. The red circles indicate the installation points.

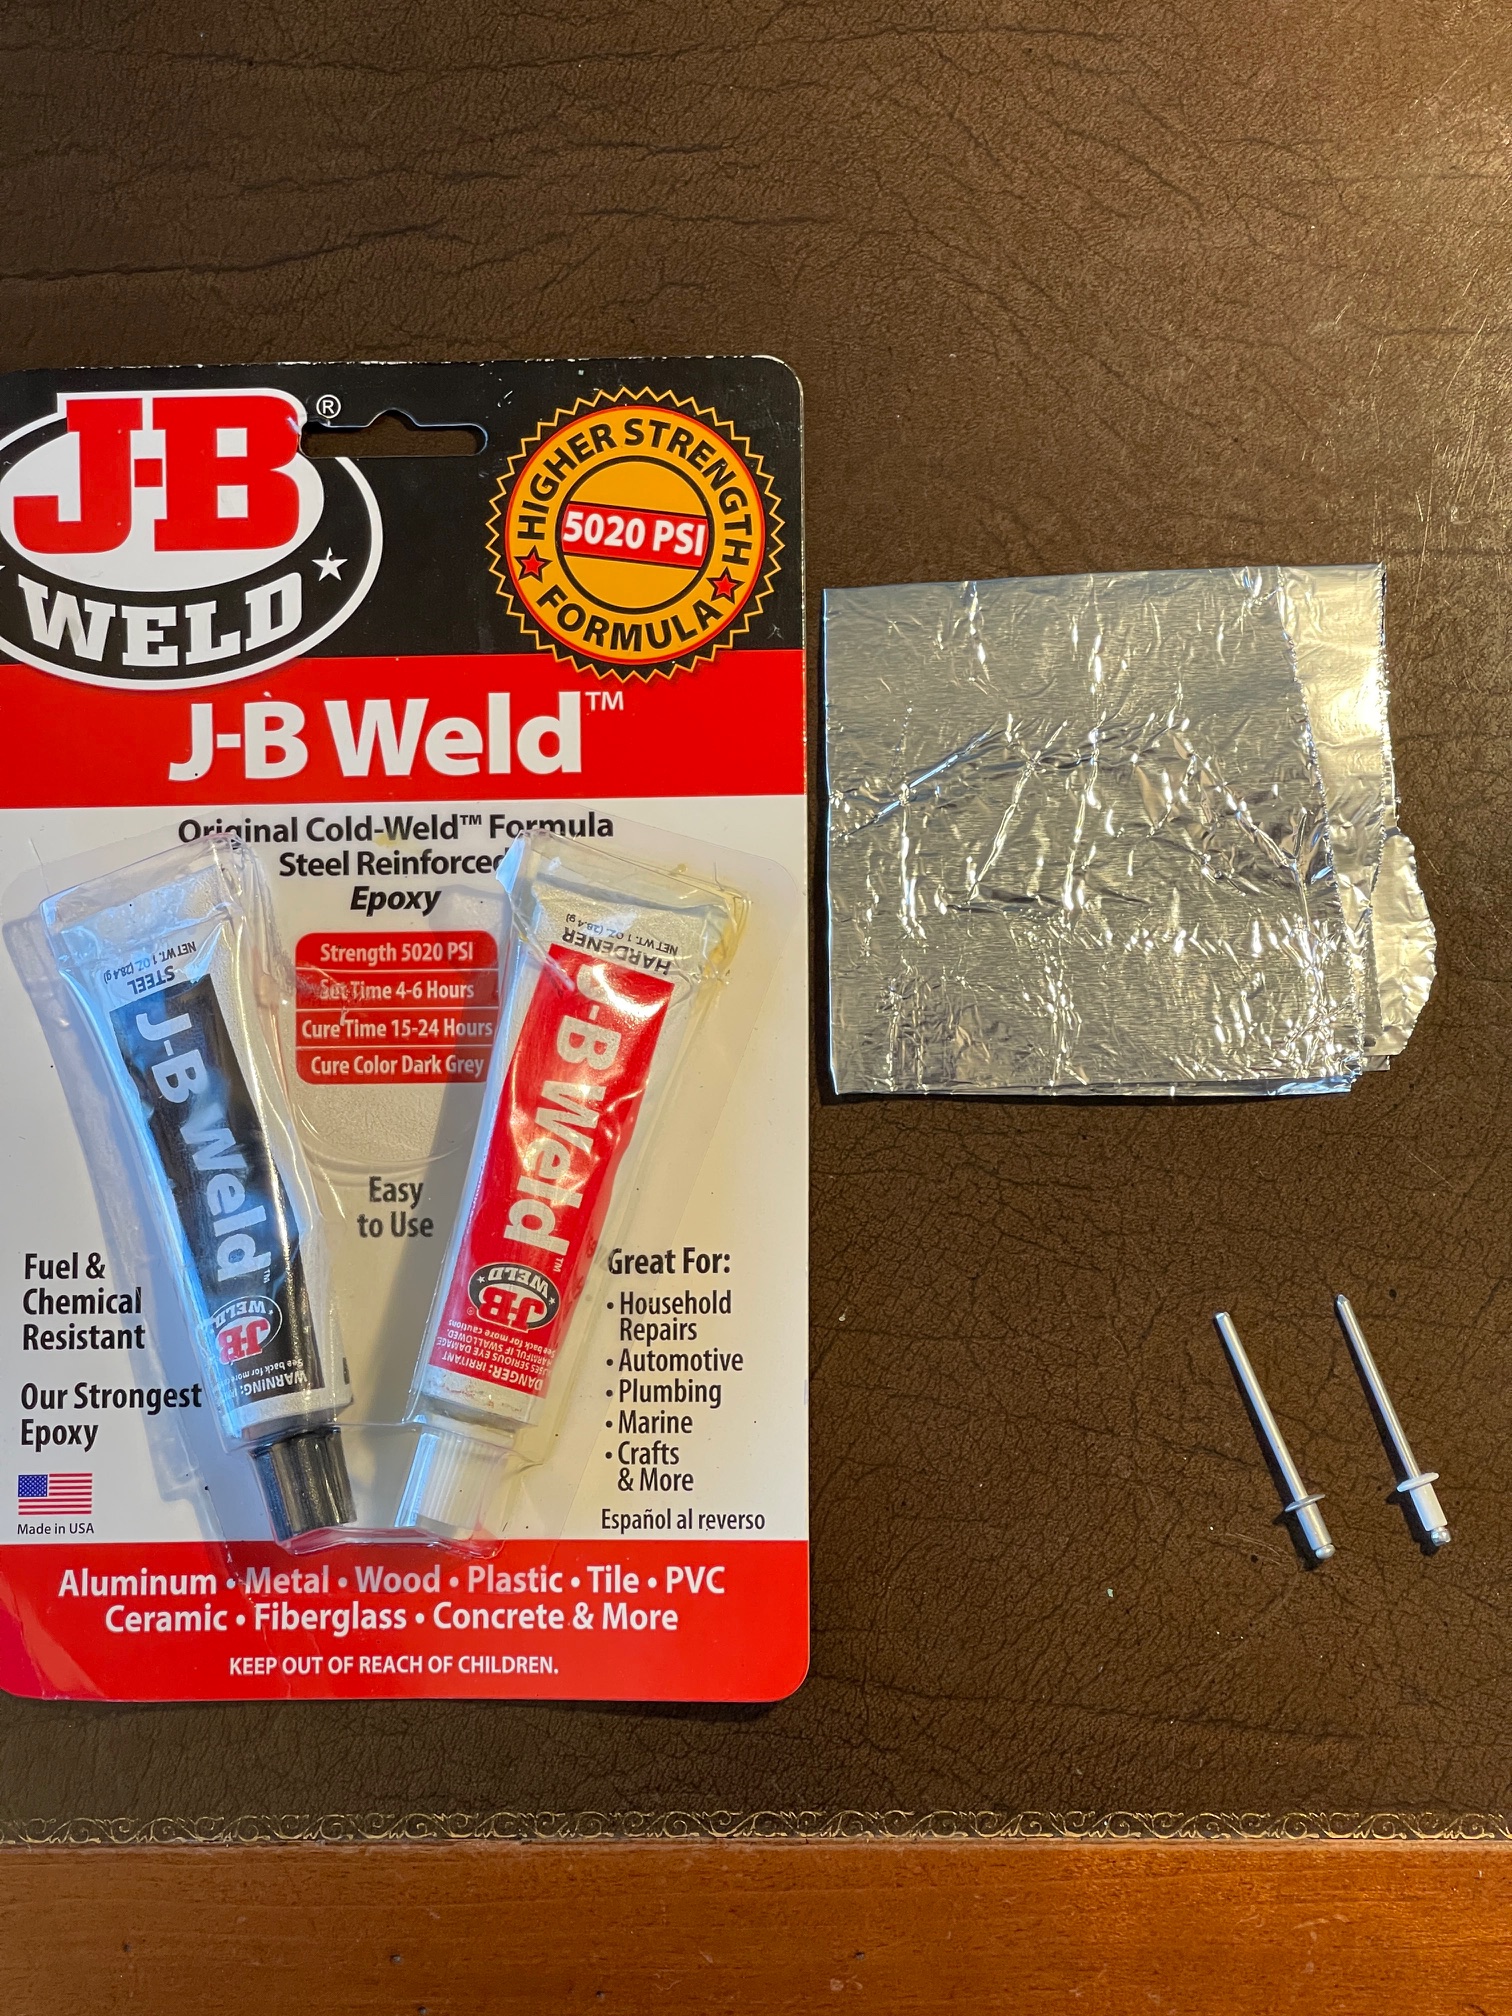
While some use cyanoacrylate glue I find it’s far too runny and impermanent for this purpose. Those domes are going to get knocked about in use and CA glue just does not cut it. What is needed is two-part epoxy and there’s none finer than regular JB Weld. Avoid the quick setting version (weaker), go for the real thing:


One rivet for mixing, the other for application.

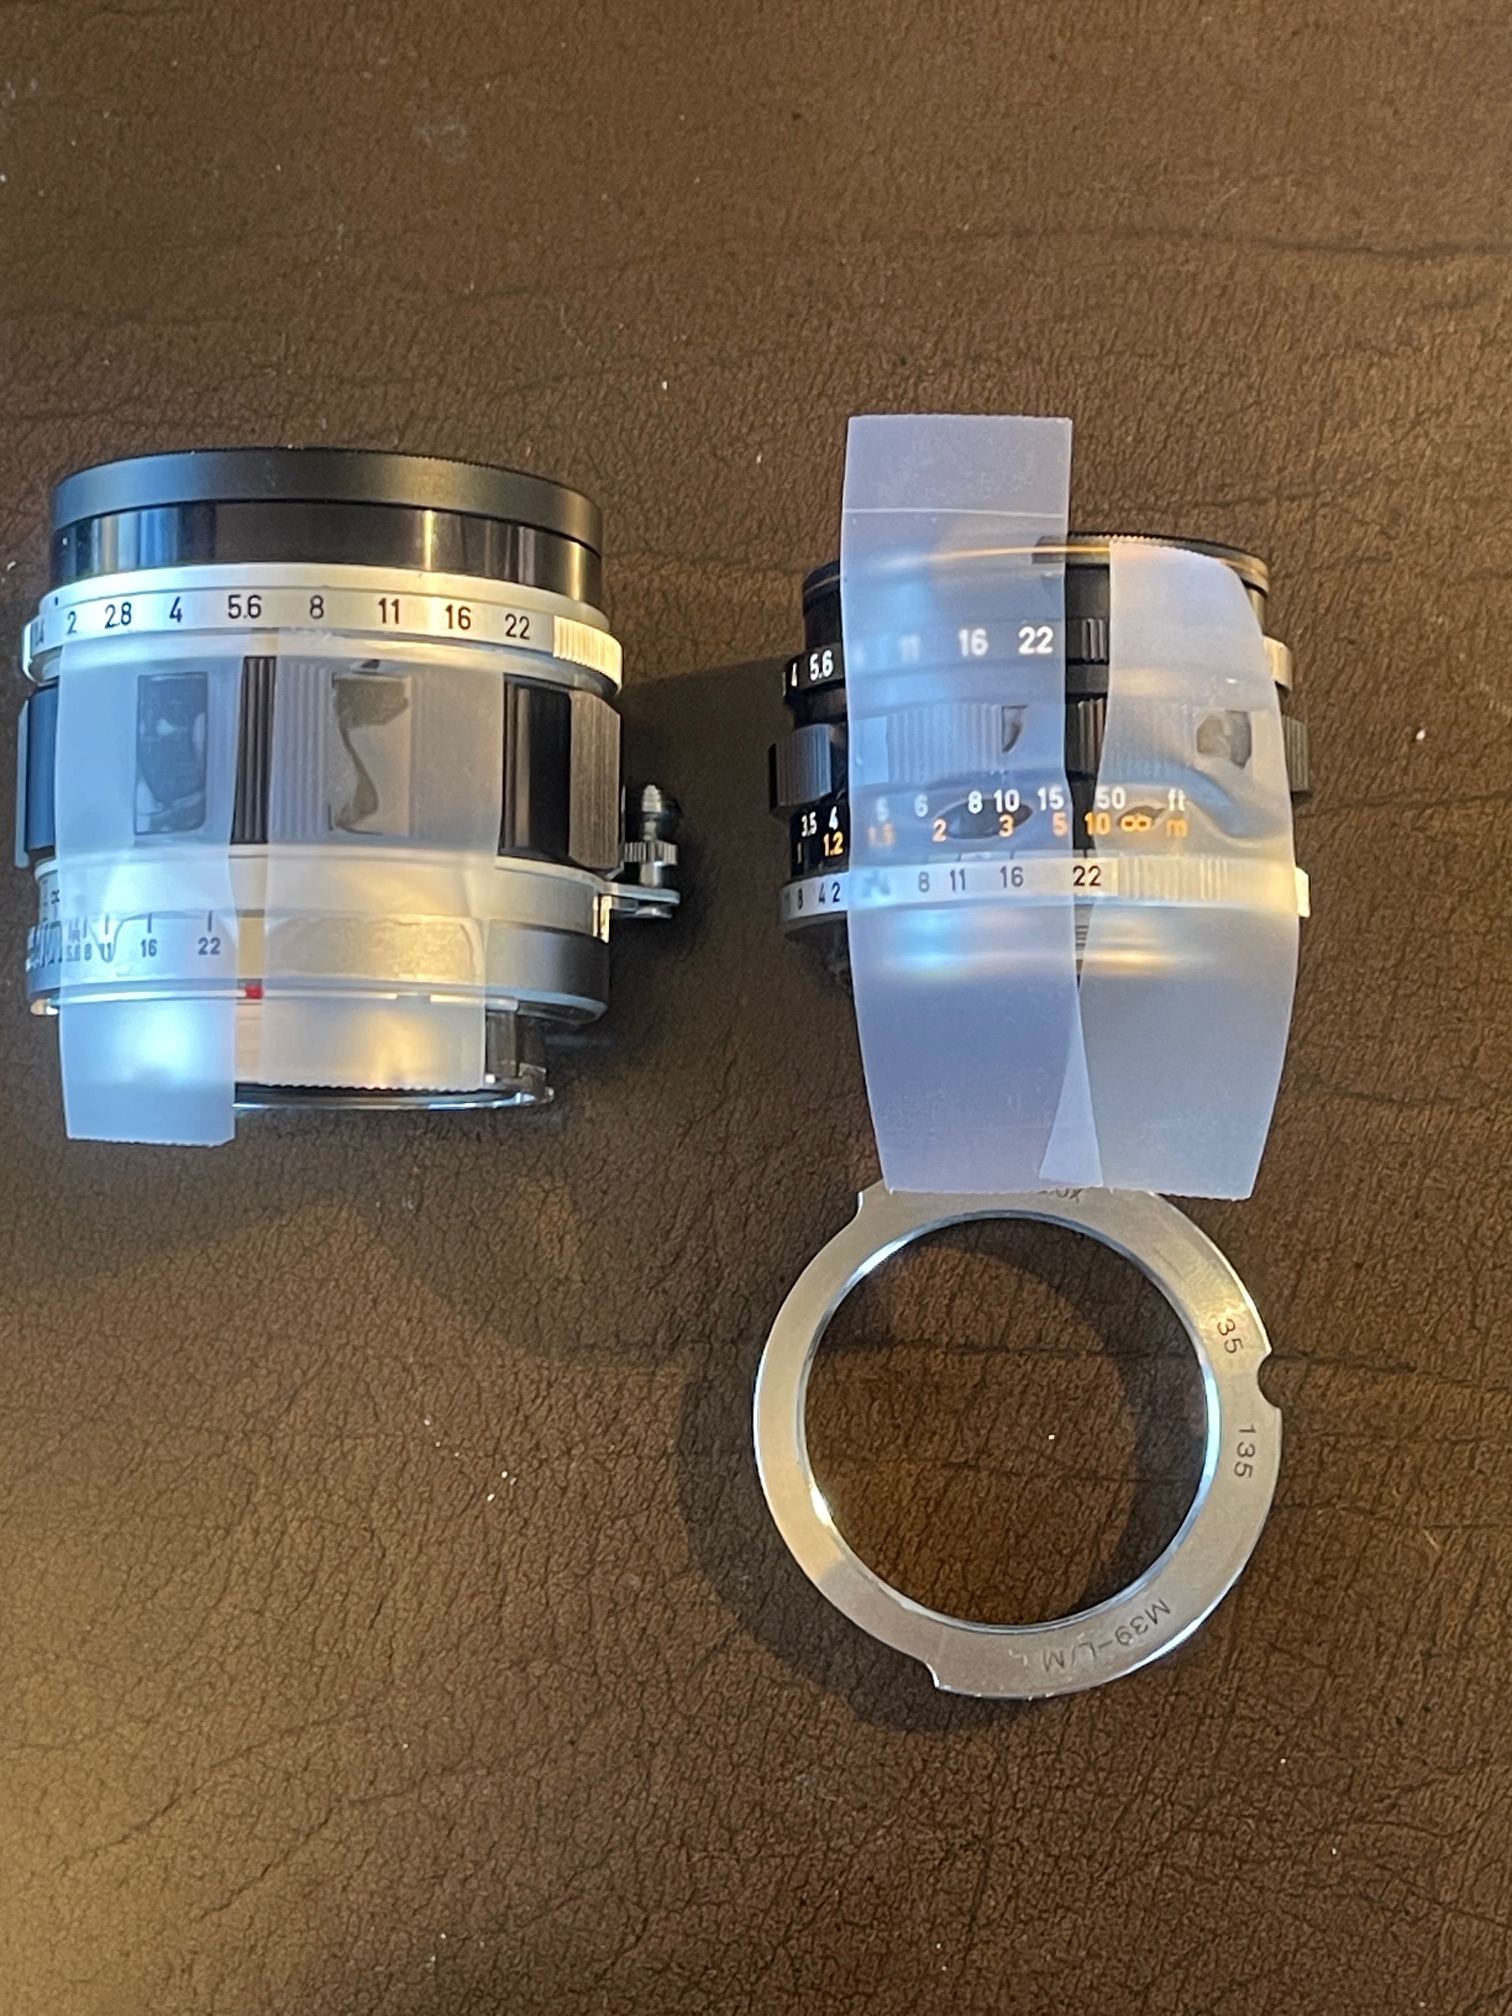
Next it’s time to mask the rear rings on the lenses to avoid unnecessary and ugly over-application of the mixed epoxy:


Scotch tape masks. The adapter has been removed
from the 35mm as it overlaps the rear lens mount.
This makes for better Scotch tape adhesion.

You have two choices. Apply the epoxy to the dome (high risk of dropping the dome as you hold it in the tweezers) or apply the epoxy to the lens (far lower risk, and the Scotch tape mask further mitigates error). After applying the smallest amount of epoxy to each lens, the domes are placed in position using the tweezers followed by light finger pressure for a good seal. This is why you want to use as little epoxy as possible. Squeeze out is ugly. Maybe lay off the coffee before these steps?


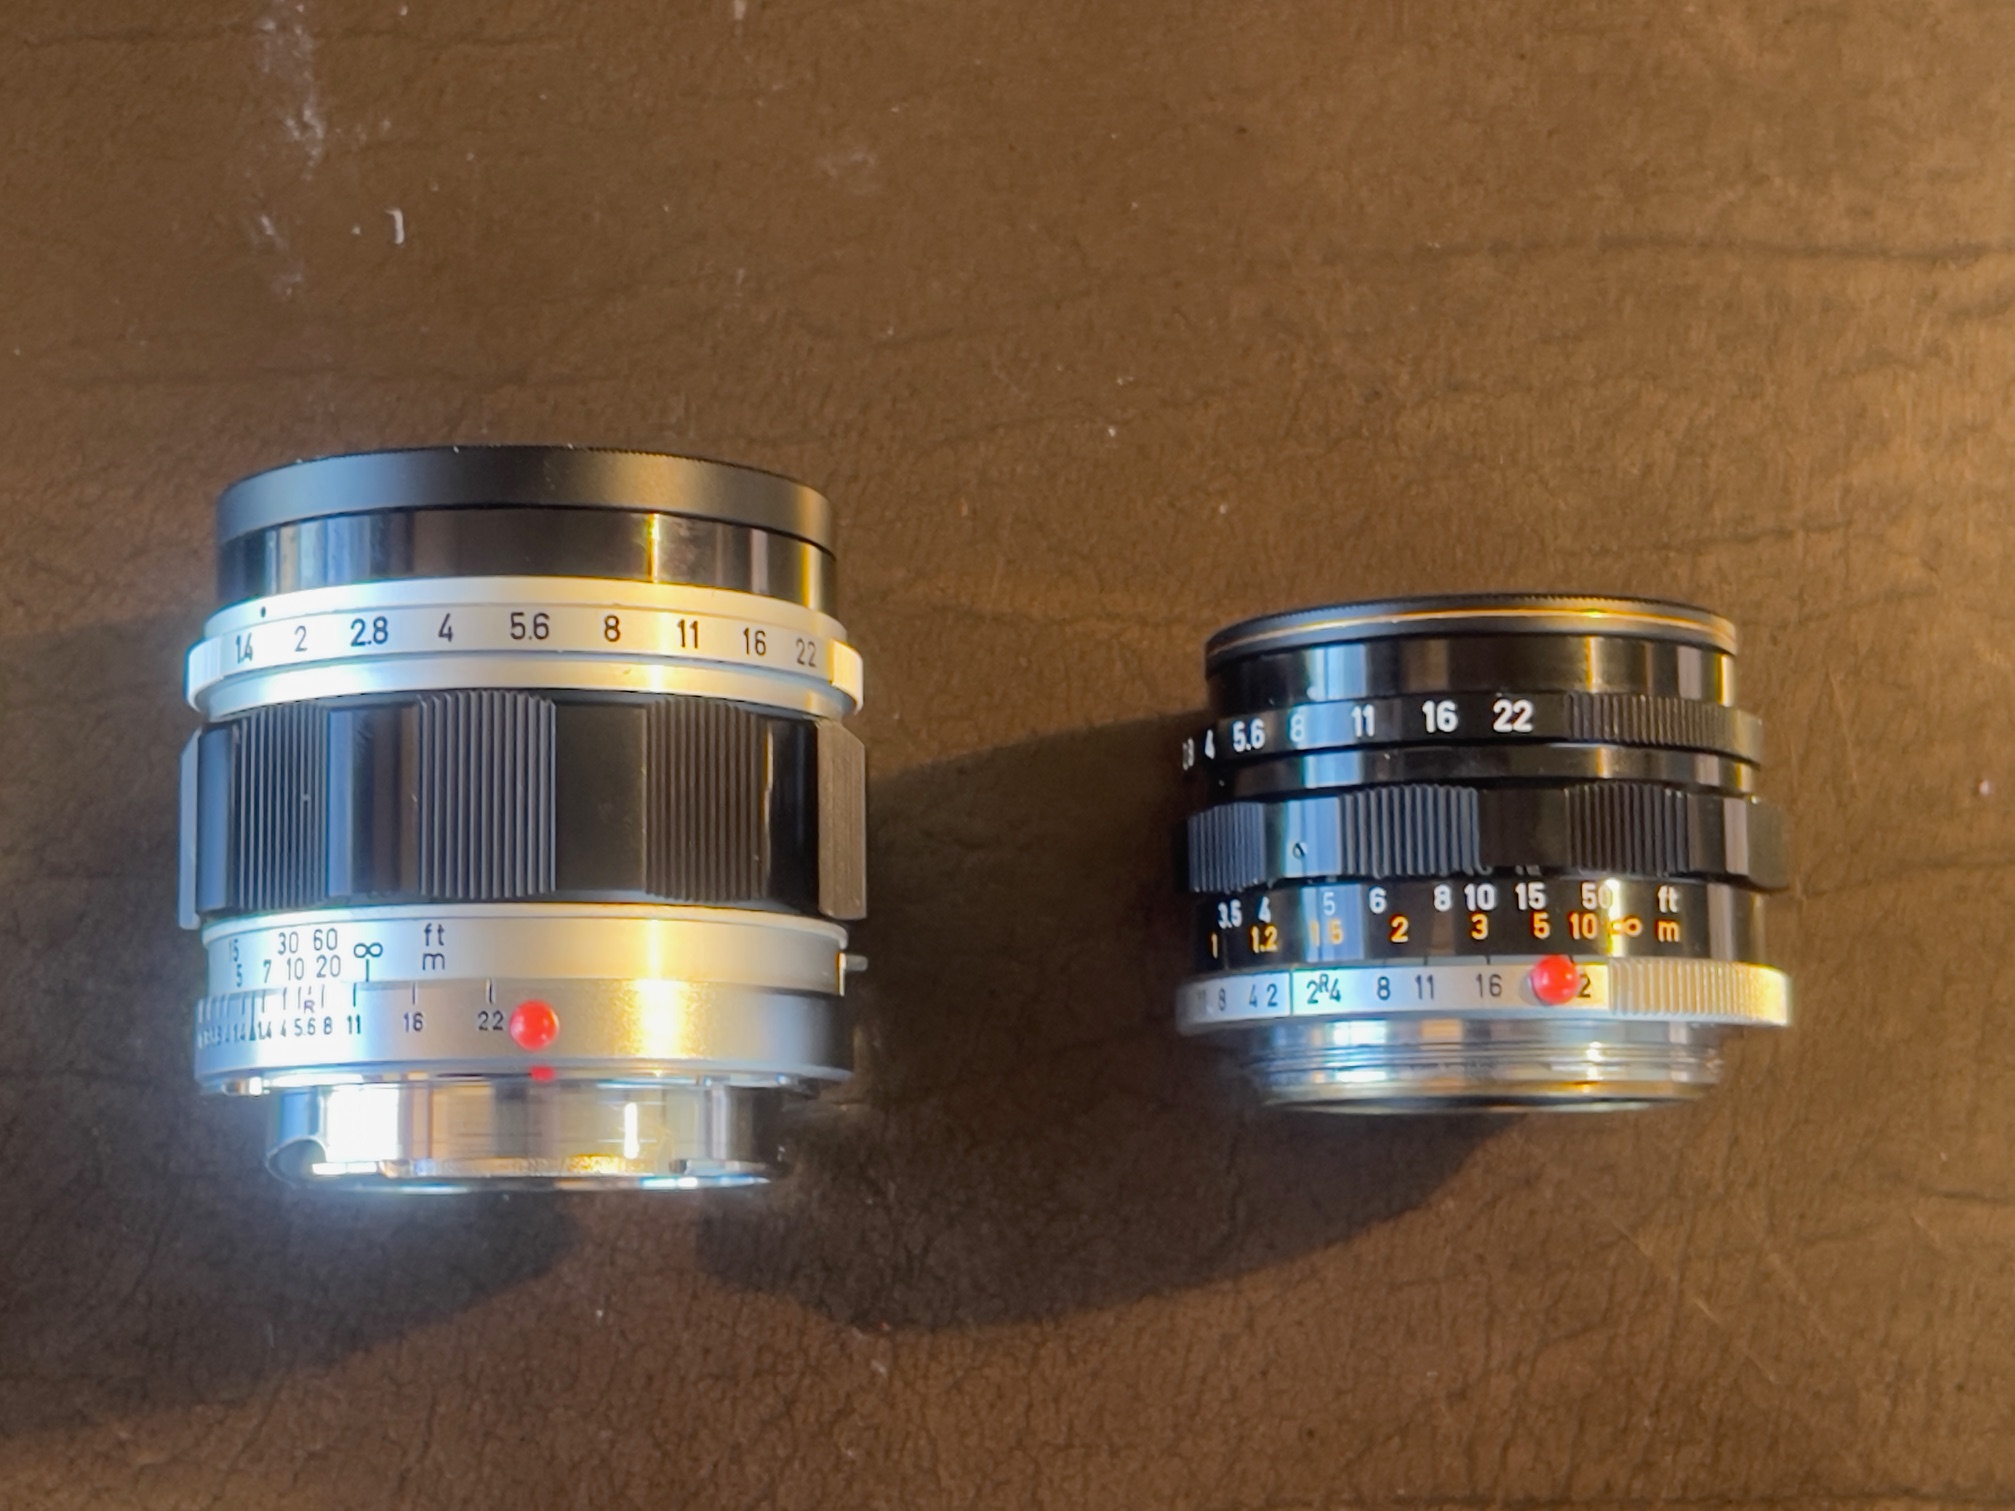
The domes in place.

Yes, the dome on the 35mm lens overlaps the far f/22 depth of field index but I’m not about to use that optic at f/22 where diffraction ruins resolution. So it’s a non-functional issue.

JB Weld two part epoxy takes 24 hours to fully cure at 70F. Not 20, not 16 not anything lower. Put the lenses aside and come back a day later. You can hit the coffee now.

Canon 35mm f/2 LTM

Small and highly regarded.

For an index of all Leica-related articles click here.

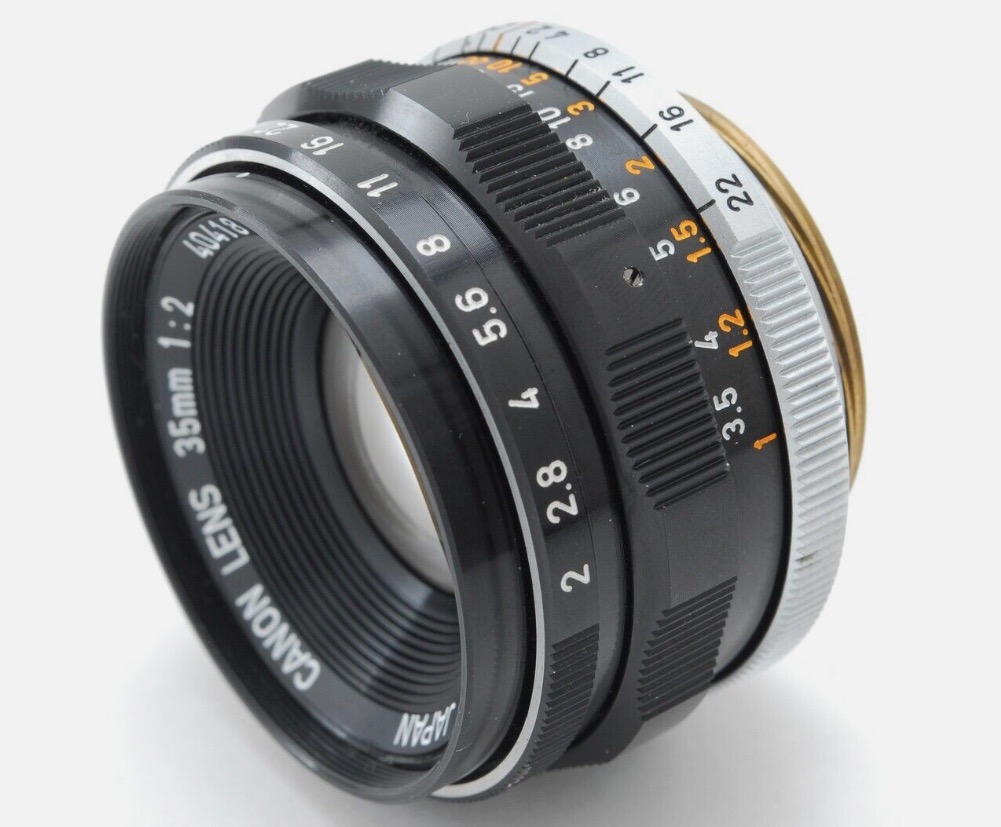
I wrote at length about the Canon 50mm f/1.4 Leica Thread Mount lens here. I was so impressed with the build quality and finish of the 50mm lens that I added the 35mm version to my Leica M3 outfit. Stylistically the design of the 35mm f/2 is identical, though the aperture ring and the focus distances have been switched to black backgrounds:


Identical ergonomics to the 50mm f/1.4 lens

The lens sports the same gorgeous, black, scalloped focus collar as the 50mm, a non-rotating focus mounted equally spaced apertures with whole click stops. Strangely, the infinity lock of the 50mm optic is missing from the 35mm lens which is very compact and weighs in at just 139 grams with a protective filter and bayonet adapter in place. This makes it a tad harder to mount or remove on the Leica though there is substantial knurling on the mounting ring to help with grip. (The 50mm has no knurling as with the infinity lock no additional grip is needed). I am mystified why Canon deleted the infinity lock from this lens.

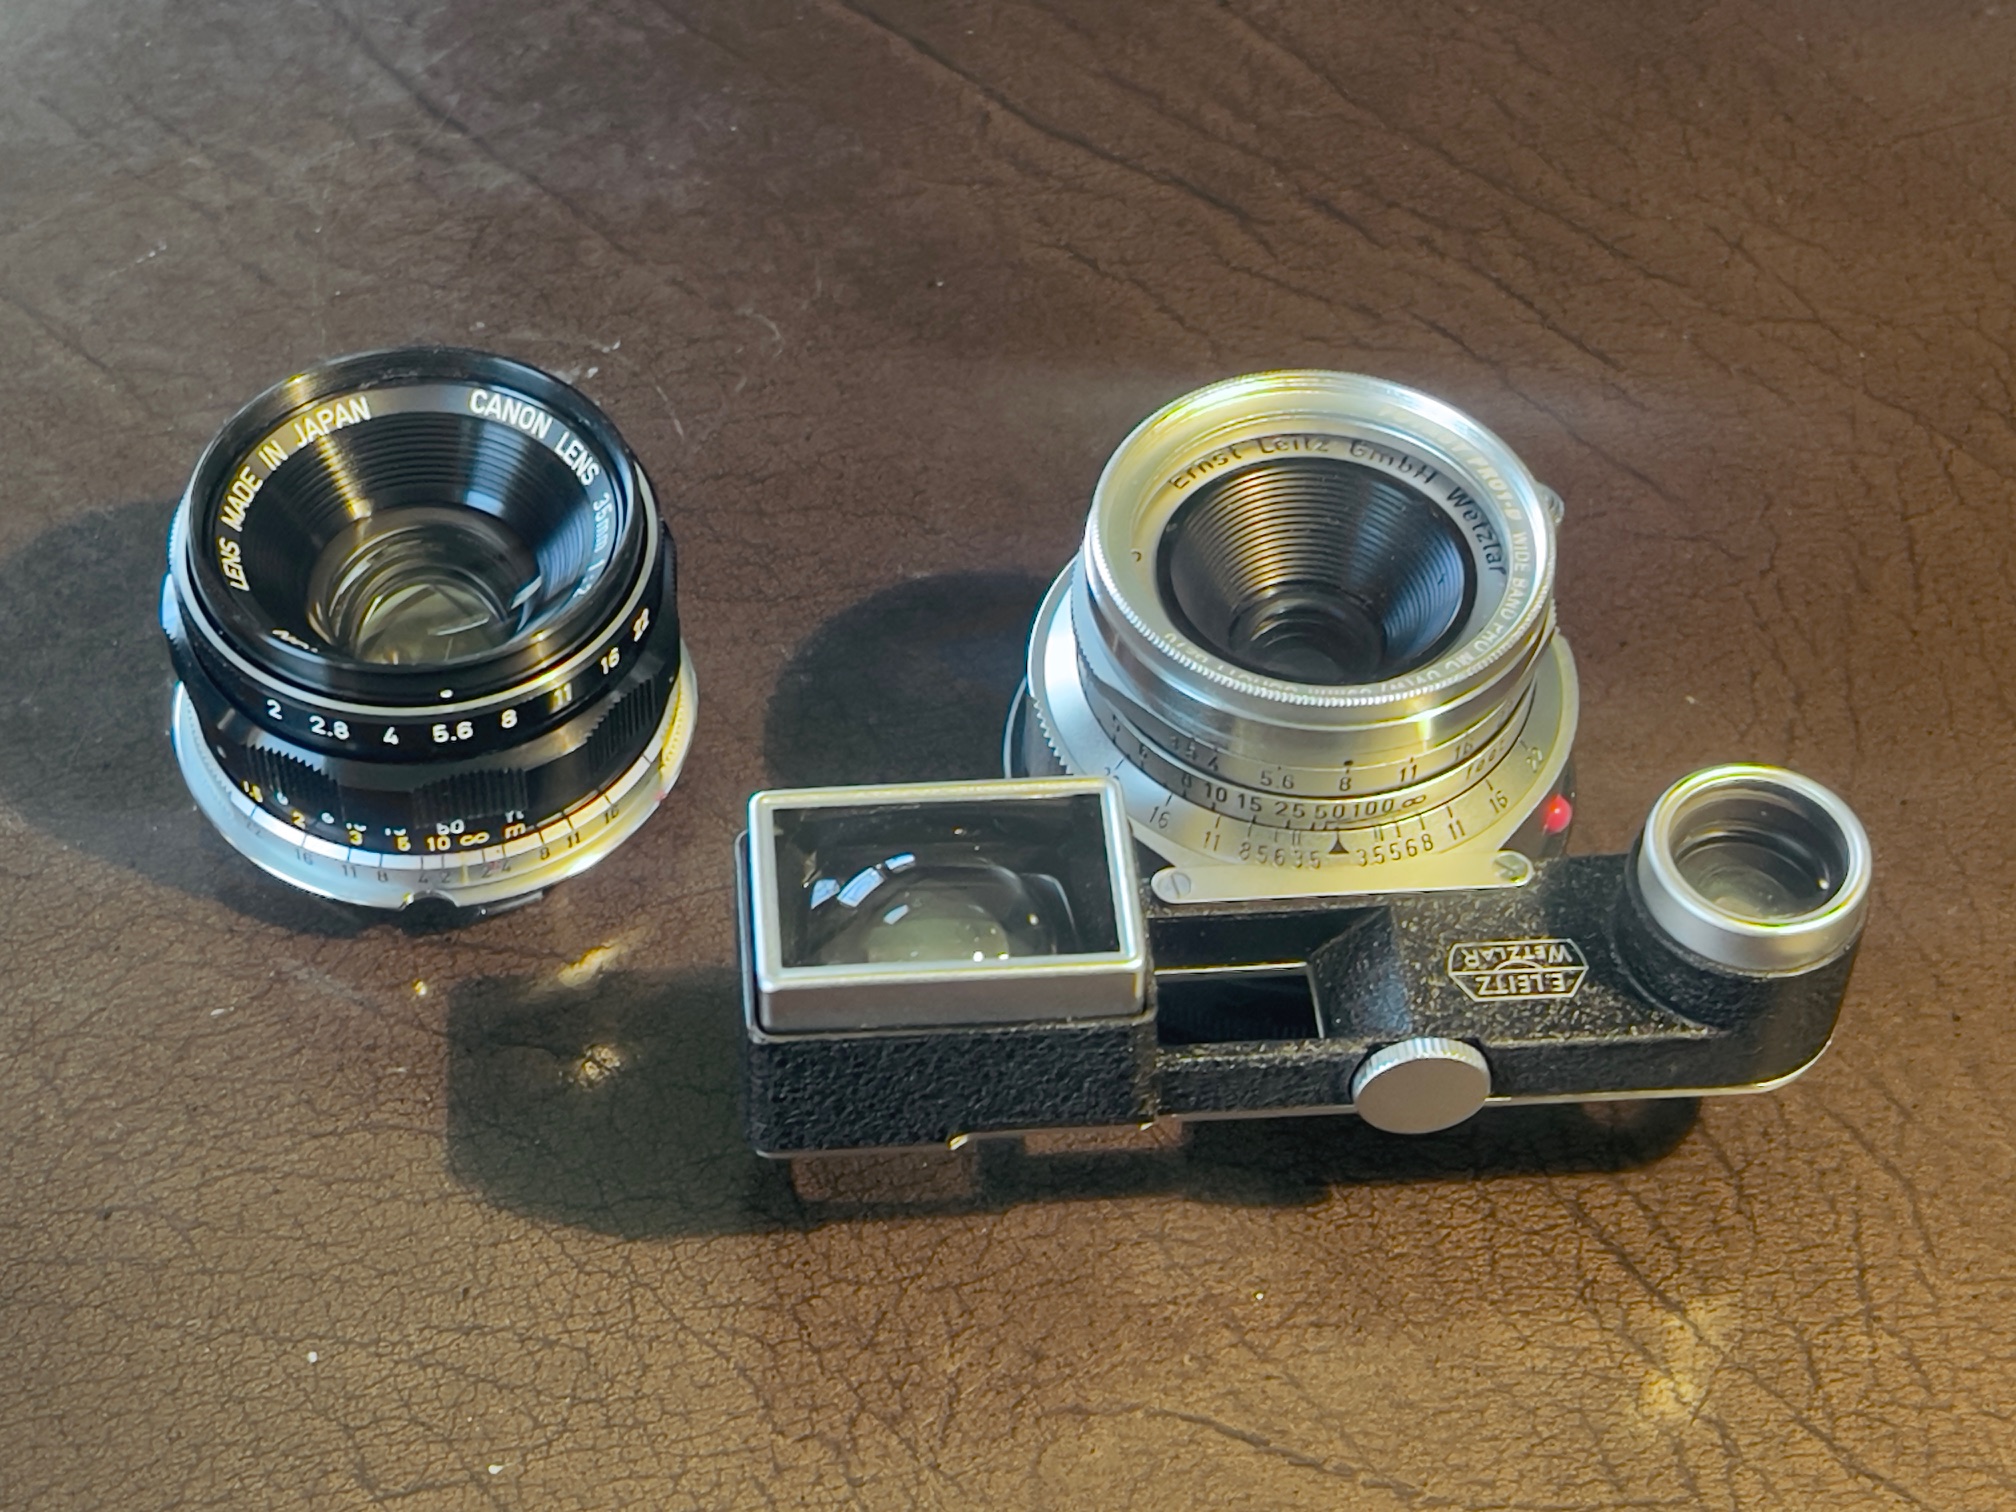
Whereas the 50mm lens has a 180 degree focus throw from 1 meter to infinity, that on the 35mm optic is far shorter, just 90 degrees for a like range. This lens is better suited to the M2, M4, M5 and M6 with their included 35mm frame lines in the viewfinder. My Leica M3 has 50/90/135mm frame lines but rather than use a shoe-mounted auxiliary finder I use decades of memory about just how a 35mm lens captures images and can largely make do with the 50mm finder plus some imagination. The big benefit of the Canon over the Leitz 35mm Summaron, of course, is the absence of those clunky ‘goggles’ which rather take away from the ‘small camera, small lens’ concept of the Leica. That and it’s 1.5 stops faster.


The Canon, with bayonet adapter, alongside the 35mm Summaron RF

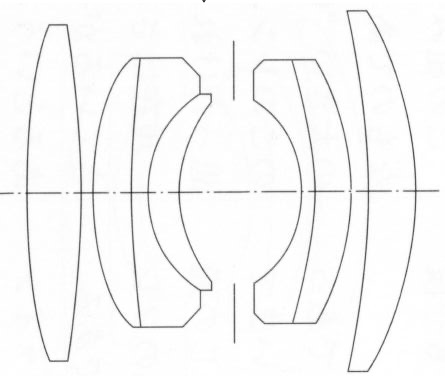
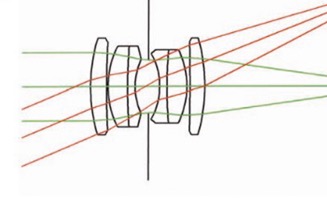
As is clear from the above image my version of the Canon is in beyond mint condition. After some 5 decades it looks as if it was just removed from its original box, and the functions are as good as the appearance. The optics are crystal clear and the diaphragm looks new. It’s as if the lens had been stored away all those years and never used, with pristine white and orange paint filling the engravings. Comparing the optical designs you can see that the Canon’s is a bit more complex than the Summaron’s, having added a 7th element to the simpler symmetrical Gauss design of the Leitz lens. Hardly surprising as the lens was computed a decade later.


The design of the 35mm f/2 LTM Canon.


The Leitz Summaron for comparison.

Purchasing considerations are identical to those I set forth in the earlier piece on the 50mm Canon. That means you will likely be buying from Japan, where there are dozens available on eBay, and most will have fungus (excuse me, “pinpoint fungus, does not affect image” as listing after listing would have it), haze or scratches. Many show the white lettering faded to a disgusting yellow and while the engravings can be cleaned and refilled there are probably better things to do with your time. As you can see mine has none of these issues but I had to screen many examples before finally paying $385 with tax and shipping for my mint copy. That’s a fraction of what even an f/2.8 Summaron costs (half a stop faster than my f/3.5, reckon on $1200) and if you start looking at f/2 Summicrons or f/1.4 Summiluxes well, there goes a couple of months’ rent money. Mine came from Japan and took a scant 4 days to arrive, just as with the 50mm, for a reasonable shipping cost of $35.

Canon actually had two different optical designs for this lens. The first had serial numbers from 10041 through 36967, made 4/62 to 12/70. The second was 37237 to 45064, 1/71 to 3/75. Mine is the second design and is reputed to be marginally improved in the corners wide open. An earlier f/1.8 version is reputed to be softer.

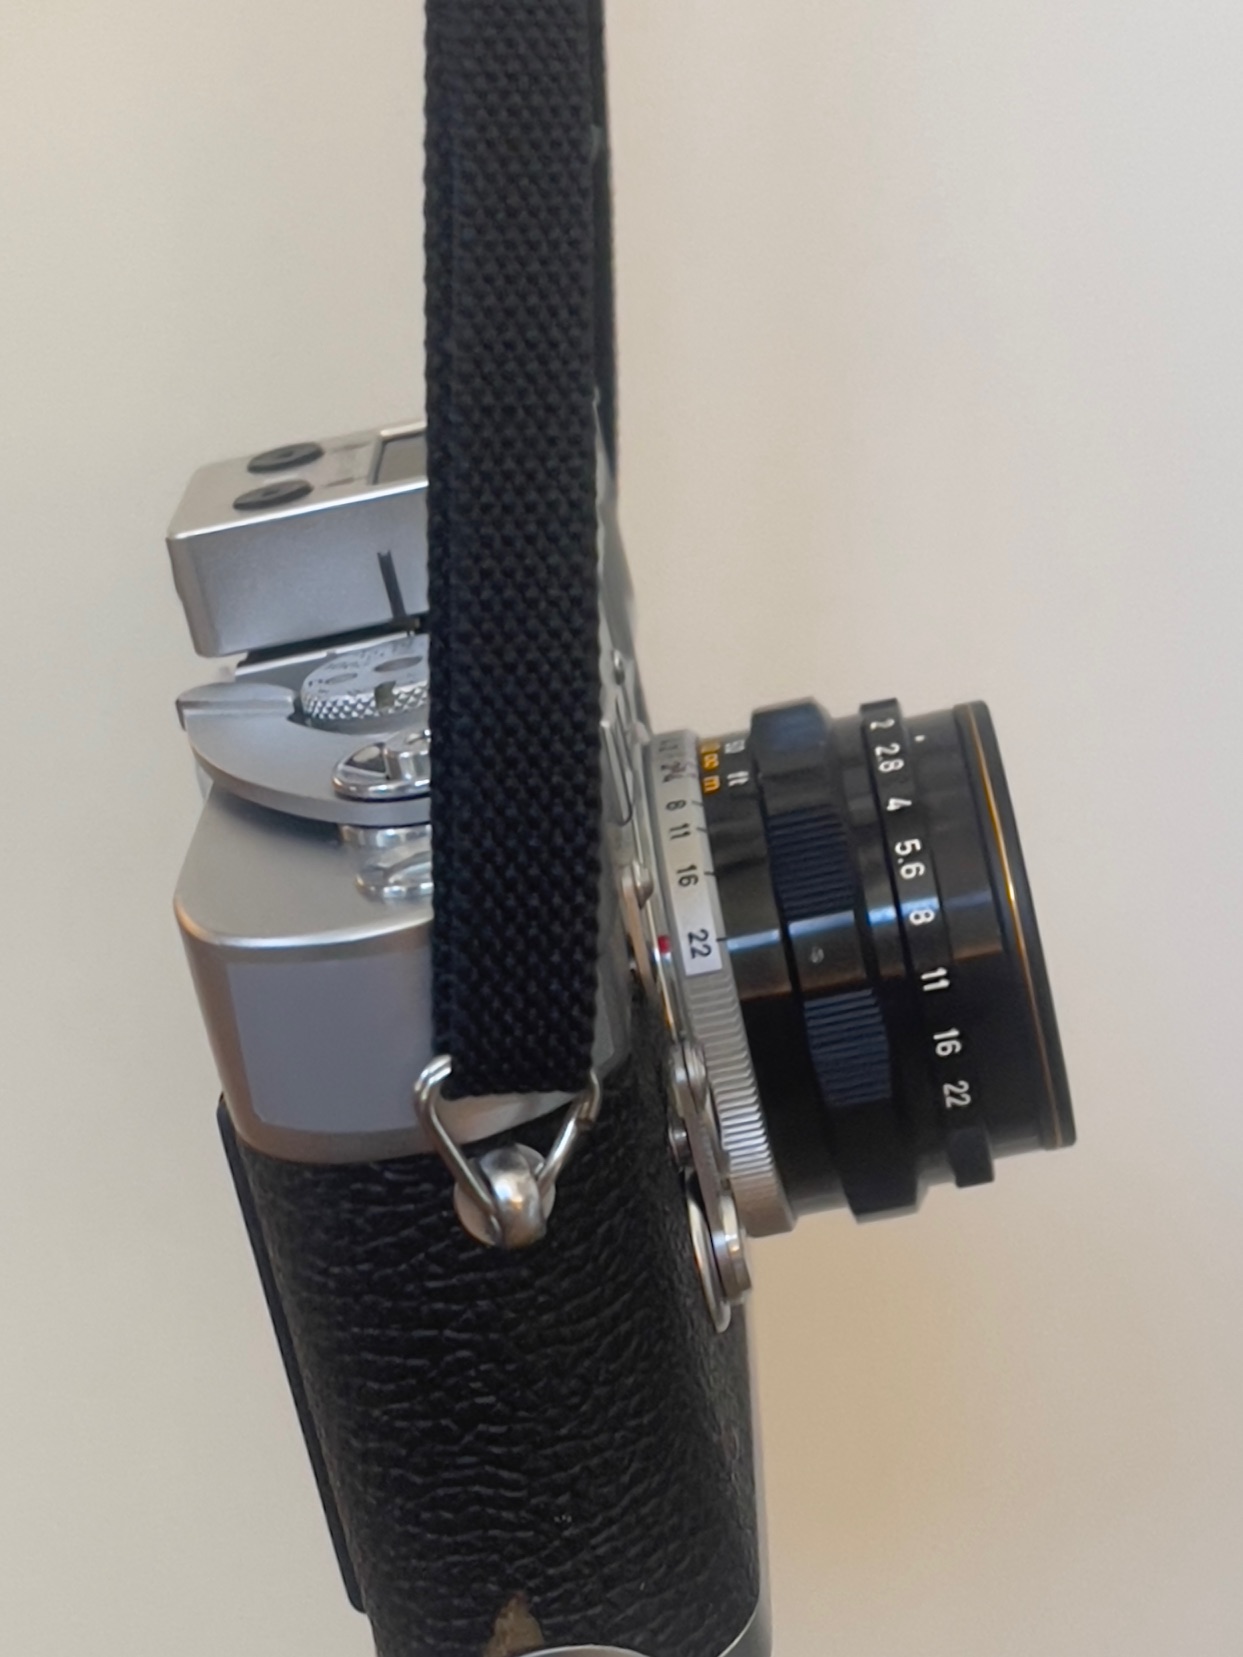
I had to add an LTM-to-Leica-bayonet adapter from Fotodiox for $16. This time I chose one which would bring up the 135mm frame in the M3’s finder to remind me that I have the 35mm mounted; that same adapter will bring up the 35mm frame, correctly, on an M2 and subsequent rangefinder body. Thus, should I receive a severe blow to the head and spring for a digital Leica M body down the road, I will save all of $16 on yet another adapter. An $8 multicoated UV filter in the strange size of 40mm (not the more common 40.5mm) completes the ensemble, for a total outlay of $409. Yes, Amazon carries the odd sized filter. As with the 50mm optic, the red lens mounting index on the adapter is very hard to see and I will be adding a big red plastic blob, epoxied in the appropriate location on the rear of the lens barrel.

I checked focus accuracy at infinity – perfect – and at 1 meter using a laser measure, where the rangefinder was just 0.3″ out. Not a material error. That’s the second under $20 Fotodiox adapter I have installed and both are well nigh perfect. Save your money and don’t spend more on used Leica or other brands purporting to be better. Cameraquest is asking $79 for the allegedly superior Rayqual. Well, there is one born every minute, I suppose.

Here is the Canon on the Leica M3. Can you spell ‘gorgeous’?


On the M3, with a slimline 40mm UV filter fitted.

Finally, here’s how the lens balances on the camera.


Balance on the M3.

Early results appear here.

A detailed resolution test appears here.

To enhance focus ease consider attaching a proper focus tab to the focusing collar on the lens. It makes a big difference, especially given the slim design of the stock collar.

Sharpening the 35mm f/3.5 Summaron RF

Pretty easy.

For an index of all Leica-related articles click here.

The other day I was pixel peeping, at 100% magnification, images from the Leitz 35mm f/3.5 Summaron RF taken on Kodak Ektar 100 film. These would make 48″ x 72″ prints. Two things are obvious. There is minor red fringing chromatic aberration, easily removed with one click in the LRc Develop module. And while this image, taken at the lens’s sweet spot of f/8 will easily make a 13″ x 19″ print, start cropping and the definition is not quite there. Given that this is the least expensive Leitz branded 35mm lens you can buy (other than the poor earlier 35mm f/3.5 Elmar in LTM) and realizing it was first sold some 70 years ago, I’m not grumbling. But can we get a quart out of this pint pot?


1/250th, f/8, Kodak Ektar 100, Noritsu HQ scan.

Reading up on various sharpening applications I came across one named Gigapixel from Topaz labs, a long time maker of LR plug-ins. They offer 20 full trial attempts and place no watermark on the enhanced image. Nice. The cost is $100. The examples on their web site are startling, showing massive improvement in micro-contrast and detail. Using the above image I could not remotely get comparable improvement. Indeed, if there was any improvement I was very hard pressed to see it. Either Topaz Labs is using an especially ‘friendly’ image which supports their technology or this is pure snake oil. Either way, $100 saved.

Next I took a look at Affinity Photo 2, v.2.6.0, using their Develop Persona and Document->Resize Document, quadrupling the displayed pixel count, for a file which accordingly grew to four times the size:


The Document dialog in Affinity Photo 2.

Again, I could barely notice any difference compared with the original. Pass. Lots of disc space saved.

Next I tried LRc’s native controls. In the Develop module I went to Photo->Enhance where, for JPGs like this, there is only one active option named Super Resolution:


Super Resolution in LRc.

Well, the file size again quadrupled but the difference was again negligible.

Hmmm, none of this works.

Then I recalled that LRc has a simple Sharpen slider in the Develop module, one which I had not looked at in years as I was using good lenses with large digital sensors, no sharpening needed.


Optimal sharpen settings.

Now I really started seeing improvements. In the Develop module you can see ‘Before’ and ‘After’ images by hitting the ‘Y’ key, and here they are, at 100% magnification. Again, that translates to a 48″ x 72″ print:


100% pixel peeping, ‘Before’ (left) and ‘After’.
Click the image for a large original.

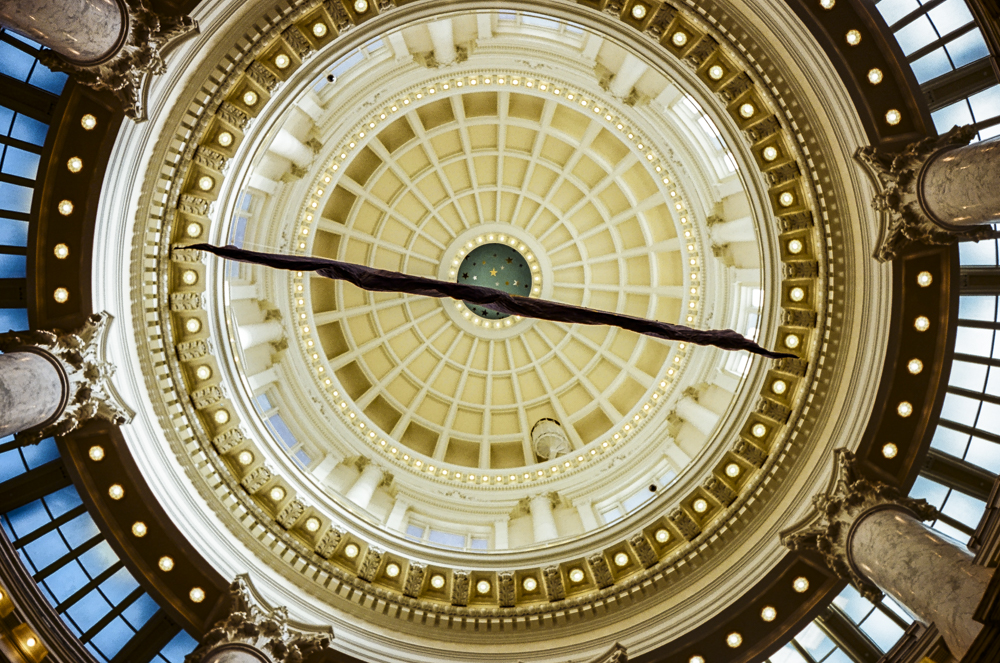
Look at the detail in the flag and in the fluting of the Grecian columns. A very significant improvement. Now I am not about to make prints that large but now I know I can crop images from this ancient optic and get great prints from the crops. Not half bad for an ancient bit of bottle!