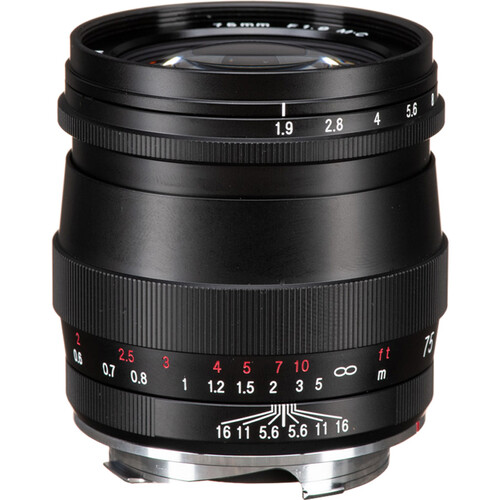
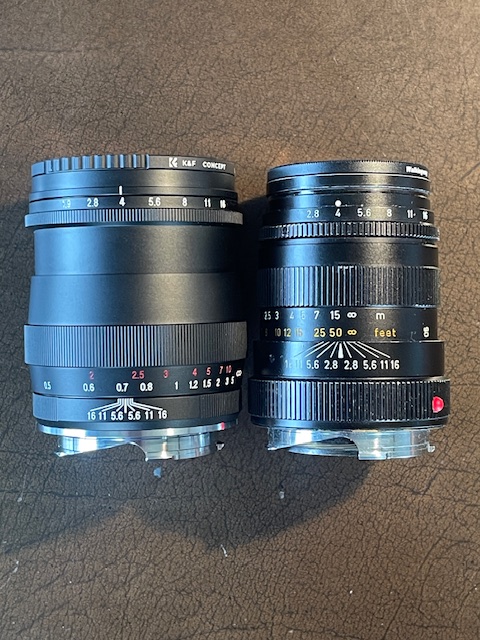
Acid flashback.
For an index of all Leica-related articles click here.
Well, you know, drive around, bowl, the occasional acid flashback.”
Background:
Take a 1945 optical design from long time and still extant English cine lens manufacturer Cooke, mate the optics with the most beautiful housing made for any Leica lens in the 1950s (the Leitz Summicron v2), multicoat the glasses with modern rare earths, then recreate the whole in China and you end up with the Light Lens Lab 50mm f/2 “Rigid SP-II” lens for the Leica M.
Cooke:
Cooke of Leicester, England is still in business and continues to make cine lenses. They also make a revised version of their Speed Panchro which you can find at B&H, with Leica pricing to boot. This one is in Sony E mount and f/2.4.
Light Lens Lab:
Light Lens Lab is a small Chinese lens and accessory maker which specializes in small batch recreations of classic lens designs. Great effort is made to replicate the look and feel of the originals, with special emphasis on classic Leica optics from the 1950s, 1960s and 1970s. In the case of this lens the innards are Cooke and the housing is Leitz, both imitations. The only nods to modernity include the use of multi-coatings to better control flare, half aperture click-stops and a closer minimum focus distance.
The Light Lens Lab clone of the 1940s Cooke Speed Panchro cine lens is set in a clone of the 1960s v2 Leitz Summicron mount, representing about as perfect an acid flashback as these things get. The Speed Panchro was used in many famous movies from late Chaplin through Godfather 2 and Midnight in Paris (in particular, check the opening sequence in the latter).
Two optical versions in the cloned Summicron housing:
LLL makes two lenses set in the Summicron housing – one has the Cooke Speed Panchro seven elements in five groups double Gauss optics, the other has eight elements in six groups from the original Leitz v2 Summicron. It’s pretty much impossible to find an unmolested original Speed Panchro or Summicron without a scratched front element (soft coatings back then), fungus, mold, dust, oil on the diaphragm blades, balsam separation, sticky focus action, you name it, and if you do you are looking at $2,000 for a perfect specimen. By contrast, this Light Lens Lab example is new, with modern coatings and greases. And it costs a lot less from a maker which has developed a high quality reputation. Considering that some 120,000 v2 Summicrons were manufactured it mystifies me that so few good ones survive.
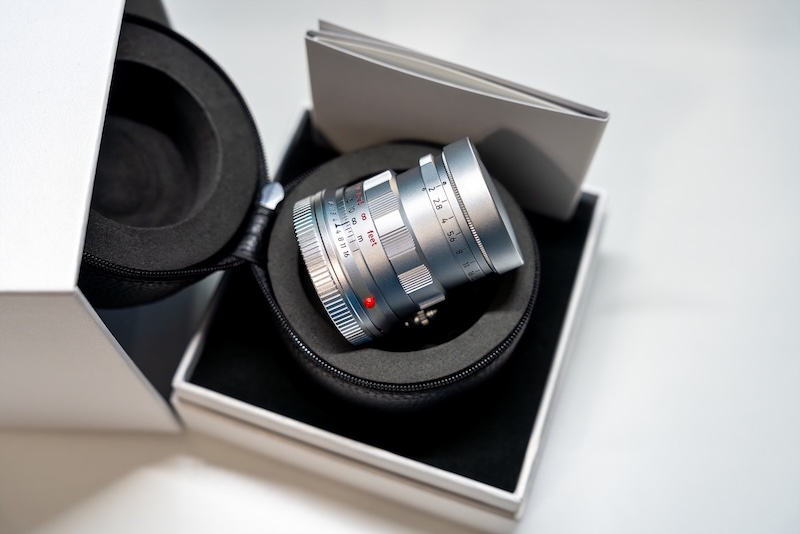
The Light Lens Lab 50mm f/2 Cooke Speed Panchro clone.
The external appearance is identical to the LLL Summicron clone.
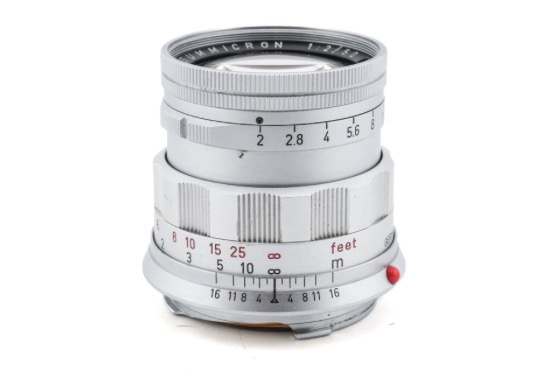
Compare. The Leitz original version of the v2 Summicron.
The lens reviewed here is the Cooke Speed Panchro II version. Here are the optical diagrams:
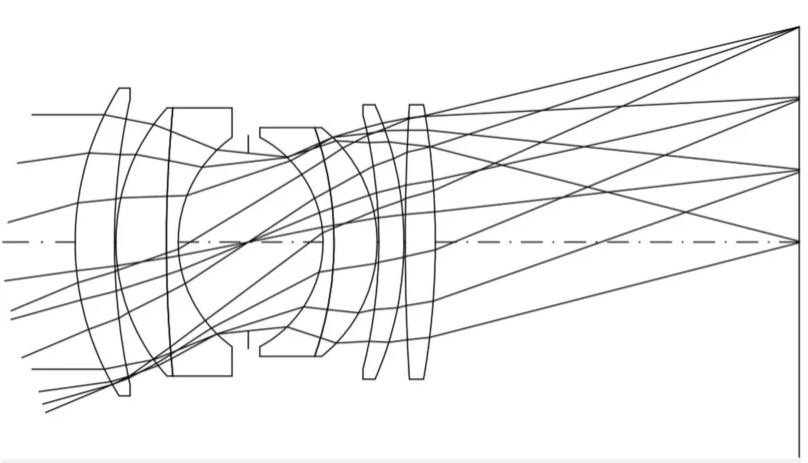
Cooke Speed Panchro optics.
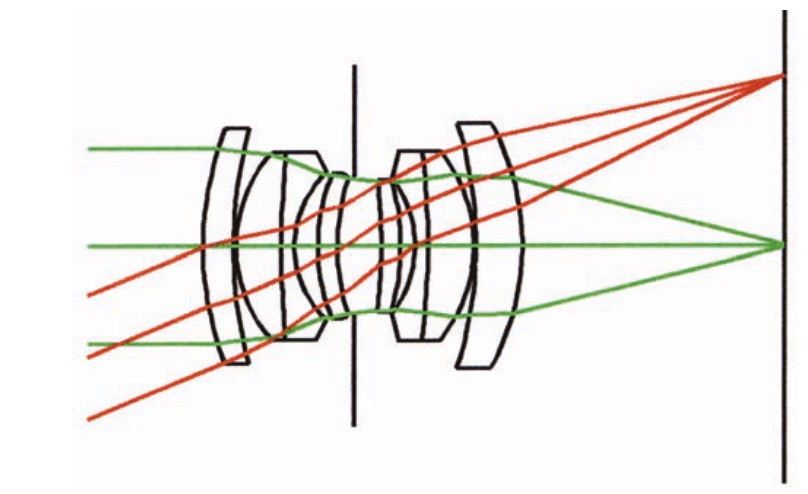
Summicron v2 optics.
The original Cooke Speed Panchro II 50mm f/2 from LLL looks like this:
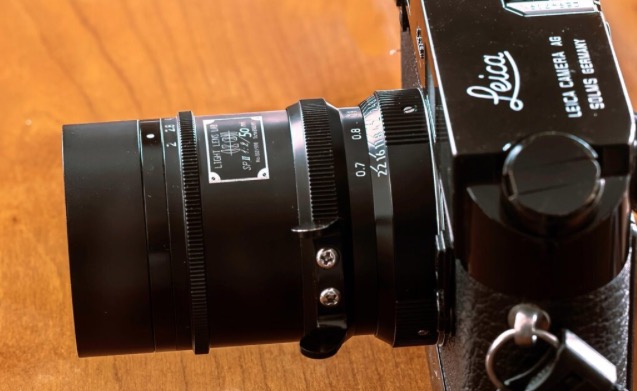
Ugly duckling. LLL’s first version of the Speed Panchro.
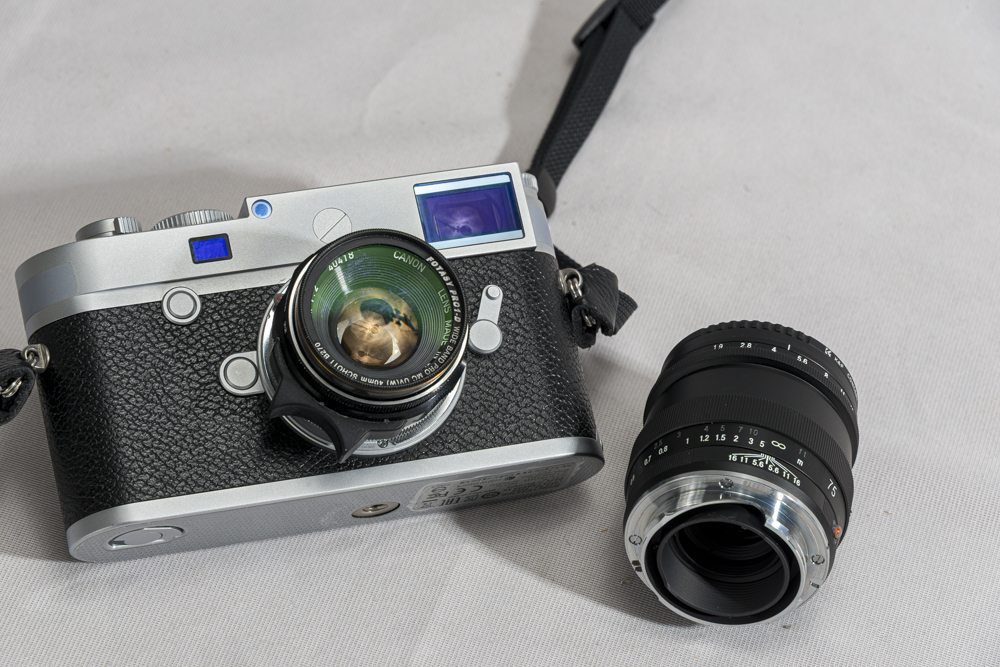
For its second attempt LLL installed the same optics in the classic 1960s Summicron mount and the result is gorgeous. Having used a 1960s v2 Summicron for some three plus decades – all my Leica film hardware was sold when the wonderful Canon 5D came along – I remain of the opinion that there has never been a more beautiful lens made for the Leica M body. As for performance both the Speed Panchro II and the v2 Summicron are renowned for the gentle way in which they render images, especially at larger apertures, with little to choose between the two optical designs. Now that I am well and truly back in nostalgia land with a Leica M10 and a bunch of lenses, it seems only right to complete the journey with an (almost) original Cooke lens in a v2 Summicron body. LLL offers a variety of finishes, including matte black, black with brassing and a kitsch all brass option, in addition to classic satin chrome on brass. For this devotee of classic Leica looks only satin chrome will do.
To distinguish the two LLL offerings, note the different front engravings:
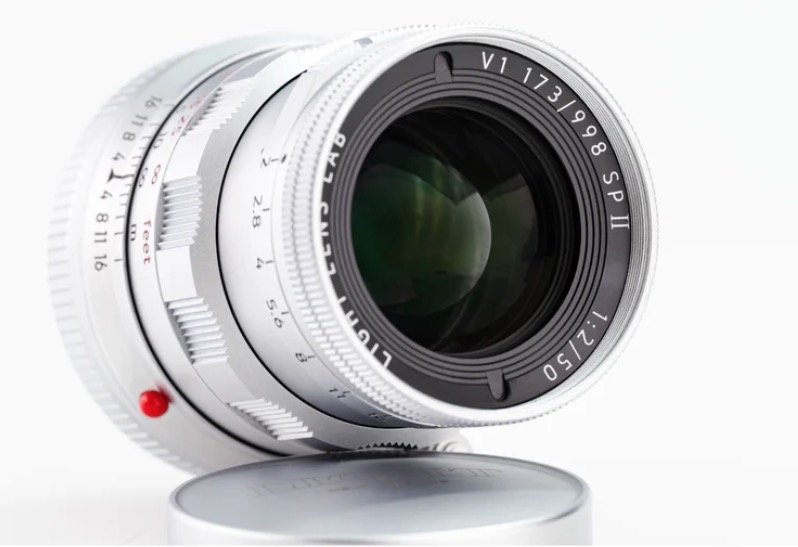
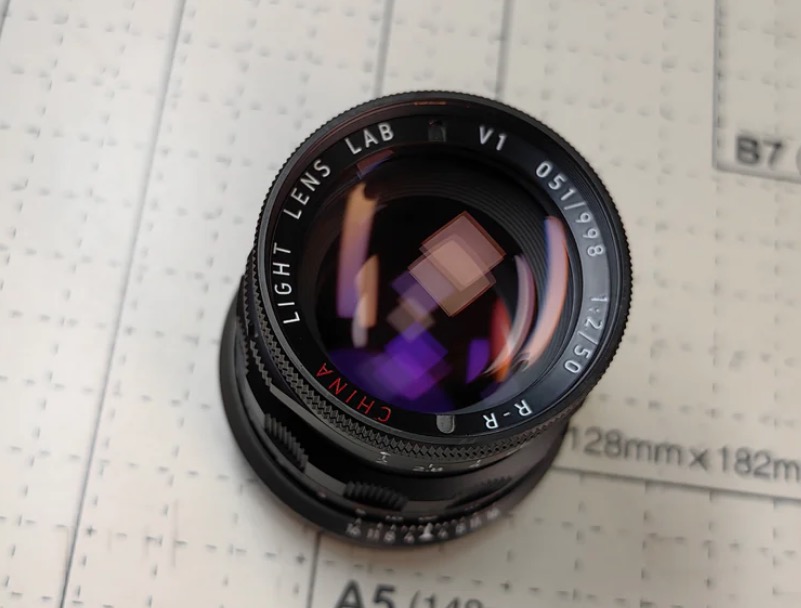
LLL Speed Panchro and LLL Summicron engravings .
Cost and rendering:
Mine cost $800 from a US vendor (no tariffs) and was new, ‘open box’, and while that is a good deal less than a good used 1960s Summicron, it’s still the costliest lens I own for the M10, and that by a considerable margin. (The others range from $120 to $450, all used). I added a multicoated 39mm chrome UV filter for pennies. There’s no need to waste money on an original Leica filter, but no front element should be without a protective filter. It means that only a rear cap is required when you stash the lens in an overcoat pocket. A modern Summicron with all its clinical rendering of detail (like an over sharpened image straight out of the iPhone) will run you over $3,000. And it’s not exactly pretty in appearance or rendering.
By contrast, the Cooke optics, once set in the compact Summicron clone mount, are nothing short of a delight to the eye and the heft of the lens with its use of chrome coated brass is just right, small yet dense.
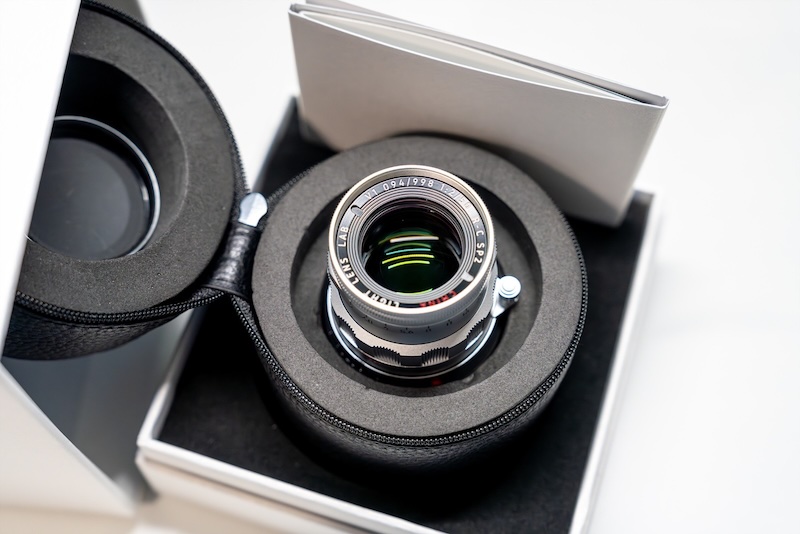
The Cooke lens in a Leitz clone Summicron mount.
‘S-P’ for Speed-Panchro, ‘R-C’ for ‘Replica-Cooke’.
Mine is #094 from a batch of 998 lenses.
How close is the clone to the original?
What are the differences between the original and the clone housings and glasses? This is rather a mixed comparison as I am comparing the Cooke optics in a modern Summicron clone mount with the Leitz optics in the original Summicron mount, but you get the idea:
- The closest focus distance of the clone is 0.7m compared with 1.0m, coupling with the rangefinder on later film bodies and all digital ones. (Earlier film M bodies only couple down to 1 meter).
- Half click stops compared with full. I would have preferred the latter.
- Minimum aperture is f/22 compared with f/16 for the Summicron. Definition at f/22 is surprisingly good – see below. Strangely, the depth-of-field markings on the lens’s barrel only go through f/16.
- Allegedly modern, tougher lens coatings, compared with soft single ones on the original. Use a protective filter and toughness is irrelevant.
- Multi-layer (greenish) coatings compared with single (blue). Should result in better flare control into light sources.
- 8 aperture blades compared with 10 in the original. The ugly duckling first LLL version had 11 aperture blades, and it’s a shame that this was reduced to 8 in the second version, the one reviewed here. More blades mean better sun stars and softer rendering of out of focus areas.
- No lens hood with the Cooke version, a thumb-screw lens hood with the Summicron version. (Bad – lose the screw and the hood is useless). The Leitz original accepts the 12585 ‘reverse cone’ clip on from Leitz (much better). Track down a used Leitz hood ($100) and it will fit the clone fine or save your money and get a screw-in knock-off from Amazon. The Leitz hood will also clip on in reverse mode for a more compact package – a solution looking for a problem. I don’t bother with lens hoods which is just as well as the Cooke version of the LLL lens comes without one.
- The lens head of the LLL is not removable. That of the Summicron – regular or dual-range version – is.
- A metal rear lens cap compared with the chintzy black plastic Leitz one for the Summicron. A high quality item made of chrome plated brass.
- The Cooke Speed Panchro II LLL variant has a focal length of 50mm whereas the typical Summicron was 51.9mm (they vary, and Leitz used to engrave the last two digits of the true focal length on the barrel to the right of the infinity mark. When they did not do this the true focal length could still be found scratched on the barrel of the removable lens head), meaning the LLL version will have a slightly wider field of view and will probably show sharper out-of-focus areas than the original Leitz optic at the same aperture. Not particularly significant, given the small difference. Click here for an example.
- The Leitz Summicron weighs 8.9ozs/251grams without filter, with the Dual Range version coming in at a chunky 12.0ozs/340 grams. The LLL without filter weighs 9.25oz/262grams.
Non-removable lens head:
The lens head of the LLL is non-removable. On the original Summicron v2 (and v3) you could unscrew the lens head for use with a close-up device or for use on a copying attachment. Decades ago I used the lens head with an adapter in my darkroom enlarger and at f/8 the Summicron was a fine optic for this purpose. As darkrooms are a thing of the past, and as the LLL clone focuses to a close 0.7m, the removable lens head is not missed. (The Leitz Summicron was also available in a heavy 340 gram dual-range focusing mount along with accessory ‘spectacles’ for use in the close focus range which spanned 0.45 – 1.0 meters. Sadly this version will not focus to infinity on digital M bodies without expert modification).
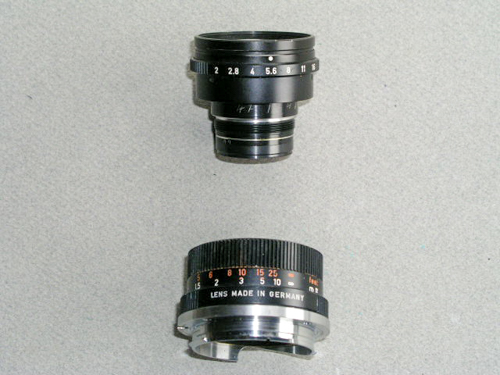
Removable head on the v3 6-element Summicron.
6-bit coding – why you need it and how to add:
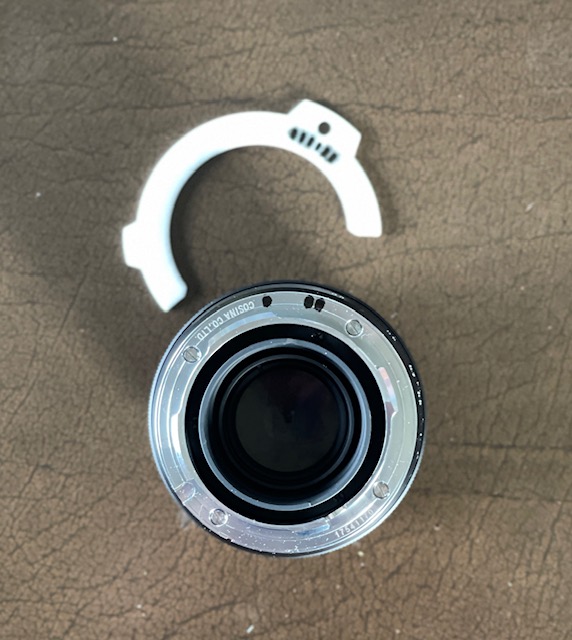
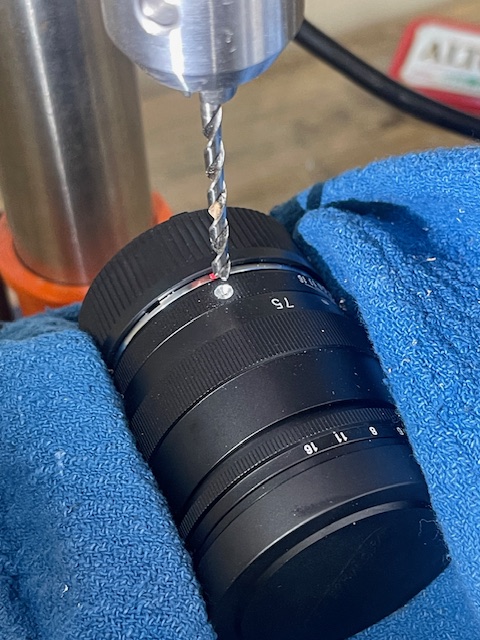
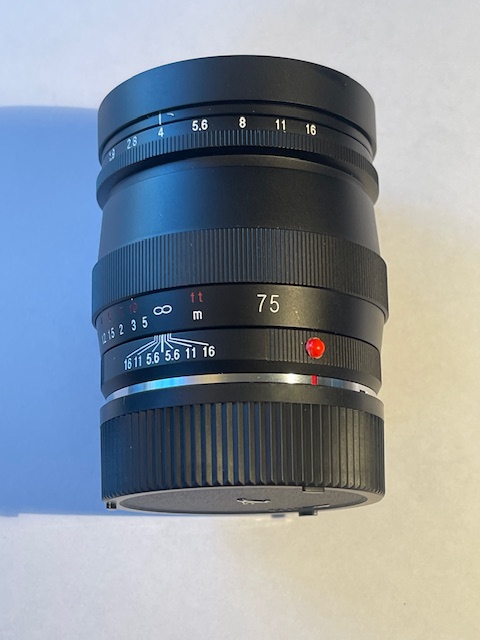
Unlike Voigtländer optics whose rear flange comes with a nice recessed groove for 6-bit coding, (the groove precluding wear of the markings), the LLL Speed Panchro comes with a smooth rear flange. Code that with a black ink pen and the codes will eventually wear off, owing to friction between the lens’s flange and the camera’s mount. For now I have conferred the requisite 100001 coding using my coding template on the smooth rear mount, and will see how it wears. If it proves fragile I’ll consider machining code pits in the rear flange to preserve the code ink fills. The right pen for this job is the Uni-Ball. The ink in a Sharpie does not work. Coding the lens matches its characteristics to those of the digital sensor, especially as regards treatment of axial rays. Once done it’s automatic once the lens is mounted, so why not do it?
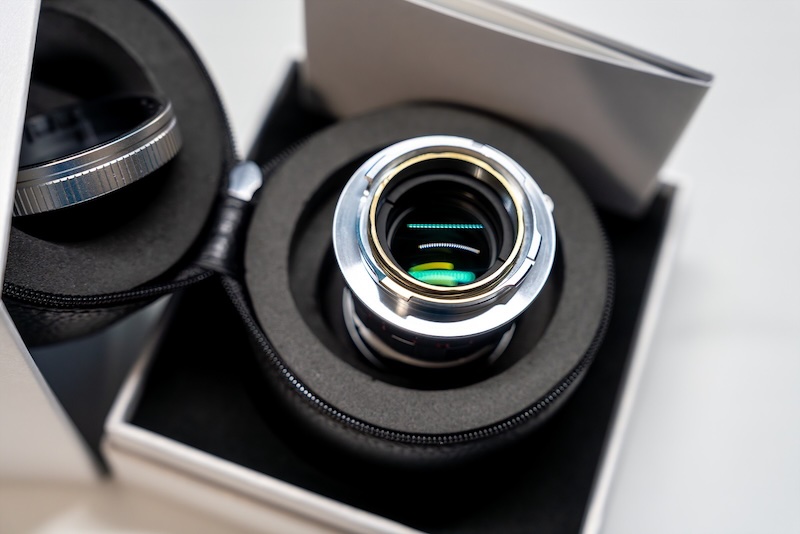
Smooth rear flange.
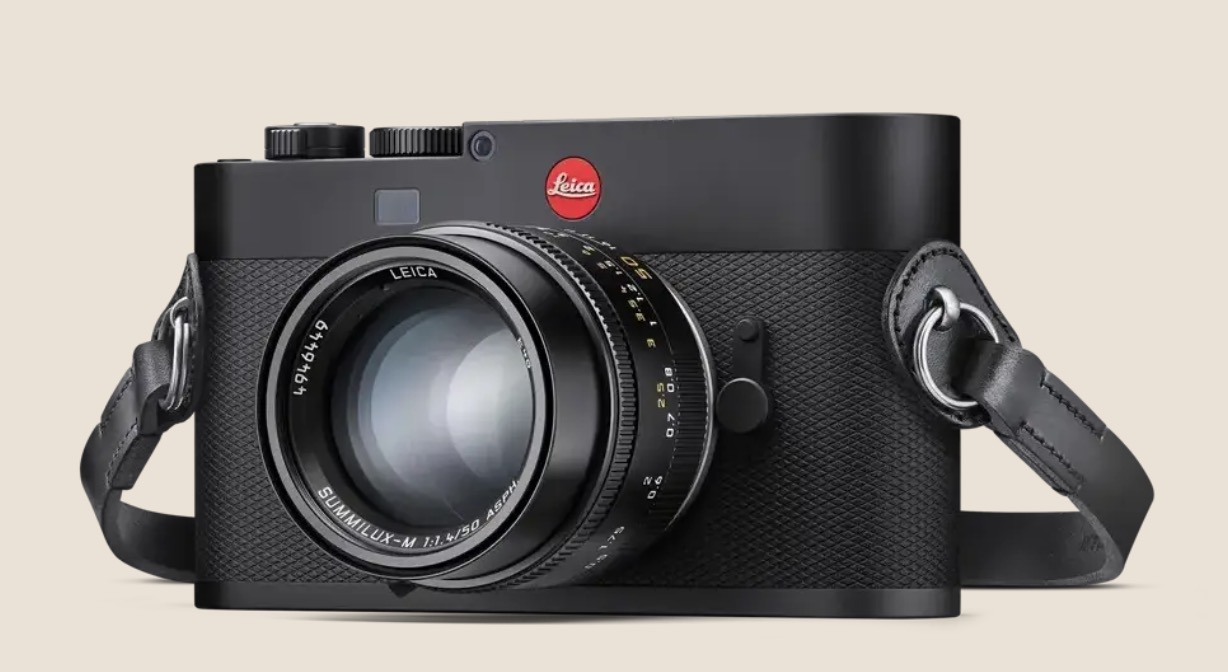
First it was necessary to determine the correct codes for the LLL Speed Panchro lens. My Leica M10 body makes provision for no fewer than six 50mm Leica lenses:
- 50mm f/1 Noctilux (11821/11822)
- 50mm f/1.4 Summilux (11868/11856/11114)
- 50mm f/1.4 Summilux Asph (11891/11892) *
- 50mm f/2 Summicron vIII (11817) *
- 50mm f/2 Summicron v5 (11819/11825/11826/11816) *
- 50mm f/2.8 Elmar-M (11831/11823/11824)
* The asterisked choices are also lens distortion correction options in the Develop module of the current version (v15.1) of Lightroom Classic. No LLL lens is currently listed as a lens correction option in Lightroom.
A few test snaps at full aperture disclosed that vignetting (it disappears by f/4) was best controlled using the code for the 50mm f/2 Summicron v5, and this table discloses that the 6-bit code for that optic is 100001 (#36 in the table), so that means that 2 ink codes would have to be added. (In practice the differences as regards vignetting between the 6 lens options are very small. Any one will do).
100001 code added.
Lens correction in Lightroom:
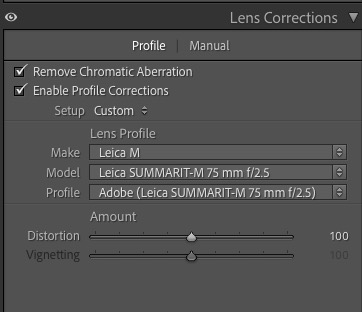
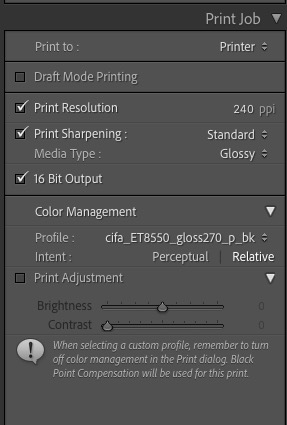
Applying the 50mm Summicron-M lens correction profile in Lightroom sees a very minor amount of barrel distortion corrected. The change is so minor that only the most critical correction of straight lines in, say, architectural photography, would be noticeable.
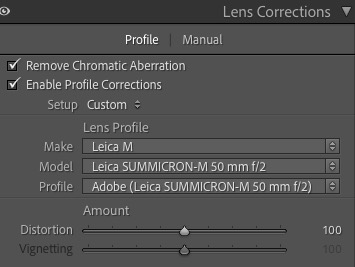
The lens correction profile in Lightroom v15.1.
The ‘glow’:
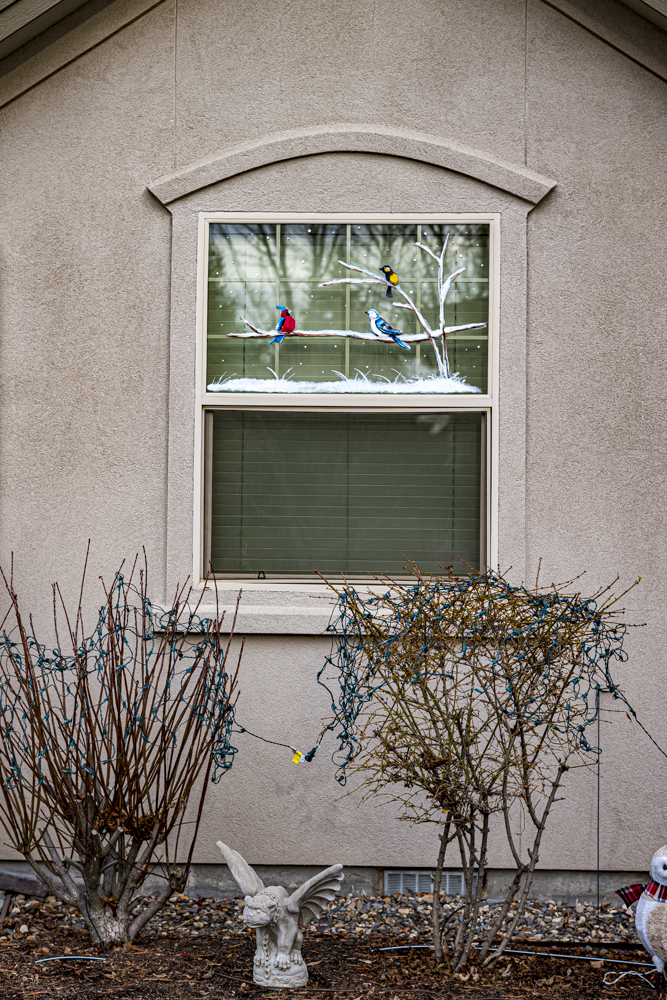
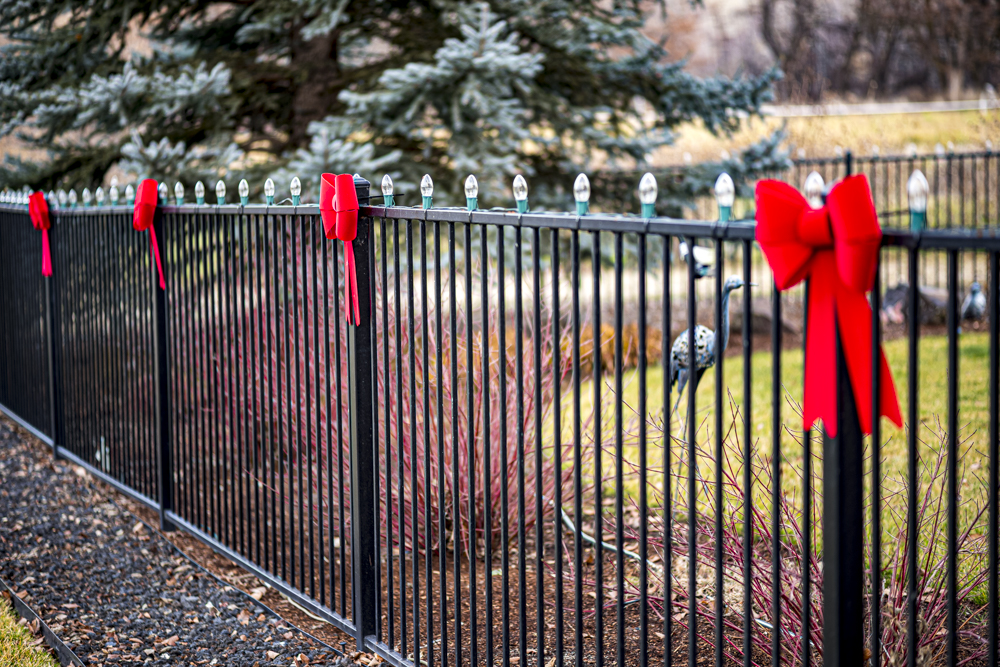
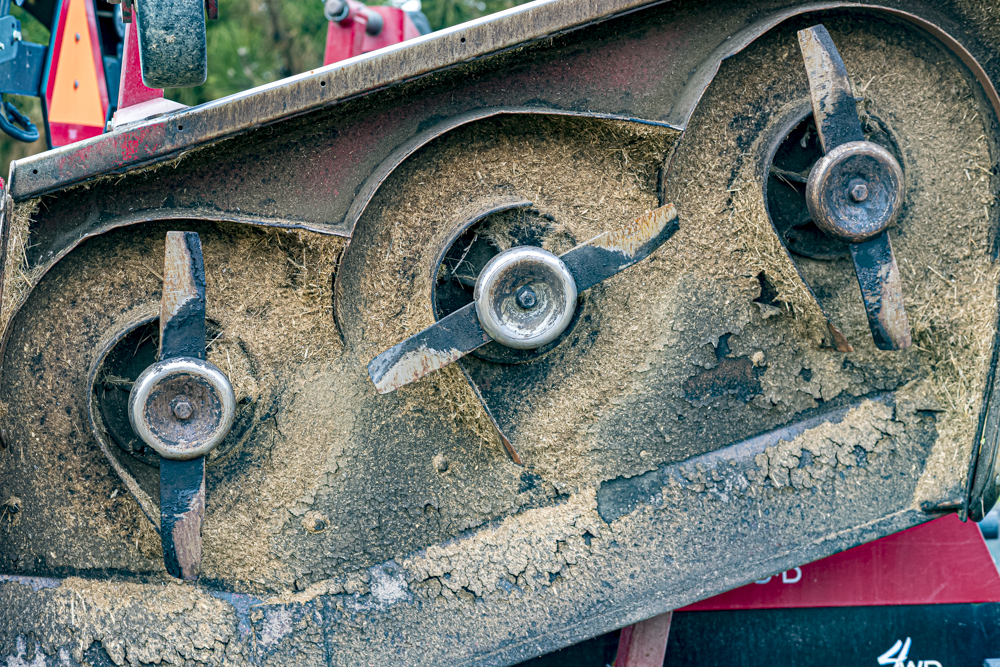
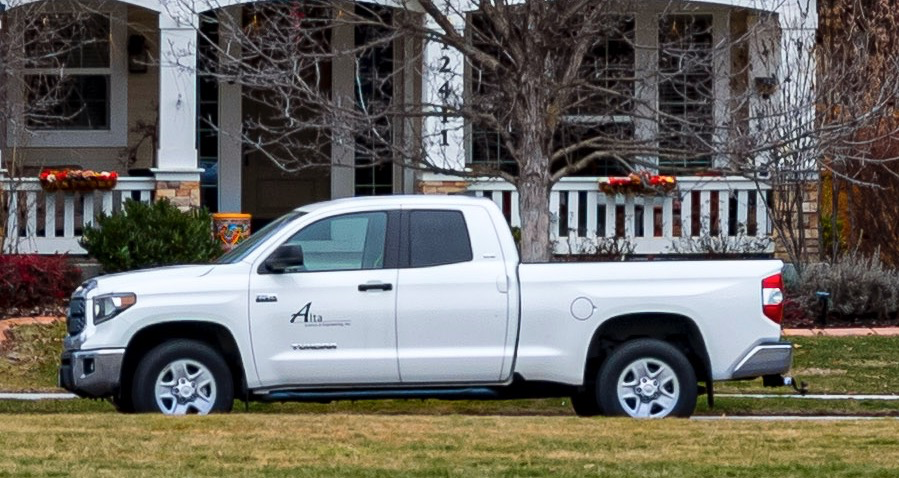
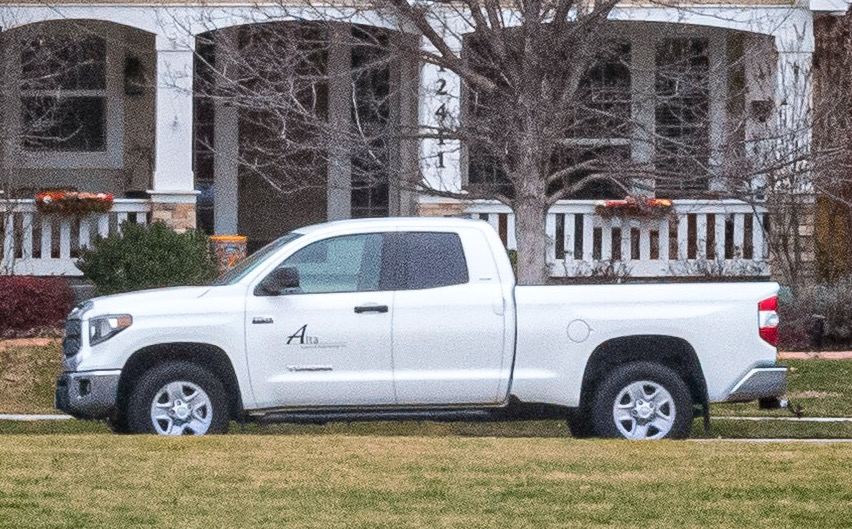
The key aspect of this lens is the glow it delivers (courtesy of lens aberrations) at full aperture. In the following two images you can see the effect at f/2 and at f/4. By f/4 the glow is gone and center definition is optimal. In the third image, taken at f/22, you can see definition-robbing diffraction setting in (though the corners are further improved over f/4) but given that these are pixel peeps from what would be 40″ wide prints, the result is perfectly useable:
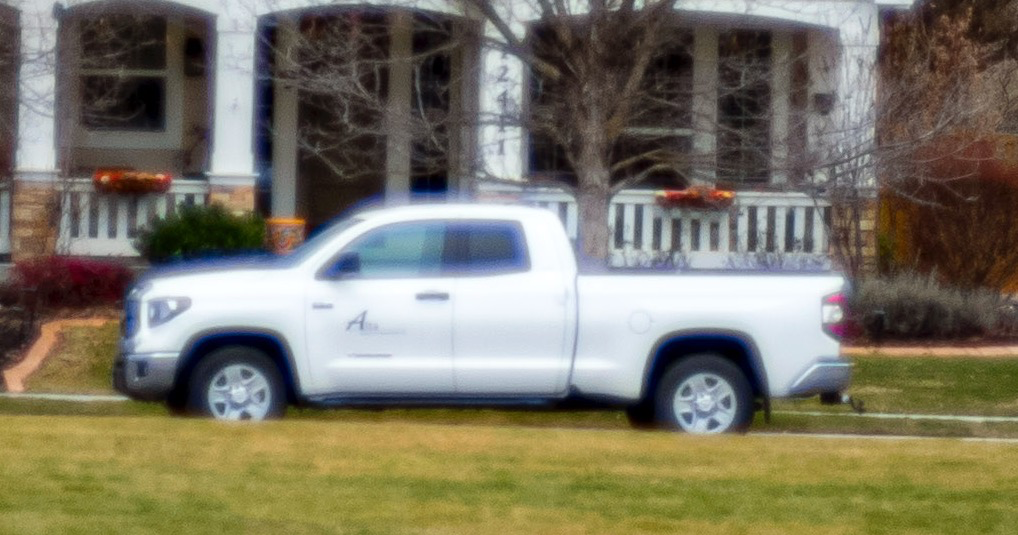
At f/2. Click the image for a larger version.
At f/4. Click the image for a larger version.
At f/22. Click the image for a larger version.
Note the corners are further improved compared with f/4.
This is at ISO3200 so there’s some digital noise when pixel peeping.
Focus accuracy:
I was a tad concerned about lens centering and collimation given some reports that LLL’s QC was sub-optimal at the assembly stage. Maybe I got lucky because my sample focuses accurately at infinity (not that much of a test) but, more importantly, is beyond perfect at 0.7m, the minimum focus distance, at f/2. That is a critical test. Here’s the result. My focus, using the LLL 1.4x eyepiece magnifier, was on the green line. The result shows focus is totally accurate:
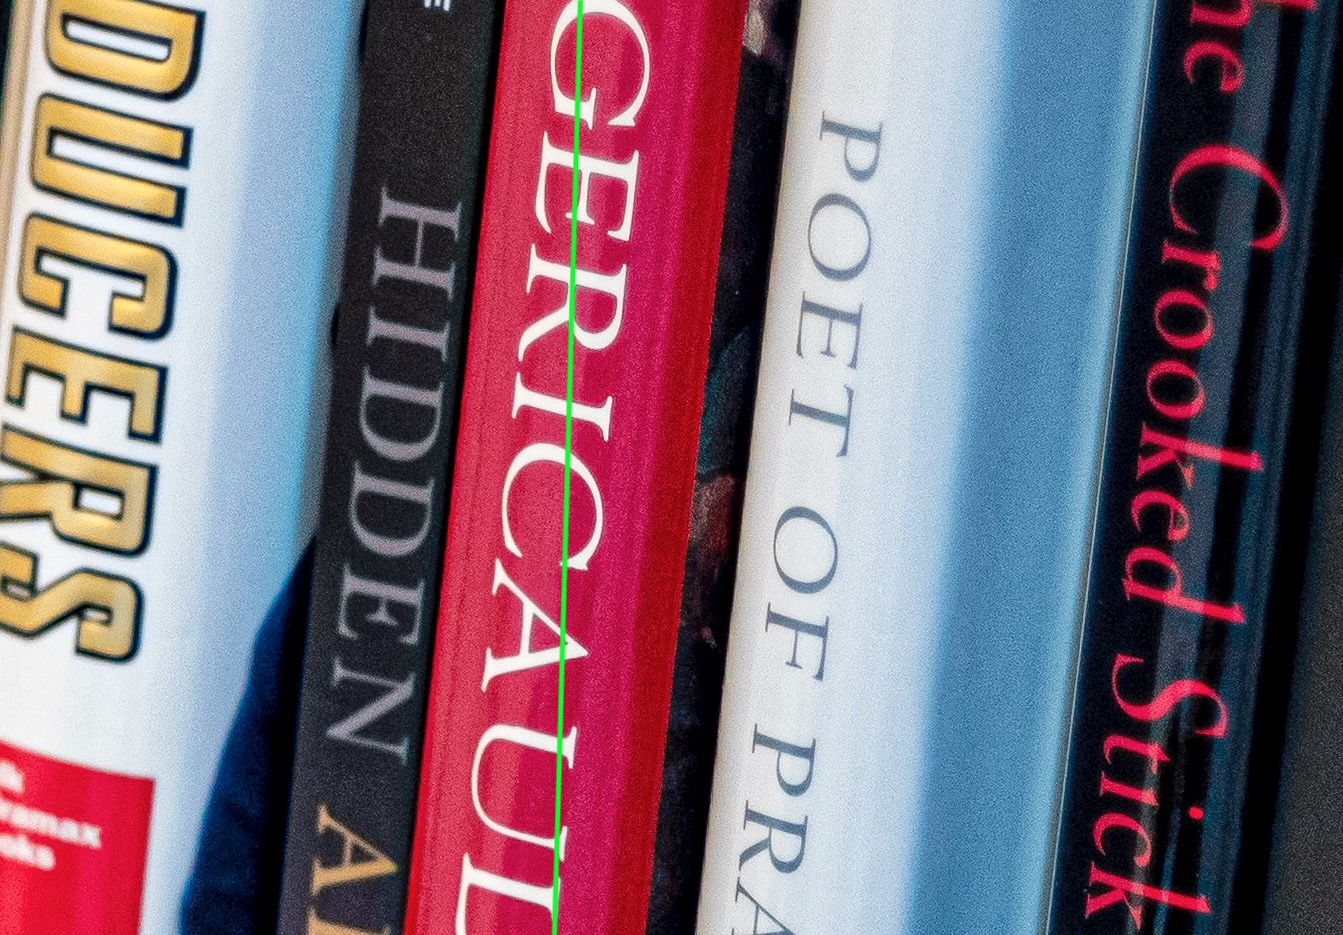
Perfect rangefinder focusing at 0.7m and f/2.
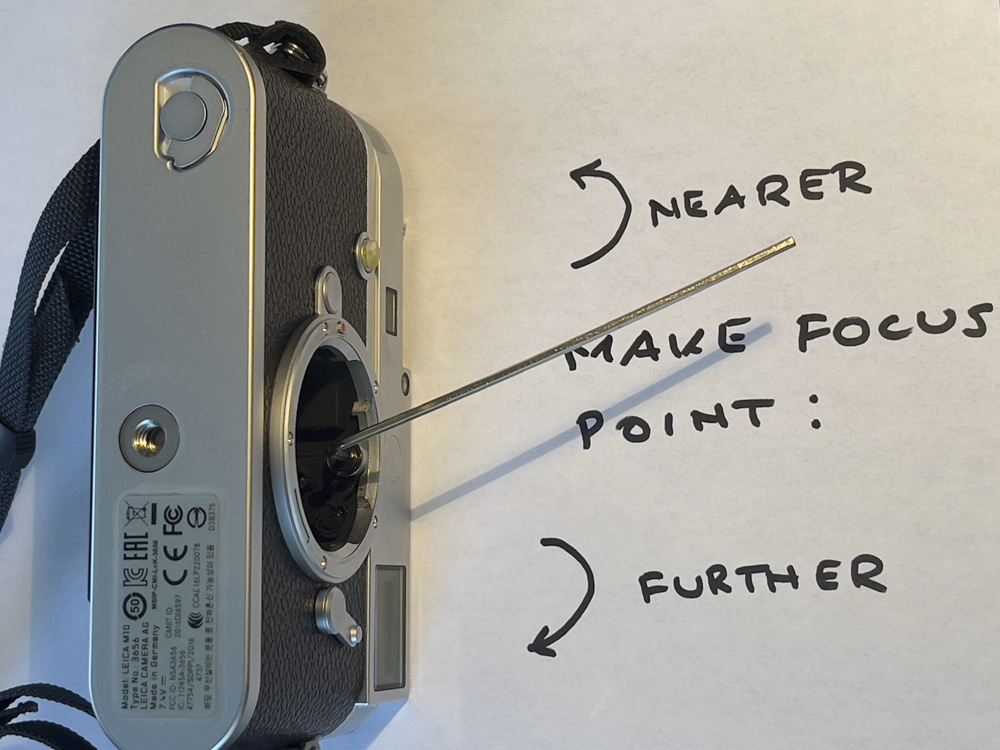
Before you go blaming the lens for poor focus alignment I suggest you check that your body’s rangefinder is properly adjusted, a process I illustrate here. It’s not unknown for even new bodies from the factory to be improperly adjusted in this regard, and it takes little time to get this right and all you need is an Allen wrench and some patience.
Ergonomics:
The classic design of the LLL lens mates well with the Leica M body, be it film or digital. The locking focus tab makes for easy insertion and removal, the generously wide focus collar is comfortable for those who prefer its use over that of the focus tab, the rotation is butter smooth and the aperture click stops are just so. The focus throw at some 180 degrees from infinity to 0.7 meters is long by modern standards but works well for this user. Focus accuracy in my sample is perfect, and the overall look, feel and finish are truly Leica quality. Additionally, I have found the lens easy to operate with gloved hands, the aperture ring being readily grasped. All of this in a compact whole spells perfection. But, best of all, the lens is simply gorgeous to behold and I’m a member of the class which contends that beautiful hardware makes for better pictures. Now I’m feeling better about the financial outlay.
As regards intrusion on the 50mm finder frame, with a slim 39mm filter in place and no lens hood fitted, the lens starts to intrude on the lower right corner of the finder frame at 6 feet and below. Even at the minimum focus distance of 0.7m (28″) the intrusion is so minor as to be of no consequence.
‘China’:
The front ring of the lens bears the word ‘China’ in fairly discreet red, in addition to silver paint filled descriptions of the lens. If that bothers you, fitting a UV filter makes everything disappear:
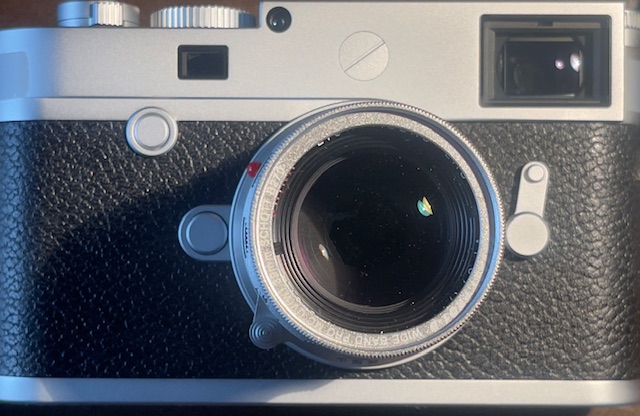
No more ‘China’
Availability:
It seems that LLL accepts orders for small batch production, informing the customer once a lens is manufactured. As I write this the Summicron version with hood is only available in brass (Ugh!) for $899 and the Cooke Speed-Panchro version without a hood is only available in chrome (yippee!), also for $899. Both come with front and rear caps. The ugly duckling original version of the Cooke is available in no fewer than five finishes for $849-$1149. Add import tariffs at 34% from China or 35% for Canadian vendors and things get expensive fast, so I recommend tracking down a lens from a US seller.
In Part II I have published some early results. Meanwhile, feast your eyes on this exercise in mechanical design and beauty:
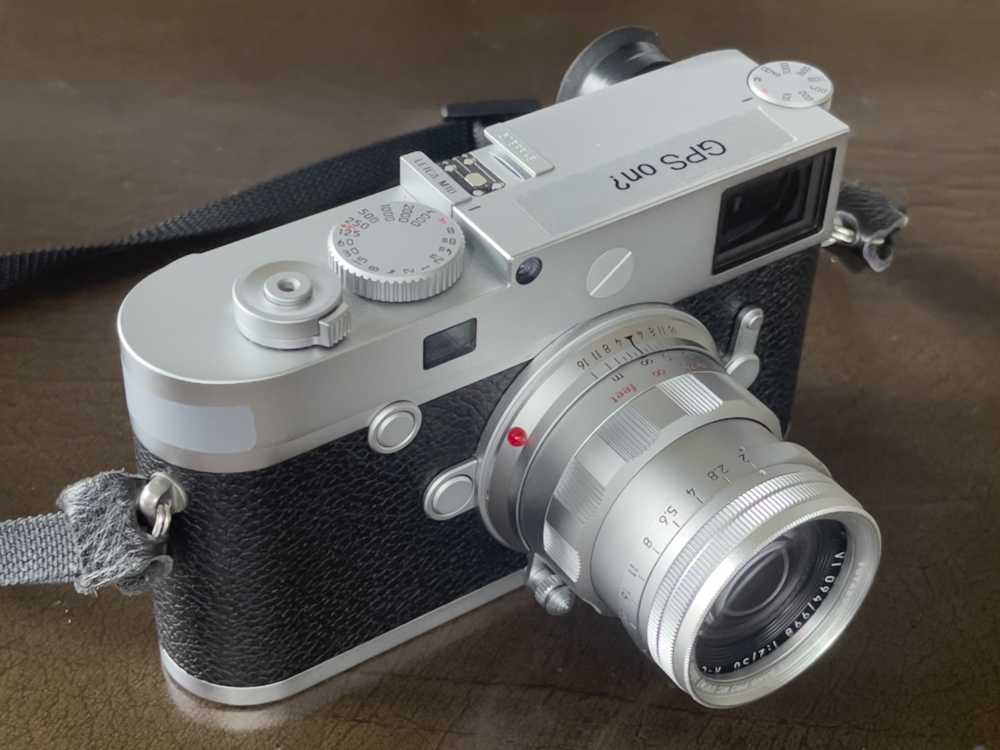
With 39mm UV filter in place.
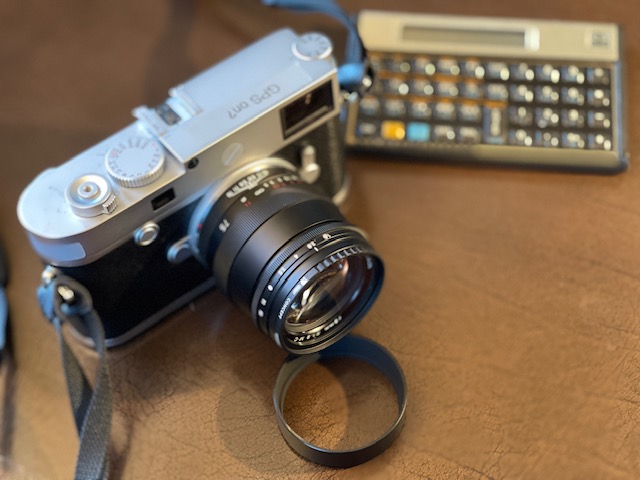
The label reminds me to turn on my iPhone for GPS recording.
