Über Alles.
I have been a contented user of a Linhof S168 tripod for some four decades. A sturdy support it weighs 6lbs 5.3oz. and you can see the extension in that link.
However, as I really need that tripod for display purposes in the home theater, when the opportunity came along to acquire a mint 1950s Linhof Twin Shank Pro for all of $125, I snapped it up. Weighting a light 7lb 2.0oz thanks to all alloy construction the dual shank cantilevered legs provide for just one extension and, with the center post extended that means a maximum of 73 3/4 inches from the low point of 29 1/2 inches. That’s good enough for basketballers, and while I used to be 6 feet tall age seems to be taking me down a bit. Anyway, it’s more than tall enough.
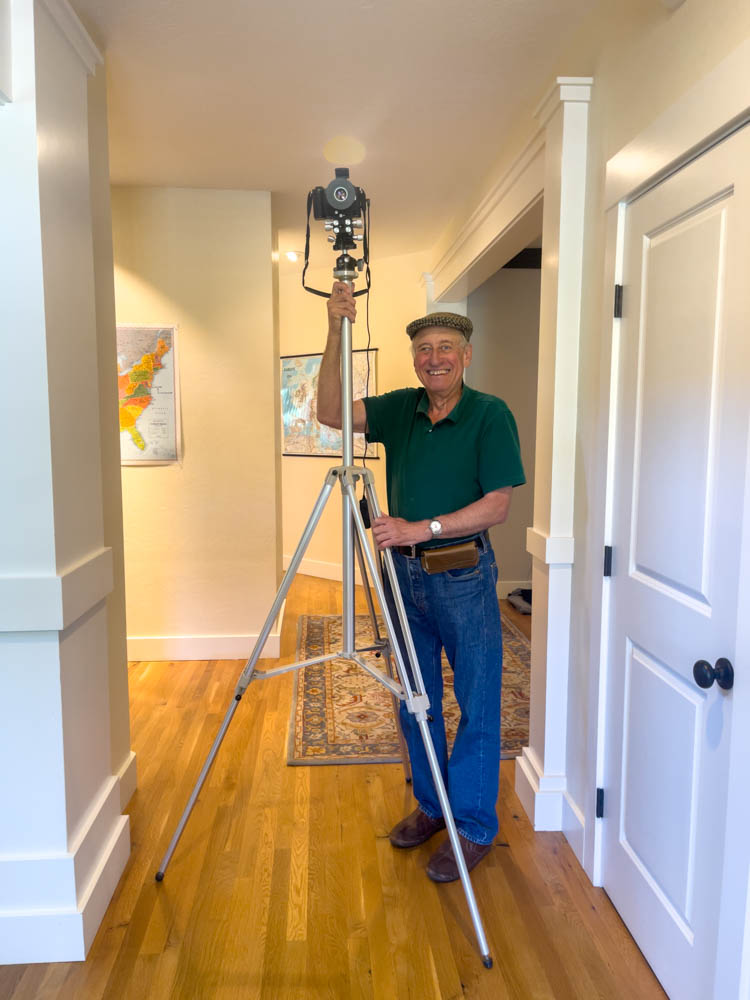
Tall enough.
All that was needed was a very thin swipe of silicone based Silglyde on the sliding parts to remove stiction. WD40 and related paraffin-based lubricants are probably not a good idea as they may rot the seals over time. Luckily the retractable rubber feet are in excellent shape, no cracks showing and a coat of rubber preservative on these is just what the doctor ordered.
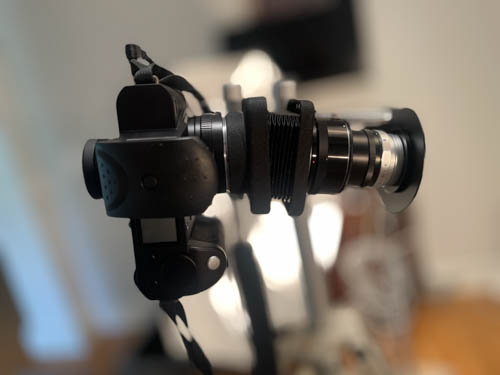
The head has a 3/8″ thread and I use a heavy duty Artcise ball head atop. Despite the width of the Linhof’s mounting plate the controls on the head are easily accessed. The Linhof Twin-Shank Pro, without a head, retailed for $89.95 in 1957, which figures to $1,350 today and, indeed, Linhof still makes tripods which you and Elon Musk can find at B&H.
These Linhofs regularly turn up on the used market – they made a vast range – and if you can find one that has not been brutalized in a pro’s studio at a good price I say “Go for it”.