Category Archives: Lightroom

Adobe’s masterpiece for processing and cataloging

Affinity Photo 2

Hasta la vista, Photoshop.

Much as the many enhancements in Lightroom Classic, compared with my decade old Lightroom version 6, reduce the need for Photoshop, there are still those images which require the more granular processing capabilities of a Photoshop-like application. However, on upgrading my 15 year old Mac Pro to the latest Mac Mini M4, Photoshop CS5 refuses to boot. That’s sleazy Adobe for you.

I think I have found a solid replacement for Photoshop: Affinity Photo 2. No subscriptions, just a one-off payment of $34.99 with a full 7 day trial period, no watermarks. That’s Black Friday pricing. Some research discloses that Version 1 of Affinity Photo was continually upgraded over a seven year period at no cost to owners, so paying that sort of sum every few years is not exactly something to grumble about. Affinity only asks for money for major version upgrades.
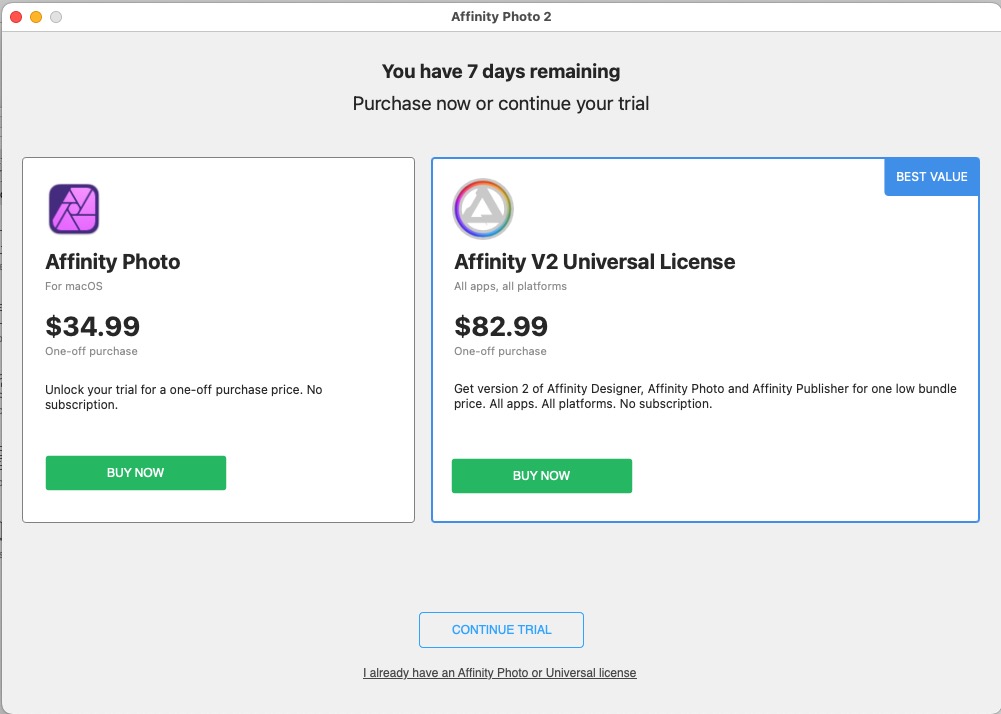

Purchase options.

I needed traditional PS tools to edit this image and clean up the background people, plus add selective lens blur. LRc is just not sophisticated enough to do that. (The image was taken on a Panasonic GX7 micro 4/3 camera. One inherent issue with micro four thirds sensors is that the short focal length lenses which are standard with the sensor come with high depth of field. That’s physics, not Panasonic’s fault).
Here’s the before and after, the ‘after’ processed in Affinity Photo 2:
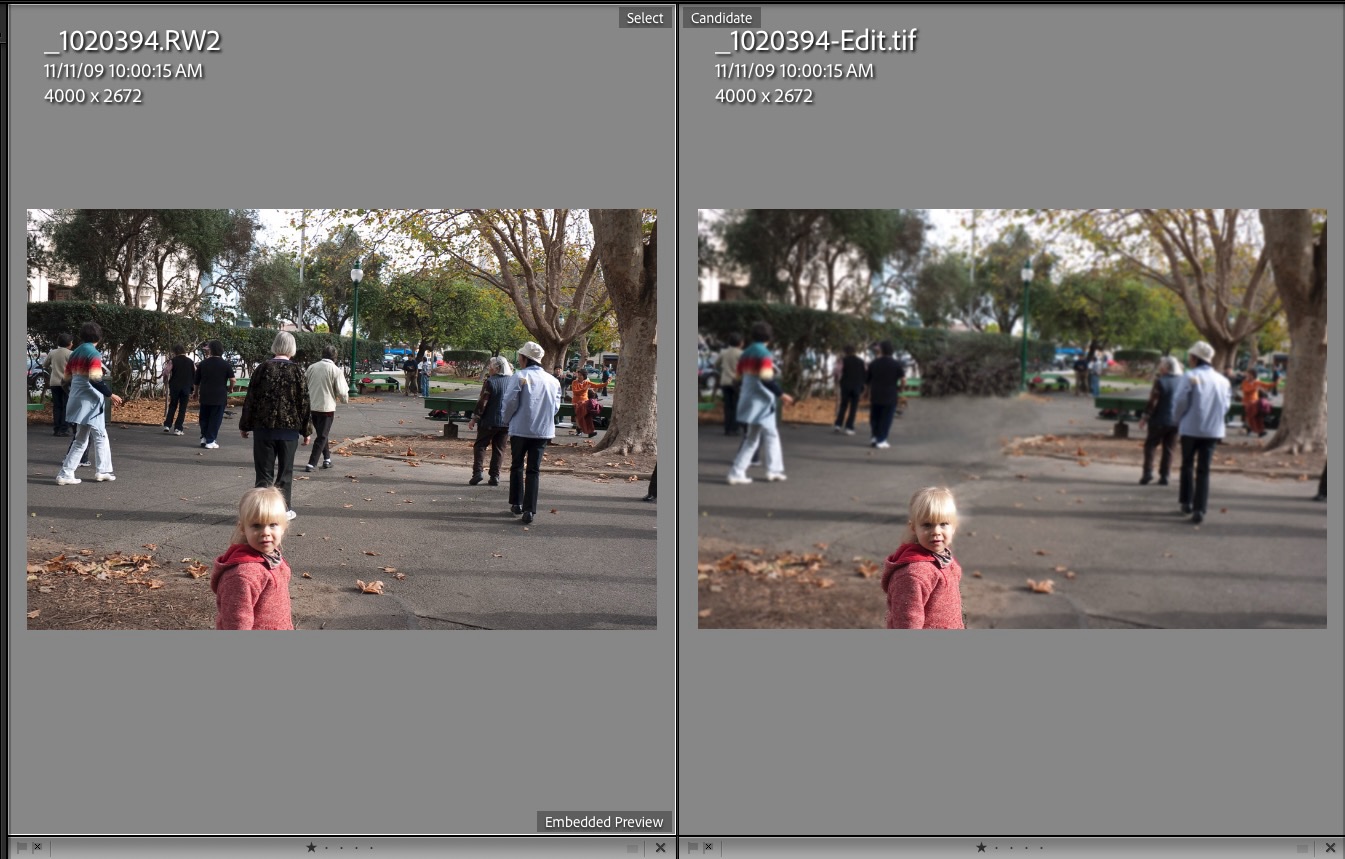

North Beach, San Francisco.

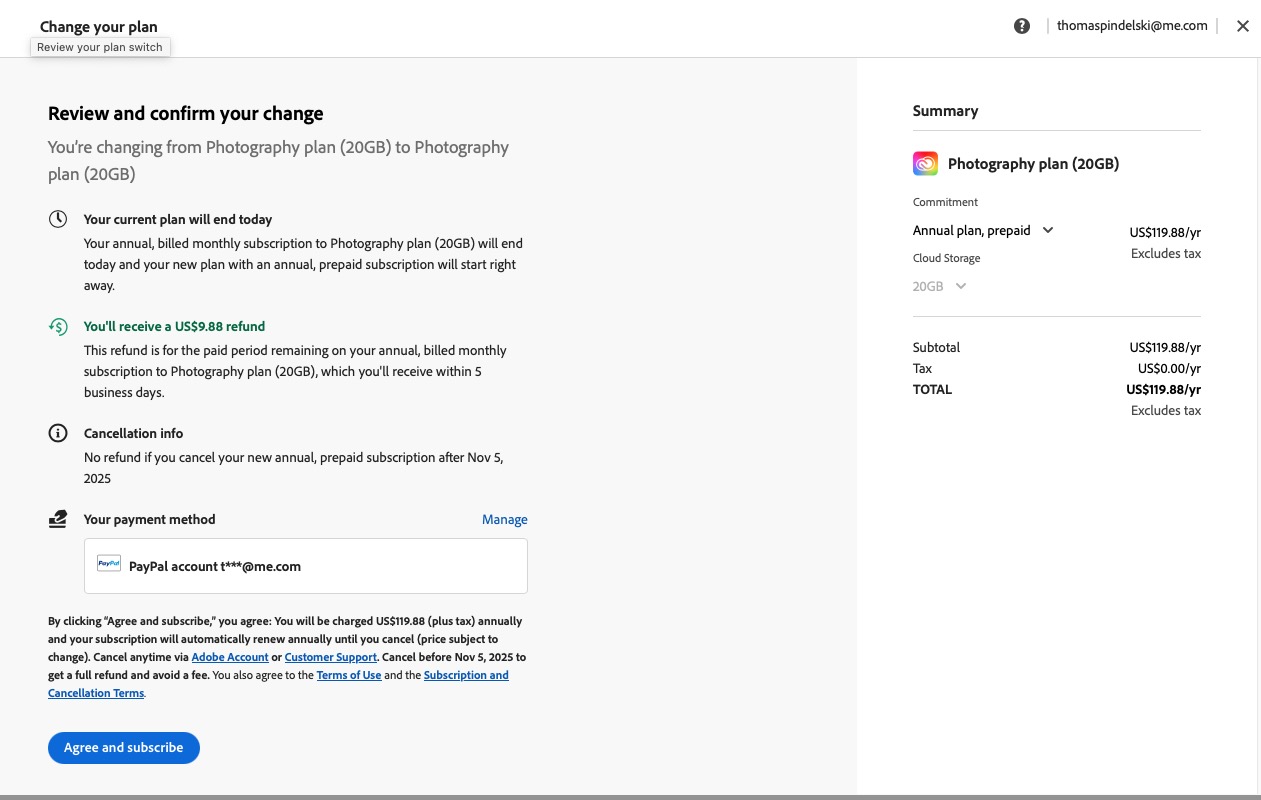
The Affinity interface is very much like PS. Adobe is asking $23 to $35 a month, meaning $276-$420 annually, which I think is exorbitant. And that’s on top of $120 annually for LRc. You pay for Affinity in a couple of months by comparison, and you own it. I set up LRc to allow round trips just like in the old PS days (Option-Command-E to export to Affinity – you set this up in the Lightroom Classic Preferences->External Editing panel) and then just a Save in Affinity will return a modified .tif file to LRc. The original RW2 file above is from Panny RAW in the GX7.

Given the similarity of the tools and commands to PS the learning curve is not all that bad, and layers are supported. Here’s the interface – I have tailored it to light gray finding the default black hard on the eyes:


The processed image and the Affinity interface.

The 7 day trial period delivers a fully functional app. I downloaded mine from the Apple App Store, the safe way to go.

There are many good tutorials available on You Tube. For a round trip from Lightroom Classic I find that the exported .tif file pops up in Affinity Photo 2 in some four seconds on my base spec Mac Mini M4. I have never seen a beach ball in Affinity which processes everything very quickly. Affinity is optimized for Apple Silicon. From their website:

“The new GPU represents an industry inflection point—we now have compute performance surpassing nearly all discrete GPU hardware, but retain the key benefits of unified memory. This required us to step back and think again about where performance bottlenecks might be, as it’s clear the ‘old rules’ no longer apply.

“The results of this work yield a benchmark score of around 30,000 for the M1 Max 32-core GPU, absolutely obliterating any other single GPU score we have ever measured. Our changes have also improved performance on the previous M1 chip, which is now roughly 10% faster in our benchmark in version 1.10.3.”

Apple says it recorded up to 5.6x faster combined vector and raster GPU performance in Affinity Photo with the 16-core M1 Pro, and up to 8.5x faster with the 32-core M1 Max.

So there. Mostly BS, but you get the idea.

One word of advice. One of the really well implemented enhancements in Lightroom Classic is the Denoise function. This does an excellent job of taking out chroma noise in files without destroying detail and it’s very processor heavy, typically taking 30 seconds on the speedy Mac Mini M4. (Chroma noise is very common in files which are produced by small sensors in micro fourth thirds cameras). Once you round-trip an image to Affinity (or Photoshop) it comes back as a .tif file which Denoise cannot currently handle. At this time the function only works with most stock RAW files and will not work with either Apple Pro RAW, .tif or .jpg formats. So if you are going to use Denoise along with a round trip to Affinity, do so before the round-trip, while you’re core file is still in RAW format.

While Photoshop has a deeper AI focus – Photoshop’s neural filters will allow you to change a dour face into a smiling one if that’s your thing – the key AI feature of PS is available in Affinity. This has been around in PS for over a decade and is named Content Aware Fill. In Affinity it is called the “Inpainting Brush Tool”, and can be found in the drop-down menu for the Blemish Removal Tool. It’s a useful tool for removing extraneous items from images and works every bit as well in Affinity as in Photoshop. Further, the Magic Lasso outlining tool, frequently used in conjunction with Content Aware Fill in Photoshop is identical in Affinity. Both do an excellent job of selecting an area of choice to which you wish to apply localized changes.

Affinity also offers applications for graphics designers and publishers. These are also attractively priced. I have no need for those, but if you are into those fields they’re probably worth checking out. All apps come in both Mac and Windows versions. Now if only Affinty would clone the excellent database and cataloging features of Lightroom I could ditch sleazy Adobe for once and for all.

Tethered shooting with Lightroom

Instant preview.

Tethered shooting refers to a connection – wired or wireless – between your camera and a display device, allowing near instant preview of images, typically in a studio environment, on a decently sized laptop or desktop display. ‘Chimping’ the small rear LCD on the camera pales by comparison.

In this way you can instantly assess composition, lighting, exposure and focus and, most importantly, if you have a client present, you can give him faster-than-Polaroid previews of the session’s photographs.

Before you start spending money on cables I suggest you check that your processing software on your computer supports the camera of your choice. Not all software supports all cameras and you can bet that older versions of software will not support many of the latest camera models. Of all manufacturers you can be assured that Adobe will have been first on the planned obsolescence wagon, forcing you to upgrade your software at considerable cost.

My gear is relatively dated – Lightroom 6.4, a Nikon D800 and a 2015 MacBook Air, the latter no speed demon by modern standards. I use a wired USB2 connection between camera and laptop. Wireless solutions are available for those with more money than sense. Mine involved diving into the cable box in the garage and finding the right cable, free.

Plug the cable into the laptop and camera, turn the latter on, and Lightroom requires these steps:


Enabling tethered capture in Lightroom.

Once both ends of the cable are plugged in the Nikon D800 no longer shows a frame count on the top LCD:


The frame count display in tethered capture mode.

If you do not see ‘PC’ in the frame count location unplug the cable from the computer and reconnect it. As a further check, a display panel will pop up in Lightroom and will show the model of the connected camera if the connection has been properly made.

‘PC’ indicates that the storage card in the camera is not being used to store images, which are being sent directly to the connected computer.

One word of caution. The camera socket for the connecting cable in the D800, if using a wired solution, uses a USB2/3 Micro USB design. This is unarguably the worst connector ever made, being unidirectional, fragile, small, and easily damaged. What’s worse the cable is subjected to tugging and stress in use, inviting disconnection as a minimum, damage at worst. So, instead of a costly solution what is needed is a simple twist tie, attached between the left strap lug or key ring and the cable, acting as a simple and free strain relief thus:


A tether for the tether. Highly recommended. The white paint mark has been added to indicate orientation when plugging the connector into the camera.

Acknowledging the awfulness of the Micro USB socket and connector, Nikon did make a strain relief clip but mine did not come with the secondhand body I bought. They crop up on eBay from time to time for very little; mine ran me $9.45:


The Nikon USB cable clip.

Here it is installed. Be aware that the MicroUSB connector comes in both USB2 (narrow) and USB3 (broader – two connectors in one) versions. The casing for the USB3 version on the cables in my box will not pass the opening in the Nikon USB Cable Clip (you could always try sanding it down if that is all you have), while the narrower USB2 version passes through just fine. There’s a locating peg and a couple of shark teeth to hold the whole thing in place on the camera and the cable itself is secured with a locking foldover bar. Indeed, as the image below shows there’s an unused adjacent peg hole which suggests there may be a wider USB3 version of this clip. I do not know. It works well:


The Nikon D800 USB Cable CLip installed on my camera.

I have found no difference in transfer speed for the USB2 vs. the USB3 cable, both allowing LR to render the image on the laptop’s display in 5 seconds after the shutter button is depressed. using my ancient 11″ MacBook Air and the 14-bit RAW file format. That’s a whole lot faster than a Polaroid! Edwin Land would be proud.

My strong inclination is to rip off that awful, intrusive rubber cover for the connector area, but I have not yet summoned the courage to do that.

I switch Lightroom to full screen display (hit ‘F’ on the keyboard) and the latest image is the one displayed in maximum size. Hit ‘G’ for the familiar LR grid display. The advantage of the full screen display is that it’s far easier to judge the image in full size.

And that’s about it. Once the session is completed the LR catalog can be exported to your desktop of choice for post-processing in the usual way. I simply network my desktop Mac Pro with the MacBook Air and transfer the catalog into the Lightroom software on the Mac Pro. You use Windows? You are on your own.

EXIF tailoring in Lightroom

Another fine plugin from Jeffrey Friedl.

One of the small frustrations in Lightroom is the inability to tailor the display of EXIF data in the Library module. What follows is relevant to the ‘purchase-once’ versions of Lightroom, before Adobe went to a ‘purchase many times’ subscription model. Whether the plugin works with the latter versions I do not know.

Lightroom displays EXIF data in several preset formats but you can bet that the one you want – meaning no blank or redundant fields of information – is not available. The Friedl plugin ….


The plugin viewed in the Lightroom Plugin Manager.

…. allows you to pick and choose which fields are displayed and the display order. Once your changes are saved restart LR to view the effect.

Very handy. Subscription is on the honor system after a 6 week free trial. The full range of Friedl’s plugins can be found here.

Be sure to put the plugin in one of these locations on a Mac:


Where to put the Friedl plugin file.

Geotagging revisited

Works with any digital camera.

‘Geotagging’ refers to the addition of GPS location data to your digital images. While images taken on a cellphone are automatically geotagged, most digital cameras do not provide this facility. Even most of the latest digital cameras are deficient in not providing built-in geotagging in the interest of saving on battery drain, and saving on cost, as no GPS receiver is required. Some manufacturers, like Nikon, will sell you a separate GPS unit conceptually similar to the one linked immediately below.

I last addressed geotagging in 2012 when I attached a GPS receiver to my Nikon D700 and recorded GPS data on a separate data logger, a small storage device carried in the pocket.

I continue to regard geotagging as an important tool when it comes to retrieving old images, a tremendous aid to putting them in a specific time and place.

But there’s an easier and more reliable approach than using a costly hardware dongle, one which does not display the frequent connection loss suffered by the hardware approach described over a decade ago and which will work with any digital image with a time stamp.

While what follows is Apple-centric this approach will work equally well with Android/Windows, when you are not busy rebooting your Windows computer, that is.

Two components are required to geotag your digital images:

  • An iPhone in your pocket – I’m using an iPhone 12 Pro Max
  • A GPS tracking app on that iPhone – I use GPS Tracks, an app that is actively supported

My digital image management software is Lightroom and what follows is Lightroom specific, Mac or Windows. I’m using the last version of non-subscription LR, 6.4. When Adobe changed to a monthly subscription model they dishonestly and purposefully broke the ‘Maps’ module in non-subscription versions of LR so that you can no longer view your picture location in the LR app. They claimed it was changes at Google which irretrievably broke Maps. This was a lie. The real reason they did this was to force owners of the non-subscription version to sign up for a subscription with its monthly toll. A couple of lines of code would have fixed the issue. And yes, it will be a cold day in hell before I change to the subscription model with this dishonest business and lose control over my images.

But we do not need Maps in LR for what follows to work. What you do need is a superb plugin from Jeffrey Friedl, suitably and nerdily named Geoencoding support which comes with a 6 week free use period whereafter an honor system contribution is called for. When you unzip the download file make sure that the file named ‘gps-jfriedl.lrplugin’ is placed in one of these two directories on your Mac. The first is user specific, the second will make the plug-in available to all users of the Mac:


Where to put the Friedl plugin file.

Next, download GPS Tracks to your iPhone and start the app before your photo journey, after first making sure that the time indicated on your digital camera is more or less the same as the time reported by your iPhone. While you do not have to be dead on, the time stamp on your digital image is the one that is used to look up the data generated by GPS Track to determine the GPS coordinates at the time indicated on your digital image.

At the conclusion of your photo journey stop the GPS Tracks application and email yourself the GPX file it has generated. This records GPS coordinates by time. Drag and drop that GPX file from the email onto your Mac’s desktop. GPS Tracks provides a short trial period for data export to work after which the annual subscription cost is $10. Well worth it if you want all your digital images geotagged.

Next, go into LR and go to File->Plug-in Manager, and enable the plugin, thus:


The Friedl plugin enabled.
You can vary what is disclosed in LR from this pane.

Reboot LR for the changes to take effect.

Now download your photos from your digital camera to LR, highlight the ones you want to geotag, and go to File->Plug-in Extras->Geoencode, pointing to the GPS Tracks GPX file on your desktop thus:


The Friedl plugin after geotagging 8 images.

Your images are now geotagged and you can display them in Google Earth using Lightroom, just like you used to be able to do before Adobe broke the Maps module in LR, as follows:


How to display your journey in Google Earth


The GPS track displayed in Google Earth.
The yellow pushpins show where I took photos.

If all of this seems labor-intensive, be assured that it is not. The GPS data logging happens automatically in your iPhone and exporting that file to your desktop and importing it into Lightroom is a matter of seconds.

Advantages: The GPS location system in your iPhone is way superior to the one in that little Nikon DSLR plug in hardware dongle linked at the top of this piece and will work with any digital image with a time stamp.

Disadvantages: Additional battery drain on your iPhone. My 40 minute walk, above, incrementally drained some 6% of the iPhone Pro Max’s battery – call it 9% for every hour of use. Not a lot and if you have an iPhone Pro or Pro Max with the larger battery you are set for a day’s photography with GPS Tracks running all the time. If you need a recharge on the go consider one of those inexpensive pocketable car starter batteries.

Goodbye Lightroom

Crippled and costly.


The new Lightroom CC. Cloud only.

With typically devious sleight of hand, Adobe has split Lightroom into two applications. The fully featured one is named Lightroom Classic CC and has the features of the standalone Lightroom 6 – you know, the one you used to buy and pay for once. The other crippled version, near useless if you are a standalone LR user, is named Lightroom CC. Both the new versions run in the cloud and are subscription models – yup, you fork over money to Adobe monthly or say hasta la vista to your images or your ability to process them.

So there are three objections here. One is the monthly payment model. Age confers many benefits, one being an absence of monthly payments. No thanks. The second is dependence on Adobe not to lose your images or to stay in business. Remember how everyone said Kodak and film would be around for ever? And the third, and greatest, is Ivan in the Kremlin hacking Adobe’s doubtless fragile servers and rendering access to your images impossible.

There is no need to submit to any of this. I remain happy with the standalone LR 6 which I last upgraded to on April 22, 2015, and have paid zero for since. Likewise, when I need something fancier for corrections I round trip the image from LR to Photoshop CS5 which I last paid to upgrade on July 10, 2012 and whose enhancements since have been low value-added bells and whistles. The snag here is that the Adobe RAW engine in both apps will not allow me to process RAW images form the very latest digital cameras but as I am very happy with my two Panny GX7 bodies that’s not yet an issue.

When it does come time to upgrade I will be looking at Capture One which does not need the cloud, avoids Ivan’s depredations and is paid for once, not monthly. It supports all the latest RAW formats so could even be used solely as a RAW converter, otherwise retaining the LR/PS work flow. Meanwhile, standalone LR6 remains an excellent digital management system with excellent cataloging, retrieval, filtration, output and printing capabilities and Adobe can shove their latest versions you know where.


Capture One beckons. $50 from Amazon, or four months’ payments to the ethically challenged people at Adobe.

Reader PB writes:

“Capture One Pro is good, but it’s only $50 if you have a Sony camera – they did a deal. Otherwise it’s $299.

I’ve been using it since Aperture got shelved, picking it over LR under the assumption that Adobe would do this eventually. C1P seems to release a new version annually, upgrades costing $99 and have been applicable for the previous two versions, so when 11 is released in the next few months I might upgrade my copy of 9.

Having tested a whole bunch of other open source and paid photo editors/asset managers I’ve found C1P to be easily the best. The last one I was hopeful about was ACDSee Photo Studio, or whatever it’s called, but their method of non-destructive editing is to change the source file, save a copy in another folder and the details in a separate file. So if you subsequently have to move your library to another application you have to manually go through and remove all the ACDSee changes to your files to restore the masters. Incomprehensibly useless. “