Category Archives: Technique

Grain

Who needs it?

I was making an 18” x 24” print the other morning for a friend and noted, with mild annoyance, the presence of grain, however fine, in the blue sky. The original was a 2 1/4” square medium format Kodak Portra VC160 negative, taken on a Mamiya 6, aand scanned in a Nikon Coolscan 8000 scanner. All sold earlier this year, by the way, with the advent of the Canon 5D.


That ‘grainy’ picture….

My reaction gave me pause for thought. First, no rational person could complain, as the grain was extremely fine. Second, at any normal viewing distance, no grain was visible. I confess to having had my nose in the print when I noticed the grain, as it was coming out of the HP DJ90 printer. Just like the old darkroom days, it’s still exciting to see the end product of all that work!

So what is the significance of grain to the art print today?

As an art concept, I think that Tony Armstrong-Jones, Lord Snowdon as he would later become, popularized the idea of intended grain with his monochrome series of inmates of mental homes in England. I don’t have it lying around at home, but the work was very moving, rendered more powerful by that Tri-X grain. It was a great idea that worked to complement the pictures and, inevitably, became a cliché though overuse.

While the great early Leica photographers – Cartier-Bresson, Kertesz, Brassai – all struggled with grain owing to the poor emulsions available at the time, for the most part you see their work reproduced in books. Rarely are the reproductions larger than 8” x 10” and what little grain is visible at that modest enlargement ratio is further masked by the printing process. So we don’t think of them as ‘grainy’ photographers. Grain, stated differently, is not relevant to the aesthetic appeal of their work.

Absent the excesses of a David Bailey and a Sarah Moon (who did it in color), fashion photographers avoided grain like the plague. After all, they did actually have to show the fashions, and the finer details of lace don’t exactly benefit from coarse clumps of grain.

Today, grain is mainly used by the cadre I think of as “photographers’ photographers”. That’s anything but a compliment. What I mean is those photographers who use grain and, yes, black and white, to make ‘art’ prints whose content is solely appreciated by other …. photographers! In much the same way that those late nineteenth century French academic painters strutted their stuff with some of the most insanely boring pictures ever committed to canvas – folks like Bouguereau, some of whose excrescences, incidentally, may be found on the walls of Hearst Castle here in central California.

Show the loving mother a grainy picture of her baby and she will immediately dismiss it as an example of poor technique. Show a grainy landscape to anyone but a photographer and the reaction is similar. And warranted.

So, gazing at that grainy sky in the print I had just made, I consoled myself that today, with the best digital gear, grain is already a thing of the past and that, for the point-and-shoot class of equipment, it will likewise disappear very soon as sensors are perfected.

And I, for one, will be more than grateful.

Mounting Really Big Prints

Some practical hints.

Every year, a couple of months before Christmas, I invite a few friends to select a couple of prints from a small web presentation, asking that they elect 13″ x 19″ or, now that I have the HP DJ90, 18″ x 24″.

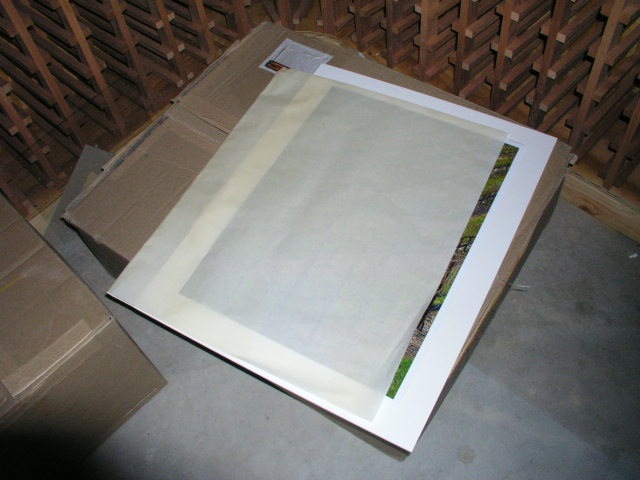
So as this year’s print ‘orders’ came in, I thought it might be instructive to share my technique with readers. Those who see obvious errors are encouraged to set me on the straight and narrow and those contemplating the self-abuse that is print mounting might like to see what they are letting themselves in for.

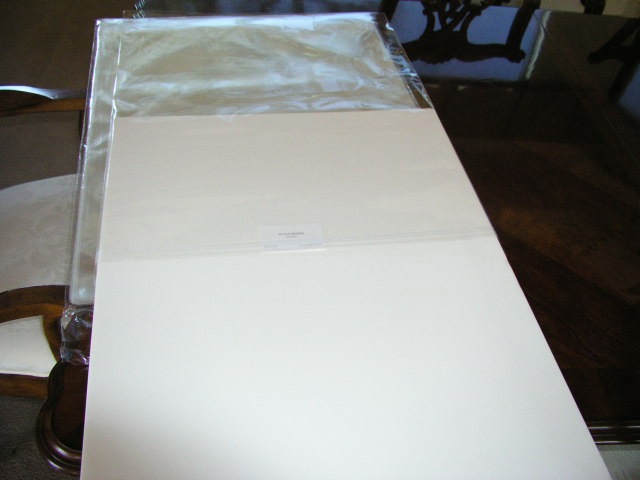
First, I should point out that I do not accept the apologia proferred by many for ‘hinge mounting’ where a print is held to a backing board with a few pieces of tape at the top in the purported interest of archival permanence. The moment the humidity changes, the print cockles and you have a throw away print. It’s just another excuse to cut corners masquerading as technique. Don’t believe them when they tell you ‘curators insist on this’. Sheer Rot. I have prints which I dry mounted thirty years ago (using a domestic iron, no less), before we knew about acid free this and pH neutral that, and they remain perfect and unfaded. So when people tell you dry mounting is no friend of permanence, look elsewhere.

Key dimensions:

I typically mount both 13″ x 19″ and 18″ x 24″ prints on 22″ x 28″ boards. The HP DJ90 and 130 leave a 1/4″ border top, left (long side) and right (long side), with a bottom border of 9/16″ (short side). For the HP Designjet 90/130, after allowing another 1/8″ for safety,the mat openings are as follows:

  • 13″ x 19″: Opening is 12 3/8″ x 18 1/16″
  • 18″ x 24″: Opening is 17 3/8″ x 23 1/16″

These openings will leave 1/16th of an inch of printed image to work with on all sides, for alignment purposes. Matboard & more will custom cut these for you. Stock mats which come with 12 1/2″ x 18 1/2″ and with 17 1/2″ x 23 1/2″ openings will not work, leaving white borders on the matted print.

Archival issues:

My goal is a print which will outlive me and here’s what is involved:

1 – A printer with fade free inks. The DJ90 uses dyes, others use pigments. Both are great. Most modern ink jet printing inks are fade free. Look for them when making your printer selection. Older designs will fade in as little as a year in bright light.

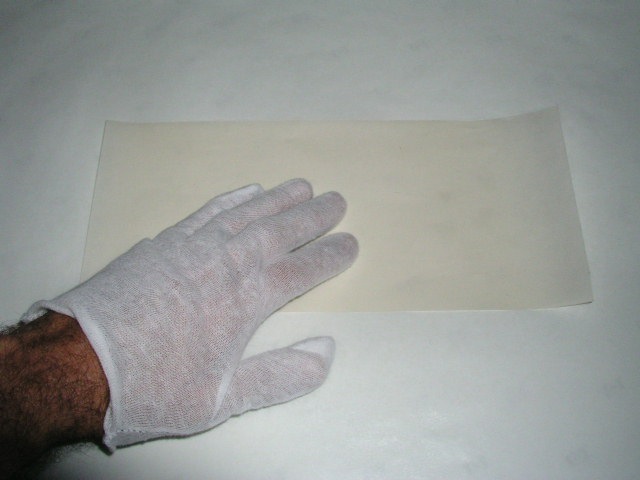
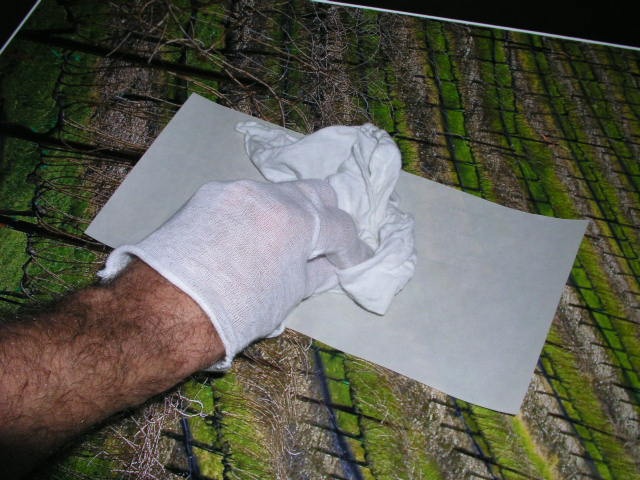
2 – Cotton gloves. Yes, I do advocate delegating the drudge of routine printing – meaning anything under 8″ x 10″ – but when it comes to show prints I am not about to let the clerk at the framing store, who has just feasted on a Big Mac, cheese and fries, get his hands on my print. Grease is the last thing I need. Not to mention that ten of these will pay for that overpriced Seal press. The cotton gloves are used from the moment the printing paper is removed from the box all the way through final placement of the mounted print in a protective glassine bag for shipping. Cheap insurance.

3 – Acid free mounting board. I use the 3/16″ thickness – it costs little more than the 1/8″ and is more robust.

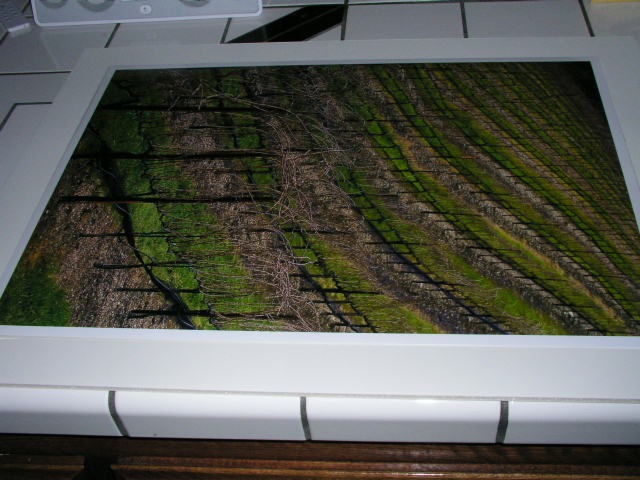
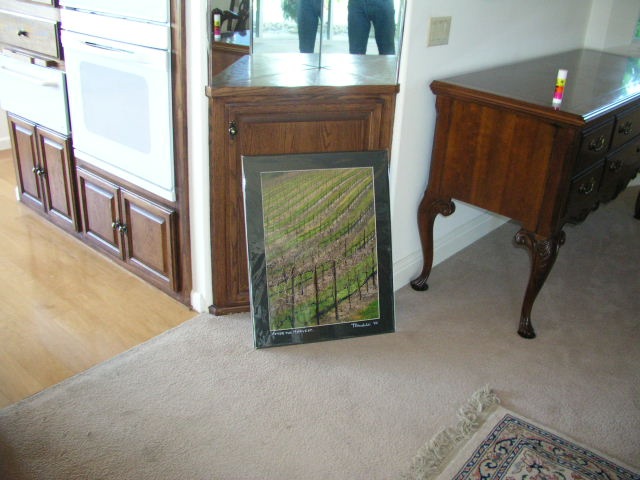
4 – Acid free mats cut by Redimat. Their machine cutter is incredibly accurate. As Apple’s Aperture leaves a 1/2″ border around the print with the DJ90, my 18″ x 24″ prints get a 16 7/8″ x 22 7/8″ cut out, while the 13″ x 19″ ones use 11 7/8″ x 17 7/8″. That way I have 1/8″ to play with when positioning the print on the mounting board. Color? Anything your heart desires. I mostly use black. Simple. No distractions.

5 – Seal Bienfang RC Colormount tissue. This seals at 185F and is intended for RC paper. Its low sealing temperature is ideal for ink jet prints. Go much over 210F and these start to fry.

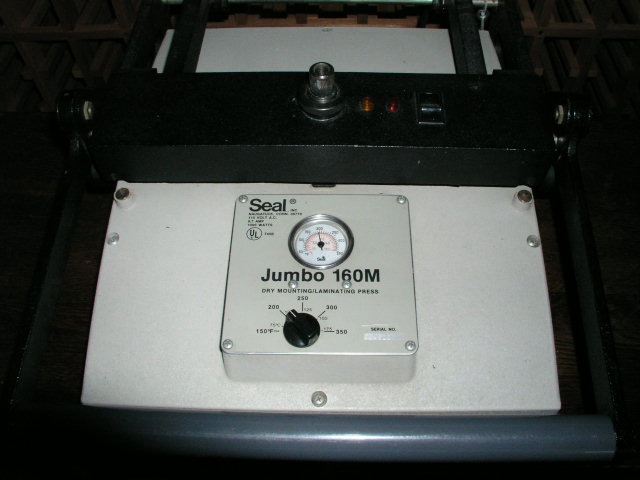
6 – A Seal mounting press.

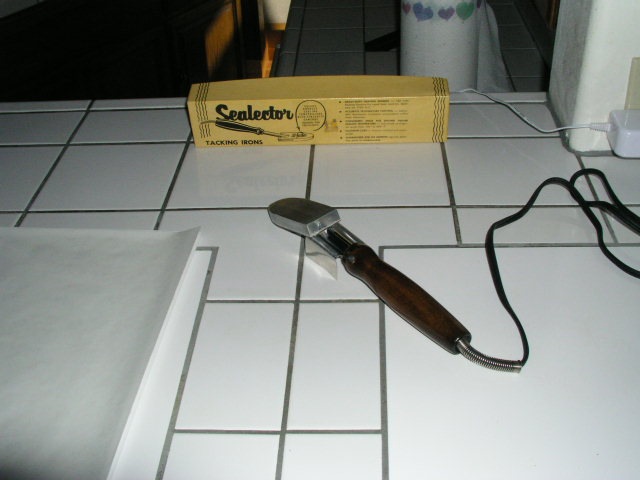
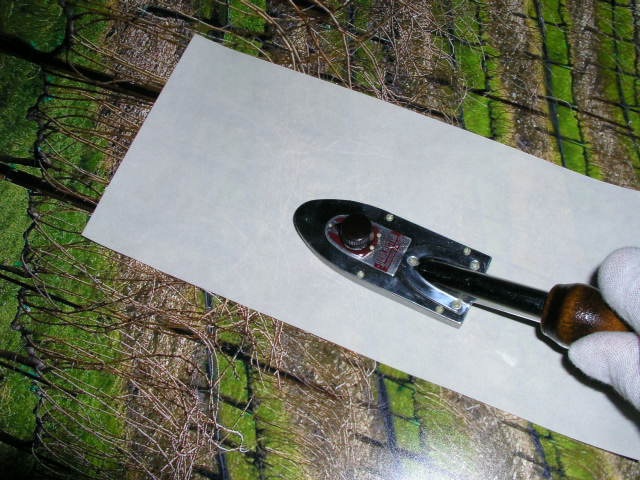
7 – A Seal tacking iron to tack the mounting tissue to the print and the print + tissue to the mounting board.

8 – 3M two-sided adhesive tape to attach the mat to the mounted print.

9 – Release paper for tacking and heating in the press

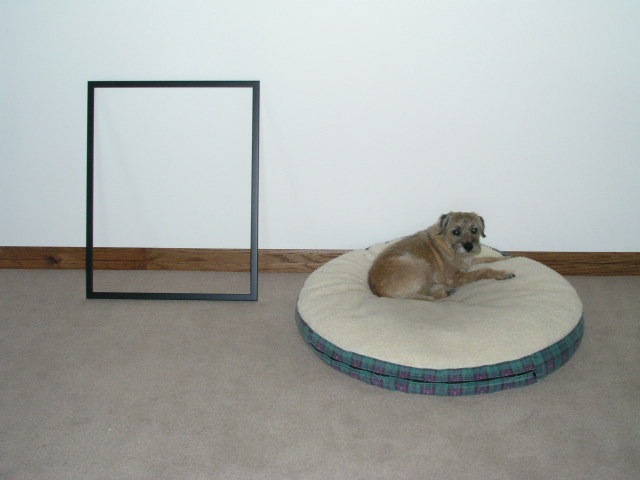
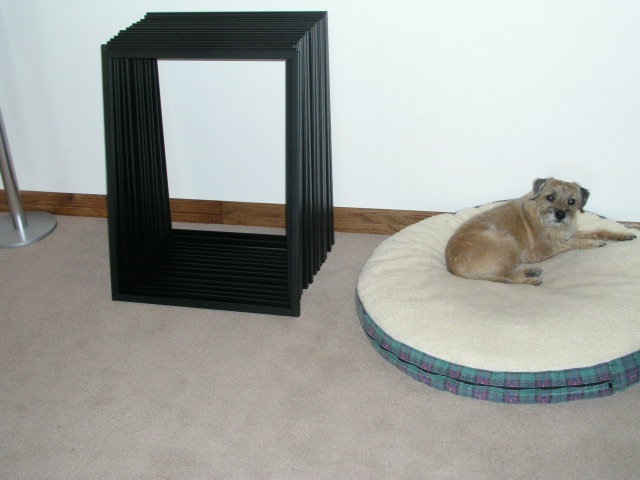
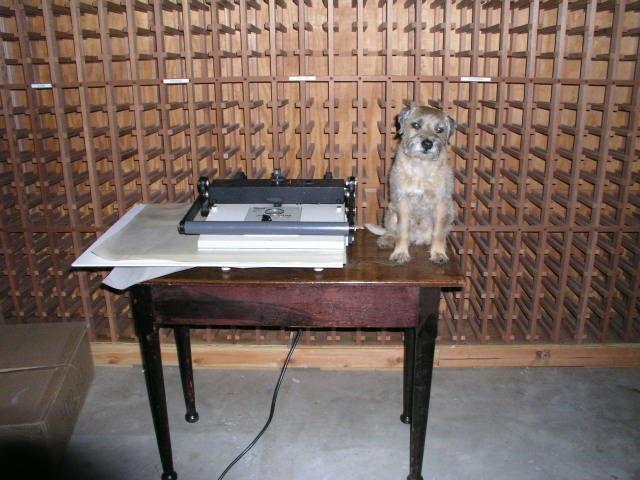
10 – Bert the Border Terrier to keep me company. These are very hard to find and, in my opinion, essential.

Strict cleanliness throughout this process is key. Any dirt or grit and your print is shot.

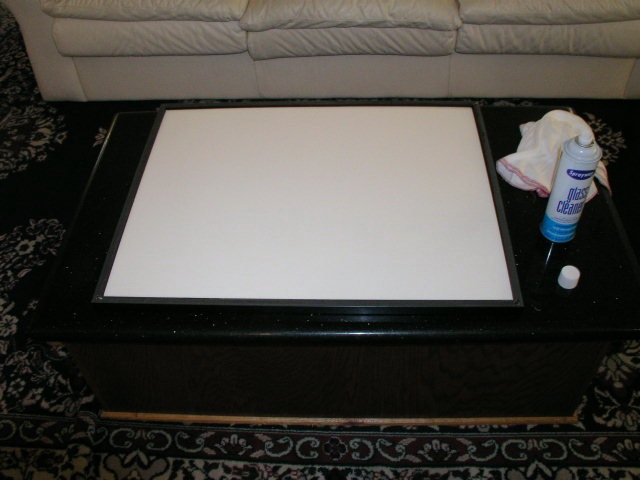
The tissue is precut using a sharp knife and a granite counter.

The Seal tacking iron, set just below ‘Med’ and no higher, is warmed up.

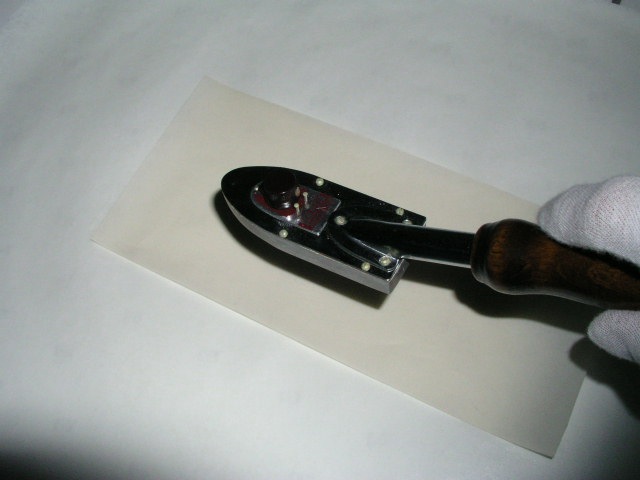
Using a small piece of release paper betweeen the mounting tissue and the back of the print, the tissue is tacked to the print – count for 10 seconds – remember those darkroom days? “Elephant One, Elephant Two, Elephant Three….”

Hold the tacked part down for a couple of seconds to cool.

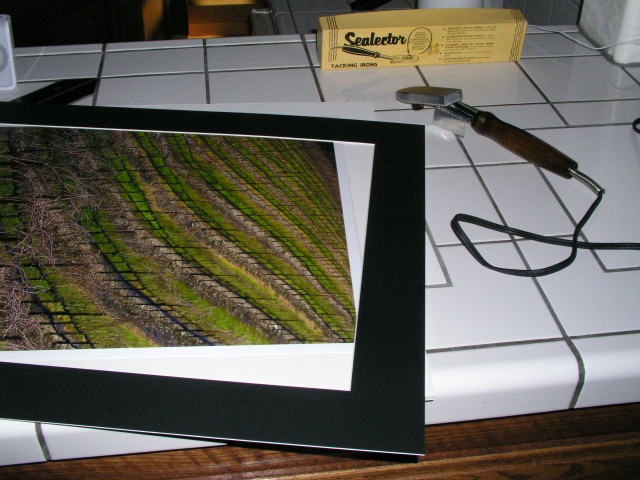
Get one mounting board and one mat – the latter will be used as a positioning template.

Having positioned the print + tissue on the board using the mat (the mounting board and mat must have identical outside dimensions), tack the print to the board, protecting the print with the release paper:

Once more, hold the heated area for a few seconds to ensure a good ‘tack’.

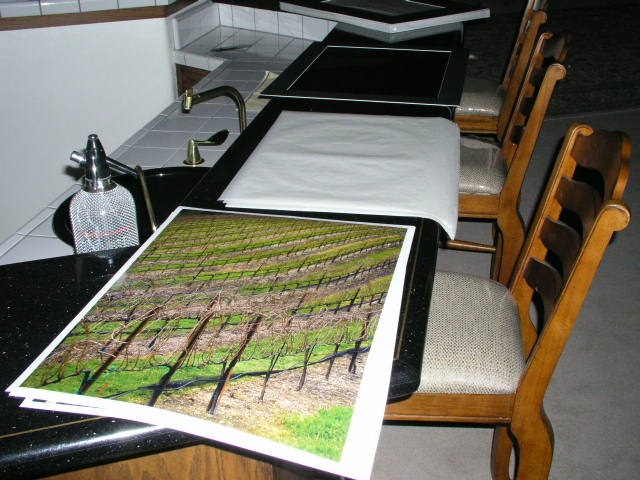
The print is now tacked to the board.

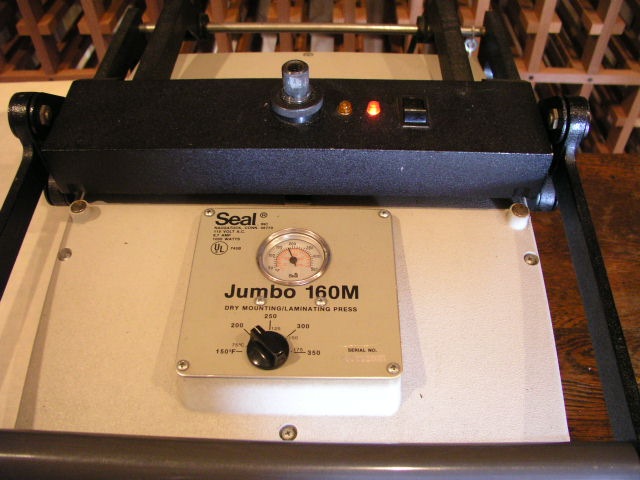
Heat the press to 170F.

Place the print + board in a folded over piece of release paper.

The press must be adjusted so that reasonable hand pressure on the lever closes it. Too much and you will have creases in any print that needs multiple passes. In my press, an 18″ x 24″ print needs four passes. This is where you put the Border Terrier in play.

The red light indicates the press is on, and the orange light to the left will extinguish once the set temperature is reached. Once the orange light goes off you are at the set temperature. I do not bother to preheat the print or board to get rid of moisture as both are stored in a dry, heated home.

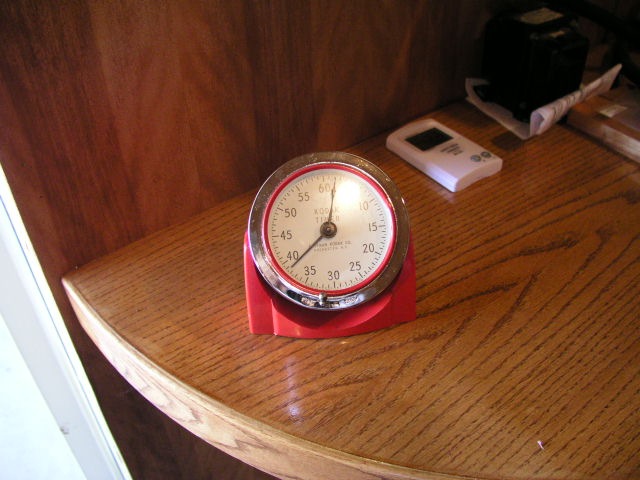
Each heating cycle must be for at least 90 seconds – pull out that 60 year old Kodak analog timer, the one you can read from across the room. Overdoing it is not a problem – I sometimes let it run 4-5 minutes while I do something else, but if you are in a hurry, less than 90 seconds is a no-no.

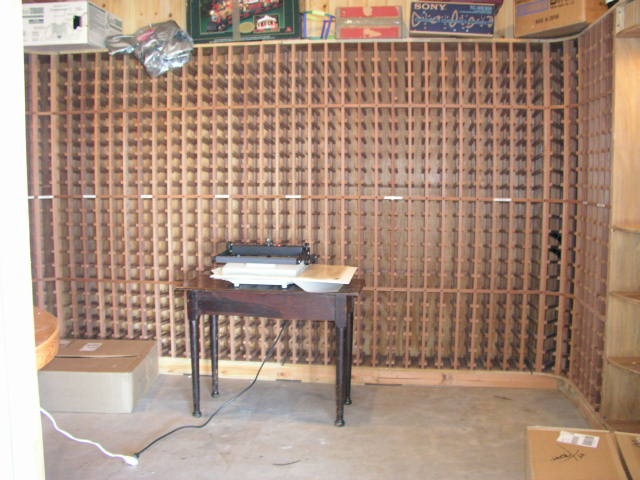
My press makes its home in the wine cellar, but yours does not have to.

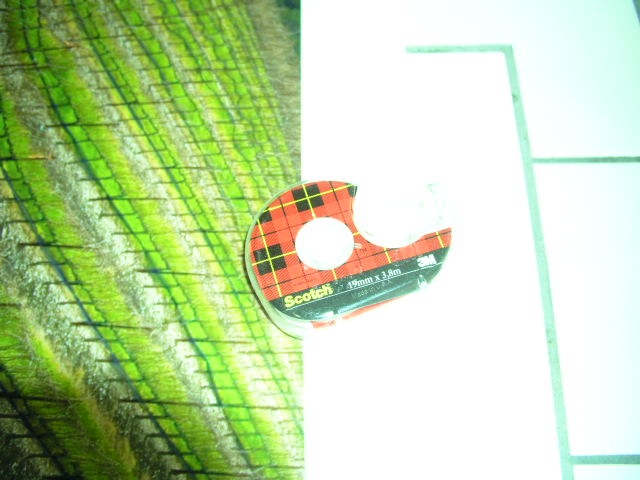
Once the heating process is complete, pull out the Scotch 3M double sided tape dispenser. Do not economize by using something cheap.

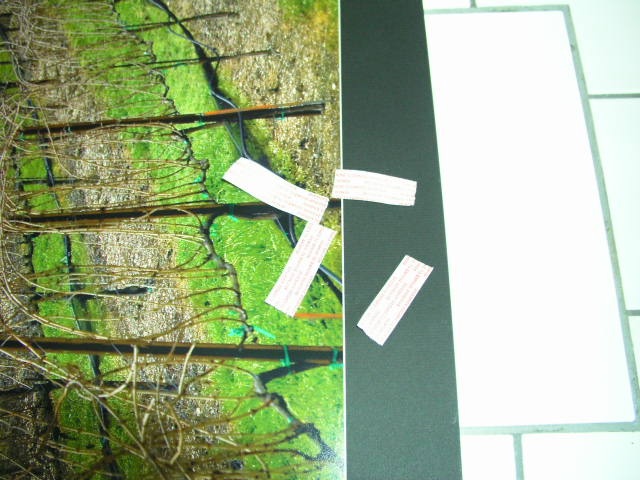
Place two inch strips in the center of the board on all four sides of the print between the print edge and board edge. Now place the mat on the print, aligned edge to edge, and press down on these four points. The goal is to lightly glue the mat to the board – the framing process will ensure the two stay together.

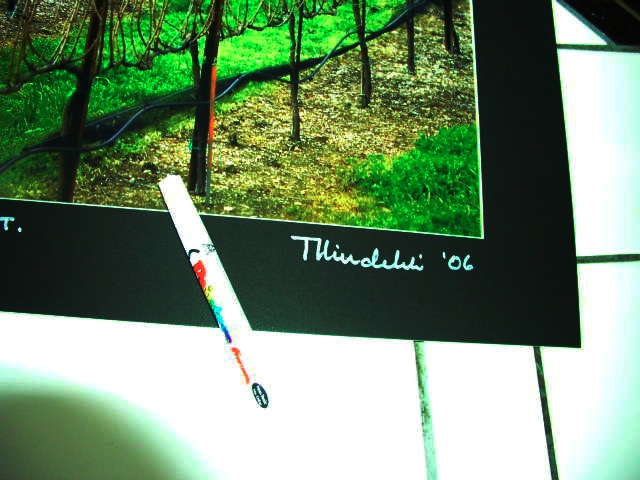
Do yourself justice – sign the bloody thing. Wilting violets …. wilt. I use a white ink pen from the art store.

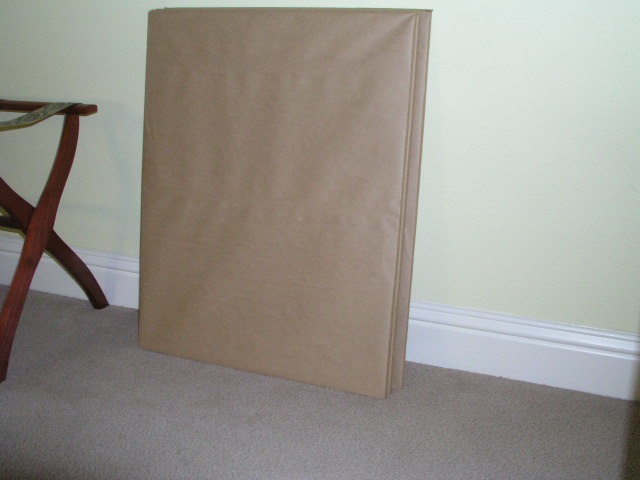
Sticking with the cotton gloves, insert the ‘sandwich’ into an acid free, sealable, glassine sleeve for storage and transit.

Stand back and admire your work.

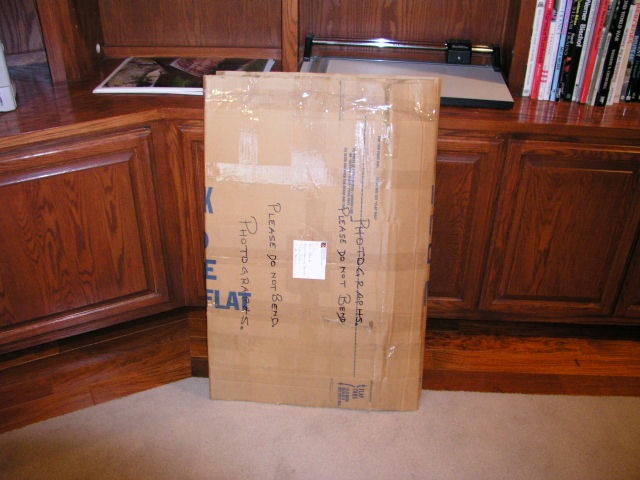
Finally, pray the post office does not bend your prints in transit.

Framing is addressed here.

Studio Flash

Money far better spent than getting yet another lens or camera.

I have always been a fan of the great state of Texas. In addition to providing drivers with cheap oil in any number of distillations concocted by corrupt state politicians earning their kickbacks, any state that has a predilection for frying bad guys rather than giving them three square a day, air conditioning, free bed and board and color television for upwards of fifty years, has to deserve the respect, admiration and gratitude of the taxpayer.

The addition of another fine product from that great state, a Novatron studio flash outfit, to my small equipment cache a few years back, only served to confirm my love of things Texan. The flash heads in that kit proudly proclaim ‘Novatron of Dallas‘. Go Cowboys!

Who needs studio flash? Well, anytime a portrait beckons or a still life has to be just so and heat is not to be a factor in the equation, studio flash is the ticket. Your Coke-bottom lens, well stopped down to cope with the powerful light output, suddenly becomes a Summicron, Planar or Canon ‘L’ – and the flash outfit will likely run you far less than any of those magnificent optics. Camera shake is a thing of the past. The light duration is very short, after all.

Too bulky, you say? Don’t have studio room, you grumble? Nonsense.

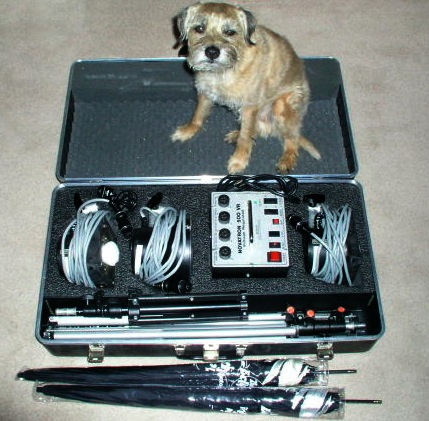
Here’s my kit, with that sophisticated man about town, Bertie the Border Terrier, providing scale. (Modeling fee? 1 cookie).

What you see, in addition to that fine canine specimen, is a transportable case containing three Novatron 500 watt flash heads, three tripod stands, the power pack and some long flash synchronization cables, as well as two silvered umbrellas which attach to the flash heads when shadowless lighting is called for. I used to pack an electronic flash meter also, but that is no longer needed with digital. Pop off a couple of snaps, check the LCD screen in the camera and correct exposure is assured.

The 500 watt-second heads in my kit are discontinued, replaced by 600 watt-second ones and, as with mine, these include ineffectual modeling lamps to purportedly help you assess the effect of the lighting. Once again, that LCD screen in your digital camera does a superior job. Better still, tether your Canon EOS digital using the Canon EOS Capture utility (maybe Nikon and others make something similar – I don’t know) to a laptop and you will really be able to judge your lighting. That estimable vendor of photo gear, B&H, lists a three head 600 w-s Novatron kit for some $900. A bargain and all the power you need for the home studio.

The heads on mine have three position power switches and I usually use them on 1/4 or 1/2 power, which gives a recycling time of some 2 seconds when all three are in use. One is a main light, the second a modeling light and the last a background or hair key light. For the latter, a small tripod/boom-arm made by Manfrotto, suitably counterbalanced with a sand-filled sack, (high tech at work), is suspended above the apprehensive subject’s head. You too can make out like George Hurrell – he even managed to make Judy Garland look attractive!

Now while more modern units integrate the power pack and flash tube – thus unnecessarily increasing bulk and cost while trading both for looks – you still have to run power cables with either, so what’s the big deal? Further, some seek to add to the cost by using a wireless connection between camera and power pack. There’s something in that as it obsoletes one cable, meaning one chance less to trip, but there are already so many of those I have never been tempted by the additional outlay.

If your camera is an older Leica, like an M2 or M3 with those superb sturdy flash contacts, there’s no need to compromise with a cheesy adapter to take the standard 3mm coaxial connector that bedevils the flash reliability of cameras thus equipped. Just go to Paramount Cords and get a cable terminated with the connector of your choice. The other end? The Novatron boys, bless ’em, use a simple, cheap and very sturdy household ‘H’ plug! Must be all that experience they have in Texas with high current loads in their correctional institutions. I wouldn’t bother with those coiled cord wonders either – a problem waiting to happen. As for choice, well how about the old Nikon push lock, Koni Omega (remember them?), old Leica M (tip #30 if you must ask), Rollei locking (great for that 3.5F or 2.8F), and many more?

Users with modern digital cameras with fragile internal flash contacts worry about trigger voltages – the amount of voltage transmitted through the camera’s flash contact when the flash is triggered. Most recommend that 9 volts or less (the Canon EOS 5D allows a whopping 250 volts!) is the safe way to go. Well, you can measure the trigger voltage of any flash unit with a voltmeter and two fine tipped probes. Charge up the flash and touch the probes to the two flash contacts. My ancient Novatron kit comes in at 6.4 volts, falling to 2.5 volts if a Wein Safe Synch is fitted between power cord and power pack. By the way, my fairly recent (Chinese) Vivitar 283 portable flash unit comes in at 10.1 volts, though I understand some of the earlier Japanese ones could really fry things. Motto? Check your camera’s instruction book and use a voltmeter first, to be on the safe side.

Now $900 may seem like a lot – about the cost of one more unnecessary lens for your camera – but I have found the utility value and payback from my Novatron to be excellent. Whenever I wanted to take some studio portraits I would rush to the local pro-dealer, leave half my net worth and Border Terrier behind as collateral for the loan and pay a weekend fee which was invariably over $100. A few of these trips and several things dawned on me. First, I was wasting time and gas on all those trips. Second, it was getting expensive. Third, my credit card record was getting messed up because the clerk in the store had an IQ in single figures. Fourth, I missed my dog! Finally, I was restricted to weekends, as the weekday rate was ruinous and things far too rushed.

Thus, I reckoned, the first nine times I used the Novatron now in my hall closet, it had paid for itself. And my credit score improved too.

For still lives it’s a killer set-up, for you know your lighting is cool and constant, nothing fries and all is repeatable as you concentrate on composition.

As for studio work, you be the judge.

When a plain background is called for, by the way, I use a Photek Background-in-a-Bag. You crumple the cloth and separate the poles, stashing the lot in a small canvas bag for transit, placing the background cloth in a clothes drier for a few minutes before use, to get the wrinkles out. Some $120 for the 6′ x 7′ model, which is more than adequate for head and shoulders portraits.

So my two cents’ worth on the matter are that a studio flash outfit should be a serious consideration for anyone seeking to make quality studio portraits, picturing interiors or doing still life work.

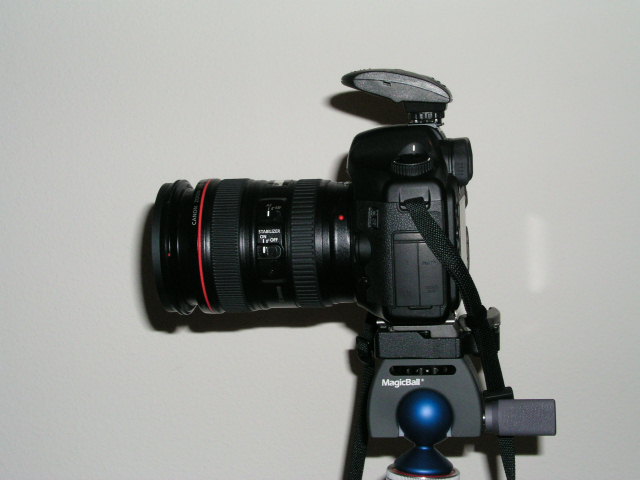
And if the only flash connector your camera sports is a hot shoe, no problem. Just splash out $20 on a Nikon AS-15 hot shoe adapter and your point-and-shoot has just become a studio camera. I use the AS-15 on my Canon EOS 5D rather than messing about with that silly flap that stubbornly refuses to disclose the coaxial socket. B&H continues to list this great little gadget.

Finally, if you are concerned about obsolescence, my twenty year old Novatron outfit, for which parts continue to be abundantly available (though it is as reliable as it gets), works every bit as well with my EOS 5D as it did with my 4″ x 5″ Crown Graphic. I bought my kit used some ten years ago and have had no problems with it. When they go out, replacement flash tubes are cheap and heavy, professional use will likely dictate new capacitors in the power pack now and then. It’s not about to go out of fashion, until the folks at Apple work out how to pass vast amounts of current through the air without connecting cables.

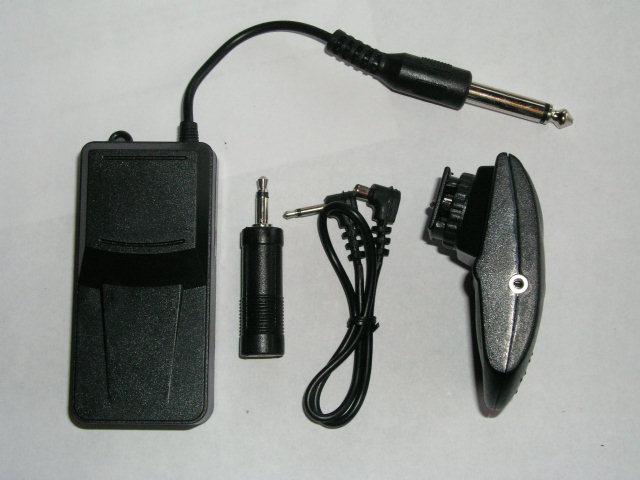
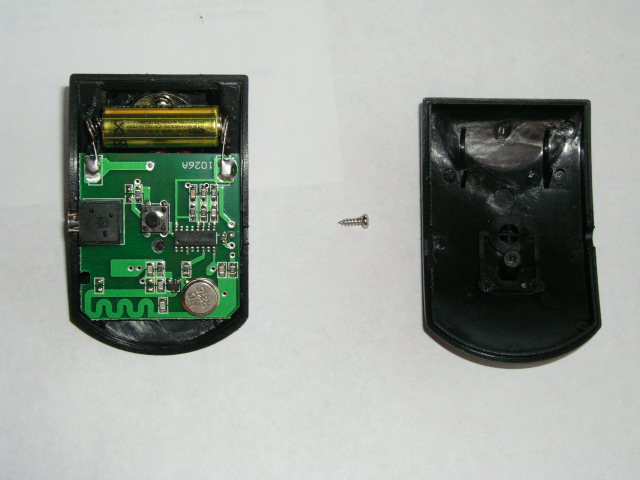
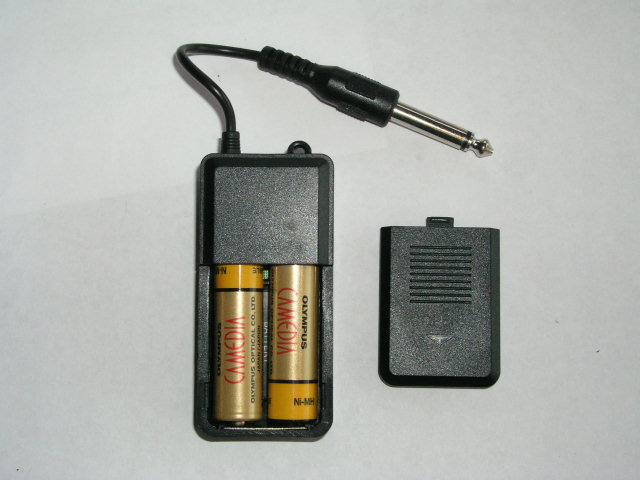
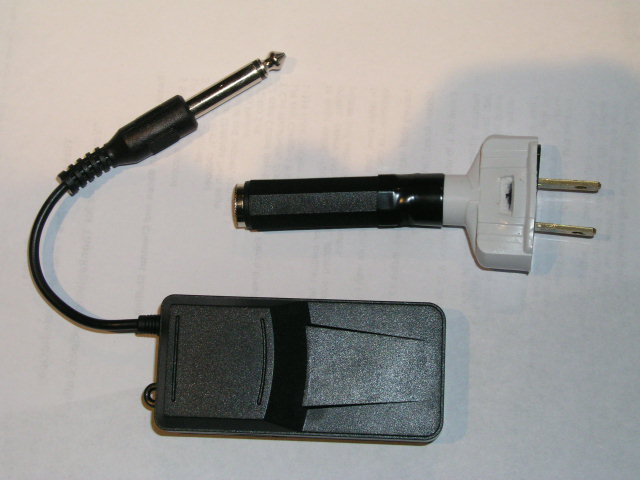
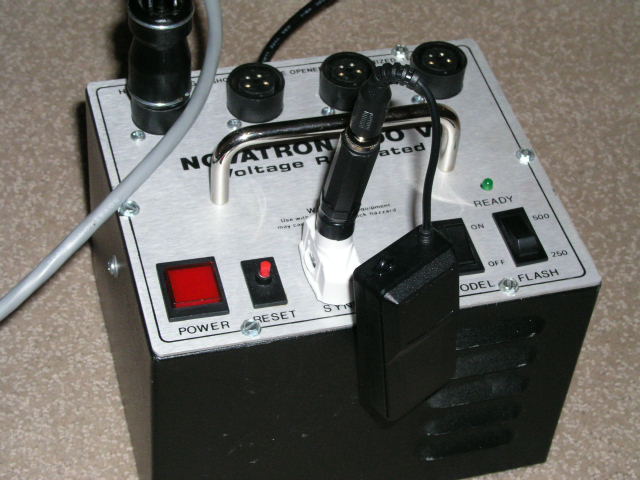
An update addressing use of an inexpensive radio remote trigger may be found here.

HP DesignJet Z photo printer

Brought to you despite the Board of Directors.

If you have been following the financial news recently, you could be excused for thinking the Board of Hewlett Packard couldn’t organize a booze-up in a brewery. Depsite the twits in the corner office, the great engineers at HP continue to make innovative products. The most recent announcement is the HP DesignJet Z photo printer.

Long time readers of this journal will know how pleased I am with my HP DesignJet 90, which will make up to 18″ wide prints using fade-resistant inks. Having made some forty 13″ x 19″ and 18″ x 24″ prints in aggregate over the past six months on mine, ink levels remain astonishingly high – if those meters are linear this has to be one of the most economical printers available. Three cartridges are still showing full, the other three three-quarters full. Print quality is as good as it gets.

The new floor standing DesignJet Z comes in 24″ and 44″ widths and is focused on extreme color accuracy, courtesy of a built-in Gretag/Macbeth/X-rite spectrophotometer to automate paper profiling and ICC profile generation. I use an external version of the X-Rite to profile my screen and then adjust the ICC profile manually for the paper used with HP’s provided tools, as I explained in my review. Well, now the need for tortuous manual ICC paper profiling is gone. You can get some idea of HP’s target market by looking at the picture above – that looks like a photograph of a Tissot painting in the printer on the left.

These are not cheap. The base 24″ model will sell for $3,400, compared to $1,300 for the six ink 24″ DJ130. The price of the new printer compares favorably with that of the 24″ Epson 7800 at $3,000. The new DesignJet will come in eight or twelve (!) ink models, so you can see how totally focused HP is on color fidelity. As a point of reference, my six ink DJ90 goes to 18″ wide and sells for $1,050. This will be a great machine to fool all those Label Drinkers. Just tell them the print was made using traditional darkroom techniques, just like Ansel Adams used.

Which just goes to show that no matter how disfunctional your Board of Directors may be, you can’t kee a good engineer down.

Multi-media rocks!

What’s a web presence without sound and movies?

As my horizons have widened and simple creation – aided by great Mac software – has made establishing a sophsticated web presence far easier, I find myself reflecting as to why so few photographers’ web sites are silent. And stationary.

Adding sound is very easy with free tools like Audacity and inexpensive (if overpriced) digital sound recorders like the Edirol.

By way of example, a fellow photographer started working with me on a photo book some six months ago. What started out as a hard cover picture book has gestated into a web-based eBook with pictures, sound and QuickTime movies. Now which, for a photographer, do you think is more compelling?

True, it’s still not as easy to ‘leaf through’ an online book, despite advances in laptops, as with a hard copy tome, but then I don’t see how you can enjoy sound and movies in the latter.

Stay tuned for our upcoming twenty-first century interactive book.