Nikon D800 film scanning – Part IV

Can you say ‘fast’?

For an index of all my Film related articles, click here.

There is absolutely no upside to time spent scanning old films, other than the end result. The process is of surpassing tedium and the goal of the previous three articles, starting here, has been to make this process fast and seamless, without sacrificing a commitment to the highest quality results.

With LR tethering working well and a carefully tailored import preset dialed in in the tethering panel (exposure, contrast, vibrance and so on) I set about the project seriously and here is this morning’s result:


28 scans, 47 minutes.

Yup, 28 high quality scans in just 47 minutes and that includes negative strip selection and insertion in the film strip carrier, dusting, image recording using the D800 rig, conversion in Lightroom from negative to positive (in the import settings, so it’s automated), dust retouching – the most time consuming step though LR’s clone/heal tool is excellent and fast – and final contrast/exposure/vibrance tweaks. And I was not rushing things. The final step is to rename the files to conform with the original negative numbers should the originals ever need to be retrieved. The computer is a 2010 MacPro with two 3.47gHz 6 core CPUs, 96gB of 1333MHz RAM and an Nvidia 980GTX GPU.

The results are ready for printing …. large:


Magnificent English sheepdog.

These were taken at Crufts Dog Show in February, 1972. Leica M3, 50mm and 90mm Elmar lenses, TriX processed in Microphen pushed to 800ASA/ISO.

The North End Road

Fruit and veg.

England is certainly not the agricultural powerhouse that is France and the United States, but when I was a lad growing up in London they grew fine fruit and veg and, yes, exported a lot of that. Now exports are zero in the wake of the greatest act of economic suicide – Brexit – since George III lost America. Oh! well. The produce was fresh and chemical free, back then.

These were snapped in the fall of 1971 along the North End Road which not only featured produce vendors but also the occasional spiv unloading clothing which had fallen off the back of the truck, one wary eye out for the cops.


Leica M3, 35mm and 90mm Elmar lenses, TriX.

Amazingly, the market exists to this day.

I went down to the demonstration

August, 1971.


Mick Jagger and Keith Richards.

Leicester Square, London, in my youth was the place to demonstrate, make merry and vent your frustrations at The Man.

Snapped on my then newly acquired Leica M3, 50mm and 90mm Elmar lenses, TriX film, scanned on a Nikon D800. I was 19 years old:


You can read about the Soledad Brothers here.

Nikon D800 film scanning – Part III

Some further efficiency fixes and related notes.

For an index of all my Film related articles, click here.

In Part II I looked at batch inversion and color negative imaging. Here I look at tethered capture and focusing considerations.

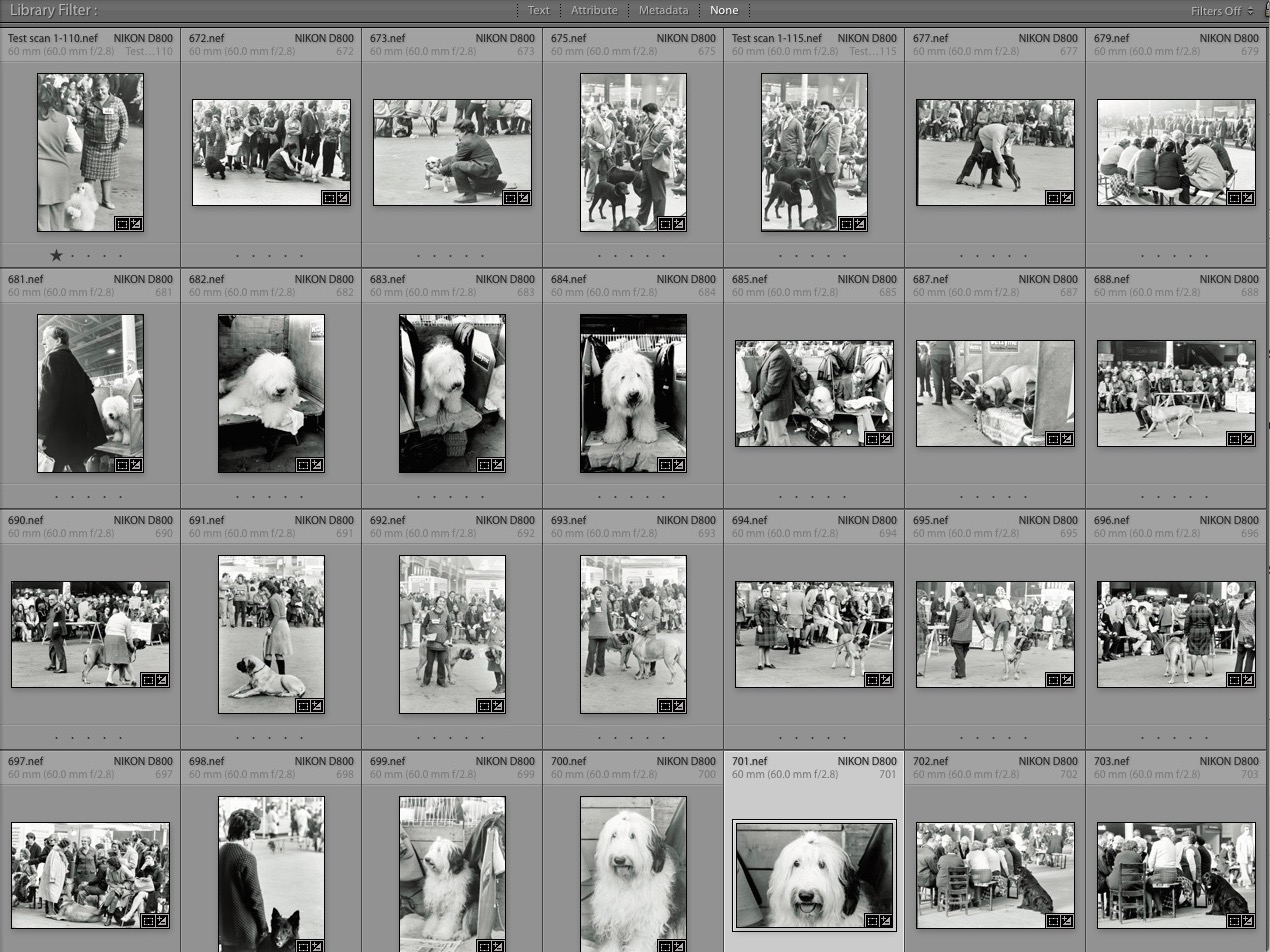
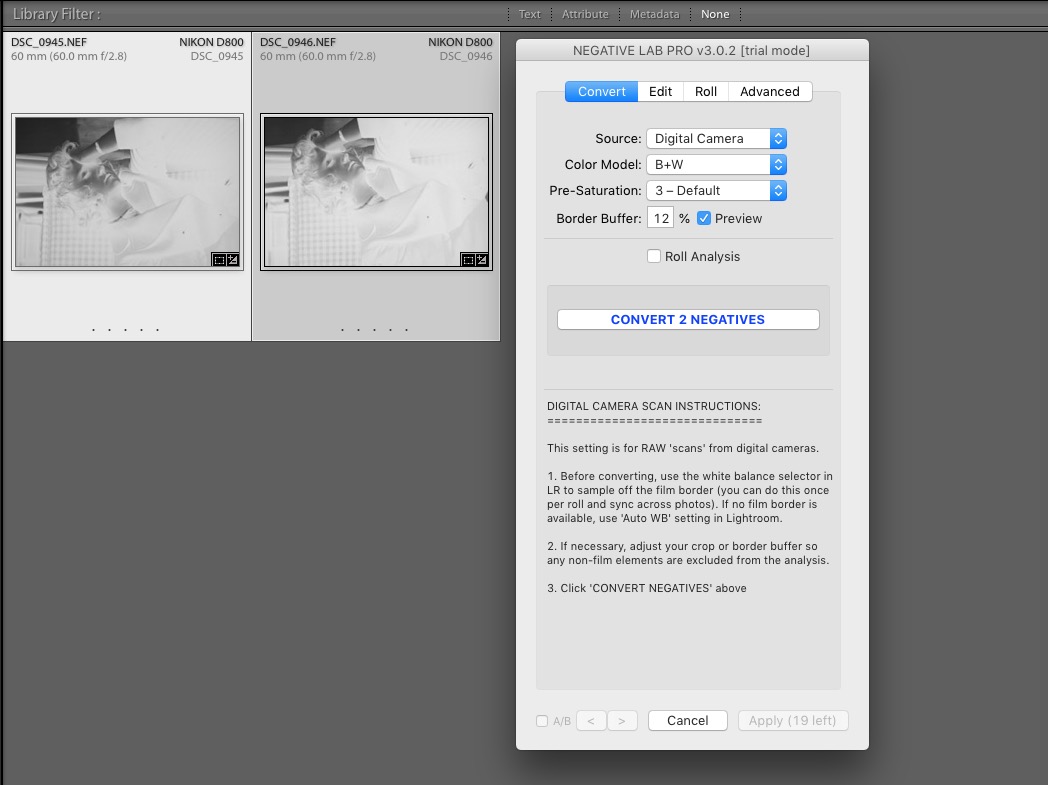
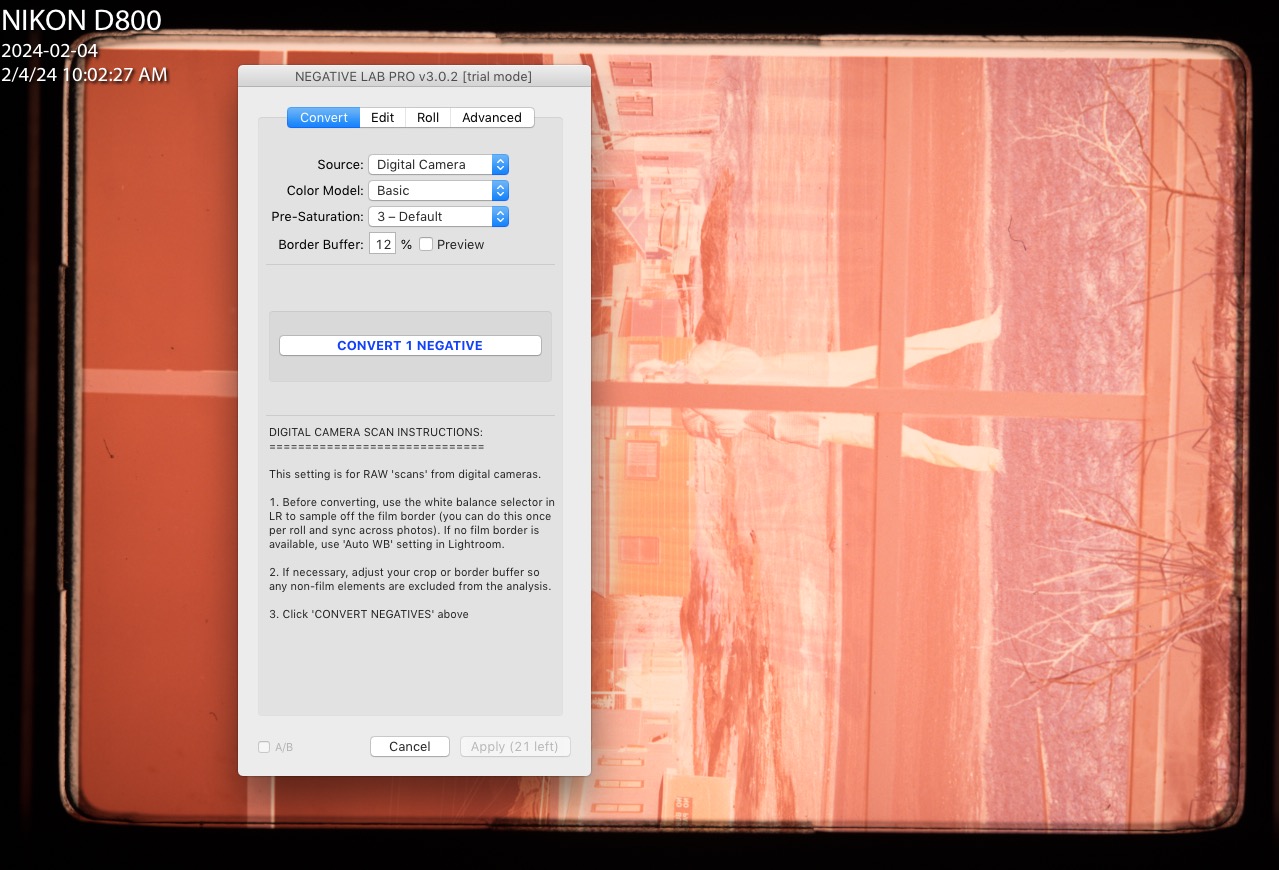
Tethered capture: Lightroom has long supported tethered capture with many Nikon and Canon cameras; the camera is connected with a cable to the computer and after tethered capture is enabled (File->Tethered Capture->Start Tethered Capture) this panel will appear on the display:


The tethered capture information panel.

Comments on user fora suggest many have issues getting LR to recognize supported cameras – indeed I had that issue – and one fix from Adobe goes as follows. Go to this directory in Finder:


This is the file to erase.

Erase the highlighted file – this is for LR6. It will be recreated when you next start LR. After doing that my tethered D800 was recognized fine.

I wrote about tethered capture here and because Nikon uses the fragile USB2/USB3 Mini USB connector I strongly recommend you concoct a strain relief at the camera end, whether a piece of wire, as I show, or the more elegant Nikon USB Cable Clip. Damaging the camera body will not make your day when that sub-optimal connector is yanked/torqued out accidentally.

Why tether? Because you see the image on a large display seconds after pressing the shutter button. Nothing is recorded on the camera’s CF or SD card. The image is sent straight into LR where sharpness and alignment are easily judged. This speeds work flow and you can bang away at those old negatives with abandon, watching the images pop up on the display. You no longer have to remove the SD/CF card from the camera and insert it in your card reader.

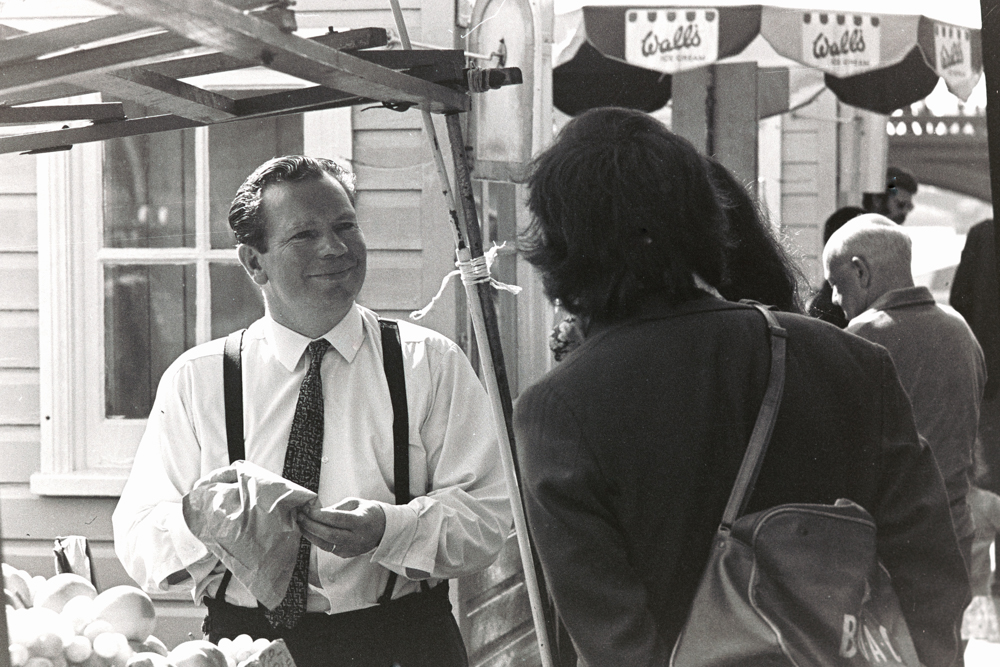
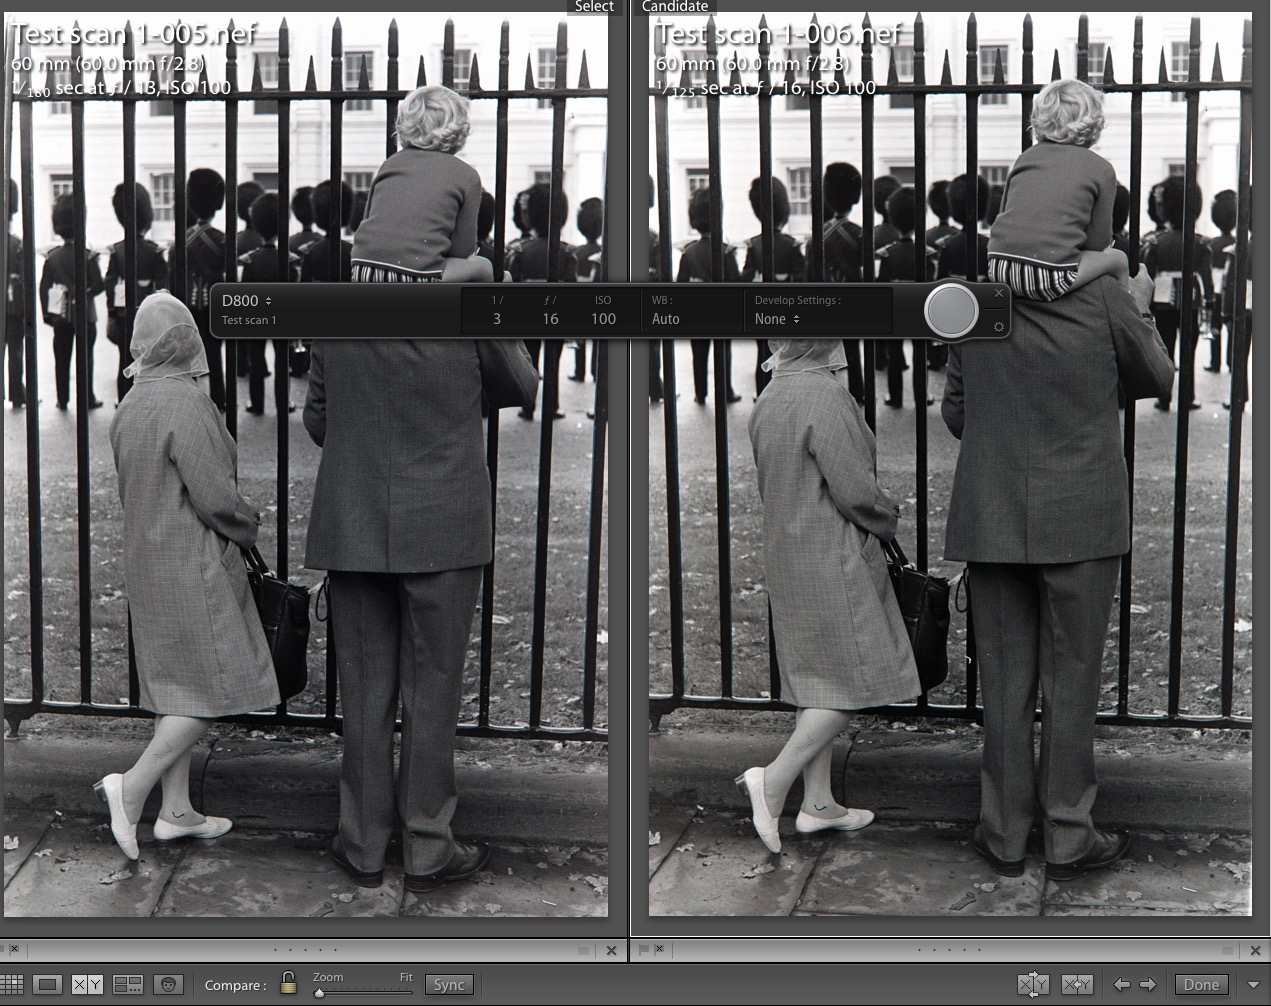
Film strip orientation. There a lot of nonsense written about making sure the matte side of the negative faces the lens. I tried both ways, flipping the image for comparison. This image has microfine detail in the child’s pullover and there is no distinguishable difference between matte side and glossy side to the lens. So I use glossy side to the lens as there’s no need to flip the image in LR. Here are enlarged comparator images:


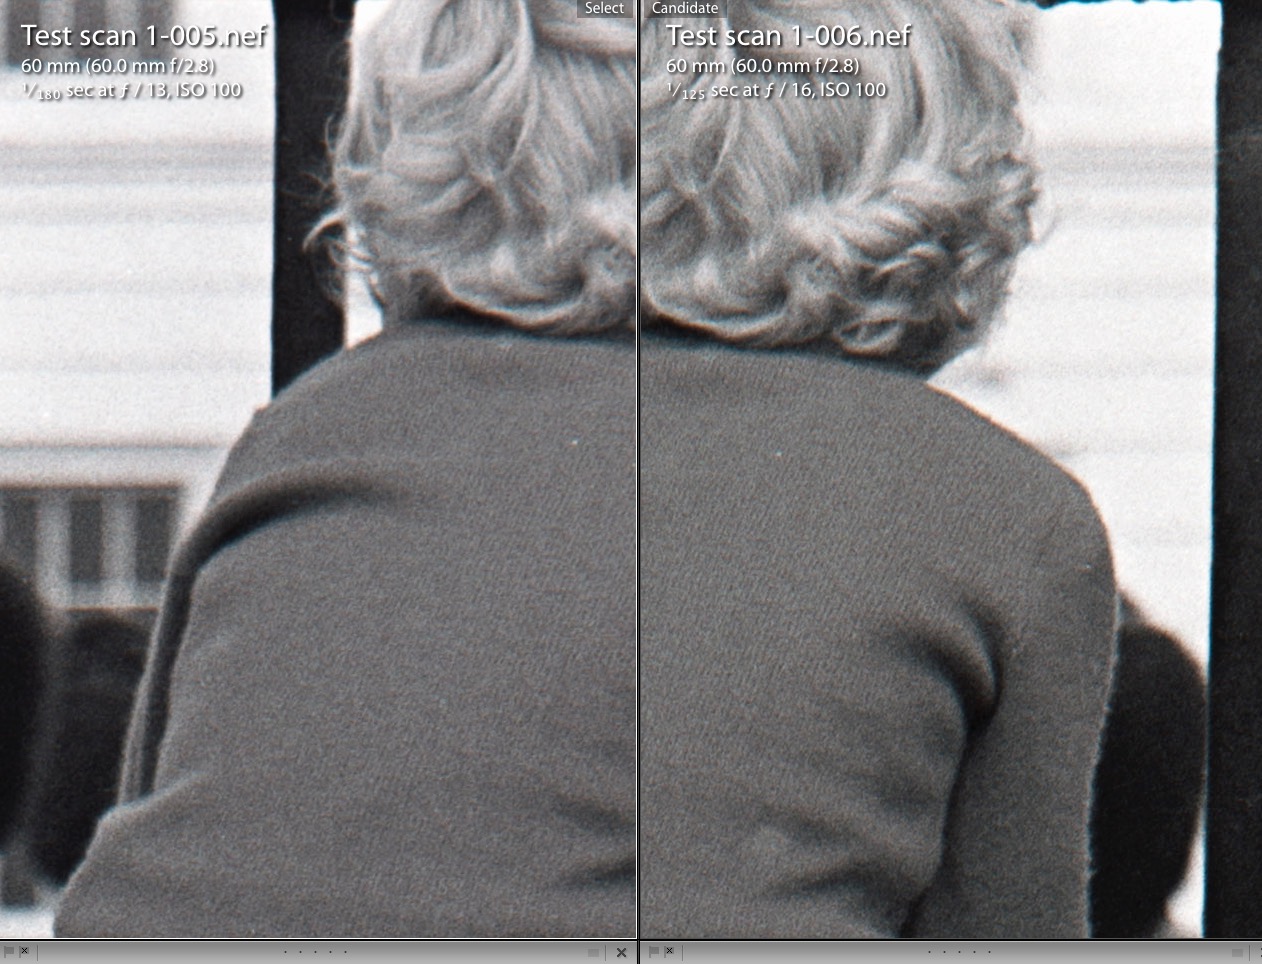
Glossy and matte sides to the camera lens, respectively.

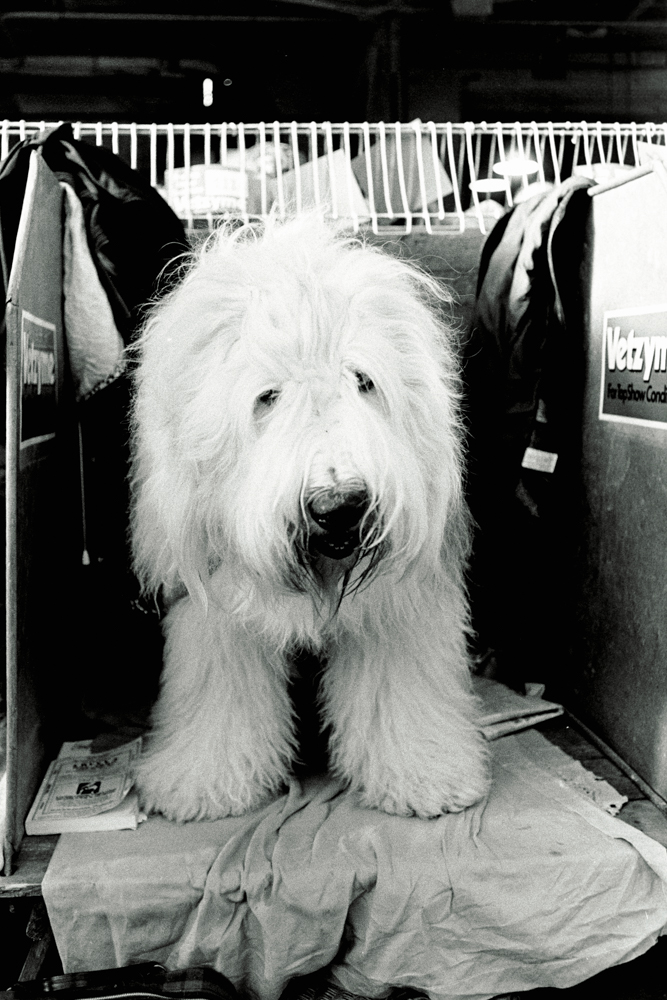
Here is the processed image:


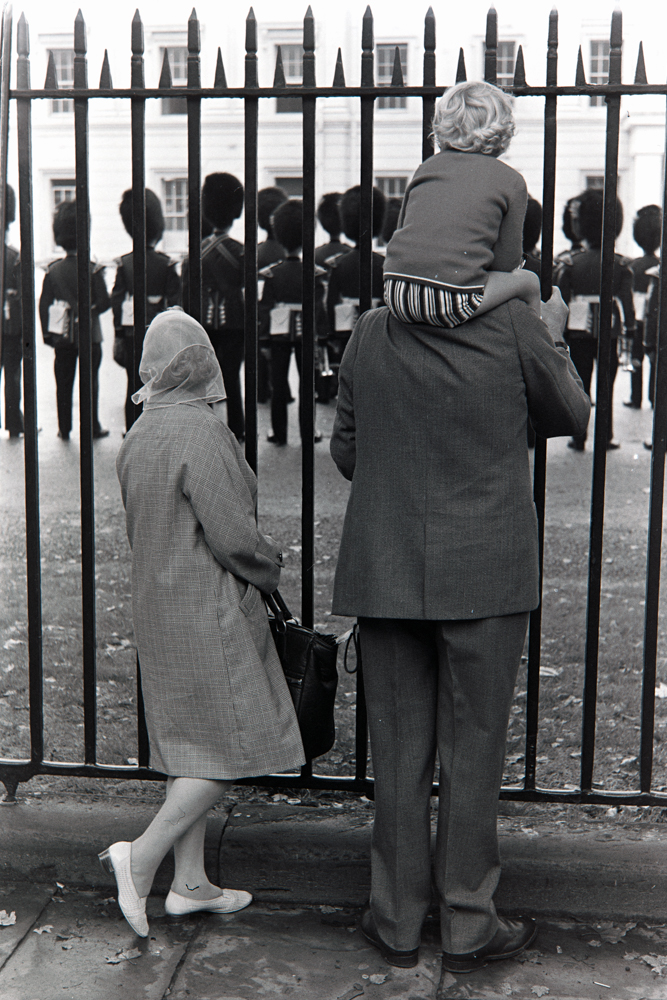
Glossy side to the camera lens works fine.

Focus point: Once inserted in the film strip holder, the film is slightly bowed in a convex shape on the glossy side, the one which faces the camera lens. I do not use a glass film strip holder to try and remove this bowing, as holders which use plain glass can cause “Newton rings” interference on the image. These manifest themselves as rainbow like patterns. There are “anti-Newton ring” glasses available but they are lightly etched to prevent this phenomenon and reduce definition in the image as a result. Further, four glass surfaces mean four more areas on which dust can accumulate.

I use an aperture of f/9.5 on the Micro Nikkor AF-S lens which is the sweet spot where depth of field and definition meet. You do not want to use the lens at full or minimum aperture where definition suffers. Further, depth of field at full aperture is very slim, making critical manual focus that much harder. Given that the film surface is not plane, does it make sense to focus on an area half way out from the center of the image to optimize depth of field and related sharpness across the frame?

In the comparator images below, the first used spot focus in the center while the second focused midway between the center and the edge of the long side of the negative. I used the directional pad on the D800 to move the autofocus point, having earlier determined that auto focus is superior to manual focus. The latter uses the viewfinder LED indicator to show best focus and I have found that nailing that is so critical that deferring to auto focus is easier and more repeatable.


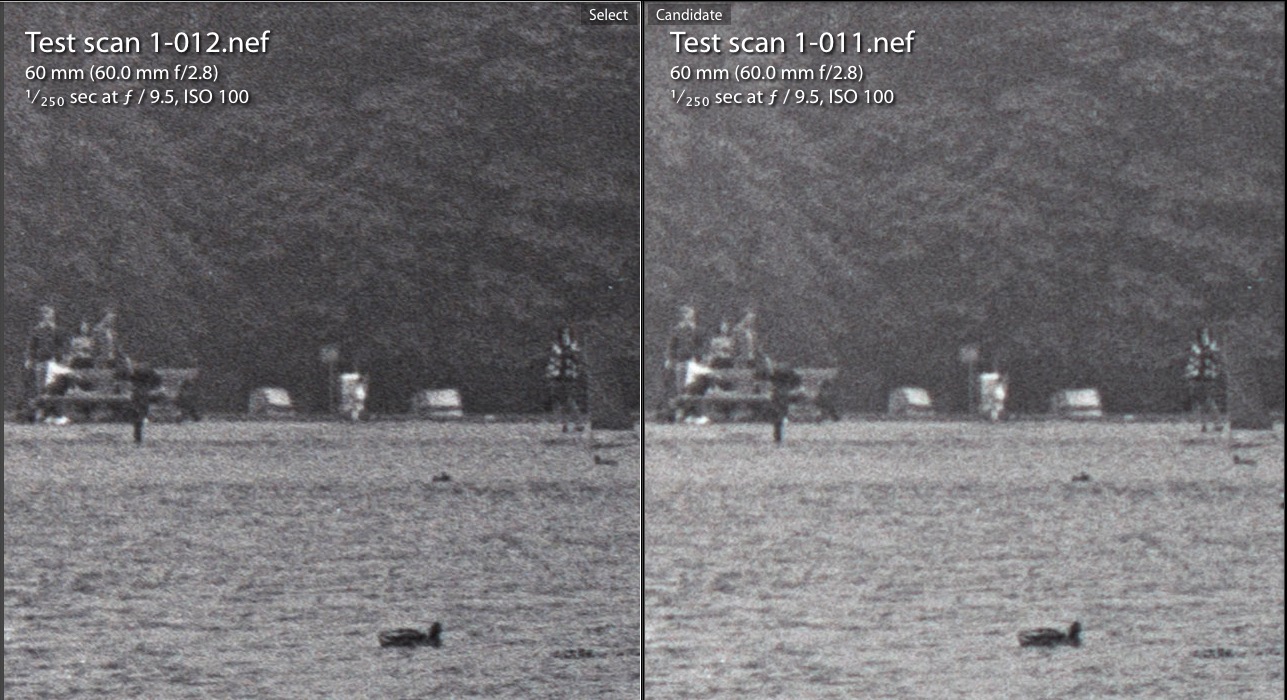
Center and half left spot focus points.

There is no discernible difference between the center and half-left spot focus point images with the grain sharp at all points. Conclusion – center spot focus is just fine at f/9.5.

How fast is the process, a key goal of this project? Read about that here.

Nikon D800 film scanning – Part II

Batch processing and color negatives.

For an index of all my Film related articles, click here.

One of the problems when round tripping digital camera film ‘scans’ to Photoshop for inversion from negative to positive is that PS does not permit batch processing. You have to select one image at a time, hit Command-I and then move on to the next. Not a big deal if you are processing just an image or two but a pain if you are inverting dozens or hundreds, which is my goal.

Some research disclosed that there’s a Lightroom plugin which does the inversion within LR, no round trip necessary and preserves the original RAW file in which the image was rendered. There’s none of the file size bloat you get when PS converts the round-tripped image to TIFF format and LR is the only software required, in addition to the plugin. That plugin is named Negative Film Lab. My download yielded a Mac Pro lock up in LR (a quick reboot fixed that – not something I have to do too often with that machine) whereafter I set to converting a handful of images in batch mode. Highlight the ones for inversion, hit Ctrl-N and each image takes some three seconds to invert on my speedy machine.

The original negative scan is preserved in the LR History of the file (no need to erase or stack your original negative scans) and the inverted RAW image shows no size bloat. Plus, if anything, the rendering of tones and sharpness is even better than that I obtained in my original test. The download comes with 24 free tries so you can decide if the $99 license (good for two computers) is worth it. Not cheap, but the gains in efficiency for my project make the investment worthwhile. The plugin appears to be actively supported, with a forum showing many expert users where much can be learned. I have found that no special camera settings are needed, meaning one thing less to remember.


A small batch of 2 files ready for inversion in Lightroom.

The result, the very first image I made on my Leica M3 in August, 1971. A significant improvement on the decades old original scan:


Girl on Train. Leica M3, 50mm Elmar, TriX, D76 developer.

How about color negative inversions? The added snag here is that most color film includes an orange mask which has to be removed and Negative Film Lab does that well. In LR’s Develop module you use the eyedropper on a portion of blank film on the edge of your scan to set the reference color mask reading for the film batch (they vary in color so resample with every new film roll) then perform the inversion with one click.


Color negative image awaiting inversion in Lightroom.

As my ‘scans’ are slightly larger than the film area I set the ‘Border Buffer’ to 12% which automatically crops the image – one step less in post processing work. Mask removal is excellent and some fine tuning of color is all that remains to be done, either in the plugin or using the Develop module controls in LR. Batch inversions for color work the same was as for monochrome.

LR compatibility? I use ‘historic’ LR 6.4, the stand alone, non-subscription version, and Negative Film Lab works perfectly. Apparently it also works in the current subscription version but there’s no way I will ever be checking that. The plugin is recommended for anyone with lots of inversions to perform, especially if they require color negative mask removal.

In Part III I will look at tethering of the camera to Lightroom and focusing considerations.