Things I don’t need.
This column is total fluff. Light, airy, inconsequential. I just finished my tax return so I’m entitled to some fun.
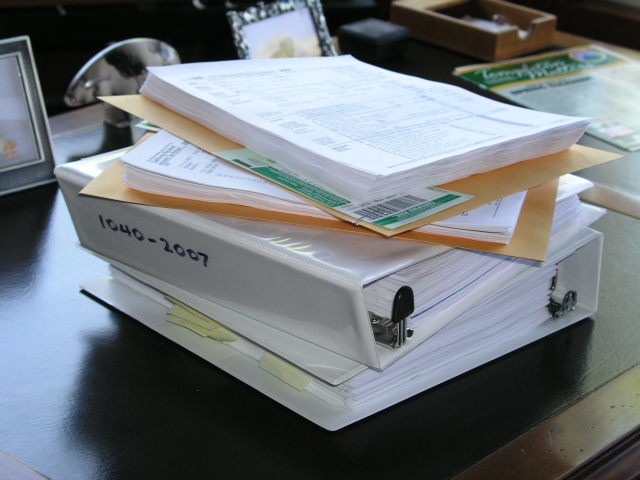
Our 2007 income tax returns. Time for another bloody revolution, methinks.
A Toy is, by definition, something you don’t need. For some that means a fancy car, for others a fancy woman (or man). For many it’s electronics gear which, I suppose, largely covers modern photographic equipment. High cost is not the sole qualifying attribute for a Toy, either. To be a serious Toy the object of desire has to be used rarely, if at all. And it helps if it looks great. Whether Ferrari or Swiss Army Knife, utility value (both, let’s face it, are quite useless) is not a qualifying attribute for the Toy list.
Now I try to look at the toys in my life objectively from time to time to decide whether I really can live with having capital locked up in them. Toys, for the most part, are not things you buy for capital appreciation, which makes them a depreciating asset. I don’t like that aspect.
Indeed, After the Purge, I have few photography Toys left. I have told myself that when it comes to the photography world, most of the objects of my fantasies will remain just that. Life is too short for all that clutter.
Cameras? Call me a happy camper here. The Canon 5D is 90% of anything anyone could every wish for in a camera and mine continues to delight. The Panasonic Lumix LX-1 fills the other 10%. Would I like a Hasselblad H3D-39? Is the Pope a Catholic?
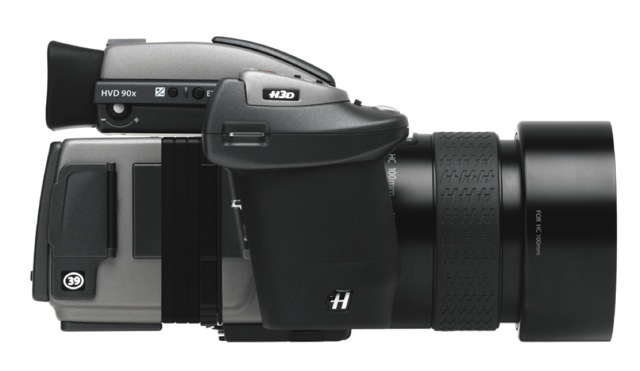
The Hasselblad H3D-39. No change from $34,000. And it’s made by Fuji, lenses and all.
Of course, I would have to throw in a few lenses to really make this fantasy gel.
And speaking of lenses, while I have just about every Canon lens I could ever want, none of these is exotic, so if you forced a 600mm f/4L IS USM on me, don’t ask whether I would return it. I would simply place it on the mantlepiece, never to be used. Instant Toy status.
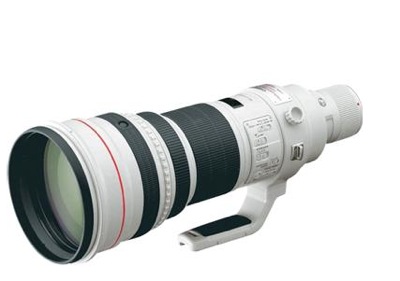
The awesome Canon 600mm lens. Chump change at $7,000
I have always loved anything that said ‘Pentax’ on it and their range of fixed focal length lenses for their DSLRs is very tempting.
There’s a 21mm f/3.2, a 70mm f/2.4 and, my favorite, the 40mm f/2.8. All Limited, you understand. All total Toys.
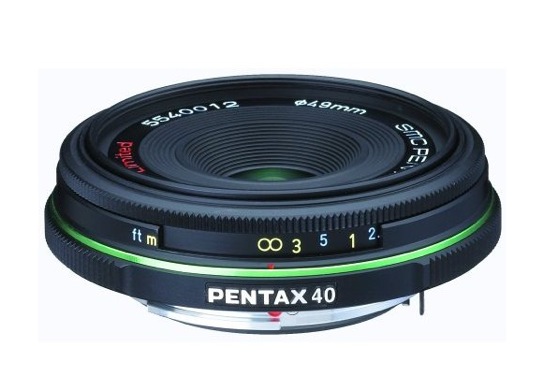
The charming Pentax 40mm f/2.8 and its two siblings can be had for $1,200. Add another $1,000 for a decent body
The next choice is a bit odd, because I cannot even think of a use for it, but it’s…. a battery. There is no such thing as a useless Toy, right? When I got married a few years back that day took place at the 18th hole at Pebble Beach. A magical place, and I don’t even play golf! The photographer accompanied us and I couldn’t help noticing this totally macho thing dangling from his shoulder, like some kind of secret weapon. A moment’s discussion disclosed it to be a high capacity Quantum Turbo battery with some real oomph to keep the flash charged. Probably enough power to start a dead car, for that matter. I suppose I could always use it with my Vivitar 283 flash gun. Neat Toy, that.
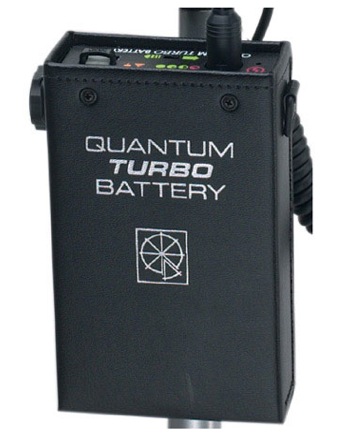
The Quantum Turbo. $400 for a battery?funky variant myself) and, best of all, it comes with a QR plate built in. All you need add is a
plate for the camera and that tripod will come out of the cupboard and upgrade all your lenses into the bargain. A useful Toy, that one.
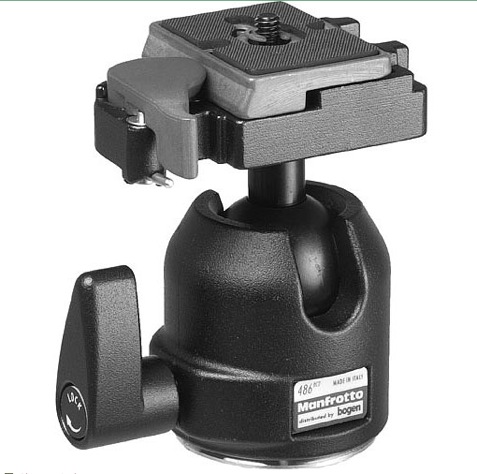
The Manfrotto 486RC2 ball head. A gift at $70.
Why no $1,000 carbon fiber tripod, you ask? Because it’s a hair shirt thing with me. If you are using a tripod you need to suffer. That’s the way I was brought up. Let me live with it, OK? I am sticking with my ancient, all metal, Linhof. The one with the cantilevered leg supports pinched from the Brooklyn Bridge. No, when it comes to tripods aspiring to Toy status, there is only one:
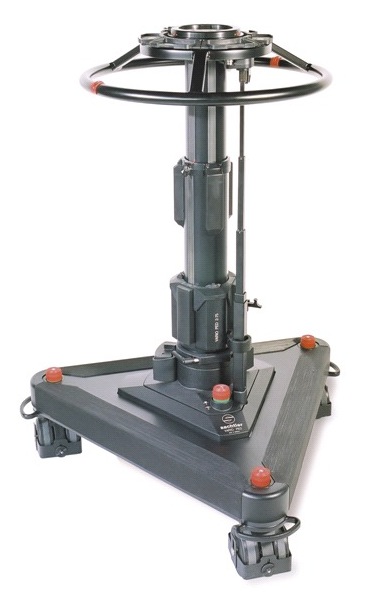
The ideal support for that Hasselblad, the $29,000 Sachtler System 75 Plus Pedestal
Yes, you read that right. $29,000. Probably made by hand by the last three German artisans on earth, in the Black Forest. Or maybe they are just the guys who apply the ‘Made in Germany’ label as the products makes its way to the western world from China’s factories?
I have used a Rotatrim paper trimmer for ever. The additional cost has paid for itself. The only problem is that mine is too small. Bought back in the days when I though 12″ x 15″ was large, now I increasingly find I default to 18″ x 24″. So a 24″ trimmer would be nice for the few times a year I curse getting out the straight edge and fighting with the blunt knife.
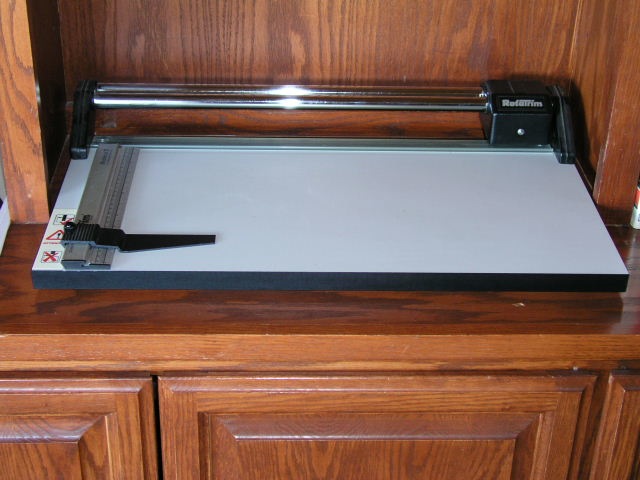
My ancient Rotatrim Mastercut II – made to this day. Wish I had the Big One!
The Rotatrim, as my mum used to say of Sheffield Steel cutlery, is British and Best. A product where form and function are one. I should know. I grew up with one of those deadly guillotine trimmers and thank my lucky stars that I can still count ten digits on my hands. But the Big One, which would hardly be used, is a total Toy.
Studio lighting? Well, sure it would be great if mine said Norman and allowed five snaps a second, but I’m more than happy with my small, portable Novoflex outfit and simply too fond of it, now that I know its quirks and preferences, to allow an impostor in the home. So you will not find studio lighting on my Toys list. Though I wouldn’t kick this studio gear out, if I had somewhere to place it:
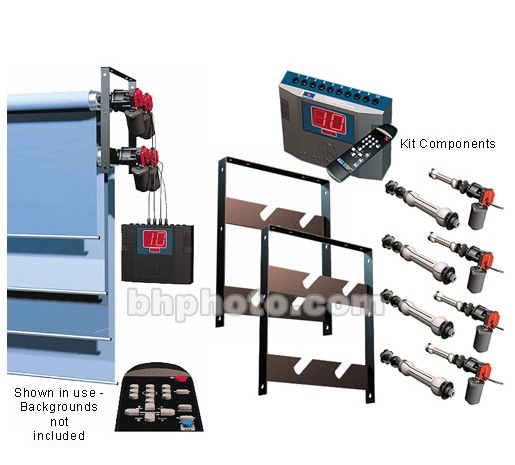
The Manfrotto powered backdrop system. A total Toy at $1,900. Backgrounds extra.
What, you ask. No exotic Leicas on the list? Oh! please. Leica is so yesterday.
Now do excuse me. I have to check this weekend’s Ferrari listings.