Some outdoor HDR experiments

It looks like a steady tripod is essential to do things right.

As regards image quality my invariable goal is to secure a level that permits the making of Really Large Prints so with this goal in mind I took the Canon 5D to the local Main Street yesterday, seeing as it was Independence Day, to experiment with High Dynamic Range photography with a view to learning what it takes to preserve image quality.

It bears adding that my goal with HDR has nothing to do with some sort of distorted presentation of reality, with exaggerated colors and tonal ranges. Far from it. Simply stated, all I wish to accomplish is good scene details, from shadow to highlight, where ordinary one shot photography will not do. Typically, this means the use of HDR is germane to high contrast scenes. If you want truly garish HDR results you need go no further than Google. Some of these efforts make Thomas Kincade’s genuinely foul painting look tasteful by comparison.

To try to see if this sort of thing could be done with a hand-held camera I set the 5D to take three exposures, each 2 stops apart, with the camera set on multiple exposure motor drive. Then all it takes is to take a manual reading of a mid-tone area, focus and keep the shutter button depressed. The 5D bangs off three exposures in one second, one correctly exposed, and one each 2 stops over and under. You can do less than 2 stop steps, but 2 seems to be the done thing in the HDR world.

When I got home I had 36 pictures on the CF card, meaning 12 sets of three each. Because of Aperture’s superb engineering, I dropped these RAW files into Apple’s application and seconds later all 36 snaps were on the screen. Then, dialing in Stack->Auto stack, I told the program to stack all images three or fewer seconds apart and, hey presto!, I had 12 stacks with three images each. Seconds later I had exported one of the stacks as high quality JPGs (12 mB each) to a new folder on the hard disk. Opening up Photomatix’s stand alone progam I executed Automate->Batch Process and told the application to ‘Align Images’ before processing, which took some 2 minutes. Photomatix exports the HDR JPG in a new sub-folder where the images reside, and the JPG can then be dropped on Photoshop for final adjustments – meaning the highlight slider in Levels is moved to the left, Smart Sharpen is applied (300/1/0 for the 5D is what Canon redommends) and the file is saved.

Back into Aperture, import the result and add it to your stack as the first image and you are done. It’s nice to keep the original RAW files as doubtless some day a better HDR application will become available, thoguh I find it hard to criticize Photomatix.

Here’s how it looks:

The Aperture screen with the HDR image on left with source images.

And here is a larger view of the result:
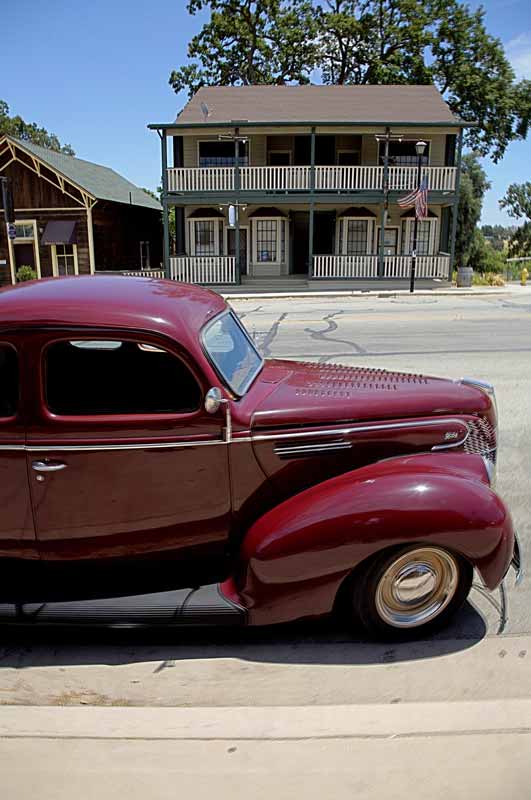
The HDR processed result.

As you can see, the very natural looking result preserves a full tonal range despite the extremely harsh midday sunlight. But there is a snag. Look at the car’s wheel rim and you will see that the images are misaligned. I didn’t get this problem when doing indoor tests on a tripod (see the previous columns) and examination of the other HDRs from this outing disclosed the problem in varying degrees in each picture. What appears to be happenning is that I am slightly twisting the camera between pictures, probably reacting to the noise of the motor drive. As a result, whereas the centers of all images are sharp, the peripheries show clearly overlapping images. So for this photographer, at least, it seems a tripod is de rigeur for mulit-image HDR pictures. The indoor shots taken with a tripod disclose no image degredation when compared with the originals.

Here’s one more example of what HDR can do for tonal range:
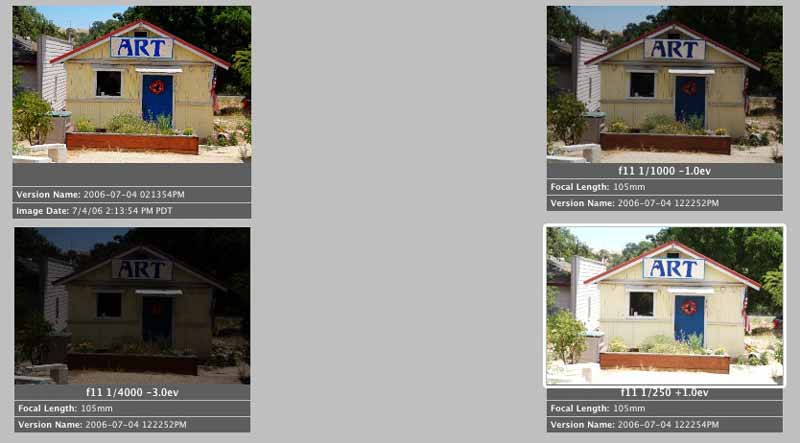
The Aperture screen with the HDR image top left, with source images.

And here is a larger view of the result:

The HDR processed result.

There’s less edge blurring in this one – I must have been steadier – but when you enlarge the result it’s still there.

It’s no great secret that I think Ansel Adams was a mediocre photographer, at best. What made his pictures jump out at you is his superb darkroom technique. He would think nothing of spending days over a print, messing with chemicals, paper grades and manual dodging and burning. If the poor sap had only waited, he could have snapped up a copy of Photomatix and saved himself a lot of trouble. His example is instructive, though. Good technique cannot make a great print from a poor original.

After these few experiments with HDR I think I understand what good technique means. Now I have to take some good originals!
Photomatix HDR

A great HDR application.

I took the plunge and bought the whole megilla, meaning the OS X Photomatix bundle, which removed the watermarking from the stand alone application and also provided a Photoshop CS2 tone mapping plug-in. Not cheap at $95.65, but a bargain for a new way of seeing. The only snag is that you must use CS2. Earlier versions will not work.

The beauty of this plug-in is that it provides a one step HDR experience. No multiple pictures. No tripod. Just take a RAW file converted in ACR, run the plug-in from the filter menu, and you are done.

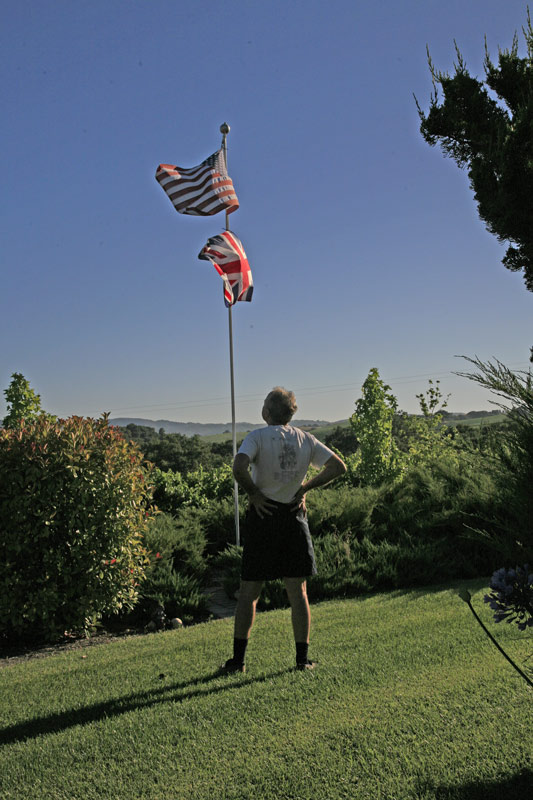
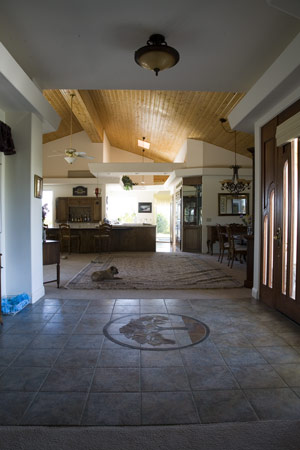
Here are ‘before and after’ pictures of much the same scene shown in yesterday’s journal entry:


As you can see, the extreme dynamic range in this test snap is not converted as well with this one shot approach – take a look at the five shot version yesterday – but it’s not half bad and a lot less work. A nice tool to have.

A first HDR experiment

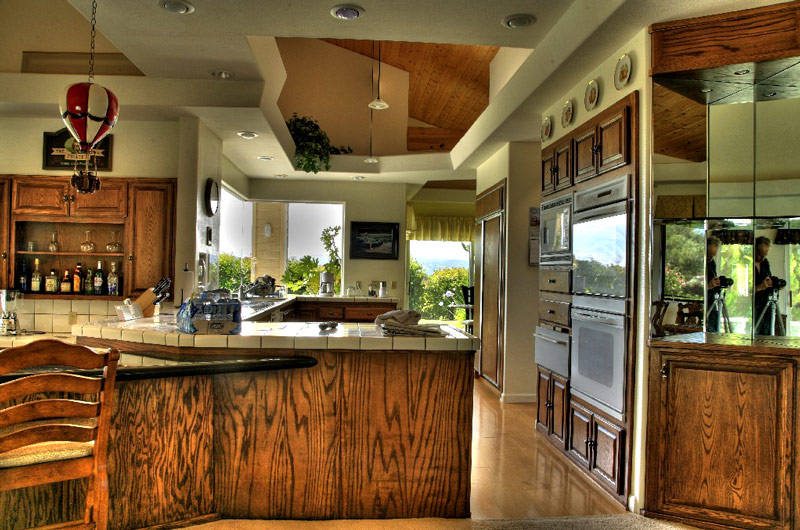
A ten stop light range is tamed.

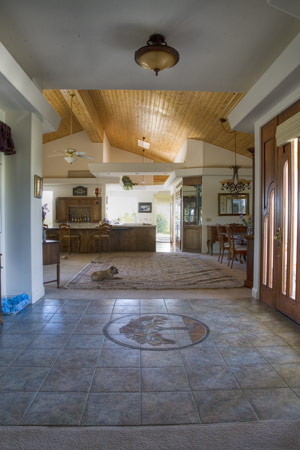
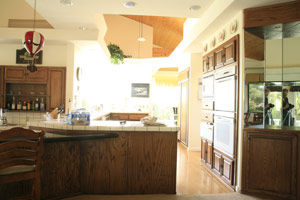
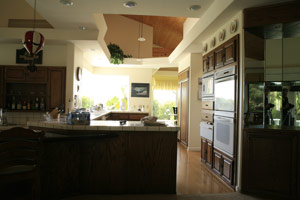
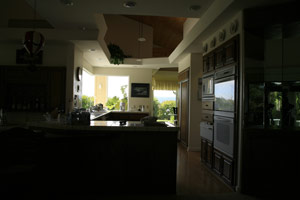
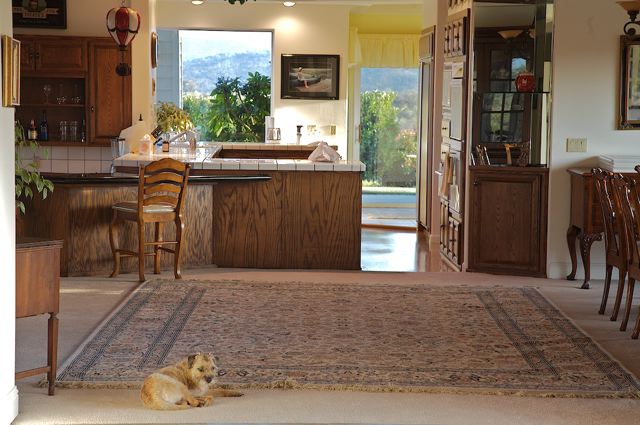
Following on from yesterday’s column, here are the first results of trying the Photomatix HDR + Tone Mapping sofware, using five pictures taken with the 5D on a tripod, set at highest quality JPG and at ISO 200. I took the precaution of saving the camera variables (ISO, metering pattern, non-auto white balance, JPG fine) under the Custom dial setting, so I now only have to set the dial to ‘C’ with no risk of forgetting anything. The scene is of our kitchen with very bright sunlight outside. I measured a 10 stop range from the dark oak on the bar to the sky outside.

Here are the five source images, all one stop apart:


Here is the result after processing the images with Photomatix – it took the application 90 seconds to combine the files on my iMac G5, 2 gHz, 2 gB:

Canon EOS 5D, ISO 200, JPG Fine, tripod. Photomatix software.

Now I have to try this in the real world. Seems like one of the local church interiors would be a good place to start.

High Dynamic Range photography

Not quite as new as it sounds, but much easier today.

Stumbling the ten yards down the main drag from bedroom to office this morning, I tripped on not one but two border terriers. Which is strange as, last I checked, the Pindelski estate was the proud owner of just one of these fine beasts. So either there was some serious hanky panky in the night or something else was afoot.

Now, come to think of it, yesterday was Friday night and it happened to coincide with a presentation of Steve McQueen’s superb film, Le Mans, on the big screen. Anytime one sees a brute Porsche 917 race the gorgeous Ferrari 512 is an occasion for some serious medication to calm the nerves and suffice it to say that the gin martinis were flowing freely.

Which probably accounts for the presence of that second border terrier this morning.

Sitting down at the computer and erasing all those email suggestions that I could not possibly satisfy my woman without a horse’s dose of Viagra, my first reaction was to do something more exciting like paying the bills, but I gave one of the HDR links in a clean email a passing click only to come across this page from Photomatix. When the first thing I saw was their exhortation ‘Increase the Dynamic Range of your Photographs’ I wondered whether this was some sort of spam, and that in fact this was yet another attempt to sell me performance enhancing chemicals. Look, I know I grew up in England where the average male prefers a hot water bottle to a cuddle with his girlfriend, but this was going a bit too far.

Anyway, I scrolled the little wheel on my Genuine Apple Mighty Mouse down the Photomatix page and, well, saw a revelation. What their application does far better than Photoshop can (no surprise there) is to combine three photographs, identical except as to exposure, to create a result with huge dynamic range. You now see the highlight and shadow details that were missing before. The revelatory aspect of this is that the Photomatix software does this with one click, even working on RAW files. All the photographer has to do is take three exposures, 2 stops under, correct and 2 stops over, then let the software work its magic.

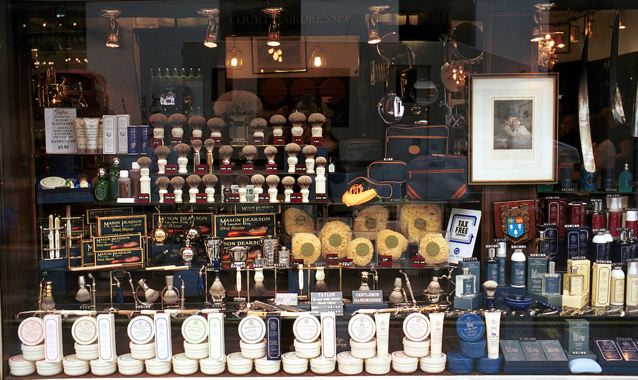
Not that this is all that new. Unknown to me I have been an HDR devotee for most of my photographic life. With black and white prints it meant overerexposing, underdeveloping, then printing on a contrasty grade of paper with lots of burning in using the hands over the easel. Then for a long time, having migrated to color film, it was either displaying the slide on a screen using a projector, which confers tremendous dynamic range, or living with prints which either opted for burned out highlights or dungeon dark shadows. Once those slides could be affordably scanned in the 1990s they took on a new lease of life as dynamic range could be restored to some extent with software. Plus, while a computer screen cannot compare to a projected image for dynamic range, it’s a lot better than a print in this regard. The way I would do it is to simply use the Highlight-Shadow slider in PS, later the far better one in Aperture, and bring back the details. For example, take these two snaps of a shaving shop on St. James’s Street in London, taken in 2000 on Kodak Gold 100 negative film:

The original, scanned using a Nikon Coolscan scanner.

With Highlight-Shadow correction applied using Aperture.

There’s life in those old pictures yet!

With more recent pictures, taken using RAW in the 5D, the manipulation range is far greater. In this example, I underexposed by a couple of stops to preserve details in the exterior, then corrected exposure and used the Highlight-Shadow slider in Aperture to balance interior and exterior lighting. The Aperture RAW converter was used.

This suggests that, if I do indeed have two border terriers, one was away at the time this was snapped.

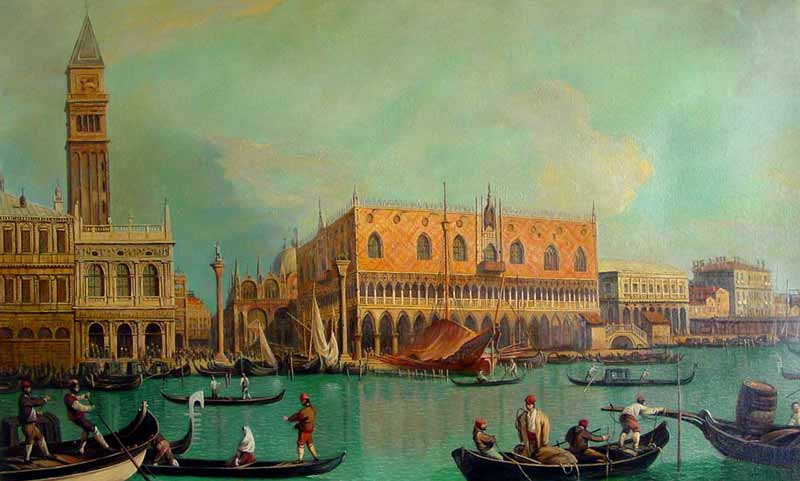
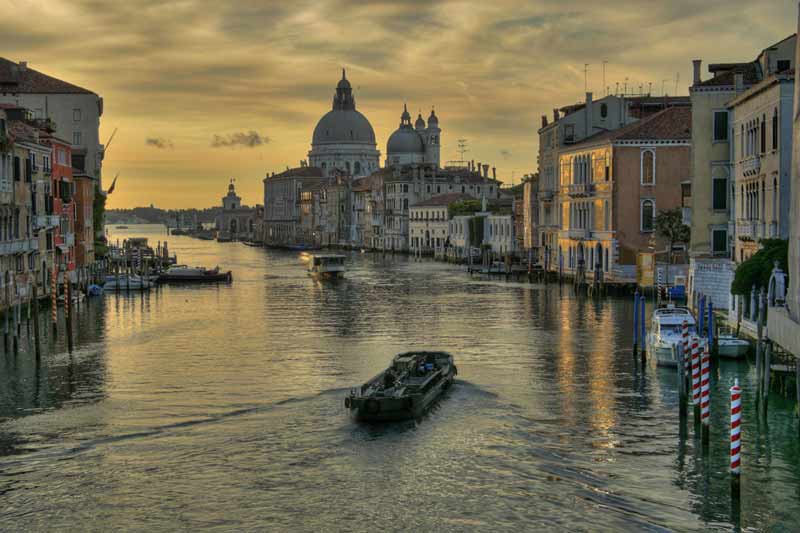
So maybe HDR isn’t so new after all. Indeed, look at what chaps like Canaletto did when lazing around Venice trying to make some coin from his oils:

Canaletto has a go at the Grand Canal

A latter day Canaletto from the Photomatix web site.

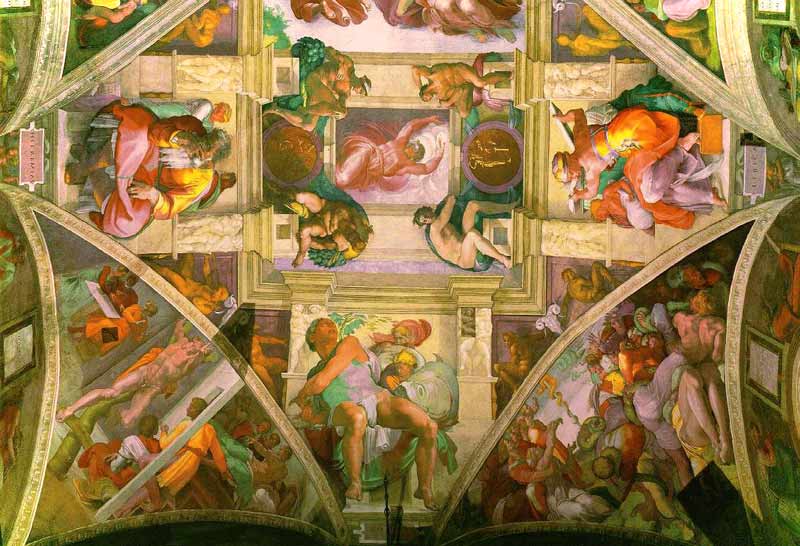
It’s little wonder that modern HDR photographs tend to look like oil pantings, as they recreate the great dynamic range that the old masters were creating intuitively. I sort of doubt that Pope Julius II would have ponied up the lira had the ceiling of the Sisitne Chapel been delivered with blown out highlights.

Michelangelo. The Sistine Chapel, 1512.

So Michelangelo was into HDR some 500 years ago. Clearly, he did not use Windows or he would never have finished the job.

In my early experiments with Virtual Reality photography, I mentioned the challenge posed when it came to correct exposure. To permit seamless stitching of the panorama, the camera has to be set on one fixed, manual exposure while all the pictures are taken. To do otherwise is to ask for trouble. The issue, of course, is that means the likely huge dynamic range of a panorama will results in exposure problems in some of the frames. Now it seems that the automated approach offered by products like Photomatix would cure that. True, you have to take at least three pictures for each frame and there’s a little more work to do in assembling the panorama, but cameras like the 5D allow automatic bracketing at two stop intervals – press the button in burst mode and the camera takes three pictures in one second.

So now it looks like my return trip to the redwoods will call for some burst mode under and over photography. More when I have the pano head in my hands. Which probably means my own head will be in my hands shortly thereafter.

By the way, here’s another picture where I used HDR. I wanted a picture of our home theater in daylight, to show the environment and photographs on the walls, but I also wanted the screen filled with a movie picture.

The Home Theater. Canon EOS 5D, 24-105 at 24mm, PS CS2, RAW

I simply exposed for the room, reckoning the fabulous sensor in the 5D would preserve data for the screen image, even if it would be washed out. After converting the RAW file to PSD in ACR, I used the Lasso tool freehand to highlight the screen area then used Levels to bring back the detail. Hey presto!