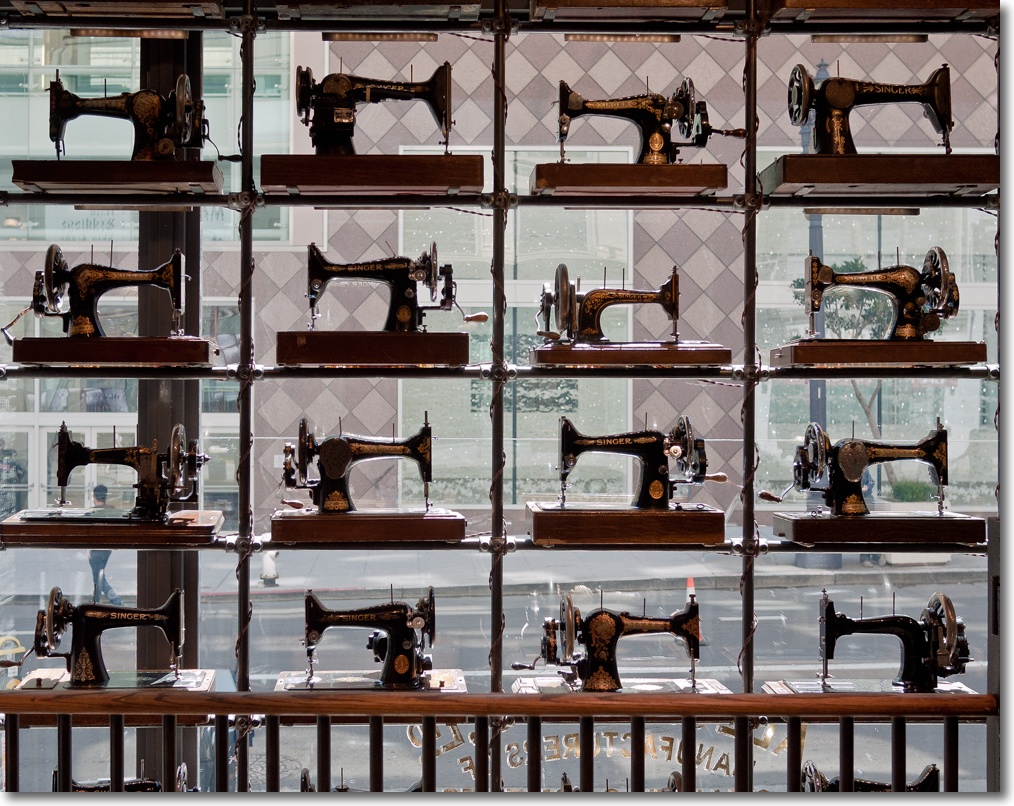
What a show!
One hundred and twenty examples of anything in a show tend to cause overload in the viewer. How many Chinese urns, Renaissance oils or vintage cars can anyone take, after all?
So if I tell you that the Balenciaga show at the de Young museum in San Francisco was too small, that will give you some sense of just how riveting the output of the Basque haute couture master really is. The appeal of the oeuvre of this master designer to any photographer is clear. There is a special combination of art and craft, as seen in the best photographs. It’s not enough to make it. You have to make it fresh and new and original and breathtaking. You have to know how to use color and line and cut. And you have to make it well. It’s a skill which tests many disciplines. And the best of the best attracts the best photographers to record his work for posterity. Irving Penn, John Rawlings, Richard Avedon – a who’s who of fashion photographers did Balenciaga’s miraculous creations justice.
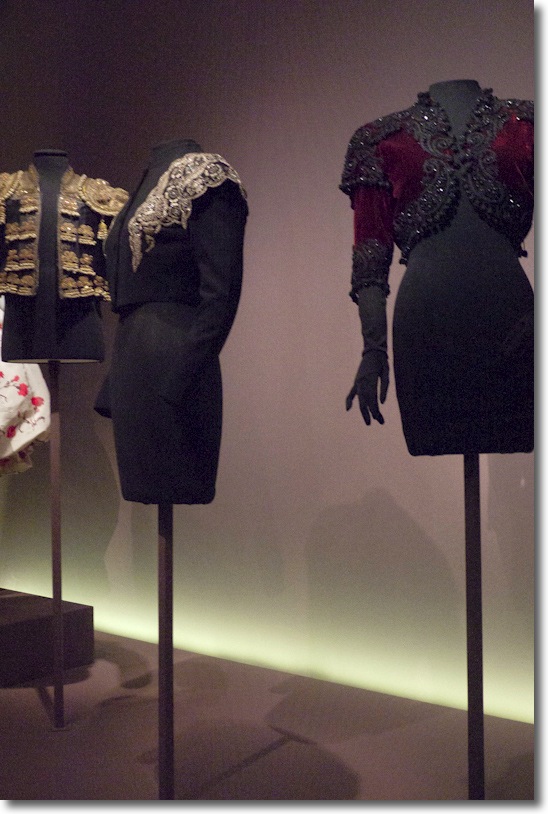
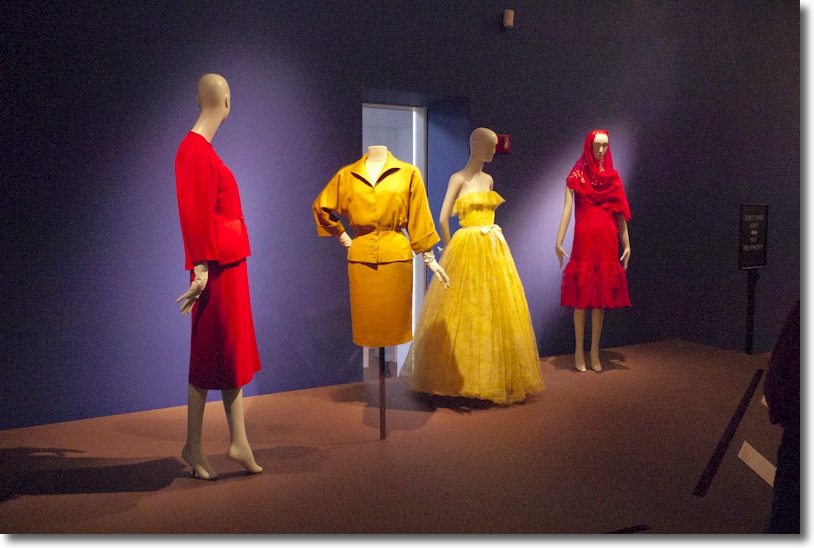
The show was simply thrilling. What was really so extraordinary was to realize just how quintessentially Spanish his designs are. If you know your Goya, El Greco and Zurbarà n, you will see them in the gowns time and again. The absolute show stoppers are the two bolero sequined jackets which are masterpieces of form and design. One is on the right in the first snap, below. And anyone who tells you there is nothing new to be had in the black cocktail dress has not seen the Basque master’s myriad renditions. Just beyond perfection, and made with an unsurpassable commitment to quality. The snaps are not great as the lighting was low and even at ISO 1600 I was struggling to keep the camera steady, plus they had a million guards waiting with arrest warrants if you were caught. What kind of BS is this “no photography” rubbish? Well, in true Spanish tradition, that was simply a red rag to this bull.
Look at the raincoat far right in the second picture – worn by Mona Guinness. Take something old and make it completely new. Stunning. Or the red shawl number in the last picture. (There was a black shrouded version but I couldn’t get a picture – it was like nothing I have ever seen). Can you wonder he kept his designs secret until the last moment to stop the Diors of the world ripping him off?
Severity of line and architectural construction and attention to detail were everywhere. One of the guards, catching me shaking my head in sheer disbelief, even engaged me in conversation and allowed as how he too thought the bolero jackets were the best thing there. The appeal of Balenciaga is universal.
The show was also a reminder of what it took to be a Balenciaga woman:
- 5′ 6″ minimum
- Size 6 maximum
- 110 lbs or less
- Wasp waisted
- …. and married to great wealth
It runs through July 4. See it if you can.
1/6th, f/4.4

1/8th, f/4
1/10th, f/3.5
All snapped on the Panny G1, ISO 1600 at 14mm on the kit lens. This is the first time I have rued not having an M9 with a Summilux …. after all, it’s a mere fraction of a Balenciaga original.
If you want a fine book with many pictures taken by Penn, Avedon, Horst, Beaton, Hoyningen-Heune, Rawlings and Cartier-Bresson (!), check here. Or just get the show catalog which is a bargain at some $45.