A reunion.
For an index of all Leica-related articles click here.
I have been patiently building a small collection of classic photography hardware in my home theater, the emphasis being on cameras which were revolutionary in the way they changed the medium. Further, electronics are anathema to this collection which focuses on the great machines of the mechanical age.
If there is one 20th century camera which rules it has to be the Nikon F, the first bullet proof single lens reflex camera which, incidentally, can claim to have ended the Viet Nam war. Most of the searing images from the front lines of that conflict were made on the Nikon F which became de rigeur hardware for any aspiring photojournalist. The Nikon came along in 1959 along with a large range of fine lenses, but 5 years earlier 1954 saw an introduction almost as significant, in the guise of the Leica M3.
The screw mount Leicas with their poor ergonomics, unchanged since the 1930s, were suddenly a thing of the past.
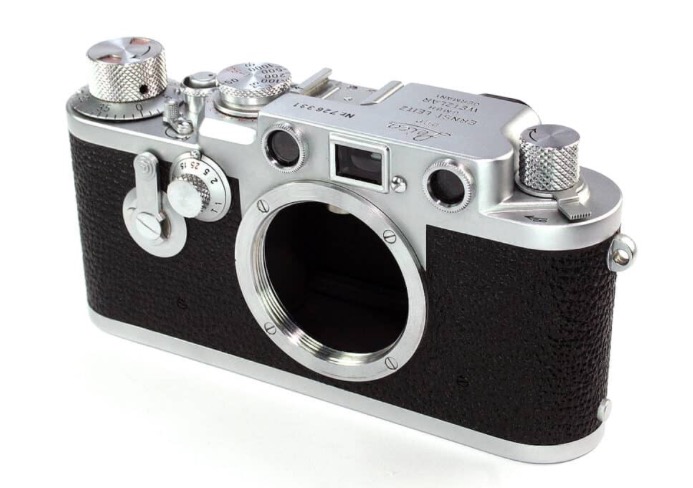
Clunky with poor ergonomics –
the Leica IIIF predecessor to the M3.
Gone were the dual shutter speed dials, replaced with a single dial with equally spaced click stops. Gone was the slow and fussy screw mount for lenses, replaced with a robust and long wearing bayonet mount. Gone was the slow and clumsy knob used to advance the film, replaced with a beautifully ergonomically engineered advance lever. Gone was the antediluvian film loading system which dictated a long leader on your emulsion of choice to allow insertion from the baseplate past the twin sprockets. An opening film back made things far easier. Gone was the need to manually reset the film counter for every new roll, for the M3’s counter reset automatically to minus 2 when the take-up spool was removed.
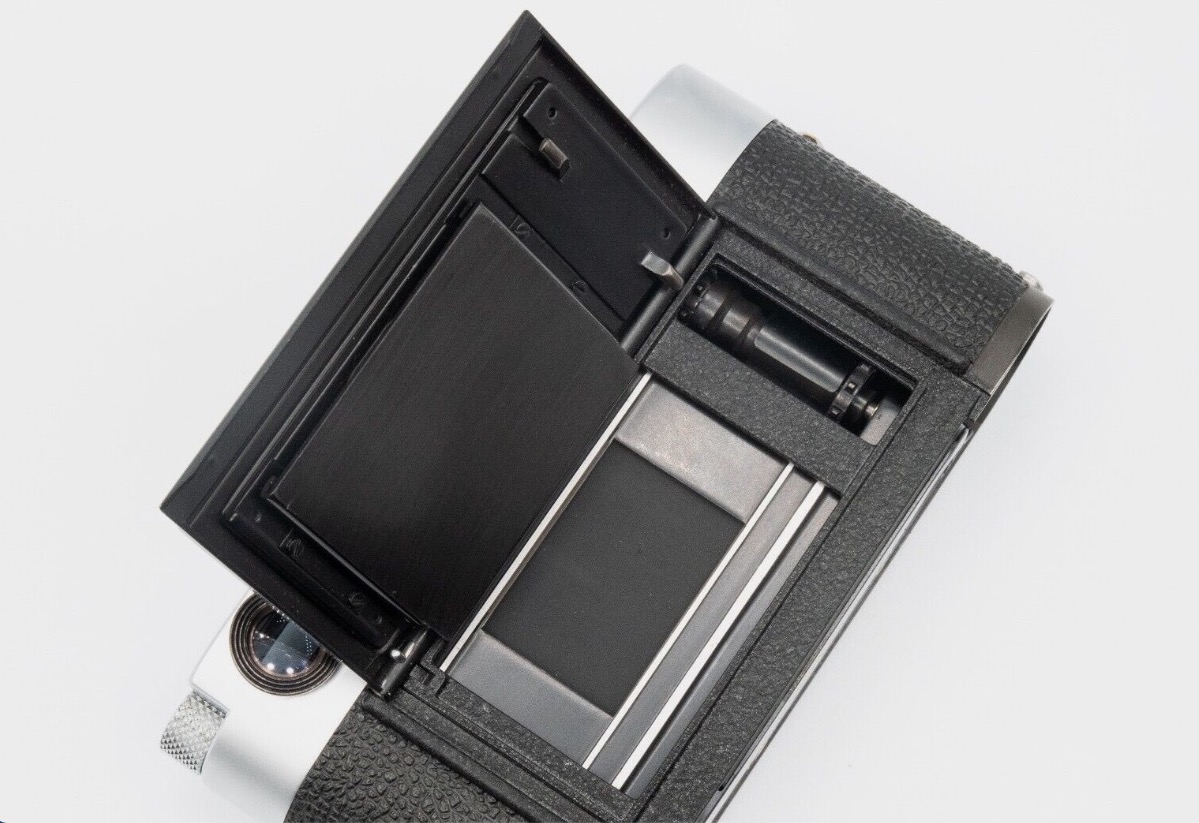
The opening film back greatly simplified reloading.
But, most importantly, the masterstroke of the Leica M3 was the superb combined rangefinder/viewfinder. No more did the user have to focus through one peephole and compose through another. And the latter really was a peephole, one of the worst viewfinders in any camera. Now the generously sized rangefinder patch appeared in the center of the large and very bright viewfinder and, unlike the contemporary Zeiss Ikon Contax IIa, the edges of the rangefinder patch were perfectly sharp allowing for alignment focusing as well as coincident use. A masterstroke, and still to be found on today’s ridiculously priced digital Leica M11 and variants. 80 years and counting testify to the exceptional design. And not only was that combined rangefinder/viewfinder big and bright, it would automatically show the correct frame lines for 90mm and 135mm lenses when they were fitted. And the icing on the cake was that the finder was automatically parallax compensated, the frames moving diagonally down to the right as the lens was racked out.
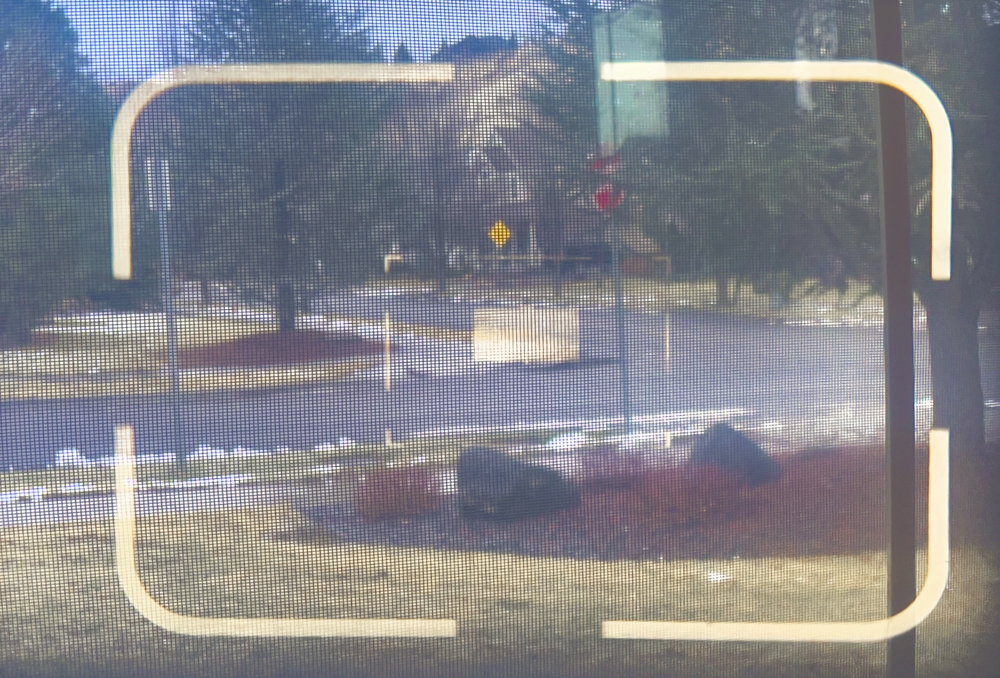
A masterstroke – the fine M3 finder.
In this snap the 135mm frame appears inside the 50mm one.
As there was no built in light meter Leitz provided a coupling selenium cell version which slid into the accessory shoe and coupled with the shutter speed dial. All you had to do was note the aperture reading indicated by the needle and transfer that to the lens, which was as fast as exposure measurement got before the days of automation. It worked well and I used that slip on selenium meter, which needed no battery, for 35 years. It never let me down.
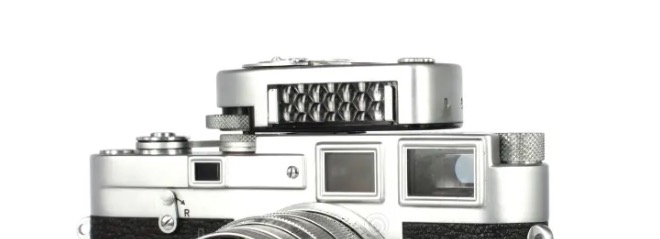
The Leicameter MC.
You can read more about Leicameters here.
Above all, along with all these functional improvements, the Leica M3 was – and remains to this day – beautiful to behold. And to hold and operate it was a dream, everything in the right place with a wonderful feel of solidity. The M3 was reliable as long as you sent it for a good cleaning and lubrication every decade or so. This, after all, was no Nikon F when it came to brute robustness, but it was no shrinking violet either, being tough and dependable. Whack the body and the rangefinder might go out of alignment but even the home klutz can realign things with two provided screws. Ask me how I know. During its 12 year run Leitz made almost a quarter million M3 bodies. Compare that with the Nikon’s 15 year run through 1974, during which time Nippon Kogaku churned out 4 times as many Nikon Fs. No, the F did not need service every decade.
The M3 was my first ‘serious’ camera bought after three years of scrimping and saving in 1971 when I was 20, and was my ‘go to’ camera for the next 35 years. It was finally sold in 2006 when the Canon 5D full frame DSLR came along. Yet, truth be told, I never quite got over that sale, which bowed to my vow not to own anything I was not using. Well, that vow has been broken with the arrival of my home theater collection and finally a Leica M3, the last addition, has joined the other classics on display.
These include:
- The Minox B spy camera of the 007 Cold War generation
- The Contax IIa similar to the one Capa took to Omaha Beach on D Day
- A Nikon F of course
- The Rolleiflex 2.8D which every fashion maven was using in the 1950s
- A Bolex H16 movie camera on which Spielberg cut his teeth
- A Calumet/Cambo monorail studio camera which takes 5″ x 4″ sheet film, much loved by the Hollywood glamor photographers of the early days of the talkies
- Classic Leitz, Linhof and Gandolfi tripods, the latter over a century old
Not a microchip, sensor or battery to be found in the lot.
The Leica M3 had a long life, being made through 1966, and while there were minor variations, it was largely unchanged during those 12 years of production. Early models had a two stroke lever wind as Leitz wrongly believed that a rapid single stroke would tear the film’s sprockets, or maybe cause electrostatic sparking and fogging. Choose which version you like, but I tend to the sparking story as early models had a glass pressure plate, eventually replaced by a conventional – and conductive – metal one, which worked every bit as well. Or better. Somewhere in early production the film transport gears were switched from soft brass to steel, conferring harder wearing properties. Some nuts claim that the earlier brass gears were smoother to which all I can say is …. nuts. About the same time the strap eyelets were moved from the side of the top plate to the front of the body, making for a better balanced whole with a more elegant design.
Early shutter speed progression was the non-linear 1/2, 1/5, 1/10, 1/25 etc. one, later replaced by that in use by every other maker, 1/2, 1/4, 1/8, 1/15, 1/30 and so on. Sometime around 1958 the rangefinder rectangle sprouted two protruding rectangles top and bottom which approximated the depth of field at f/16 and f/5.6 with the 50mm lens if the misaligned coincident images fell within their breadth. Hmmm. A solution looking for a problem.
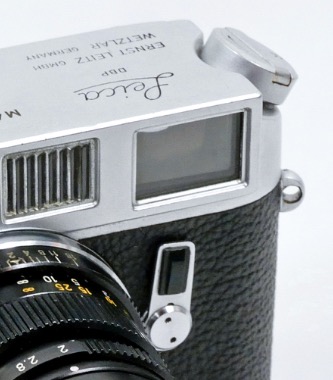
While all M3s appeared to come with the front panel self timer lever, early models did not include the frame preview lever which allowed previewing of the 90mm and 135mm fields of view if neither of those lenses was fitted. The thicker 50mm frame lines were visible regardless of the lens fitted and if a 35mm optic was your thing Leitz provided one with auxiliary ‘goggles’ which made the 50mm frame show the wider field of view. A tad clunky but it worked for me for over three decades.
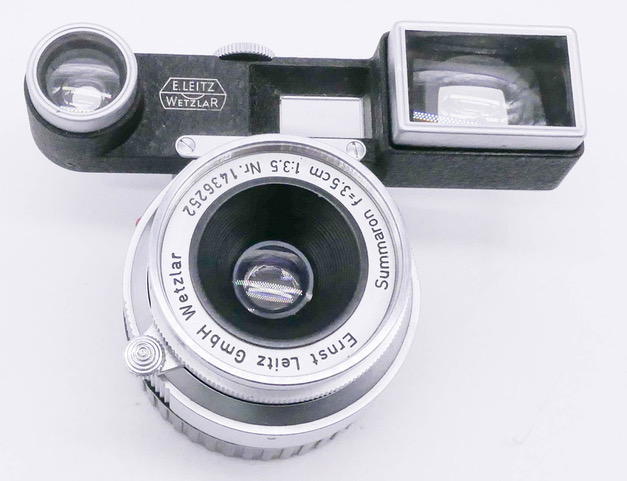
The 35mm Summaron with goggles for the M3.
These were easily removable on the early f/3.5 version.
And when my first Leica M3 arrived on August 2, 1971, with a modest 50mm collapsible Elmar lens, I was ready to hit the streets, having spent the scrimping and saving years boning up on Cartier-Bresson and Doisneau. These were two great if humorless French street workers, whose work I was determined to emulate with an added soupçon of humor. I eventually added two more modest lenses, a 35mm Summaron and a 90mm Elmar, sufficient for most tasks for which the camera was designed. And while my trinity of lenses represented the bottom of the line Leitz options their resolving power was just fine for big prints.
That Leica M3 was simply made for me and represented as fine a street snapper as was available, before auto everything and zoom lenses rendered it and its many derivatives obsolete.
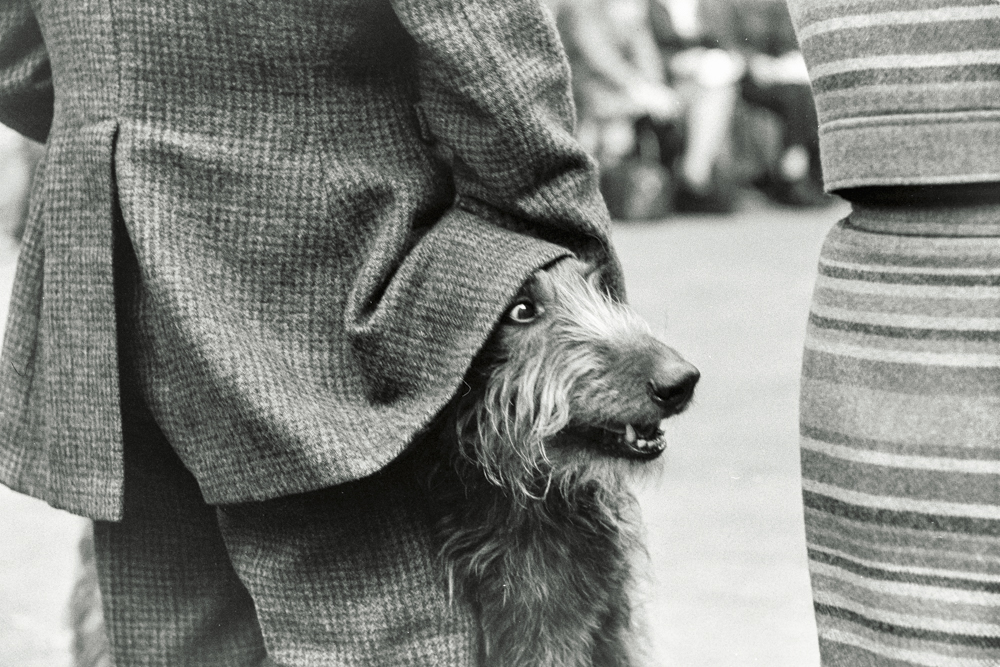
As fine and humorous a street snapper
as was available.
Crufts Dog show, 1972. Leica M3,
90mm Elmar, TriX.
And now it’s in my collection and, yes, the serial number is almost identical to that of my first one, making it August 1958 vintage.
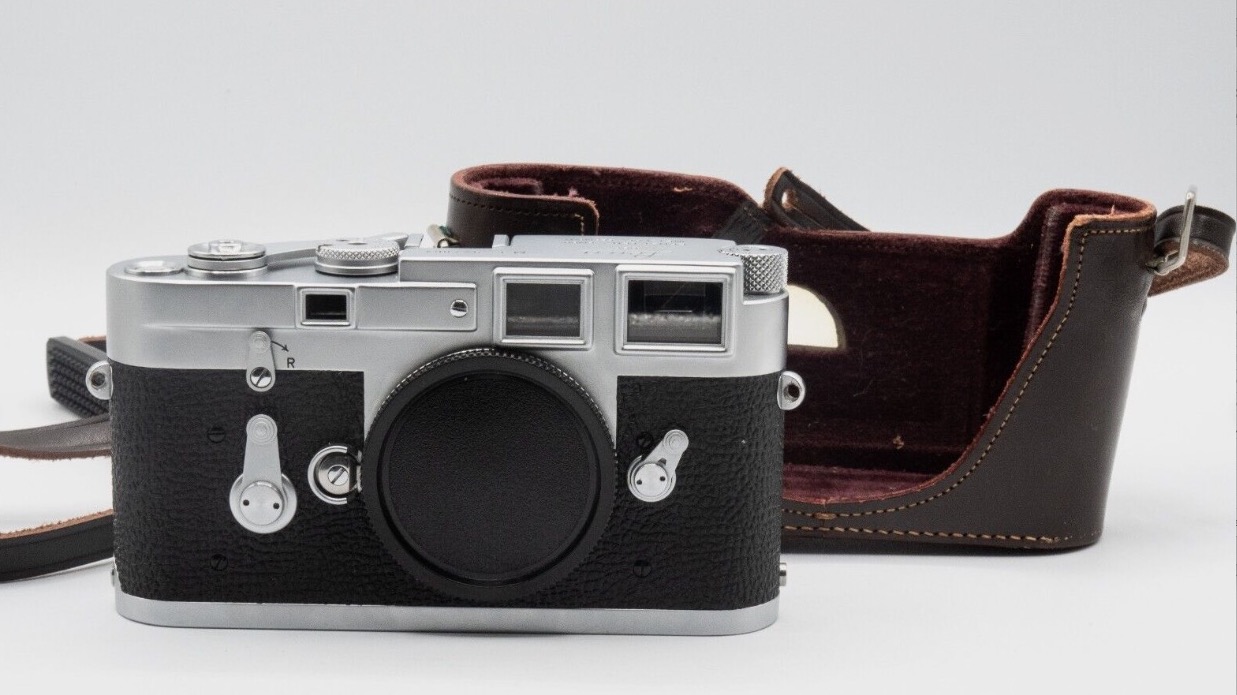
The Leica M3.
Now all I have to do is find a lens for it. I rather fancy that 35mm Summaron with goggles which was used for most of the pictures in my book ‘Street Smarts‘.
Want to buy one? Either make sure it has had a recent documented CLA (Cleaning, Lubrication and Adjustment) or budget up to $500 to have it brought up to snuff. Even the youngest M3 is almost 60 years old and those lubricants, if original, are probably dried up. Cosmetic appearance and function are unrelated.