Enough mounting, framing and hanging for a while.
The goal for my one man show in April, 2007, is to have thirty, framed and glassed large prints on display, maybe supplemented by a couple dozen matted but unframed ones in the saw horses in the gallery.
The first fifteen have been shown here before.
Once the QuickTime image loads – click below – cursor over any of the pictures on the walls and the cursor will change to a finger pointing to a globe. Click and you will be take to a high quality image of the picture. Click the ‘back’ button on your browser to return to the panorama.
Click here
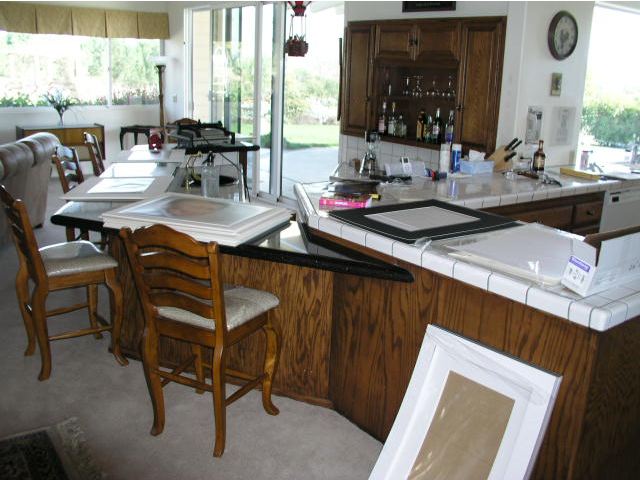
I ran out of conventional wall space in the home and the theater so I had to resort to hanging the final fifteen, now that they are framed, in the garage, which offers lots of unused white walls. Not the greatest display space, perhaps, but it beats having the framed pictures standing up against various walls, waiting to be accidentally kicked.
Here’s a fish eye snap of the ‘gallery’ – not high quality but you get the idea:

The production line process I mentioned in my piece on framing made this a reasonably efficient proces, fourteen steps in all, viz:
Cut the mounting tissue* (30 minutes)
Mat* (30)
Name and sign all the prints* (15)
Build frames (33)
Install glass (7)
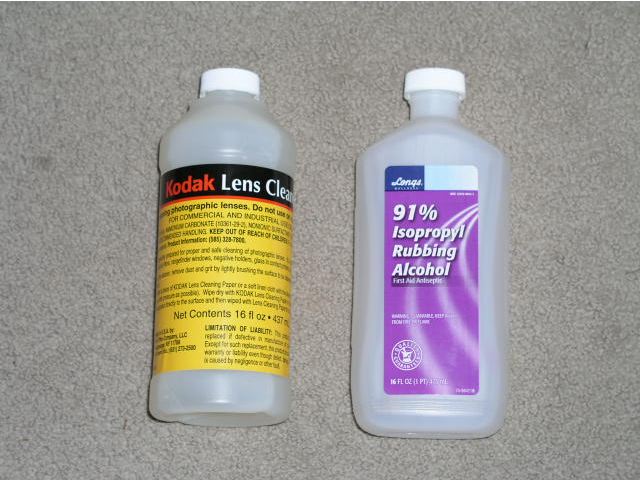
Clean glass (60)
Install print/mount/mat sandwich* (7)
Insert framing points (15)
Drill holes for wire eyes (15)
Install wire eyes (30)
Install hanging wire (60)
Mark wall at standard heights – 70″ for the landscape prints, 73″ for the portrait format ones (30)
Knock in hangers (15)
Hang prints (7)
* Cotton gloves are worn in the asterisked steps, all of which involve print/hand contact.
Aggregate time for each step is shown in parentheses, above. The total of three hours and 21 minutes does not include the time taken to make the prints – reckon on 15-30 minutes per print. Excluding the printing time, the time per mounted and framed print is around 21 minutes with this production line approach, which is not as bad as you would think, considering that the final product is a professionally mounted and framed print with real glass. (Lucite or perspex may be lighter and less fragile, but attracts dust horribly and just looks cheap with large prints).
Each step is done 15 times before moving on to the next. Phew! It may be tedious but going through this process print by print would take infinitely longer. If you need to make a lot of exhibition prints, I commend this approach to you.
Why all this focus on time? Because time spent framing is time not spent taking pictures.