Category Archives: Technique

Going glossy

Just doing what it takes

I have been unsparing in my criticism of Apple’s cynical move to producing only glossy screens on its displays. The thinking is identical to that of the jeweler who installs strong quartz iodine spotlights in his store. That 1 carat bauble that so impressed in the store, thanks to the Hollywood lighting, leads to a sense of dismay when viewed at home. It’s no different for Apple’s glossy screens.

So what on earth was I doing ordering glossy printing paper for my HP DJ90 the other day?


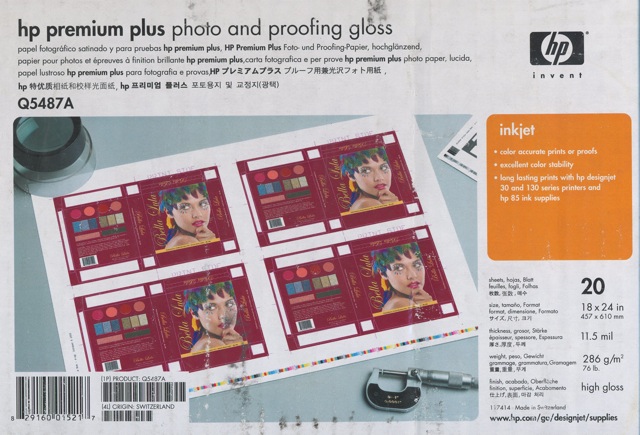
An engineering company. Note the micrometer and the Swiss manufacturer!

Well, I may dislike glossy when it comes to making and printing my photographs, but I am not beyond learning from the ace salesmen at Apple, Inc.

Simply stated, I have not submitted a photo for publication since 1977 when I left England and started getting paid for my labors in America. So great was the increase in income and reduction in tax (the top income tax rate when I left the UK in 1977 was 83% ….) that the modest amounts that publication brought no longer made sense. I could earn more the easy way and use the money to take the pictures I wanted to take, not the ones some editor preferred to see.

But the bug bit again recently and while I have no intent to make any money from getting my stuff in print (and the odds of doing so are, let’s face it, pretty remote in an internet world), my ego can now afford it. And as first impressions are 100% of the battle with photographs, when that editor opens my envelope of snaps I want them to say ‘wow’. Glossy paper does that.

So the medium, not the content, may be the message, but if it ghastly glossy paper helps get me into print, so be it. Just don’t expect these prints to be gracing the walls at home any time soon.

This is my first experience of using HP Premium Glossy. The inked areas are matte whereas highlights where no ink was deposited retain the original high gloss of the paper. However, after drying for a couple of hours the inked areas take on a good gloss, although not as high gloss as virgin paper. So it may explain why some later printers now use a glossing agent to restore high gloss to a print – the DJ90 does not have this technology.

Picture Packages

A useful Lightroom technique

When I make large prints on the HP DJ90 dye printer, it’s usually strictly a ‘one at a time’ sort of thing. The prints are 18″ x 24″ (‘Super A4’ is the uninformative European description), which is as large as my HP will go and, after an obligatory 24 hour ‘drying’ period to let the ink dyes set, they are dry mounted and framed.

However, with my new found determination to get some work published again, smaller prints were called for – 9″ x 12″- and these just happen to divide an 18″ x 24″ sheet into four equal parts.

Rather than cut up the paper first and then do four print runs, it proved just as easy to make one combined print job and do the cutting last.

First I went into the Library module of LR2 then clicked on Library->New Collection. I dragged the candidates into this new collection and oriented them all vertically (Photo->Rotate Left/Right). These candidates had been processed and cropped just so, so that no further adjustments would be required.

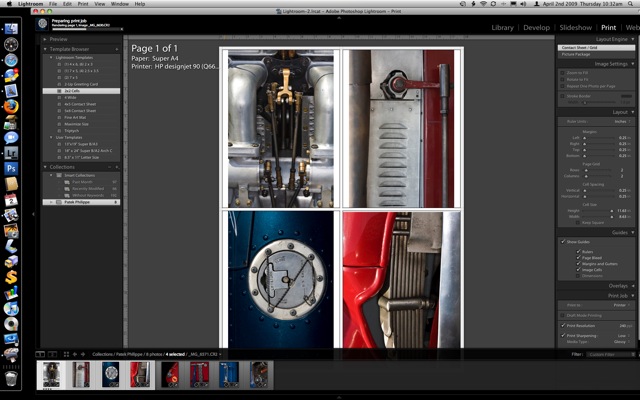
Into the Print module of LR2, where I clicked on Tempate Browser->Lightroom Templates->2×2 Cells. Lightroom comes with this template installed. Moving the mouse cursor to the base of the screen to disclose the filmstrip – which I have set to hiding mode so it is ordinarily invisible – I simply highlighted four contiguous images, which then appear on the print ‘canvas’.

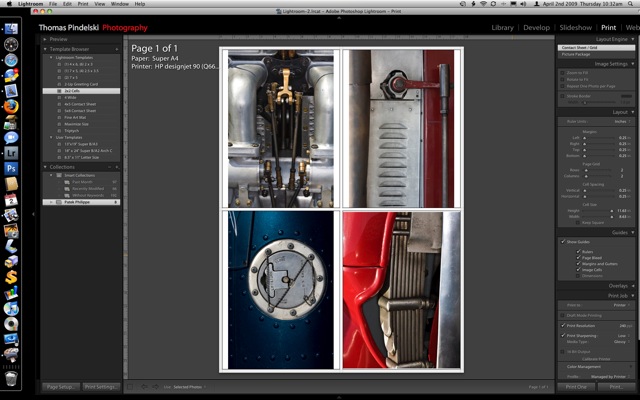
The screen now looked like this:

Then it’s off to the races, printing in the usual way. It takes a lot less time to do than to explain and you have the benefit of applying the same print settings to all pictures on the ‘canvas’. Of course if you process the originals poorly, then you may end up with four clunkers, but I seem to have lucked out.

Note the personalized nameplate at the top left of the Lightroom pane in the last picture above. You can do this by going to Lightroom->Identity Plate Setup.

At the grocer’s

Amazing what you can find when you try seeing

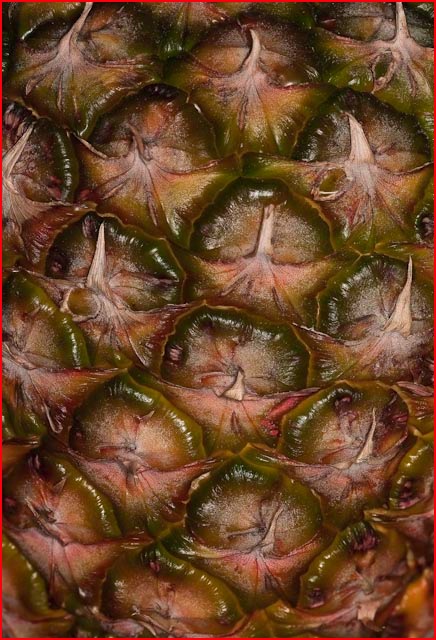
I really do not like pineapple. Too tart and acidic for my constitution, yet I was struck by the incredible complexity and beauty of the fruit at the local grocery store.


5D, 100mm Macro, ring flash at f/8, 4 images, Helicon Focus Pro

So I picked one up (carefully!) and took four differentially focused snaps, stitching them in Helicon Focus.

The ring flash head was half covered with black tape to add some modeling.

Sound recording

It’s a lot easier now.

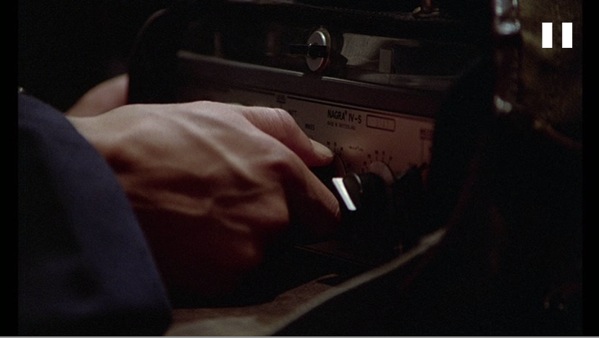
When the hero of Jean-Jacques Beineix’s 1981 movie, Diva, sets to making his bootleg recording of the operatic soprano who never records, he is hiding the best portable analog tape recorder ever made, under his coat. Simply stated, the Nagra was the Leica of its time.


Actor Frédéric Andréi starts the Nagra

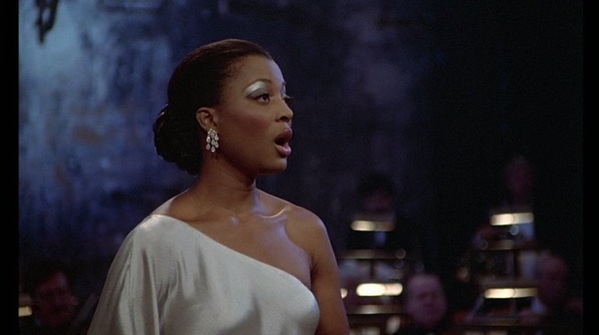
Seconds later, soprano Wilhelmina Wiggins Fernandez lights into Ebben ne andro lontana from Alfredo Catalani’s opera La Wally – you know the tune even if you have never heard of Catalani.


Wilhelmina Wiggins Fernandez – mediocre voice, non-mediocre looks

The movie is a splendid example of the very best in French film, which means it’s awfully good. Quirky, avant garde, beautifully filmed and a great plot.

I was reminded of the movie when asked for a recommendation for a really good digital voice recorder the other day. Naturally, I mentioned the Edirol R-09 which I am delighted to see Edirol has improved, enhancing the finish and redesigning the fragile battery door. We have been using ours for more than two years – with external microphones to mostly record my son’s piano playing – and remain delighted with the fine sound quality this device offers. Unlike our protagonist’s beautiful Nagra, it can fit in any pocket.

For anyone interested in just how good French movie making can be, Diva is highly recommended. For anyone liking great photography, it’s a must have movie.

Here’s a track of a friend playing Misty Blues, recorded on the Edirol, using nothing but its internal microphones. Editing was done using Audacity with the LAME MP3 plug-in to permit MP3 output generation. This is a wonderful, and free, sound editor which I recommend for easy editing of sound tracks.


Misty Blues – recorded on the Edirol R-09

Lightroom 2 keyboard shortcuts

LR2 displays few of these

When you want an on-screen reminder of the many keyboard shortcuts in Lightroom 2, you press the ‘Command – /’ key pair for a heads-up display on your screen, thus:

Click on the pop-up display to dismiss it.

The snag is that this display only shows a small fraction of what is available. You can download a PDF of all LR2 or LR1 shortcuts here. Surprisingly,I can find no such LR2 guide on Adobe’s web site.

Dense as it is, it repays study.

For example, I have found use of the adjustment brush frustrating in that one has to view the red mask to see the area which has been brushed. You do this by hovering the mouse cursor over the mask pin (the little blob which appears on your screen). If you want the red mask to show continuously when using the adjustment brush you can toggle full time display while the adjustment brush is in effect by hitting ‘O’ on your keyboard. This makes masking very easy and allows you to adjust exposure/brightness etc. after you have delineated the area of choice for adjustment.

In the above example, after switching on the adjustment brush in the Develop module I hit ‘O’ and, thereafter, could see the red mask as I applied it by brushing areas of the image. Once satisfied that the right parts had been brushed, I switched the red mask off (hit ‘O’ again – it’s a toggle) and then applied adjustments as required.

If the default red color interferes with the image and your assessment of the masking you have applied, you can cycle through mask color options using the Shift – O key combination while the adjustment brush is live. In the following example I have changed the mask color to green using the ‘Shift – O’ key combination.

Very handy. There are many more gems in this long list and a few are even worth learning! Now if only Adobe could add all their keyboard shortcuts to their ‘Command – /’ key on screen display.

Follow-up: A reader has kindly pointed out that Adobe’s version of the short cuts is to be found here and the presentation, which is by module rather than in aggregate, is far more useable.