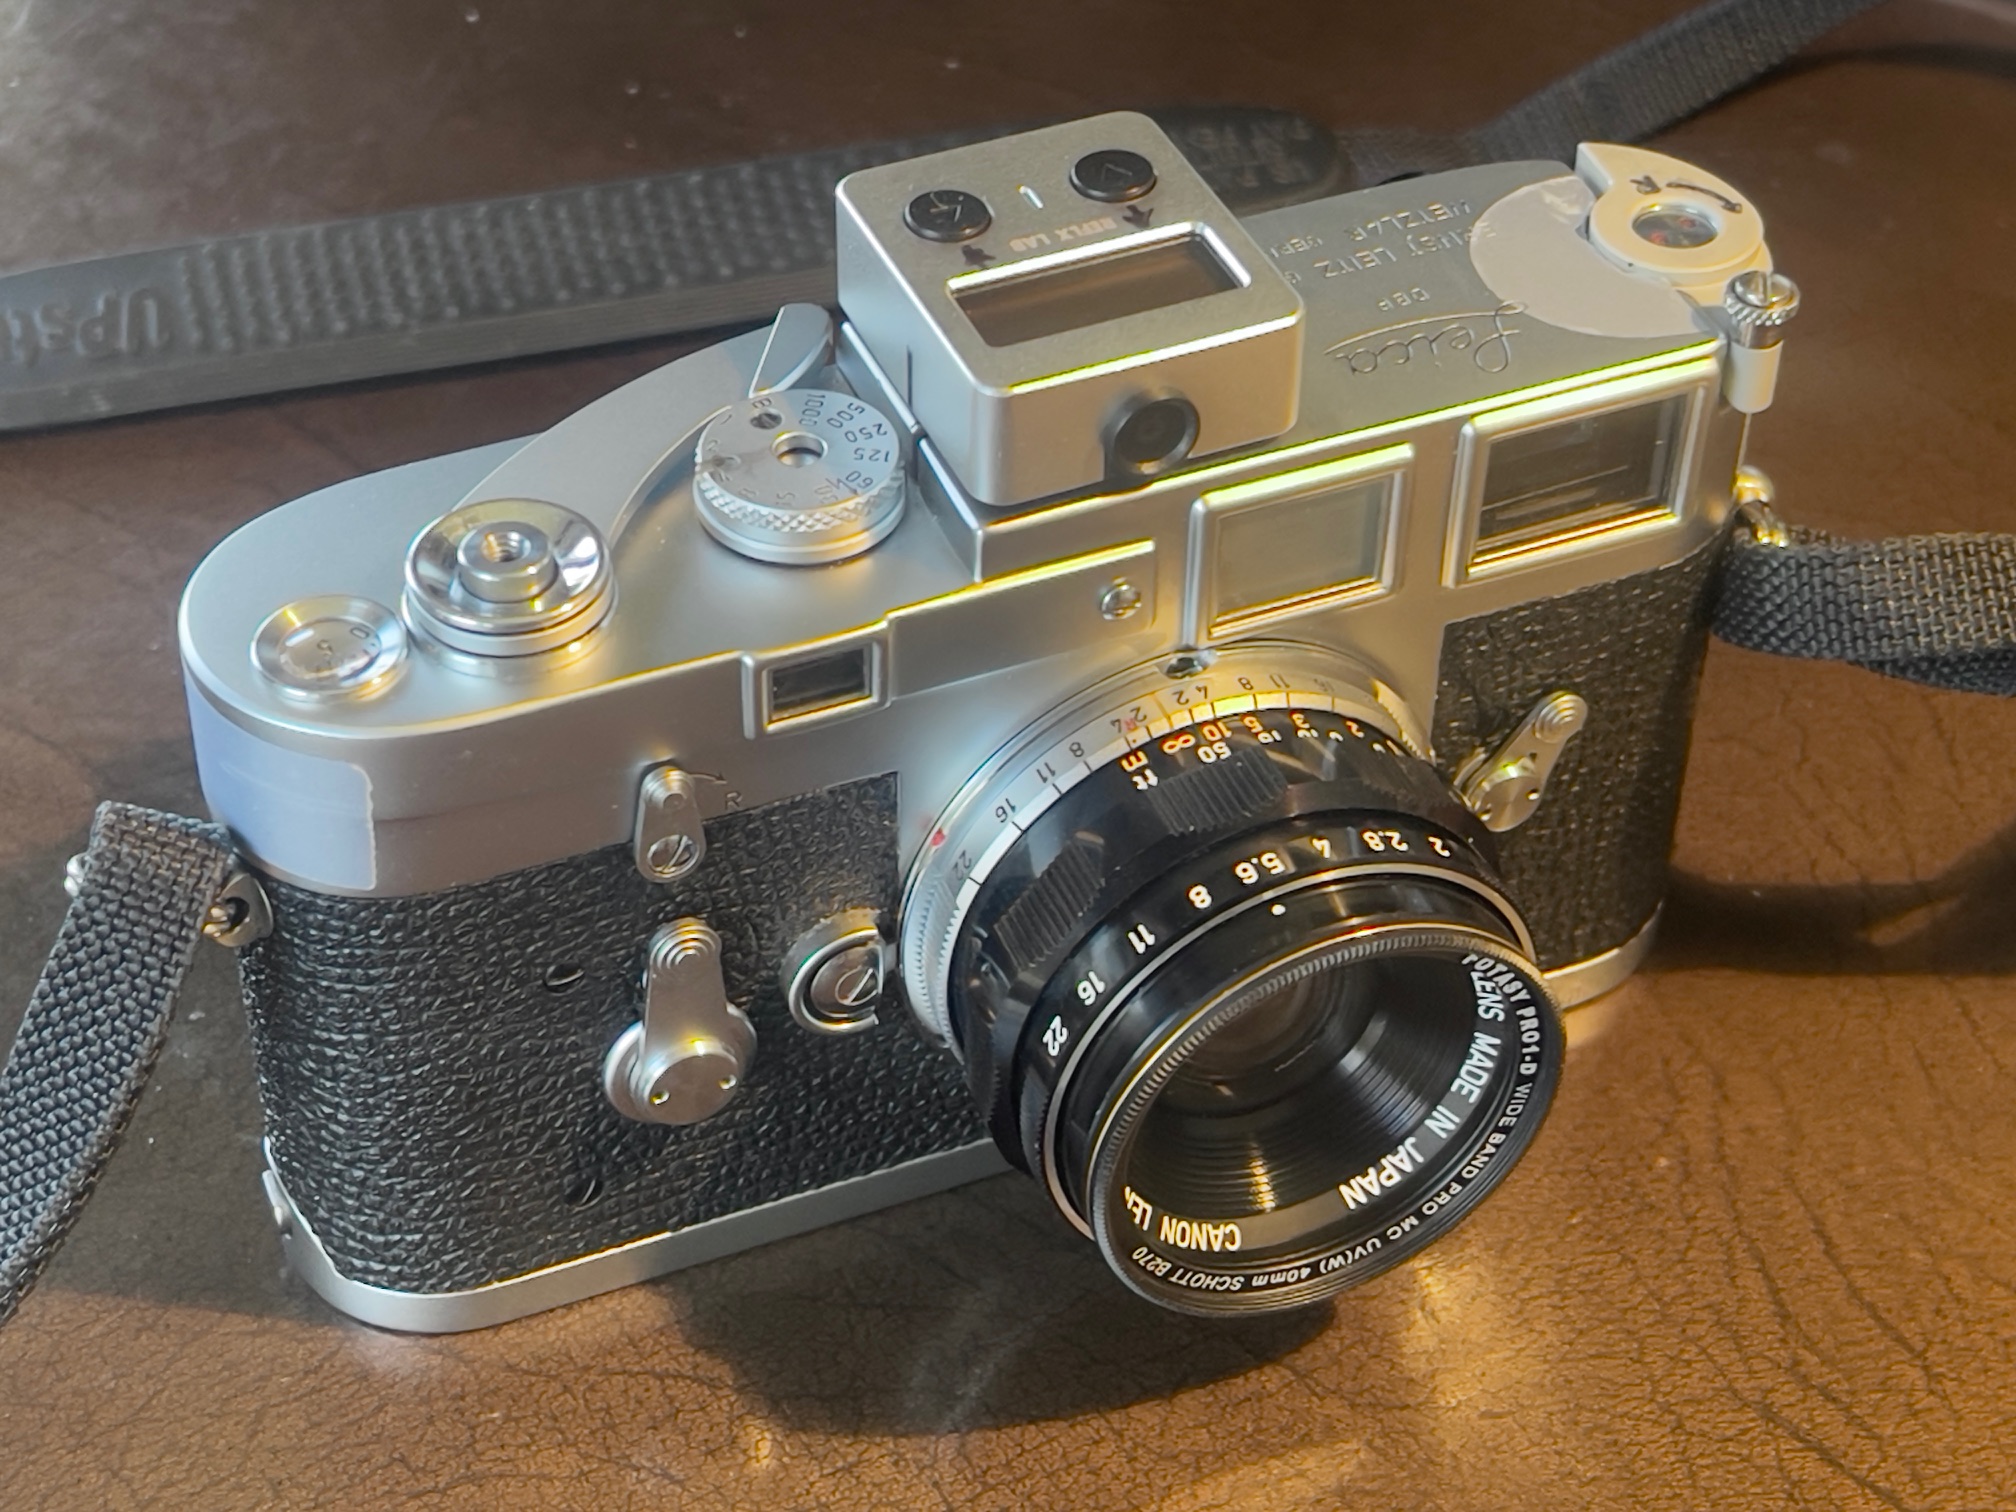
An affordable standard lens.
For an index of all Leica-related articles click here.
This lengthy post should prove of interest to photographers looking for a well made 50mm lens for their Leica M body at a reasonable price.
Background:
Among the many enhancements in the Leica M3 over its predecessors is the outstanding viewfinder. While you can argue with the ever present 50mm frame lines – they remain visible even if other focal length lenses are mounted – they are big, bright, bold and state that the 50mm lens is the de facto standard for this body.
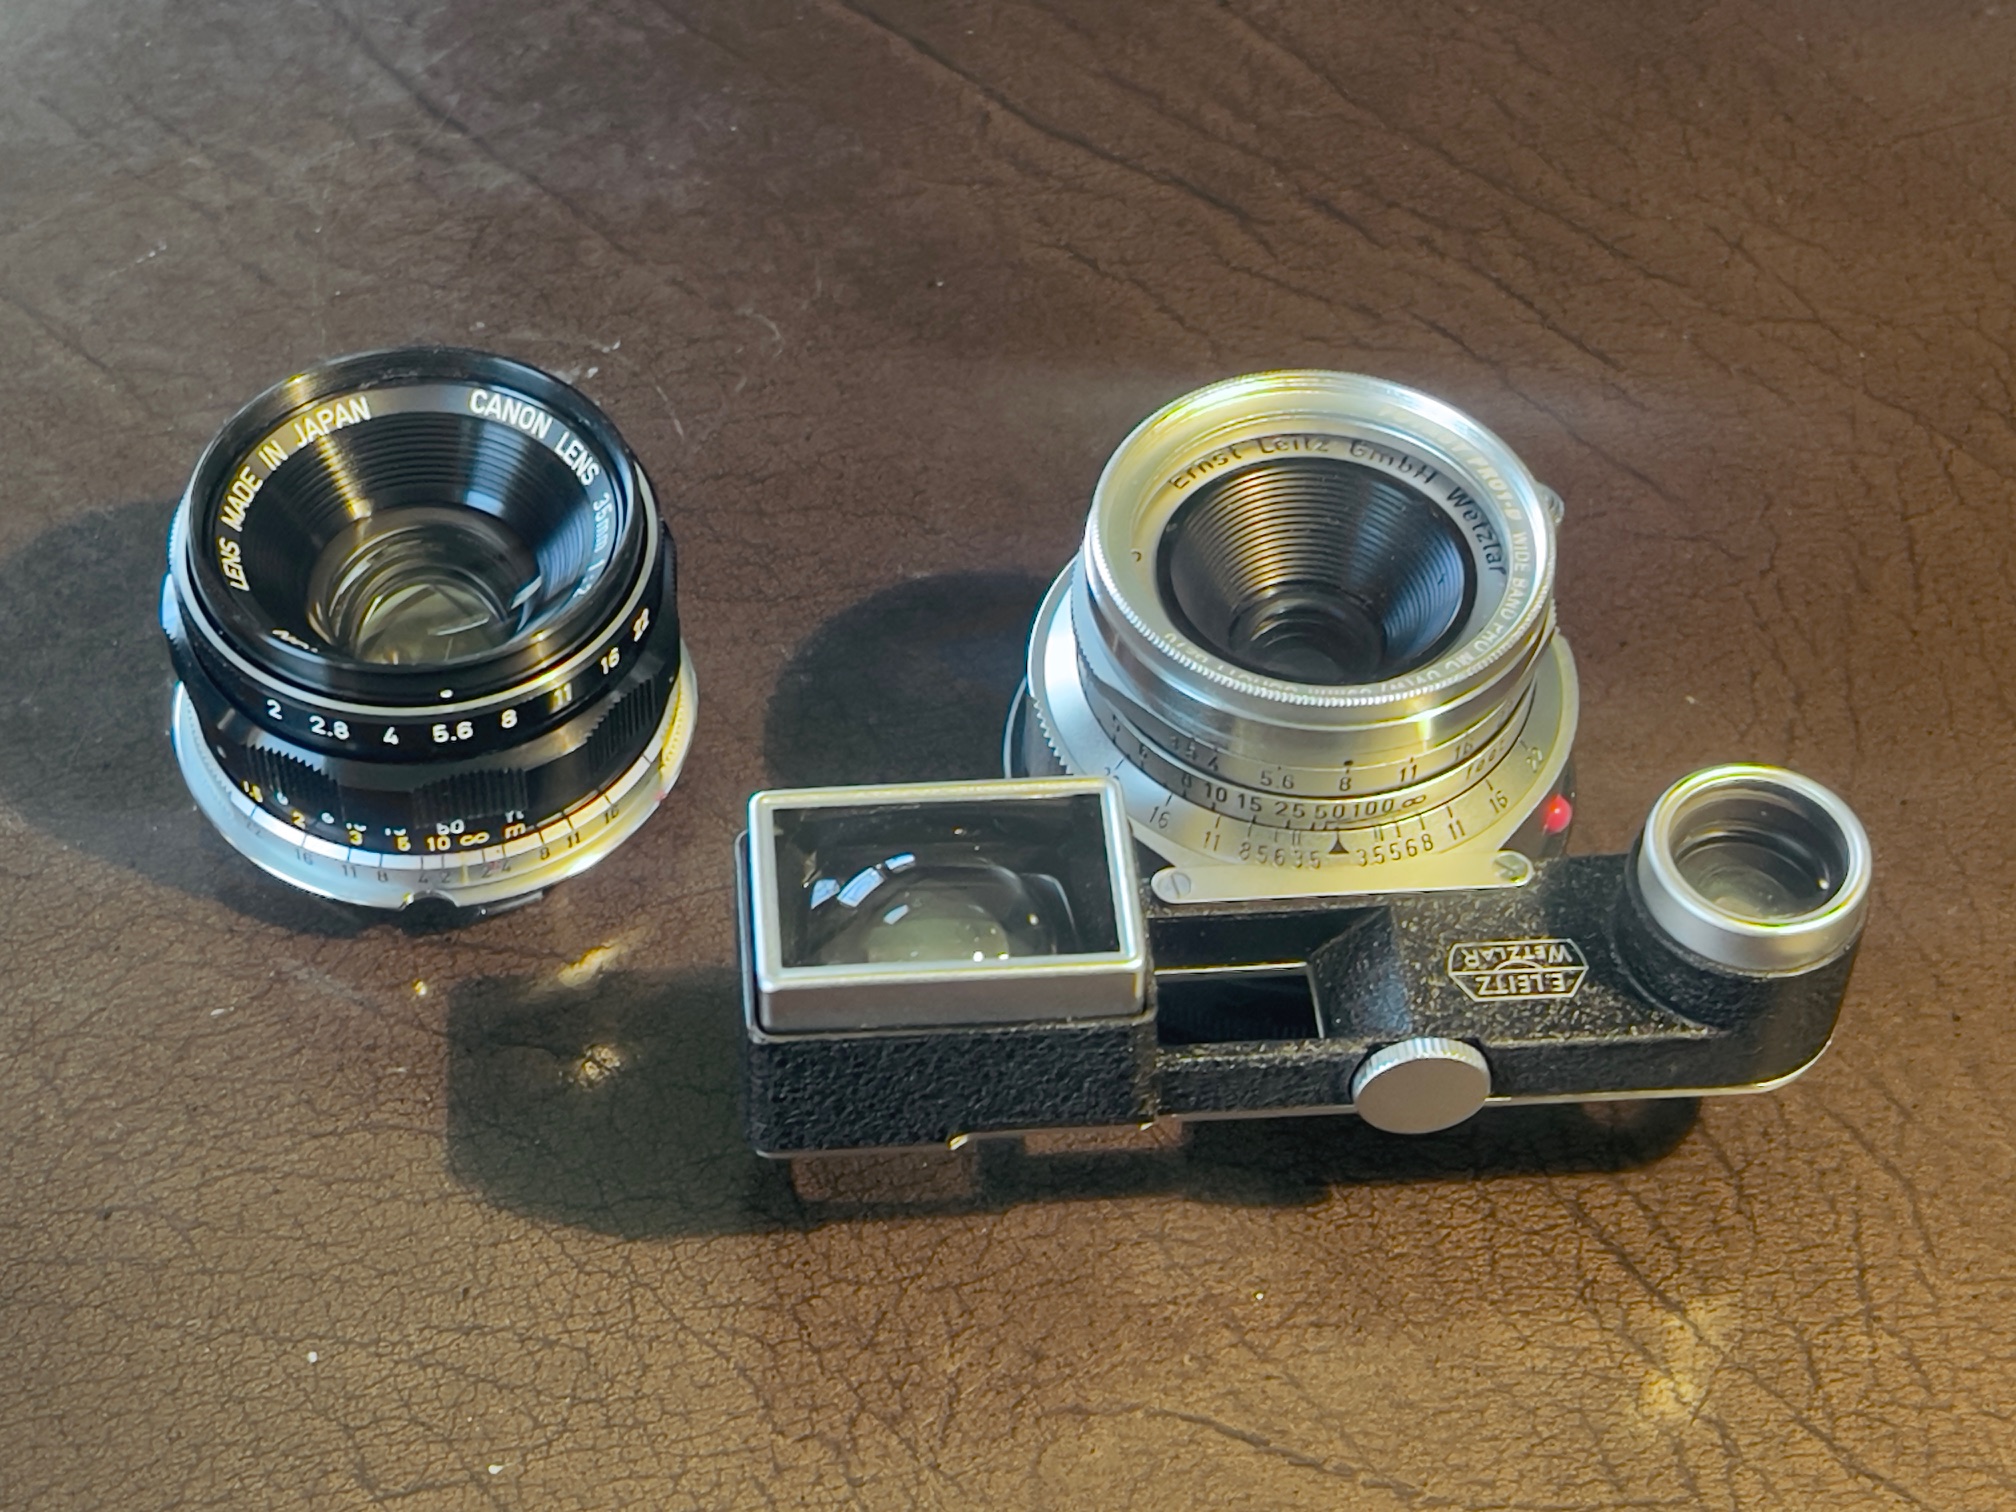
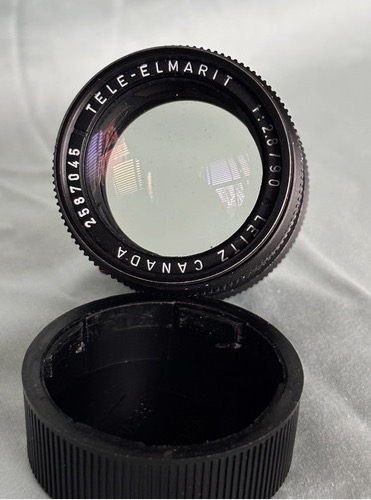
To date I have added a 35mm f/3.5 Summaron and a 90mm f/2.8 Tele-Elmarit, both at affordable prices by Leica standards, meaning $585 and $450, respectively. And both very small and light. But shopping for a 50mm standard lens has been frustrating. I ended up paying $331 all told for the Canon 50mm f/1.4 in ‘like new’ condition which includes the price of the LTM-to-M adapter, a multicoated UV filter and an OEM Leitz rear lens cap.
Leitz options:
First, even a modest 50mm f/2.8 Leitz Elmar runs over $500 for a half decent one, with a retractable feature no one needs or wants. Forget to extend the lens and all your pictures become round blobs. Extend the lens and contemplate the myriad scratches on the extendable chrome barrel which also contributes to the lens’s poor handling. The ergonomics of this design are poor, including a rotating focus mount and non-linear aperture click stops. I know as I used one for years on my first M3. There’s a newer option named the Elmar-M with a non-rotating focus mount but still with non-linear aperture stops. It’s silly priced.
Once you start talking early rigid f/2 Summicron the starting price is $1,200 for one without a scratched front element, a common failing. Quite why people ‘clean’ lenses rather than just leaving a protective filter in place is one of life’s great mysteries. In over 50 years I have never cleaned a lens, though I have swiped the occasional filter with a pocket handkerchief. Now the early rigid chrome Summicron is arguably one of the most beautiful lenses – both optically and design wise – ever made, but $1,200 is sort of silly for a 65+ year old optic which will probably need an overhaul for an additional $250.
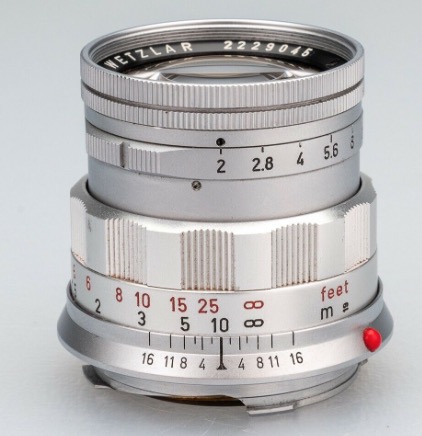
The gorgeous early rigid Summicron
Look for something faster and prices quickly rise from silly to stratospheric. Even an early 50mm f/1.4 Summilux, a lens which comes with iffy performance wide open, starts at $2,000.
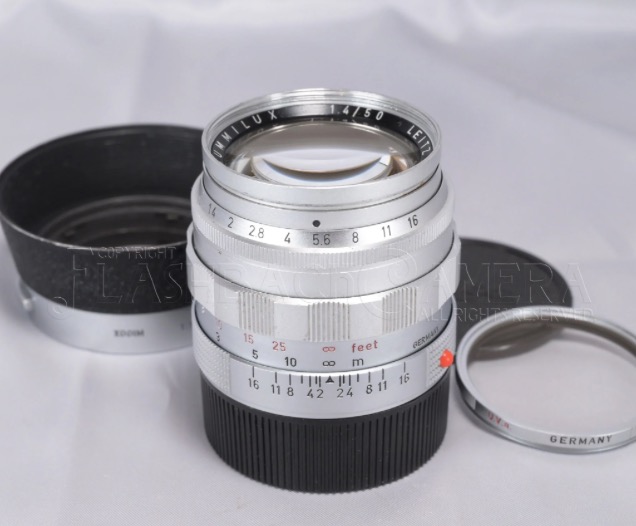
The beefy early rigid f/1.4 Summilux
So it’s time to look elsewhere for a good 50. First, some history.
The story of LIFE:
The story of how LIFE photojournalist David Douglas Duncan ‘discovered’ Japanese post war lenses is well known. On assignment in post-war Japan he tried optics from Nikon and Canon on his Leicas, and was impressed enough to send a handful back to LIFE’s New York labs where the technicians concluded that they were indeed superior to anything from Leitz. Canon, Nikon, Minolta and Yashica all made rangefinder coupling 50s in the 1960s in Leica Thread Mount (LTM, M39 and E39 are common abbreviations, the thread mount being 39mm in diameter) and it is to this rich cornucopia of choices that I turned my attention while trying to find something both good and affordable. These will fit any M body with an inexpensive adapter, and prices range from $100 to $500 and up.
Japanese brands:
Nikon made lenses for their own S range of rangefinder bodies in a version of the Zeiss Contax mount, which leaves the focus collar attached to the camera’s body, with just the lens head to fit. So not a starter with focusing M adapters starting at $250 and of uncertain quality. If you do go this route be aware that while the fittings are the same the back focus of Nikon S lenses in the Contax mount differs from that of the Zeiss Contax. So an adapter has to be ‘Contax’ or ‘Nikon S’. It cannot be both though both will fit. Use the wrong one and your focus will be out. Nikon also made lenses in LTM but these are now very costly and have non-linear aperture settings, which I do not care for. Their 50mm f/1.4 migrated to a Nikon F mount in 1959 and excelled in all respects, the apertures now clicked and equally spaced. But the LTM lens is too expensive with a good one starting at $800.
Minolta made some fine 50s, though they are rare and often have aperture rings which rotate in the opposite direction to those on my two Leitz optics, so Minolta is out.
I don’t know anything about the Yashica 50s but do know that the marque was generally considered a step down in quality from Nikon and Canon. I have never heard of a serious photojournalist using one.
There’s a large range of Voigtländer optics available new and used. These are made by Cosina, purportedly in Japan (which probably means China) so I’m not going there. And the prices have gone through the roof.
That leaves Canon and the choices here are many. I settled on a late 50mm f/1.4, the last version which comes with dual feet and meter focus scales, with both the focus and aperture rings rotating directionally like those on Leitz lenses. Earlier versions come in either feet or meters and all have equally spaced clicked aperture settings and all are in a black and chrome finish. Even earlier versions come in a rather unattractive all chrome mount with unequally spaced apertures, in f/1.4 or f/1.8 variants. Prior to that the f/1.9 ‘Serenar’ series were the thing but we are talking very early post-war here, before Japanese genius perfected its manufacturing skills.
I have no interest in Chinese or Russian lenses, preferring not to do business with nations sworn to destroy us.
Age deterioration and Japanese sellers:
The bane of all of these optics is deterioration, whether by fungus, haze or both, not to mention excess oil on the diaphragm (likely the source of haze on the elements from evaporation) or stiff focus collars owing to congealed lubricant. Many also have balsam separation where two elements are cemented together. These lenses are now 70 years or so old. I had set my sights on the smaller 50mm f/1.8 but after much searching despaired of finding a clean one, so the f/1.4 it is.
Some 80% of auction listings state ‘haze’ or ‘fungus’ and most come from Japan whose sellers seem to think that ‘Mint’ and ‘Exc+++’ apply universally to all their inventory, fungus be damned. One vendor includes a ‘test image’ purportedly taken with the listed lens, the exact same image appearing in a half dozen listings. Uh huh. So it pays to be both skeptical and careful before putting up your cash. I make it a practice to ask pointed questions so that responses are on the record in the event lies rule. Unlike in its early days eBay’s buyer protection policy is solid and strongly favors buyers over sellers. Thus all you need do is point them to the fraudulent claims in your correspondence in the event of a dispute about condition. Further, if you get no reply move on. There are many lenses to choose from.
Mine came from a Japanese seller and I lucked out. It really is ‘mint’ and scratches, fungus, haze, balsam separation and oily diaphragm blades or a stiff focus collar are all notable for their absence. I paid $280 shipped, with shipping from Tokyo taking a scant 4 days! That’s faster than any domestic seller I have dealt with. Be prepared to look long and hard if you want one like this. By most accounts Canon made more than 100,000 of these (the number is uncertain as no one seems to know if their numbering system was consecutive) yet despite that I had considerable difficulty tracking down a mint one. If the system is consecutive with no gaps my lens was made in February, 1961, using data here. Who knows? That link states the lens was last made in December, 1970. Lots of beaters out there and the premium for a mint copy over a beater is a modest $50. If it’s going to be a keeper I recommend you invest the small premium for a mint copy.
Why not take a gamble on a lens with haze and/or fungus? Internet videos show that these lenses are easy to disassemble, clean and lubricate but the question has to be whether the haze or fungus are too far gone that the optical elements have been etched and are beyond saving. I suspect it makes more sense to just keep looking until you find a good one, though I applaud those brave souls who do their own dismantling and cleaning.
Canon’s masterpiece:
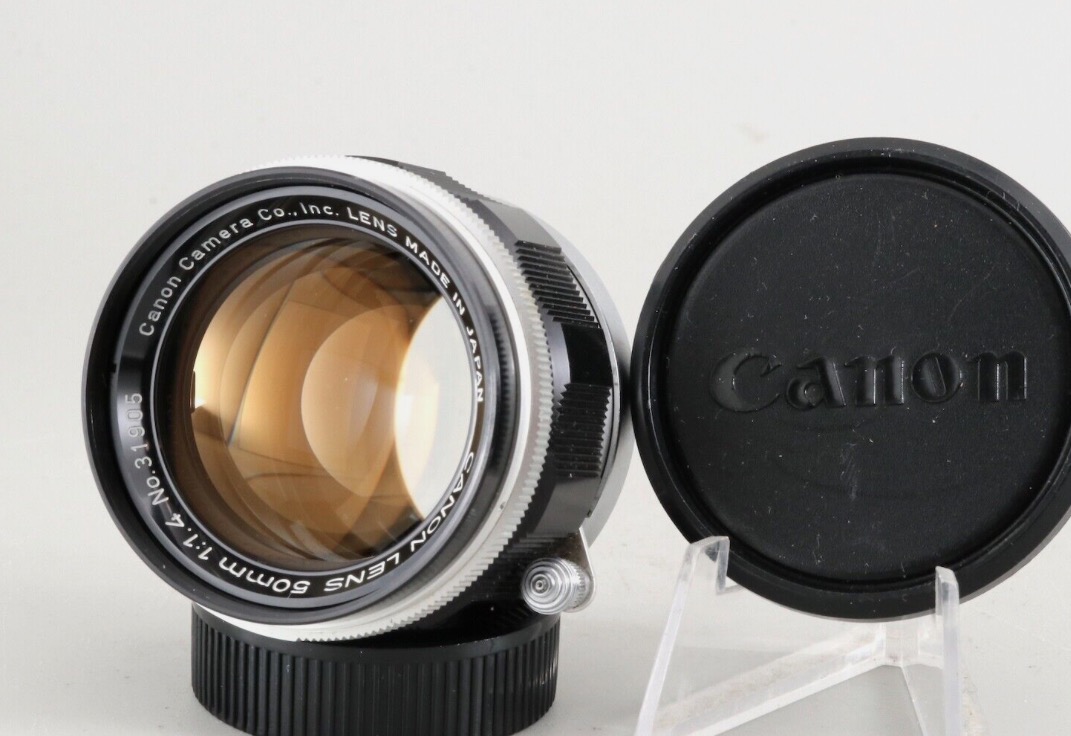
Canon’s f/1.4 LTM masterpiece.
Scalloped focus collar and locking focus catch.
Despite the fast f/1.4 aperture the lens weighs in at a featherweight 246 grams, or under 9 ozs. The use of alloys in the mount means it weighs significantly less than the chrome-on-brass Summilux. The even smaller f/1.8 version weighs 186 grams, or under 7 ounces. So the weight penalty for a half stop increase in maximum aperture is 2 ounces but you gain that gorgeous scalloped focus collar with the f/1.4, much nicer than the longitudinally grooved one on the f/1.8. And before you accuse Canon of stealing the design from Leitz know that the f/1.4 Summilux came to market two years after the Canon. It was Leitz that was playing catch-up in the red hot 1960s competition for rangefinder users’ dollars.
Weight:
Comparing weights all with a UV filter fitted and the 35mm with the clunky goggles in place:
- 35mm Summaron RF – 283 grams, 10.0 ounces
- 50mm Canon – 269 grams, 9.5 ounces
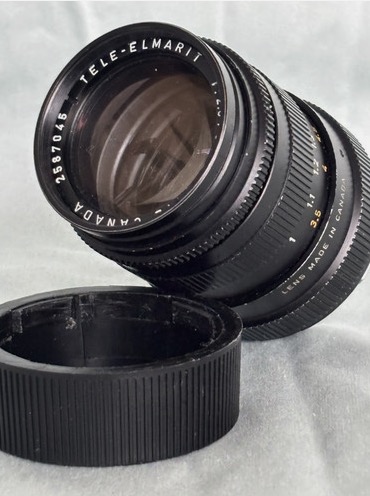
- 90mm Tele-Elmarit – 216 grams, 7.7 ounces
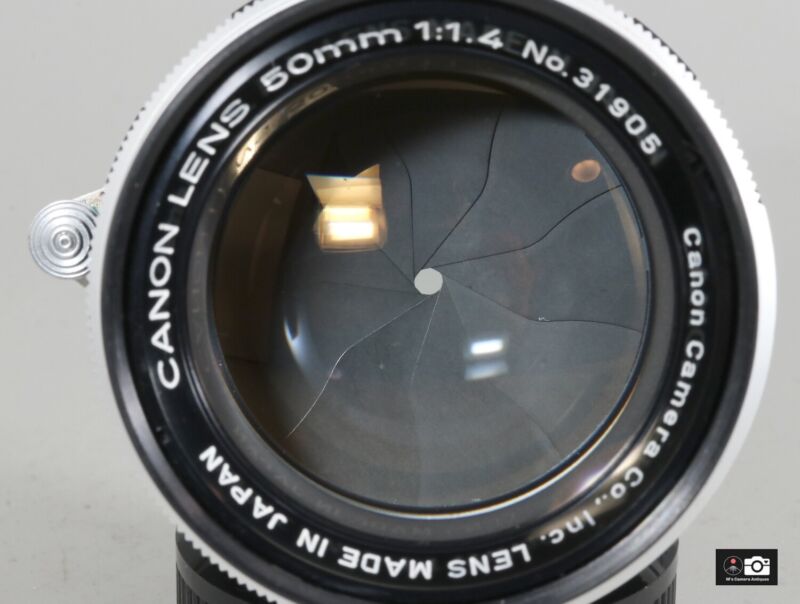
This is how the diaphragm should look.
Dry, no oil and scratch free.
Stated differently, carry all three and the aggregate weight is just over one pound and a half. Try that with your modern DSLR lenses. And the depreciation of this little lot is zero. Resell at cost or better whenever you want.
‘Japanese Summilux’ nonsense:
The f/1.4 Canon has been well and truly ‘discovered’ yet again. There are many reviews online, several referring to the lens as the ‘Japanese Summilux’ which is rather odd when you consider that the Summilux came to market two years later. The popularity of this lens with many film and digital users means that prices are not going to be dropping any time soon.
LTM to Leica Adapter – a key component:
Another $20 was spent on a Fotodiox LTM-to-M bayonet adapter. I chose the 50/75 variant as others would cause either the 90mm or 135mm frame to pop up, which I find obtrusive.
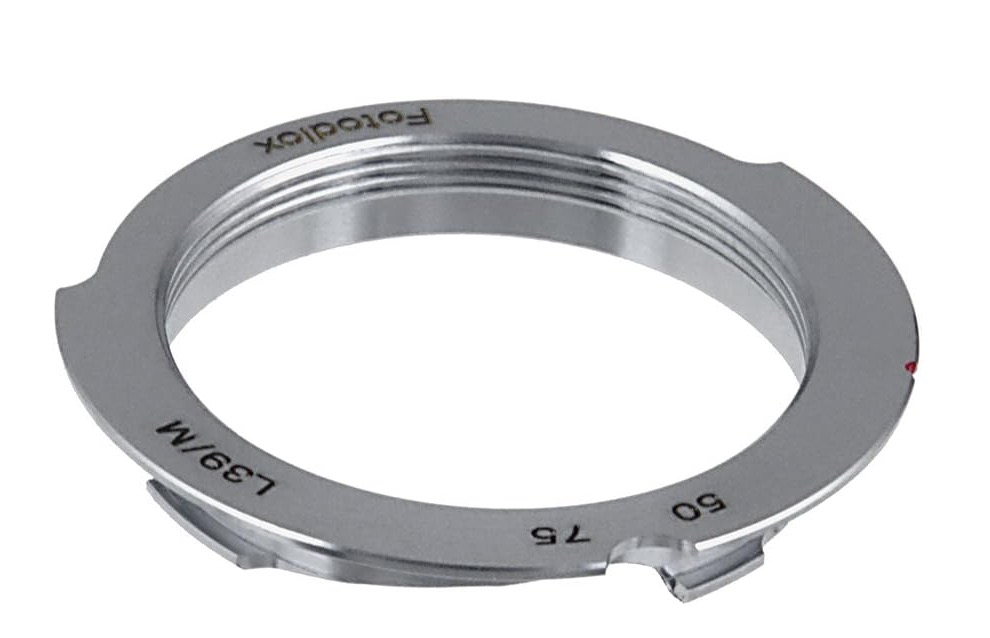
LTM-to-M bayonet adapter
At $20 it’s the least costly choice. Contrary to some commentary, I did not encounter any sharp edges or flimsiness. It’s all alloy compared to the chrome-on-brass Leitz version, which will run you $100 and up. You can also get costlier versions which have engraved reliefs for 6-bit coding for modern digital Leicas, which is nice for lovers of Veblen goods. Heck, if they can spring for a $9,000 M11 body a mere $5,000 for a Leica lens is chump change, so it’s unlikely these buyers will ever need to buy an adapter.
What don’t I like? The alignment indicator – which is on the adapter – is hard to see. This will be an issue with any LTM lens:
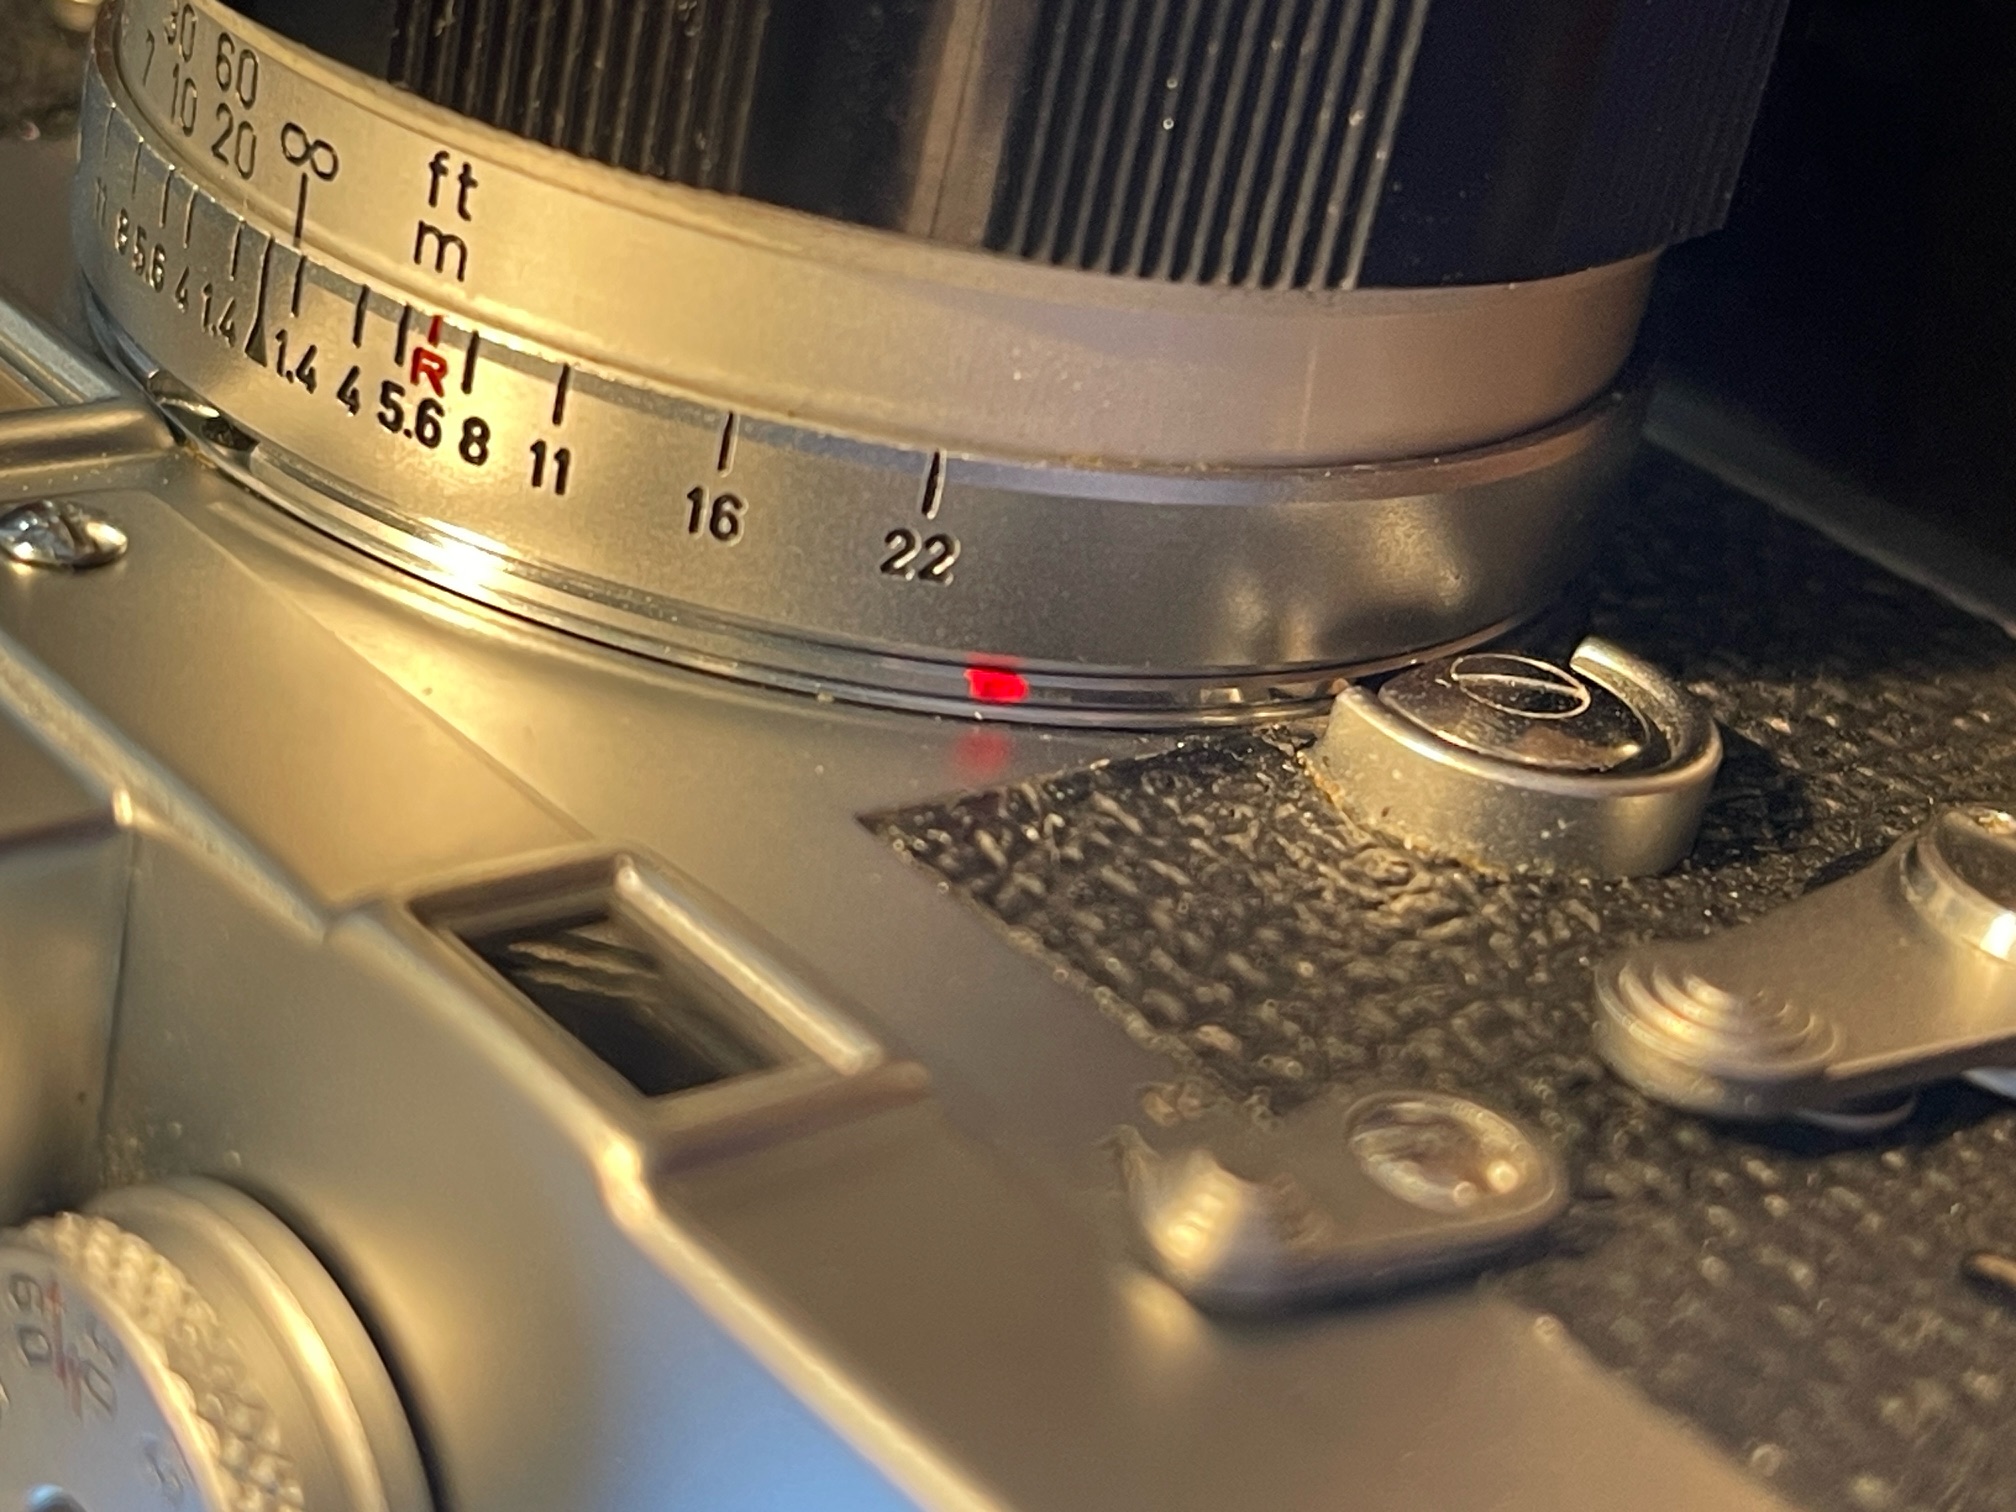
Hard to see alignment mark.
The engraving quality is almost Leica grade.
Maybe one of these epoxied to the rear mount will do the trick?
However, the balance of the lens on the M3 is just perfect.
One other tip. The original Leitz rear lens caps of the period have three small protrusions on the rear.
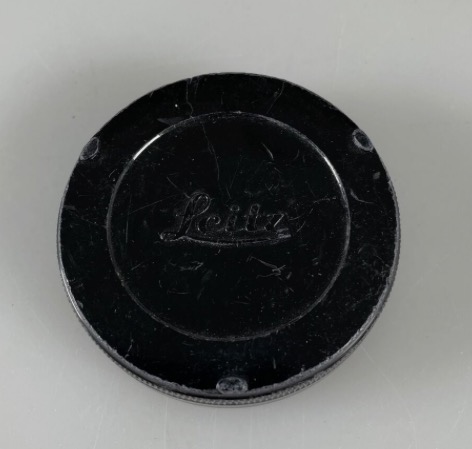
Period correct rear cap with protrusions.
These have the function of a wrench and two of the three will engage in the cut-outs in the LTM-to-M adapter with the cut-out arc to ease removal from an M body without having to cut your fingers. Adapters without the cut-out arc will allow all three lugs to engage for a more secure wrenching action. Modern Leitz rear caps and their many knock-offs are all missing this useful feature. $15. Amazon lists an intriguing silver metal knock-off which appears to have the two required protrusions for $14. Very handy for removing an adapter stuck on the camera or in a rear lens cap.
The specified thickness for the adapter is 1.0000mm. Mine measures a mean of 0.9652mm +/- 0.0254mm. Not great. However, read on.
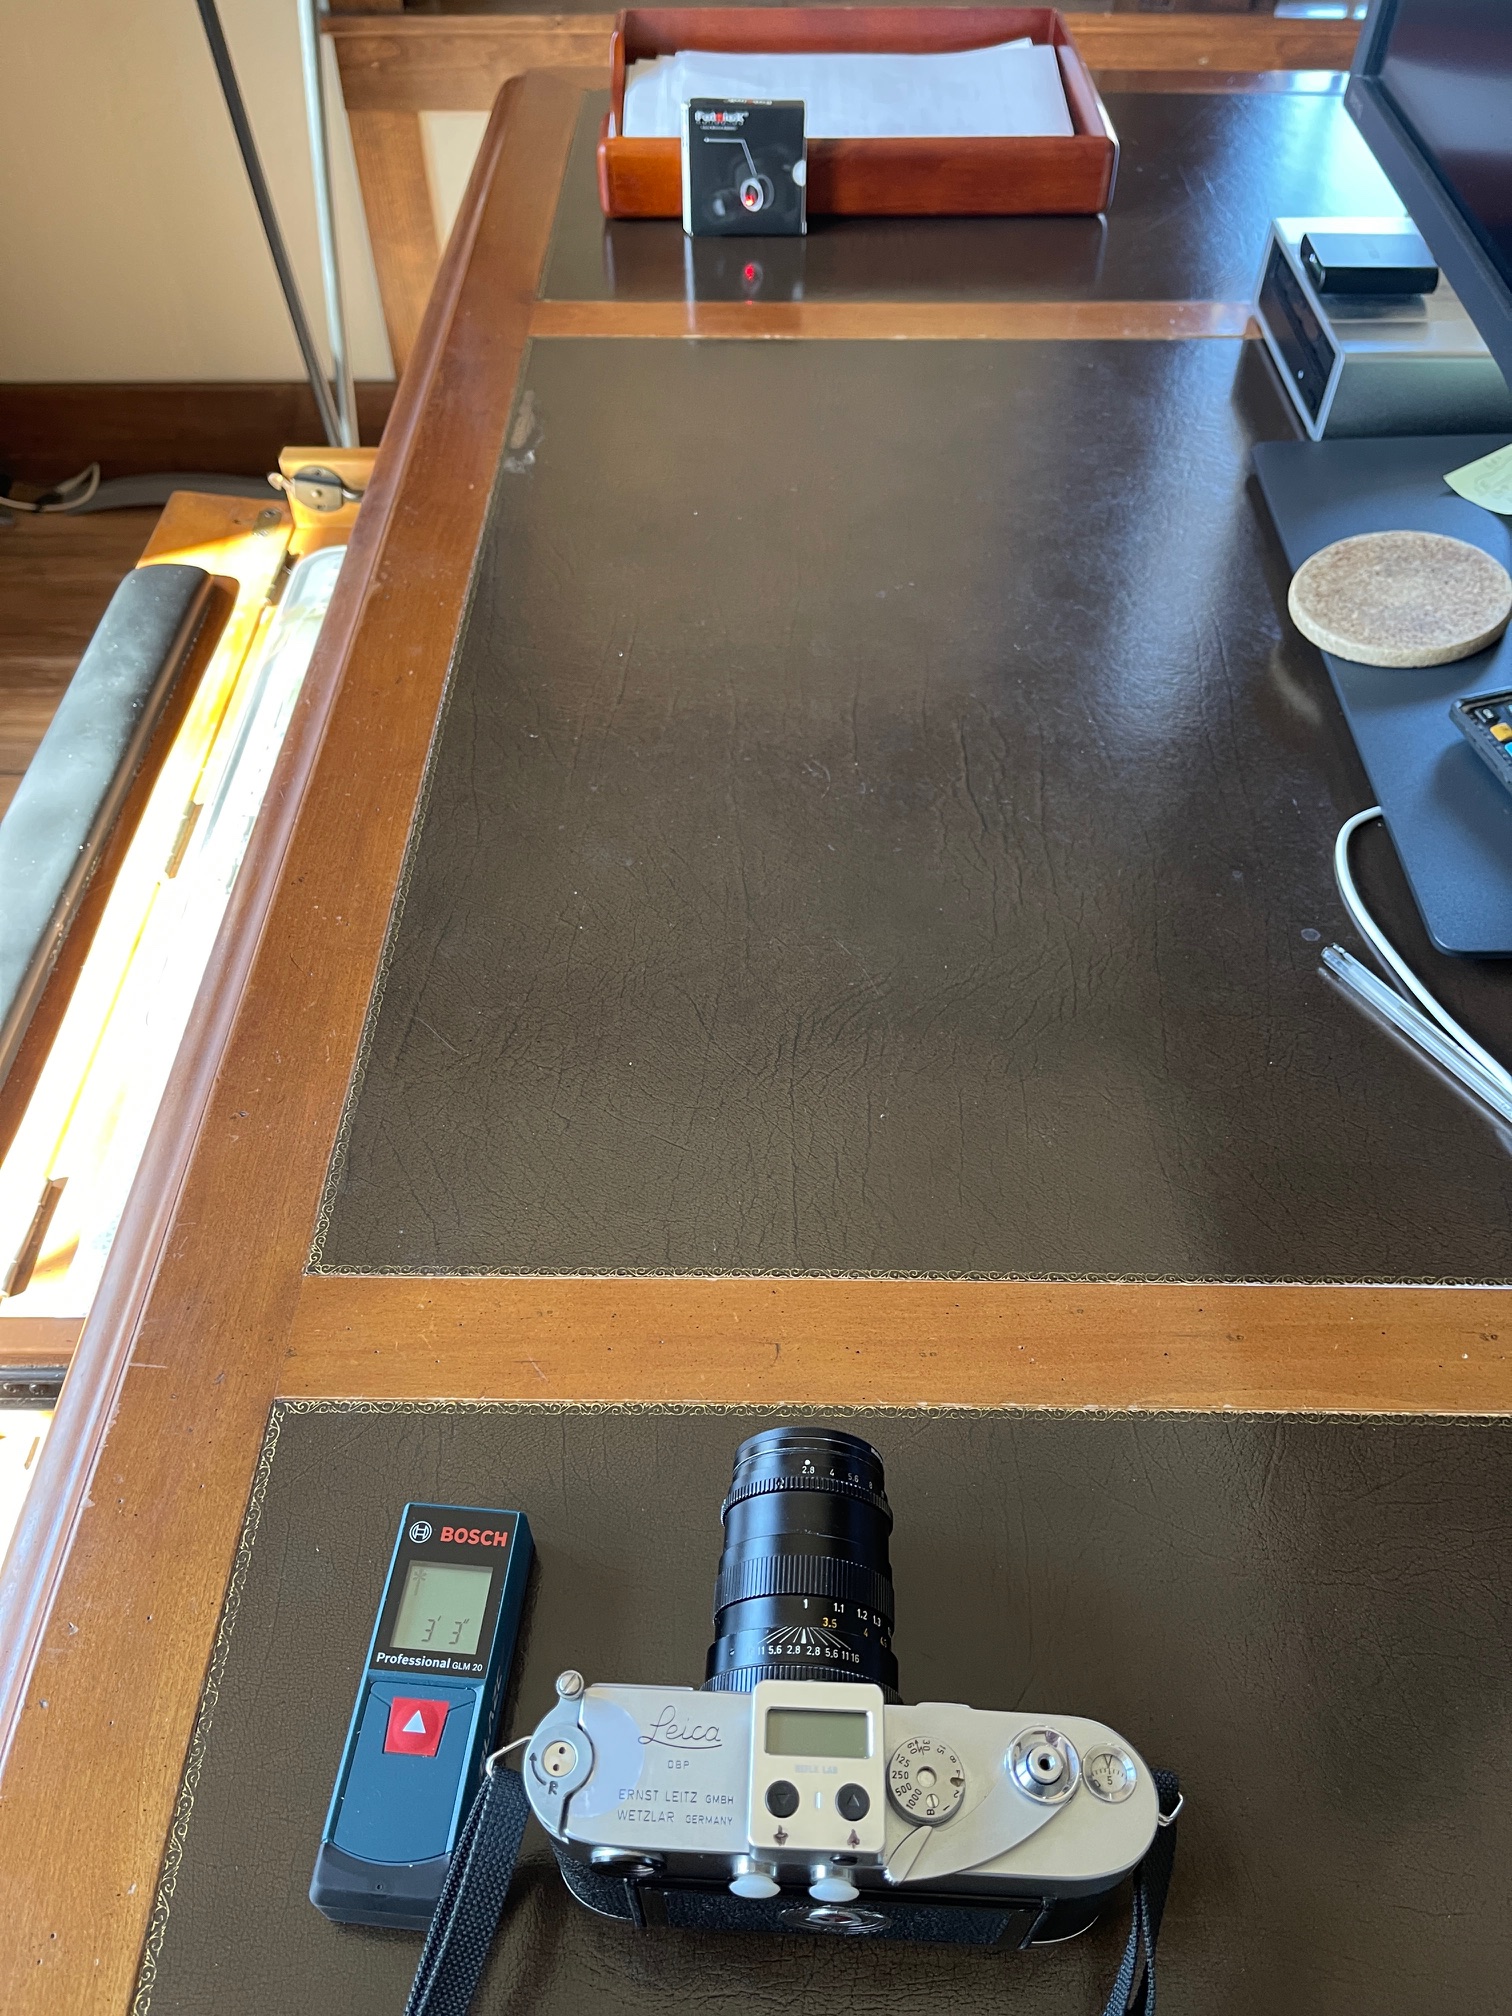
So how well does the $20 adapter work? Perfectly. Maybe I got lucky. Only the 50mm frame line is shown. The lens aligns with the focus indicator at exactly 12:00 o’clock. At the minimum focus distance of 1 meter (39.37″) I get these results compared with my laser measure:
- Lens indicated focus distance: 39.3700″ – 1.0000 meter
- Laser measured distance to film plane: 39.4375″ – 0.9985 meter (average of three ‘refocuses’)
- Error in inches: Leica rangefinder reads 0.0675″ too far at 39.37″ to the subject
- Percentage error in rangefinder reading: 1.71%
Wow!
I conducted focus tests with the lens set to the indicated 1m distance which is the lowest distance engraved. In fact the lens will focus slightly below 1m and I found that my M3’s rangefinder continued to operate in this close range. Not all may do that so check your body first before using the lens at its closest focus distance. The specifications for the M3 state that the closest rangefinder coupling distance is 1m.
Ergonomics:
The filter diameter is a strange 48mm size rather than the much more common 49mm, but eBay came to the rescue with a new old stock multi-coated Hoya UV for $17. Incidentally the f/1.8 version of this Canon lens also adopts a strange filter size at 40mm. Go figure. I do not bother with a lens hood, rarely snapping straight into a light source. So my total investment is $316 …. a tad less, to put it mildly, than the outlay for old Leitz glass. Plus $15 for a used OEM Leitz rear lens cap with protrusions, just in case the adapter gets stuck on the M3!
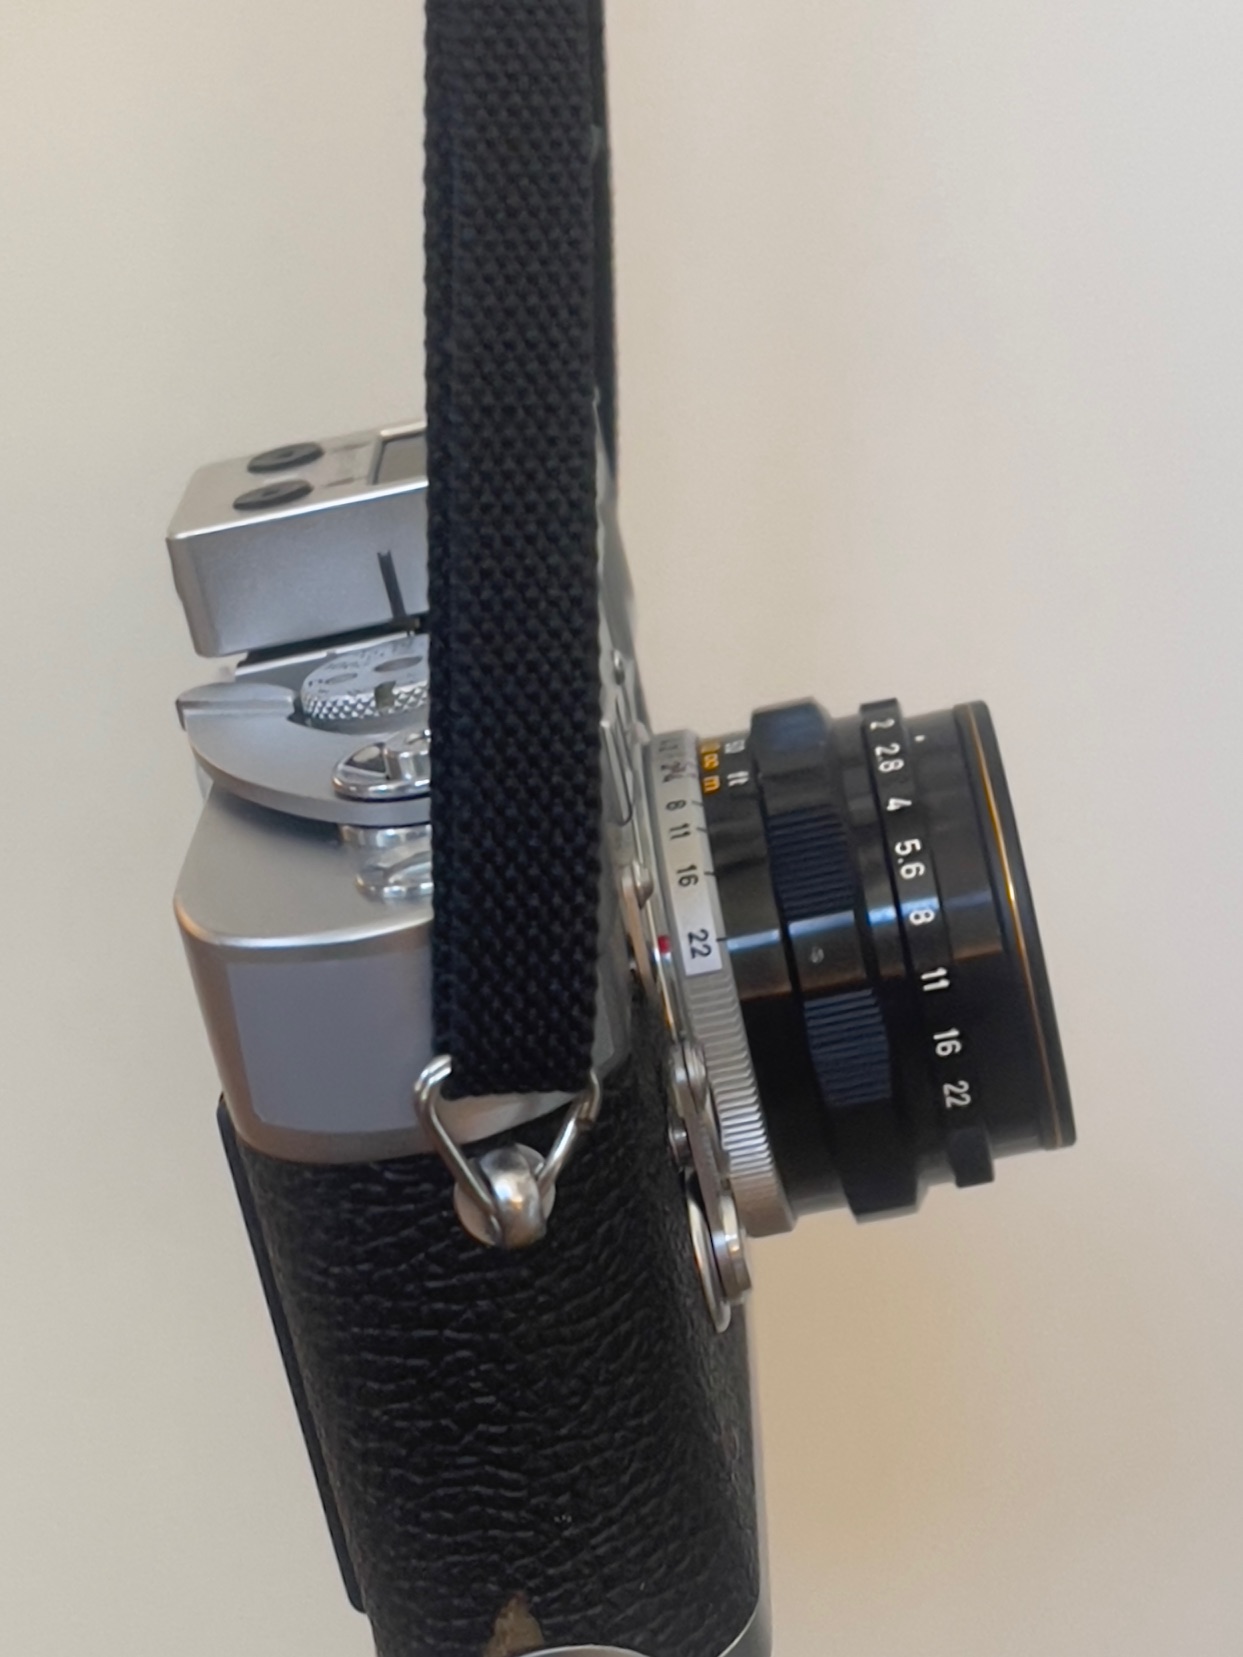
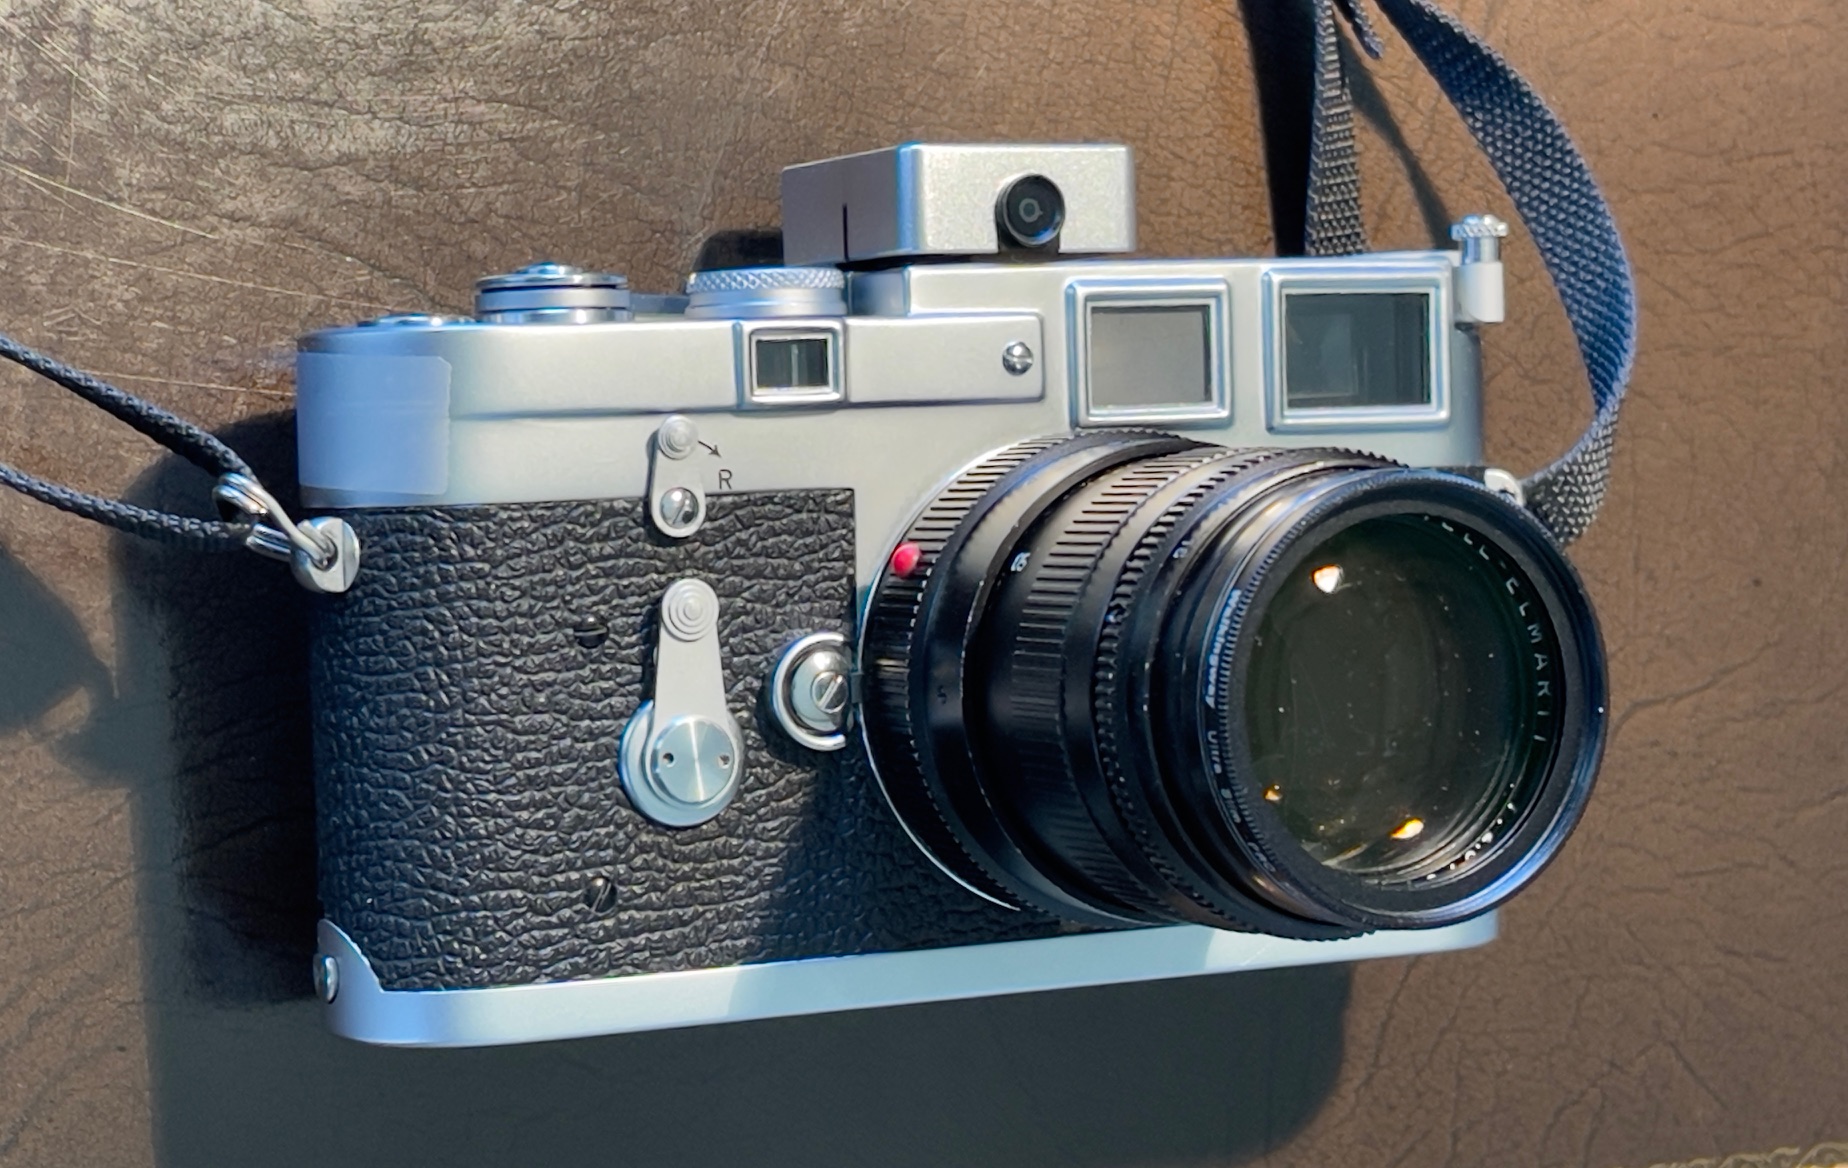
One of the things those who extol early versions of the Leica M3 conveniently overlook is the poor placement of the strap lugs, which are at the extremities of the top plate. That places them too far from the center of gravity of the lens, meaning the camera will always tip precipitously forward on its carrying strap. Plus those early lugs are ugly, crudely riveted to the body. When Leitz realized that the double stroke film advance of these early M3s was unnecessary and upgraded to single stroke film wind they also moved the strap lugs down and toward the front of the body, markedly improving balance with a lens fitted. The turning moment, in other words, was reduced, making for a more pleasant carrying experience with the strap on one shoulder and the camera at your hip:
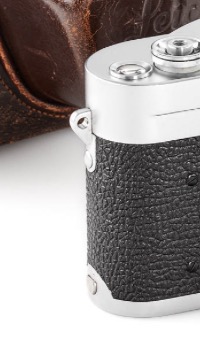
Ugly strap lugs on an early M3.
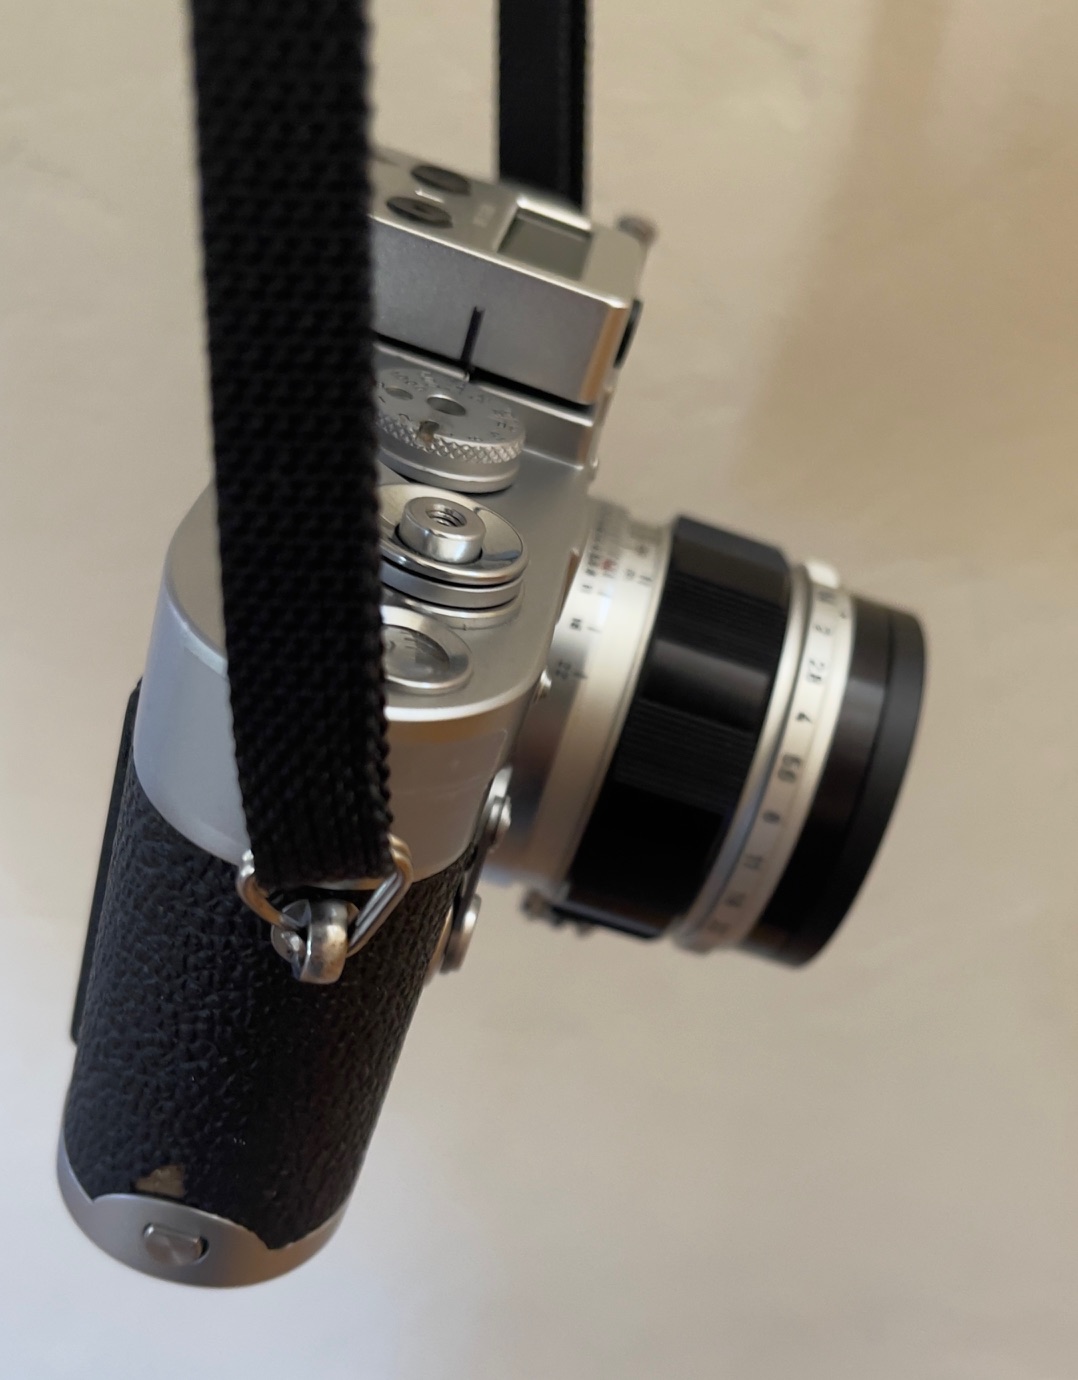
Balance with the 50mm f/1.4 Canon lens.
Modern strap lugs on the camera.
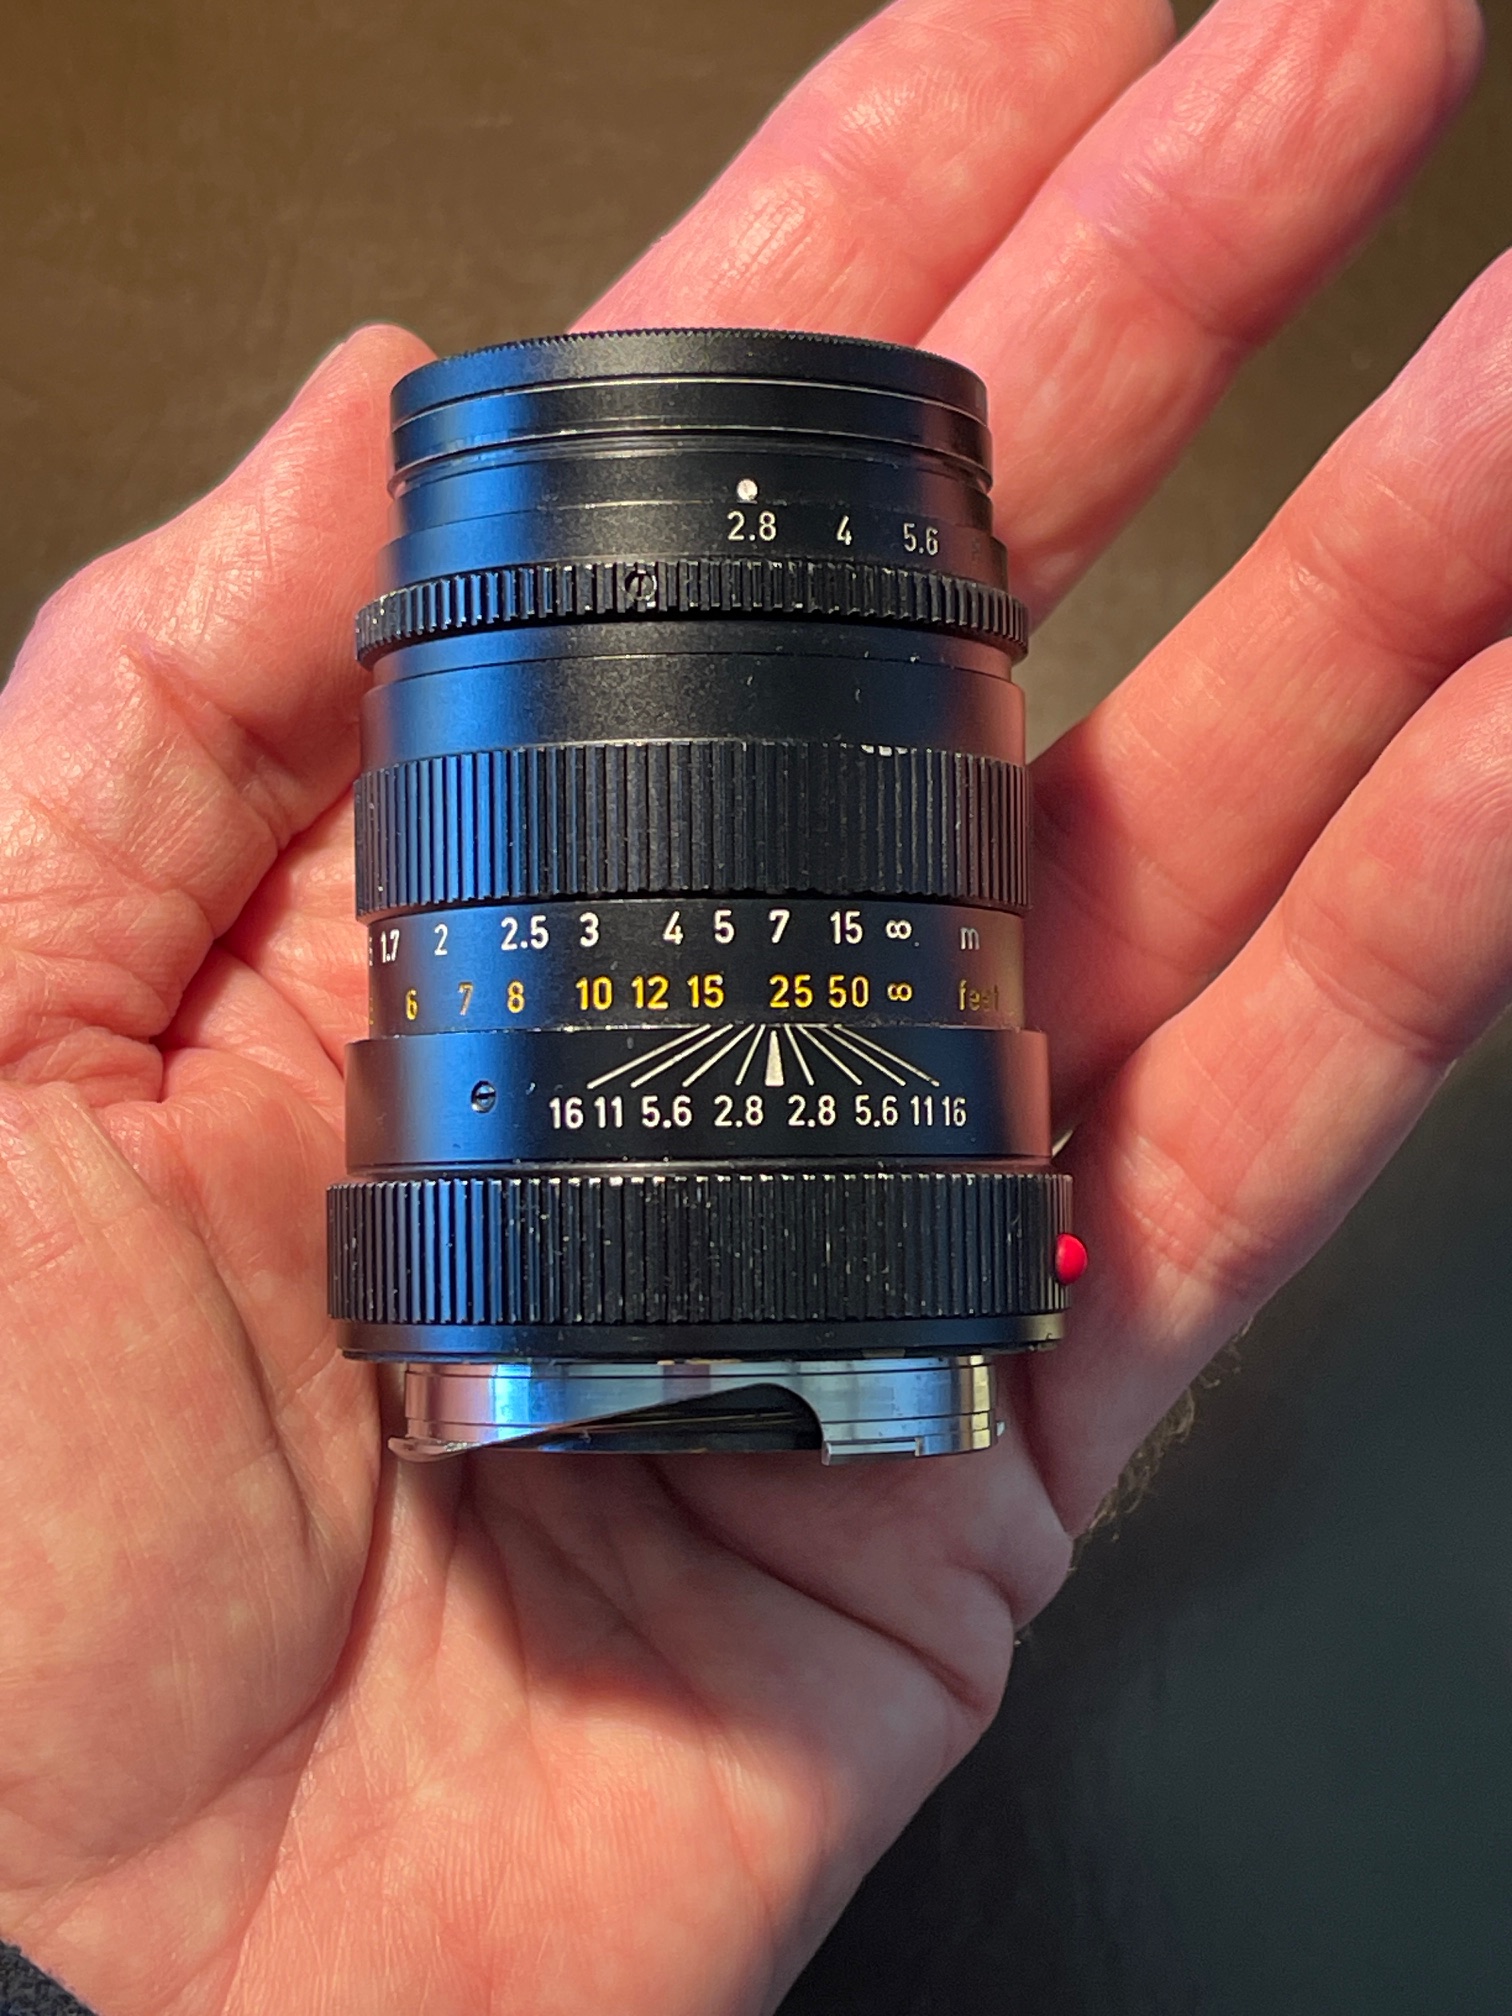
The focus throw of this lens – the degree of rotation from infinity to 1 m – is a fairly large 180°. It’s much the same on the 35mm Summaron and the 90mm Tele-Elmarit. Just about a half circle. Modern lenses tend to have a far shorter throw. You hear a lot of grumbling in online reviews about this and how slow the lens is for a street snapper. This of course is absolute rot. Most street snaps are taken at a distance of 7 to 15 feet and the focus throw for that range is a scant 25°. Fughedaboutit and console yourself that you are getting higher focus accuracy than the guy with the latest and greatest. As for the aperture ring, it has nice audible click stops at full aperture, no half aperture nonsense. And the aperture stops are equidistant. The rotation direction for both the focus collar and the aperture ring is identical to that of Leitz lenses. Perfect.
The closest focus distance is 1 meter which is the closest at which the M3 rangefinder works. Modern Leica lenses go down to 0.7 meters as do later or modified M bodies. If that’s important to you skip this lens.
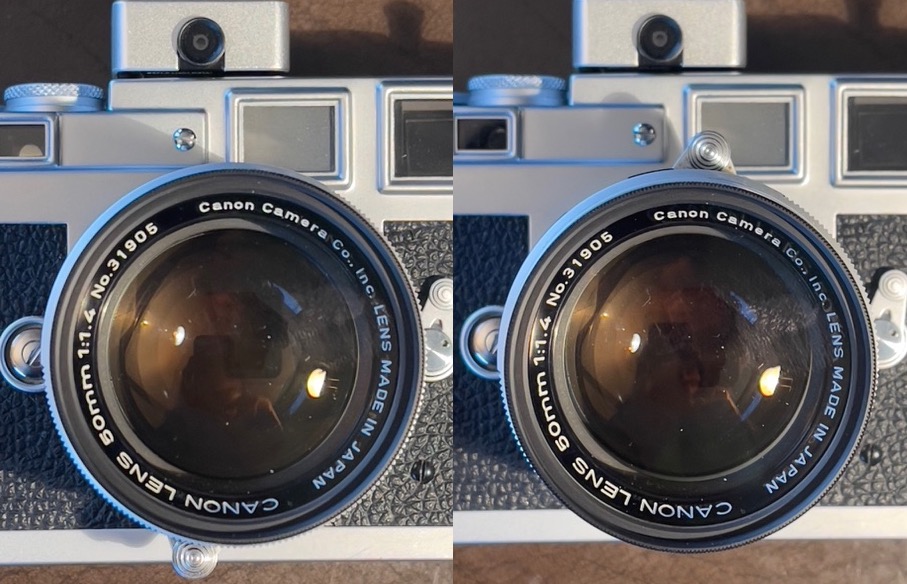
Poorly placed focus tab.
At infinity (left) and at 1 meter.
The locking focus tab locks at approximately 6 PM in contrast to the usual 8 PM for Leitz lenses thus equipped. This is an odd design choice because at the closest focus distance of 1 m the tab is at the top of the lens, which looks rather strange. In practice, if you’re racking it out that much you’re using the grip on the scalloped focus collar rather than the tab, so you avoid blocking the viewfinder with your focus finger. Still, the regular 8 PM placement would have been better. If you don’t like the locking feature you can disable it by removing one screw on the back of the locking plunger. I have no issue with it and in the locked position it provides a nice leverage fulcrum when mounting or dismounting the lens.
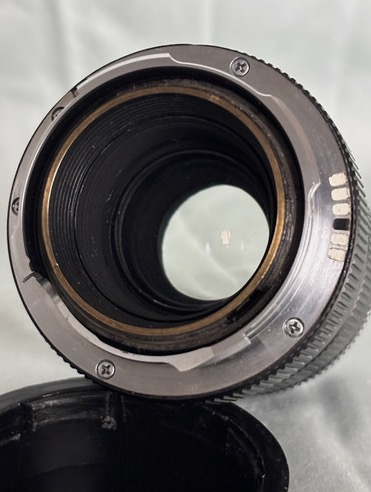
Interestingly, the focus cam on the rear of the lens is engineered with a parallel action. It does not rotate unlike the design in most Leitz lenses. This should make poorly machined adapters more usable as you are not dependent on exact cam placement.
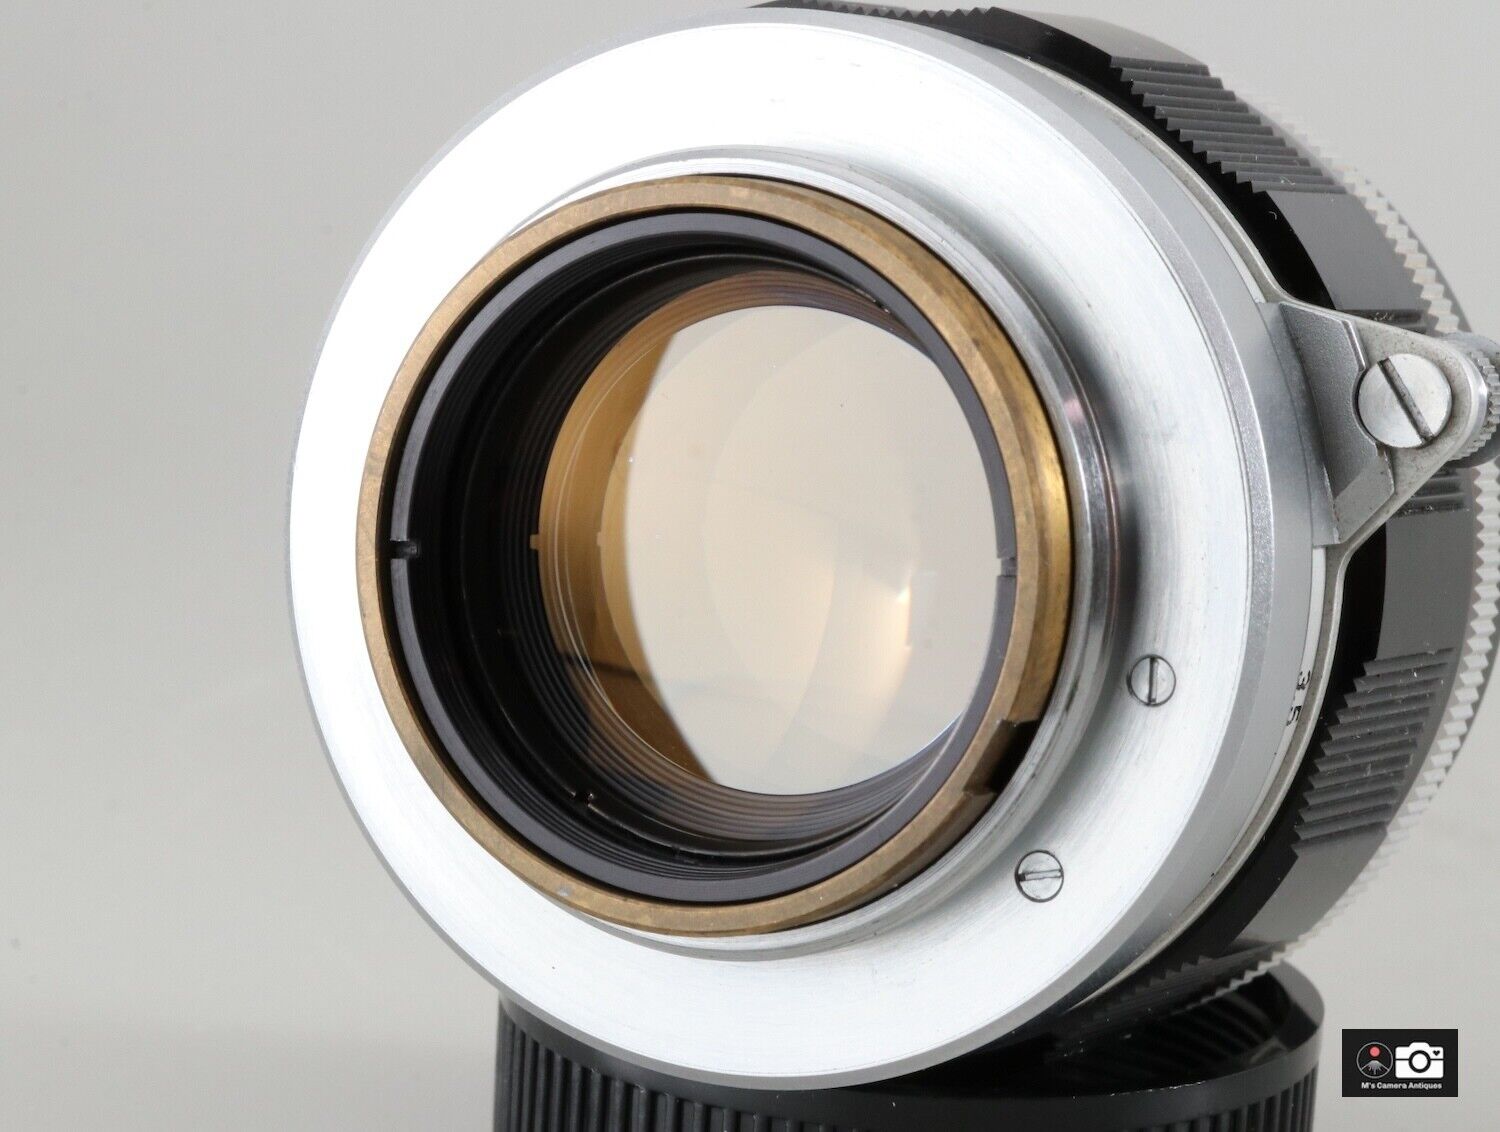
The brass focus cam does not rotate.
The single screw on the focus tab’s plunger permits removal.
Note the absence of marks on the slotted black inner retaining ring, suggesting the lens has never been dismantled.
There is very minor blockage of the finder frame at 1 meter with a UV filter installed:
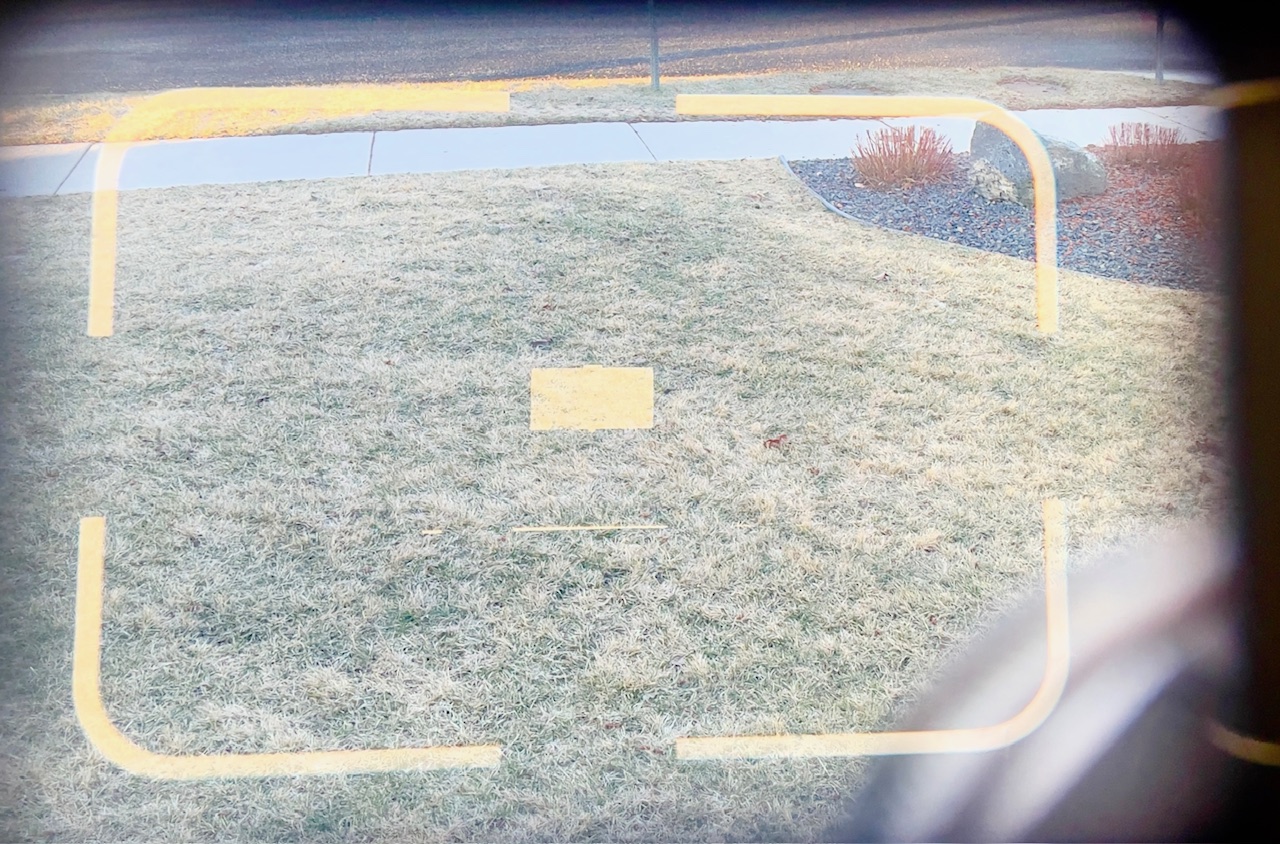
Finder blockage at 1 meter.
At longer focus distances it’s minor to non-existent.
Old lens rendering:
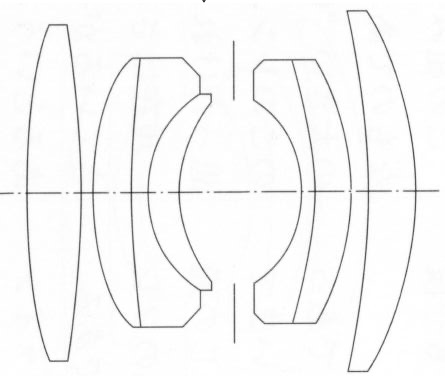
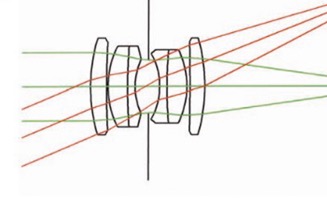
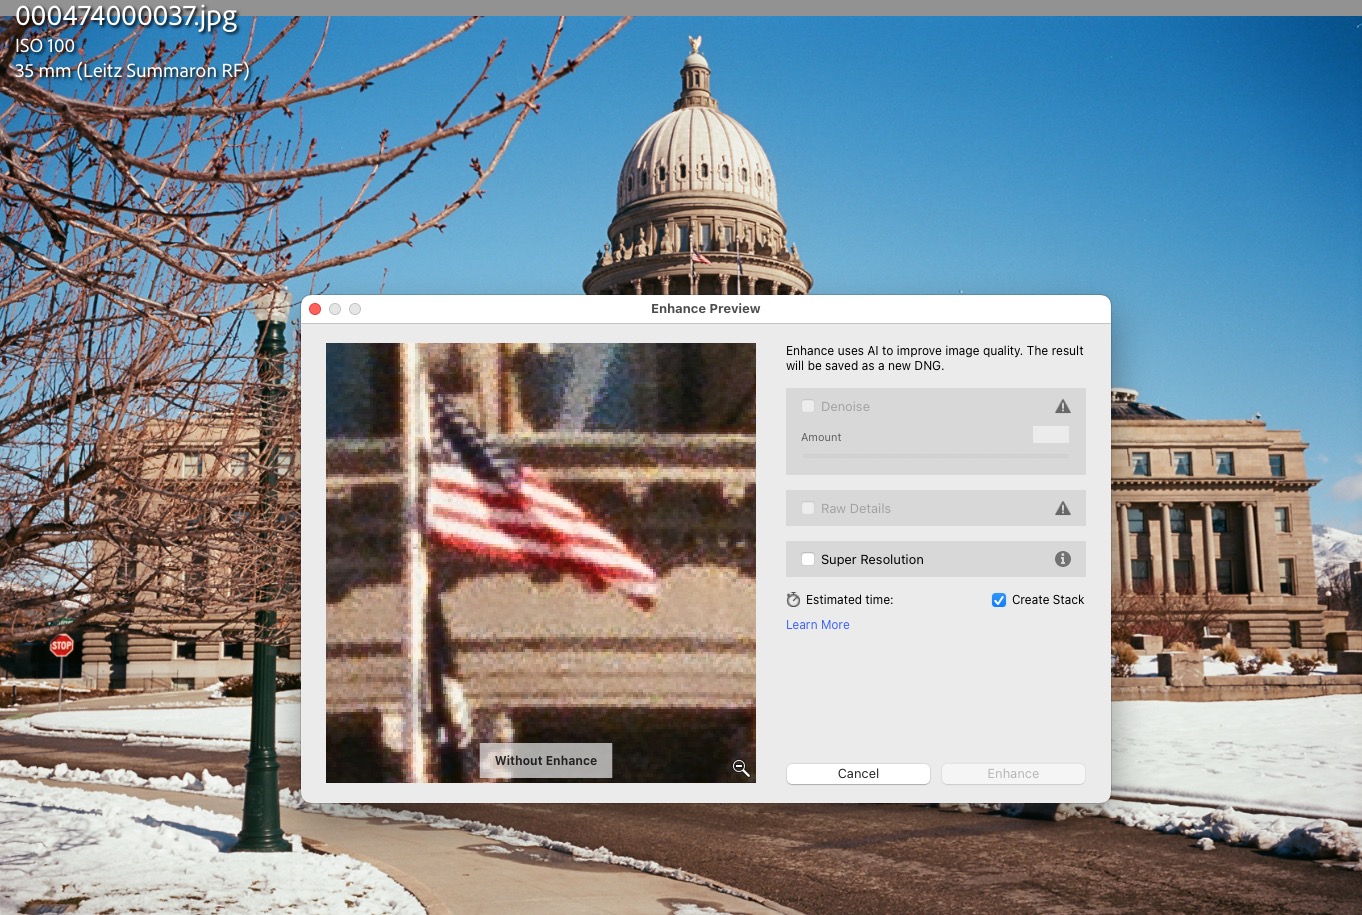
The beauty of many of these older single coated lenses is that they avoid the clinical sharpness and ultra high contrast rendering of modern multicoated, complex computer designed optics, slide rules being the designers’ tool back then. The Canon is a simple 6 elements in 4 groups dated Gauss design. Zeiss was using that configuration in its pre-war uncoated Sonnars. You can always add contrast in Lightroom and the gentler color rendering is nice to have. If required, saturation is easily added in LRc. Yes, corner definition at larger apertures is lacking but for this street snapper that’s not an issue. By f/8 everything is as sharp as anyone could desire. And as regards correction of vignetting and minor barrel distortion, believe it or not LRc includes a lens profile you can invoke to banish those aberrations.
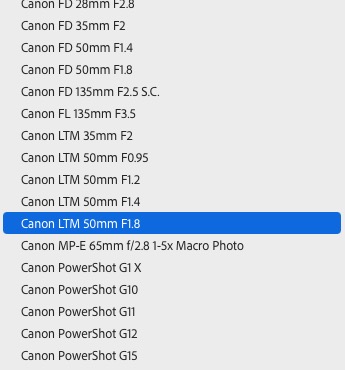
Lens profiles in Lightroom Classic
for ancient Canon LTM optics.
Now I hate Adobe just a little less.
You can see my first results here.
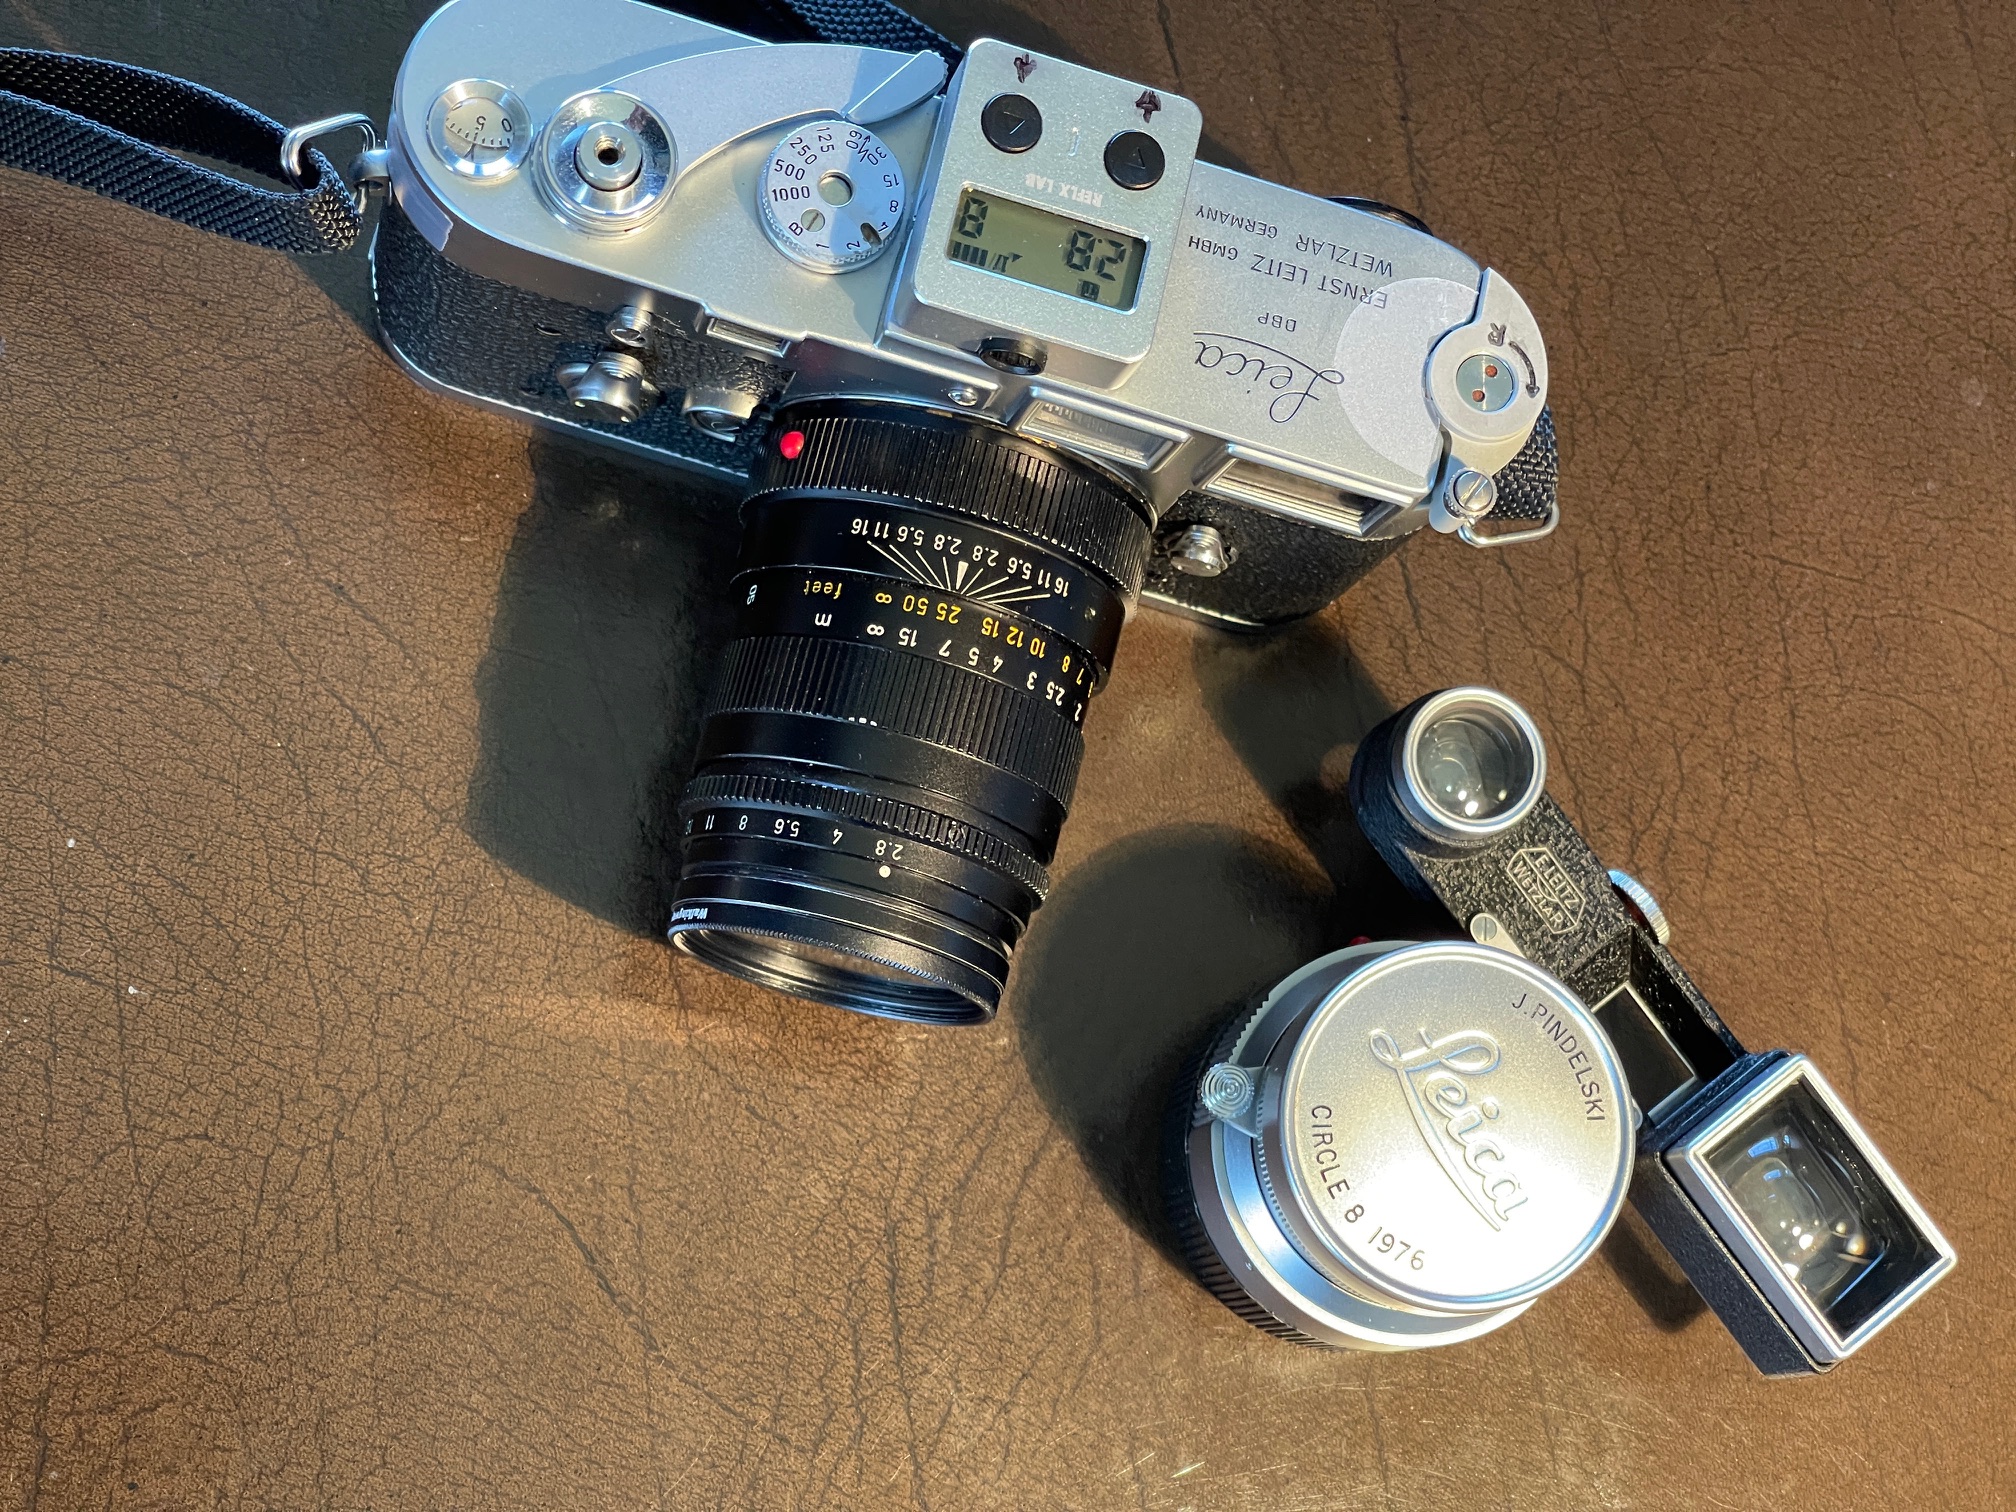
The outfit is complete:

Leica M3, 35/50/90mm lenses.
Buying advice:
- Above all be patient. Lots of beaters out there. These lenses are approaching 70 years in age so be picky.
- If you want the lightest solution and do not need f/1.4 look for the Canon 50mm f/1.8.
- Most eBay listings include words like ‘haze’, ‘scratches’, ‘balsam separation’ and ‘fungus’. Run like hell. Most of these conditions are likely not repairable and fungus only ever grows. Listings always seem to disclose ‘pinpoint sized’ fungus. Uh huh.
- No picture of the diaphragm blades with the lens at f/22? Move on.
- Scratched diaphragm blades, ready to flake detritus? Pass.
- Oil on diaphragm blades? The lens is doomed.
- Above all correspond with the seller and ask “Is the focus collar smooth throughout the range? Is it too tight? Are the aperture click stops aligned with the index dot and are the clicks crisp?” By getting this representation in writing you have a cast iron basis for a claim in the event the seller lied. eBay’s buyer protection is excellent. Ask me how I know. No reply to your questions? Move on. There’s always another lens.
- Be prepared to buy from Japan where most of these lenses appear to be listed.
- Be prepared to pay a little more for a pristine example. That means $225 for the f/1.8 and $250 for the f/1.4 plus tax and shipping. The small premium for a good example is the price of a lunch or two.
- The LTM to Leica M bayonet adapter is a critical part of the equation. Be sure to buy from a vendor with an honest return policy – I used Amazon US. The adapter determines whether you will be able to focus the lens accurately. Conduct fit and alignment tests. Any slop? Too tight? Just the 50mm frame lines showing? Is the index mark for the focus distance at 12:00? Focus the lens at infinity. Does it get there without going past? Place the camera and lens focused at 1 meter on your target on a desk and then measure the distance to your target from the film plane of the camera with a tape measure or, better, a laser measure. Is the measurement close to 39.37″? (The film plane in the Leica M coincides with the base of the engraved letters ‘Wetzlar Germany’ on the top plate of the camera or, more accurately, 1.90mm from the rear of the top plate. If you have an M4-2 or later the film plane mark is engraved under the wind-on lever).
I perused well over 100 listings before finding my mint copy. Good luck in your search.
A detailed resolution test of the 50mm F/2 Canon LTM is here.
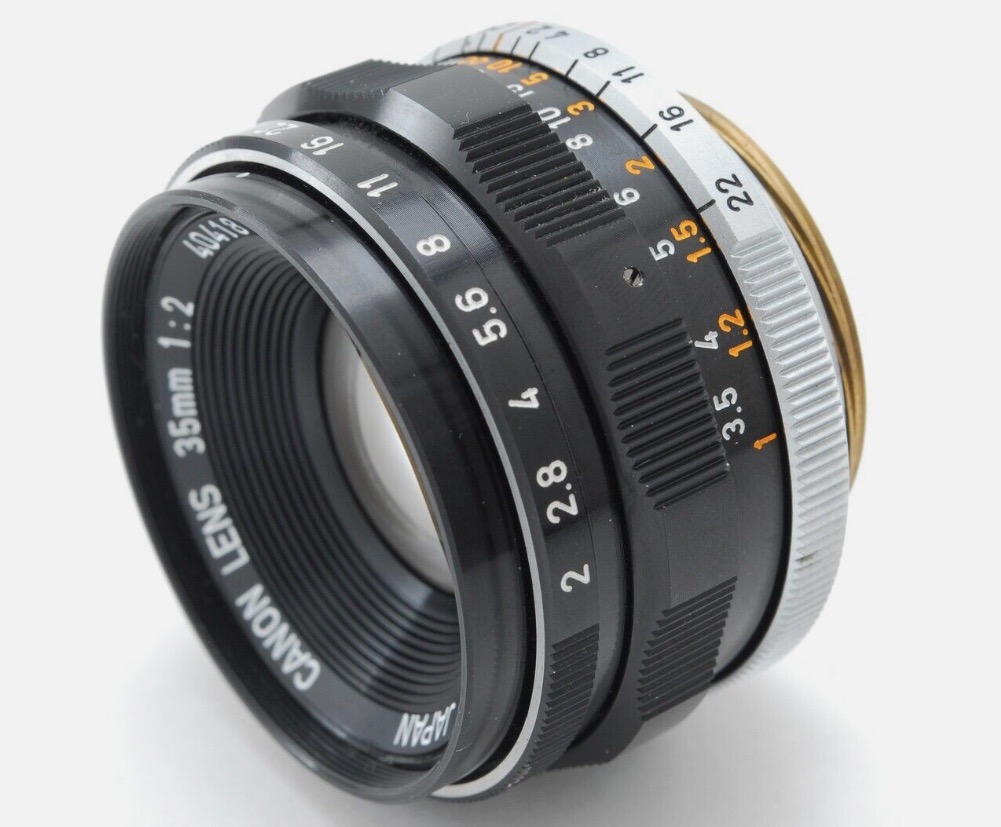
For an introduction to the Canon 35mm f/2 LTM lens, click here.
Don’t lose the lens locking catch!
The other day I was merrily snapping away when, after fitting the Canon 50mm lens to the camera I noticed – panic! – that the lens locking catch had disappeared. Sure, the lens worked fine but there was no infinity lock. I like that locking catch as it makes removal of the lens far easier.
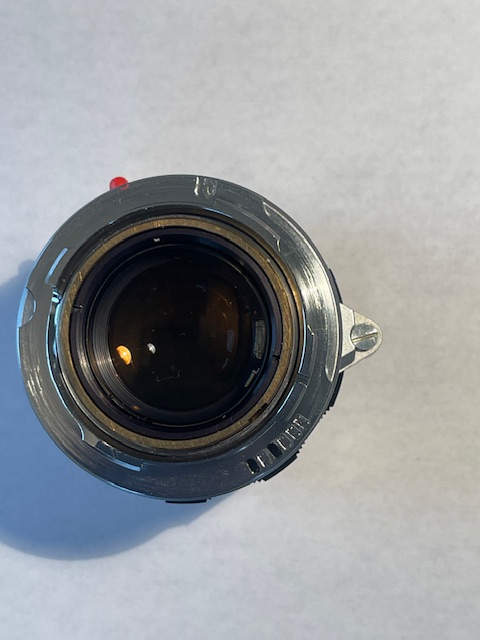
The retaining screw.
A 6-bit code has been added to the Fotodiox Pro LTM-to-M bayonet adapter.
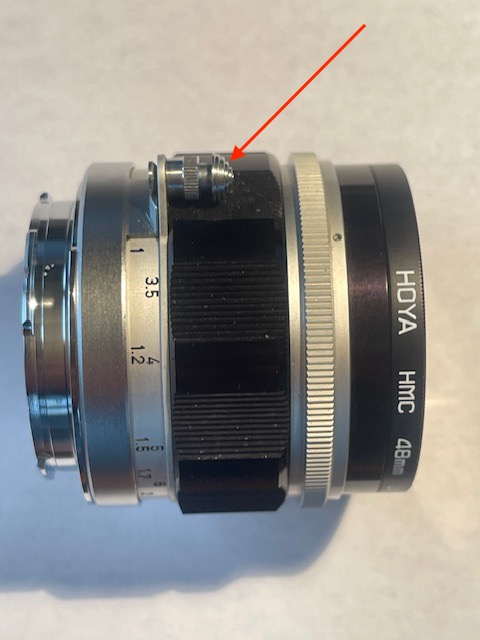
The plunger.
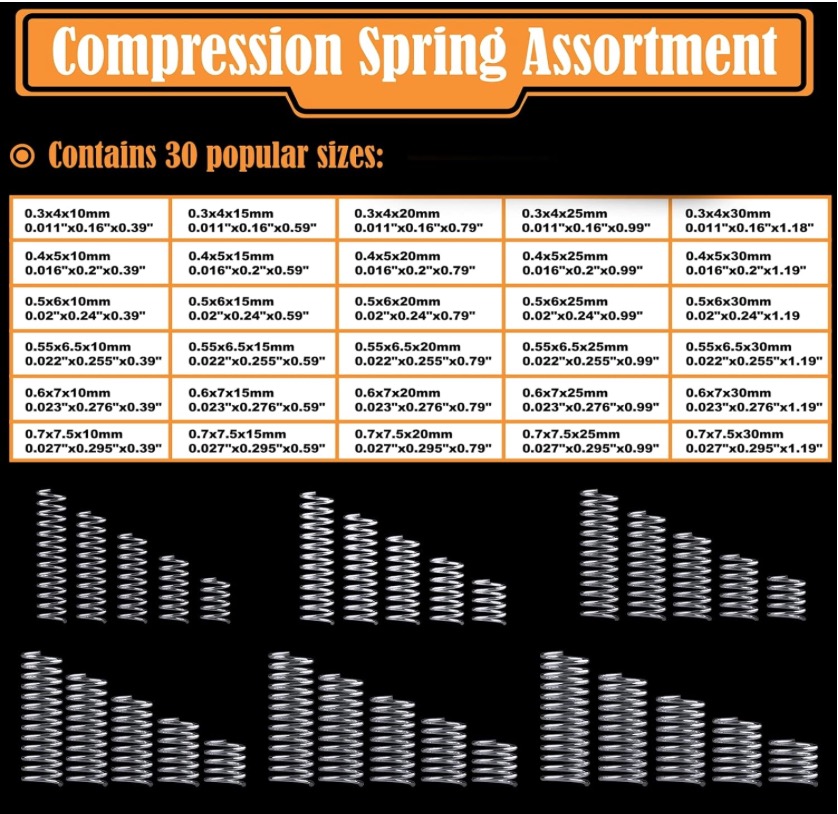
Amazon compression springs.
The assembly is comprised of 4 parts – the receiver fixed to the lens itself, the plunger, a small spring and the retaining screw. The spring ensures that the catch returns to the extended, or locked, position when pressure is removed from the plunger.
On arriving home I checked the bottom of the carrying bag and found the loose plunger and screw, but the spring was AWOL. So I checked my inventory of Amazon compression springs and found that the smallest – the 0.3 x 4 x10mm was a good fit. Reassembly took seconds but the plunger could not be depressed sufficiently, so I snipped maybe 3mm off the 10mm uncompressed length, reassembled and everything was back to normal. For safety’s sake I once more removed the retaining screw and applied a tiny drop of Loctite 242 blue thread locker to make sure the parts did not come apart again. Given that the lens was made some 50+ years ago the assembly probably had every right to come apart but now it’s good for the next 50 years. The moral of this tale is that if you acquire one of these lenses (and I really think you should!) I suggest you disassemble this part and apply thread locker to the screw’s threads.